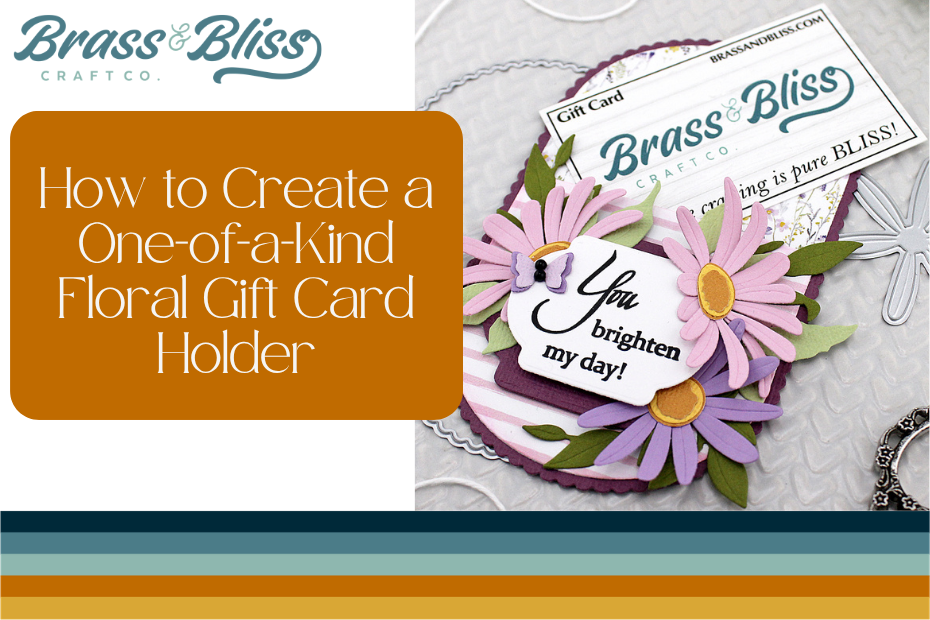
Take a simple gift card to the next level with this swanky oval floral gift card holder, and watch the recipient respond in delight!
When giving gift cards Kendra really enjoys creating her own gift card holders to add some love and thought in the ‘gift’! Today Kendra grabbed our ‘5812-02D Swanky Scallop Ovals Die‘ and ‘5812D Swanky Nested Ovals Die‘ to create a custom gift card holder, along with some floral dies from our new “Petals and Promises” release. We are absolutely obsessed with the patterns and colors she chose, making this a project that is sure to brighten someone’s day!

- Die cut the 3.25″ x 5.25″ scallop oval from the ‘5812-02D Swanky Scallop Ovals Die‘ from purple cardstock.
- Die cut the 3″ x 5″ oval from the ‘5812D Swanky Nested Ovals Die‘ from a piece purple floral pattern paper from the ‘2403 Botanical Daydreams Paper Pack‘. Adhere to scallop layer.

- Place the 3″ x 5″ oval from the ‘5812D Swanky Nested Ovals Die‘ on a piece of pink and white striped pattern paper from the ‘2403 Botanical Daydreams Paper Pack‘, roughly measuring 2.75″ to only die cut part of the oval. (This will create the pocket for the gift card) Use a ‘Large Blending Brush‘ to add ‘Rose’ ink to the edges from the ‘Color Fuse Set 5‘.

- Add glue to just the edge, see photo. (Kendra marked where glue should be put with purple pen.) Adhere to previous layers.

- Die cut the 1.47″ x 1.95″ marquee from the ‘5917-01D Rounded Marquee Nested Dies‘ from white cardstock. Stamp the ‘You brighten my day!’ sentiment from the ‘38023 Layered Echinacea‘ in black ink. Adhere with pop dots to a die cut 1.84″ x 2.42″ marquee from purple cardstock.

- Die cut leaves from the ‘5915-02D Wild Leaves Die‘ from two different shades of green cardstock. Die cut flowers and centers from the ‘5914-02D Build a Bloom Chamomile Die‘ and adhere together. Play around with die cut pieces to find a layout you’d like. Trim pieces if needed. Adhere pieces and sentiment layers to ‘pocket’. If you have extra pieces, place them in a bag to use another time.

- Die cut a butterfly from the ‘5147-08D Small Butterflies Die Cut‘, small layer from a light purple and larger layer from a dark purple cardstock. Adhere together. Adhere to the left of the sentiment. Finish by adding two black pearls to the butterfly.
- Finish by adding a gift card in the pocket.

Products Used:
5917-01D Rounded Marquee Nested Dies
5914-02D Build a Bloom Chamomile Die
5147-08D Small Butterflies Die Cut
5812-02D Swanky Scallop Ovals Die