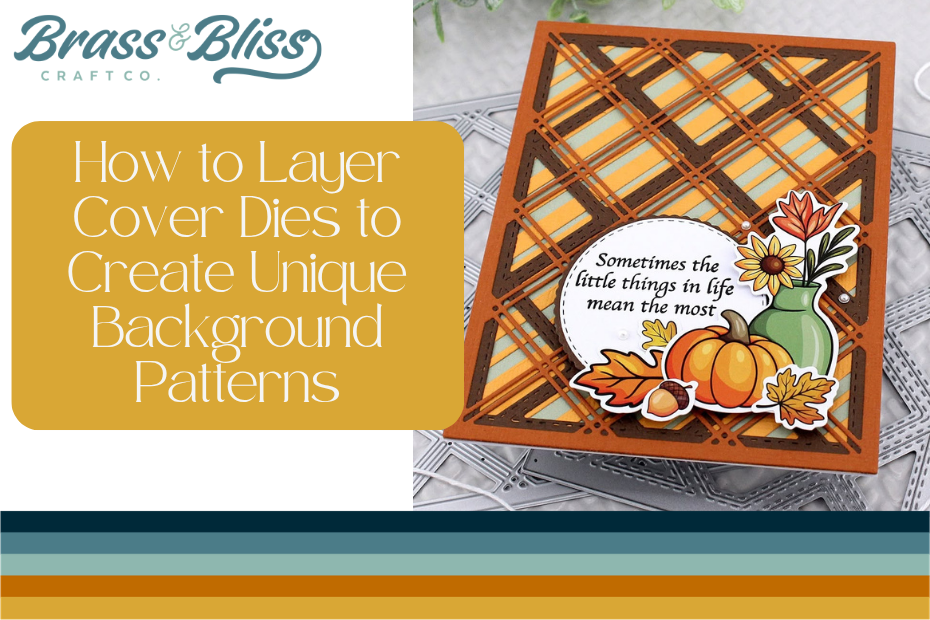
Pull out all of your cover dies and play around with layering to create unique background patters that add fun and dimension to your handmade card.
Fall is such a beautiful time of the year! When asked what she thought of when she thought off fall, Kendra shared, “Pumpkins…Beautiful Color Changing Leaves….Fall Flowers….along with plaid patterns!” We agree, these are perfect for all fall crafts! Today Kendra is sharing a fun fall themed card combining some cover dies to create unique background patterns. Don’t be afraid to layering cover dies together, you will be surprised and the fun designs you can make!

- Start by creating an A2 sized card base from white cardstock.
- Die the ‘5820D Crosshatch Cover Die‘ from orange cardstock.
- Die cut the ”5418D Diamond with Stitch Cover Die‘ from brown cardstock. Adhere behind previous die cut.

- Die cut the ‘5935-05D Candy Cane Stripe Cover Die‘ from a yellow cardstock. Adhere behind previous die cut layers.

- Adhere a piece of sage green cardstock behind all the layers. (What a pretty plaid piece!) Paper can be an easy route, but these layered die cuts give some nice dimension and texture!! Plus you’re able to use the best colors to match your color scheme you want to work with!!

- Adhere to card base.
- Die cut 2.125″ circle from the ‘5012D Nested Circle Small Stitch Die‘ from white cardstock. Stamp the ‘Sometimes the little things in life mean the most’ sentiment from the ‘38045 Thankful Thoughts‘ in black ink near the upper left of the die cut circle.
- Die cut the 2.25″ scallop circle from the ‘5029D Nested Circle Scallop Die‘ from brown cardstock. Adhere behind sentiment layer.
- Play around with elements from the ‘38045/38046E Fall Harvest Die Cut Pieces‘. Once you find a layout you like, adhere pieces together. Kendra first adhered the pieces that would be on the circle layers and then built off that. Kendra likes to do this right on the card base so she can see what it will look like and to be sure all elements stay on the card base. Once all the pieces are adhered together. Add foam mounting tape to the back of the element. Then adhere to card base.
- Finish card base adding three white pearls randomly around the colored elements.

Don’t be afraid to use different cover dies and colors!! So many fun possibilities!!

Brass and Bliss Products Used:
5418D Diamond with Stitch Cover Die
5935-05D Candy Cane Stripe Cover Die
5012D Nested Circle Small Stitch Die