
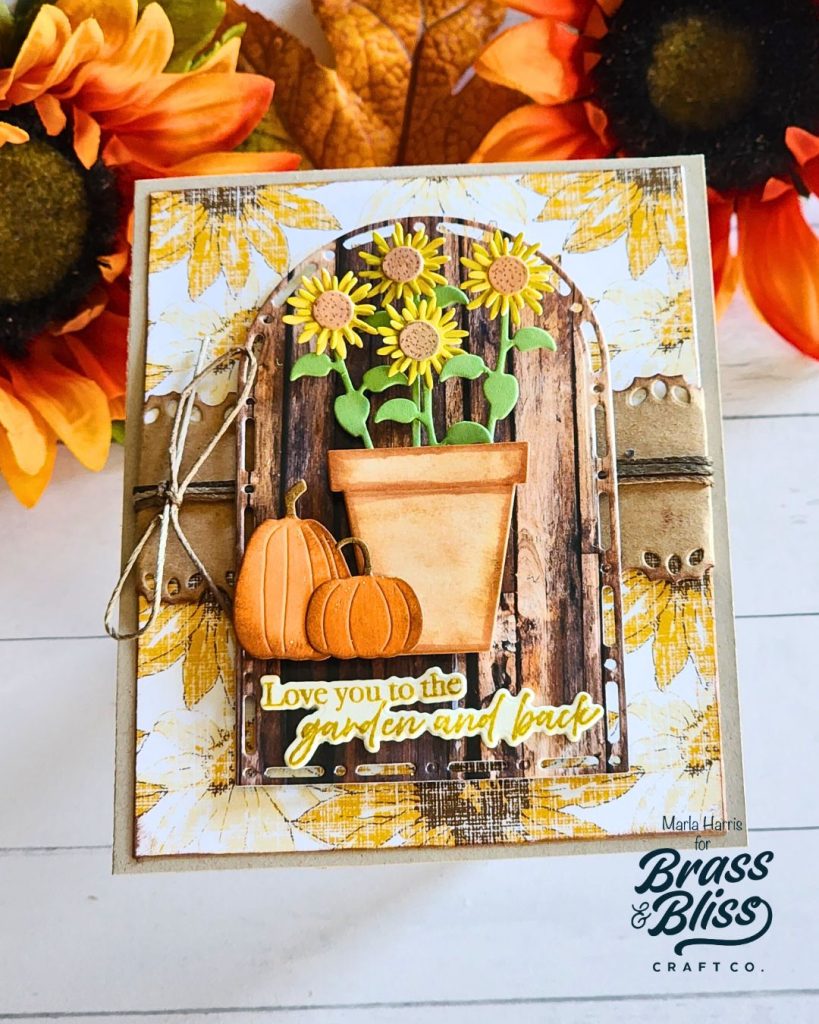
Looking to create little scenes, or master the art of clustering dies together? Check out this stunning fall card from Marla and try these tips on your next project.
Learning to cluster or scene build can be a challenge for many card makers. In today’s card tutorial, Marla shares a simple way to get started. Her advice, start small. Marla used just a few small die cuts to create her scene. She started with a beautiful piece of patterned paper for inspiration and then chose just a few small dies to compliment the patterned paper. Next, she added a nested die to ground her simple scene. Adding the additional horizontal layer to the background with a twine bow added additional interest to this rustic fall card.
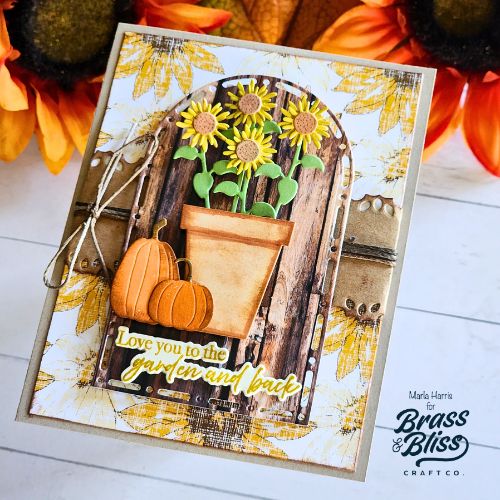
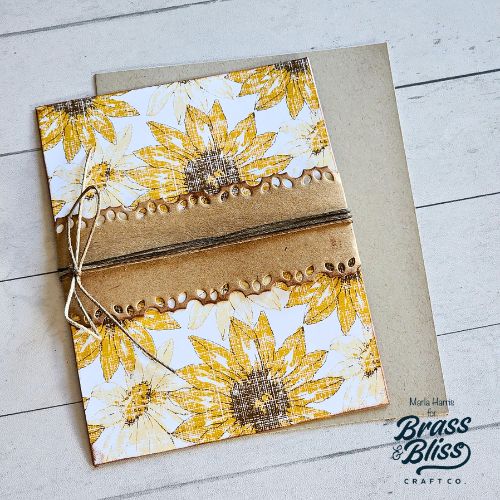
- Cut a kraft piece of cardstock to 4.25″ x 5.5″.
- Cut a second layer of pattern paper to 4″ x 5.25″. *Marla used the beautiful sunflower pattern from The Papercut Autumn Paper Pad.
- Ink the edges of the sunflower layer of paper using our pecan ink.
- Cut a piece of kraft cardstock to 1.5″ x 6″.
- Cut a decorative edge using our 5807-02D Floral Edge Cut Dies.
- Ink the edges using our pecan ink.
- Wrap the decorative layer around the sunflower layer and adhere with glue or tape.
- Add a twine bow to finish the panel.
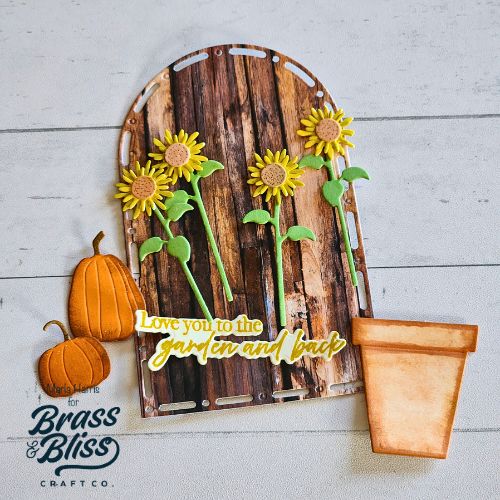
- Die cut an arch using our 5802-05D Dash Dot Nested Arches Die and woodgrain patterned paper from The Papercut Wooden Metallic Paper Pad.
- Die cut the terracotta pot using vanilla or cream cardstock and our 5147-20D Spring Garden Starter Dies.
- Die cut the pumpkins and sunflowers using our 5215-05D Pumpkins and Ivy Die and 5626-03D Sunflowers Die.
- Ink the die cut pieces. Marla used pumpkin and pecan ink for the pumpkins. Amaretto, custard, mocha and moss for the sunflowers and mocha and cinnamon for the pot. She added additional shading to the pot with and texture to the sunflowers with a Copic marker.
- Stamp the sentiment using our 37010 Hello There Stamp and amaretto ink.
- Use the coordinating die to cut out the sentiment.
- Before assembling the card, add dimensional foam adhesive to the back of the arch, sunflowers, pot, large pumpkin and sentiment.
Beautiful card!
Thank you so much for stopping by and leaving a kind comment! We are happy you enjoyed this design.