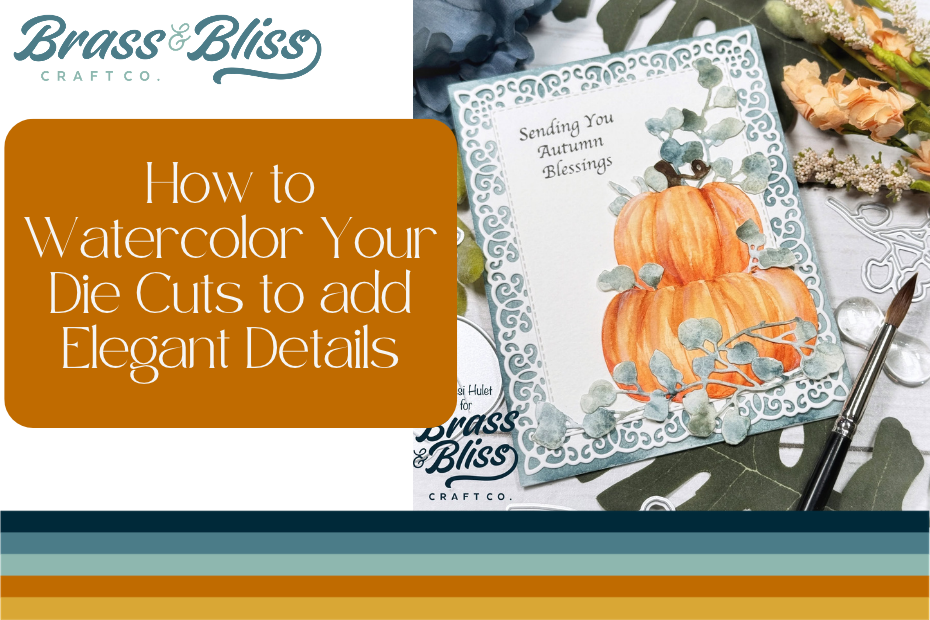
Add some simple elegance to your die cuts by watercoloring them and creating unique designs that feel soft and lovely.
Die cutting is extremely popular in the card making world.. and one of their best qualities is their versatility. While you can just die cut a colored paper and go for a quick easy look, you can also step things up by coloring your die cuts. Today’s stunning watercolor fall creation is from the very talented Kassi Hulet. Let’s take a look at how a few layers of watercolor can take a simple pumpkin to a realistic one! Don’t worry if you aren’t a master watercolorist, this one is pretty simple and looks better if a bit streaky instead of smoothly blended!
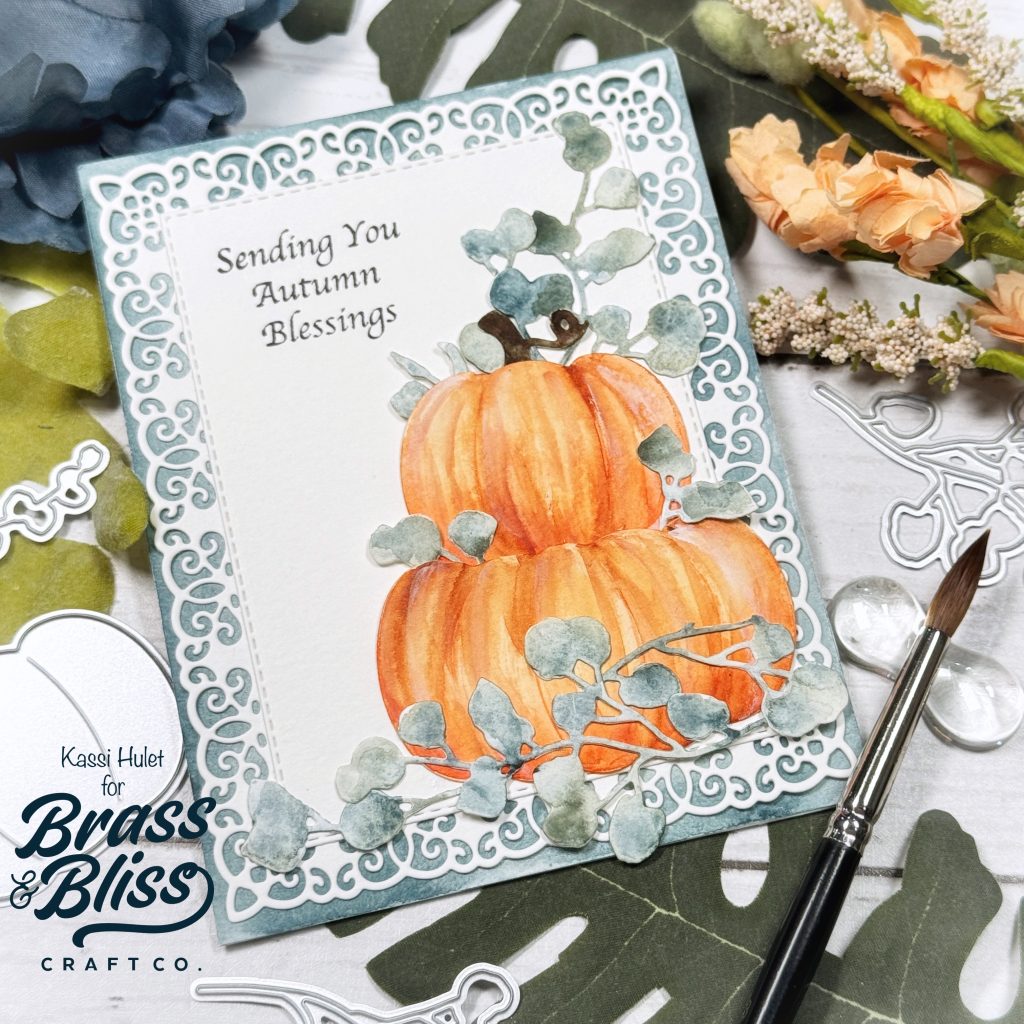
- Die cut 2 pumpkins from watercolor paper using 5919-05D Simply Pumpkin, and a bunch of branches using 5915-01D Eucalyptus Branch
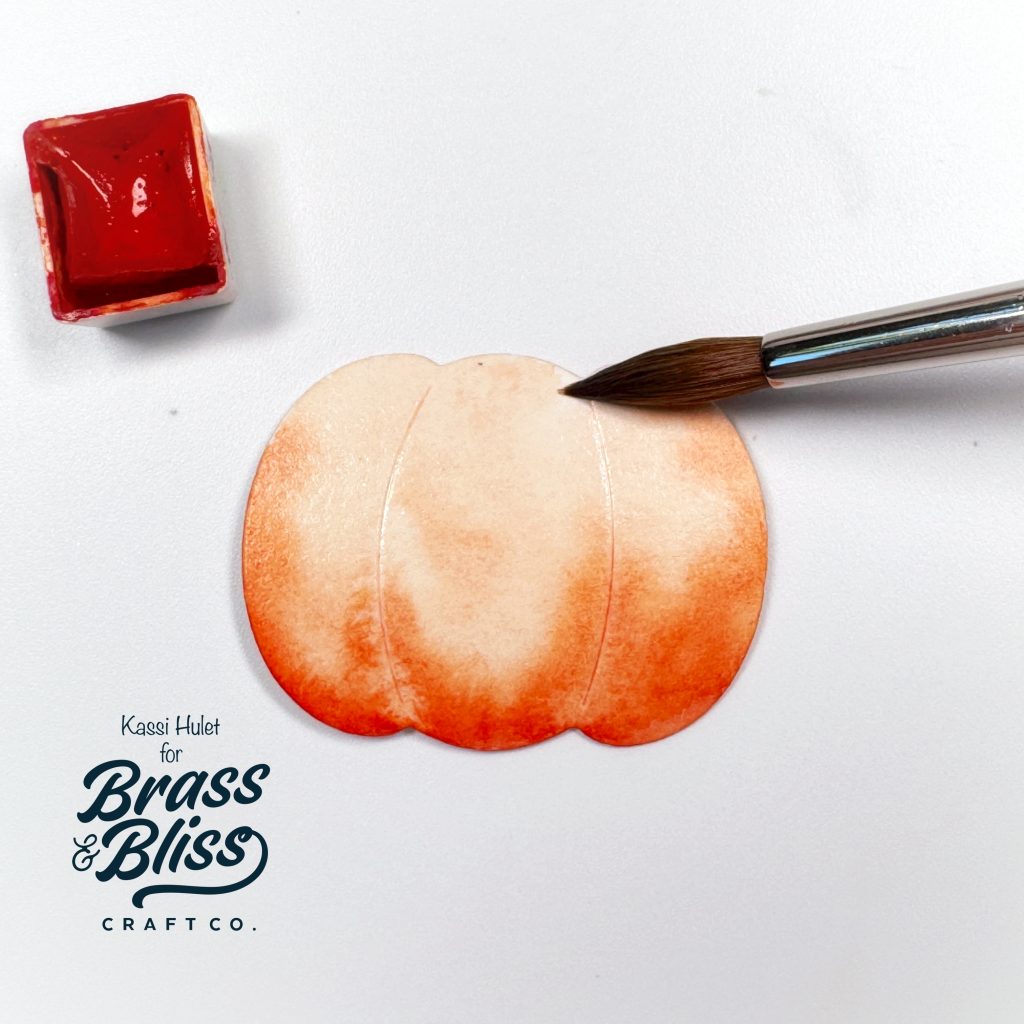
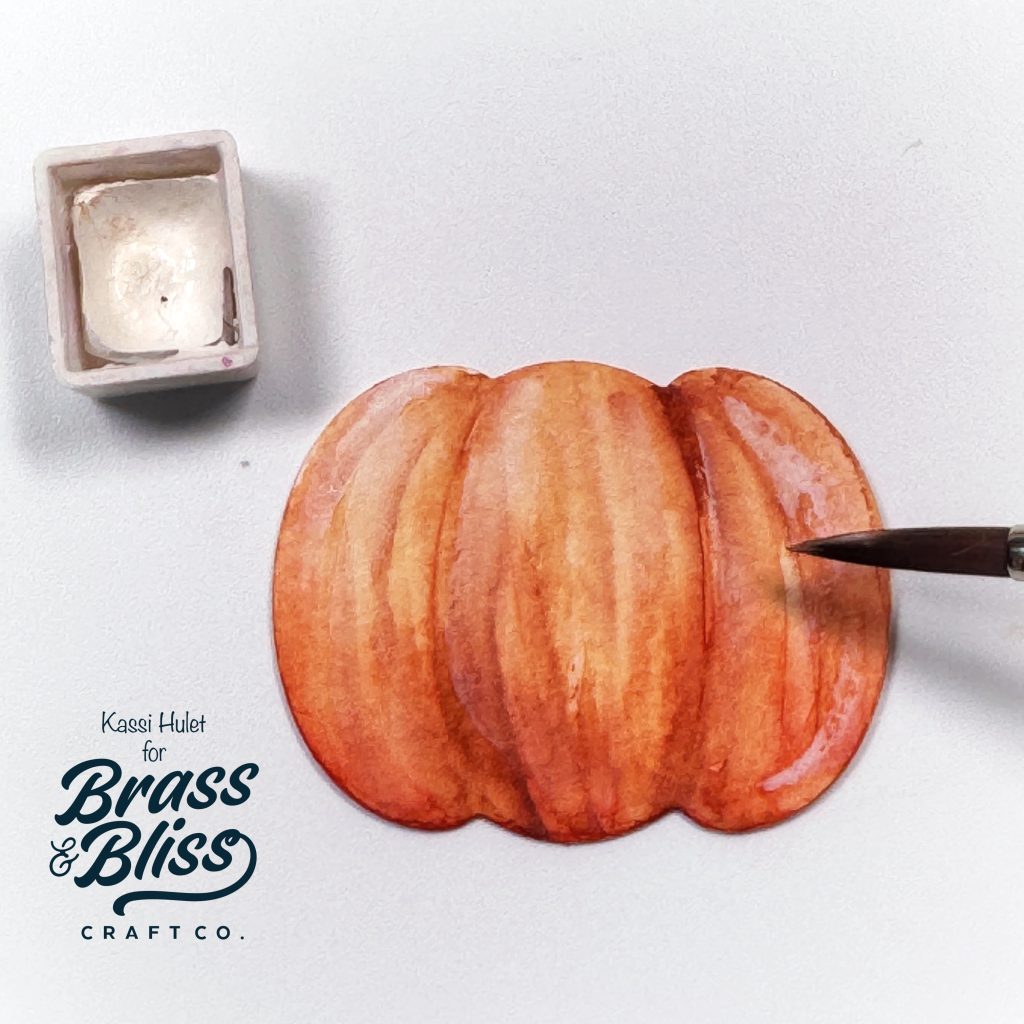
- Paint the pumpkins a base layer of color by adding dark paint to the bottom of the pumpkin, then using a clean damp brush to pull the paint up towards the top. You want to create a gradient so the bottom is darker than the top, rather than trying to get an even coverage of color. I’m using orange, but your pumpkins can be any color you want. Let dry
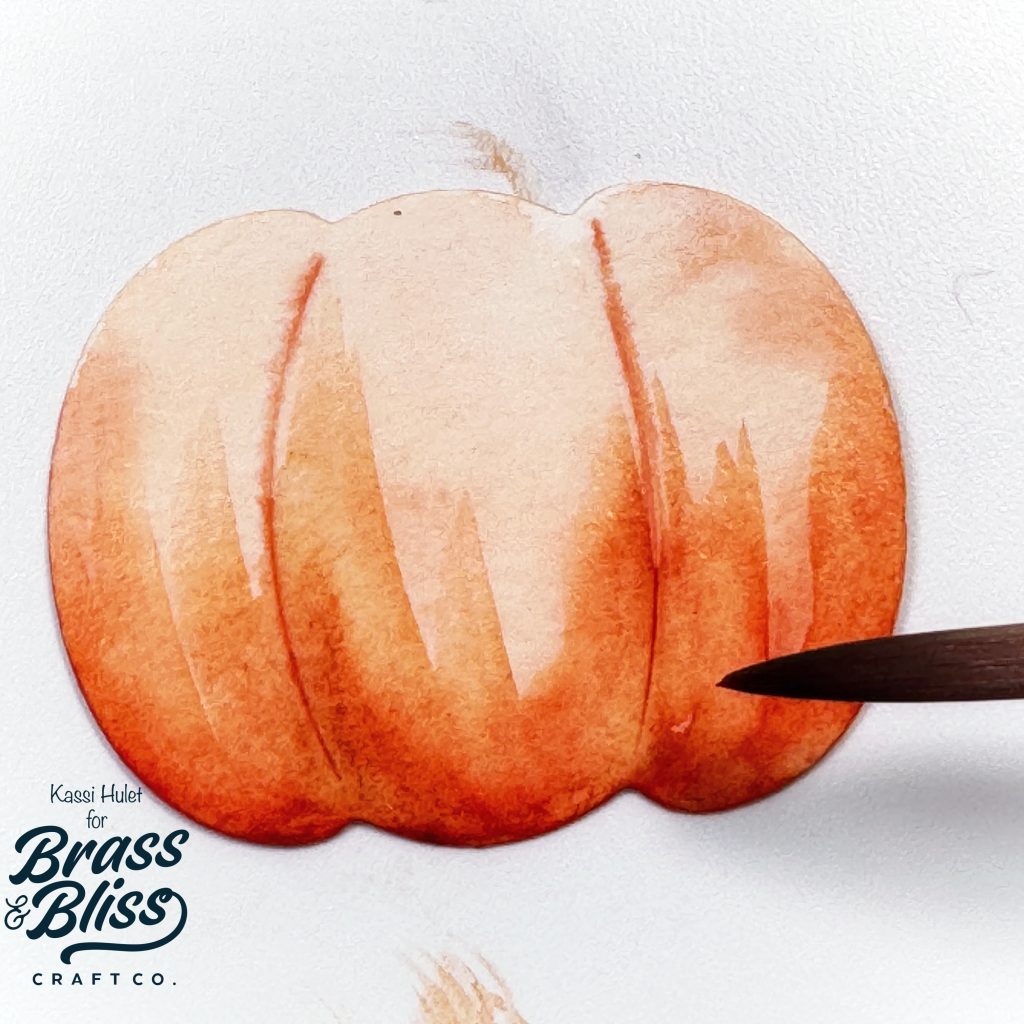
- Use a detail brush to trace the indented lines using a dark version of the base color. (Don’t worry if it isn’t perfect or if you don’t stay in the indents perfectly… this just helps establish the shape of the the segments)
- Add shadows with a darker orange (or whatever color your pumpkin is) by again adding the dark paint to the bottom and pulling it up. This time, don’t go all the way up, just a little way, and pull farther up along the segment lines. Also add a little bit of dark at the tops of each segment line and pull down
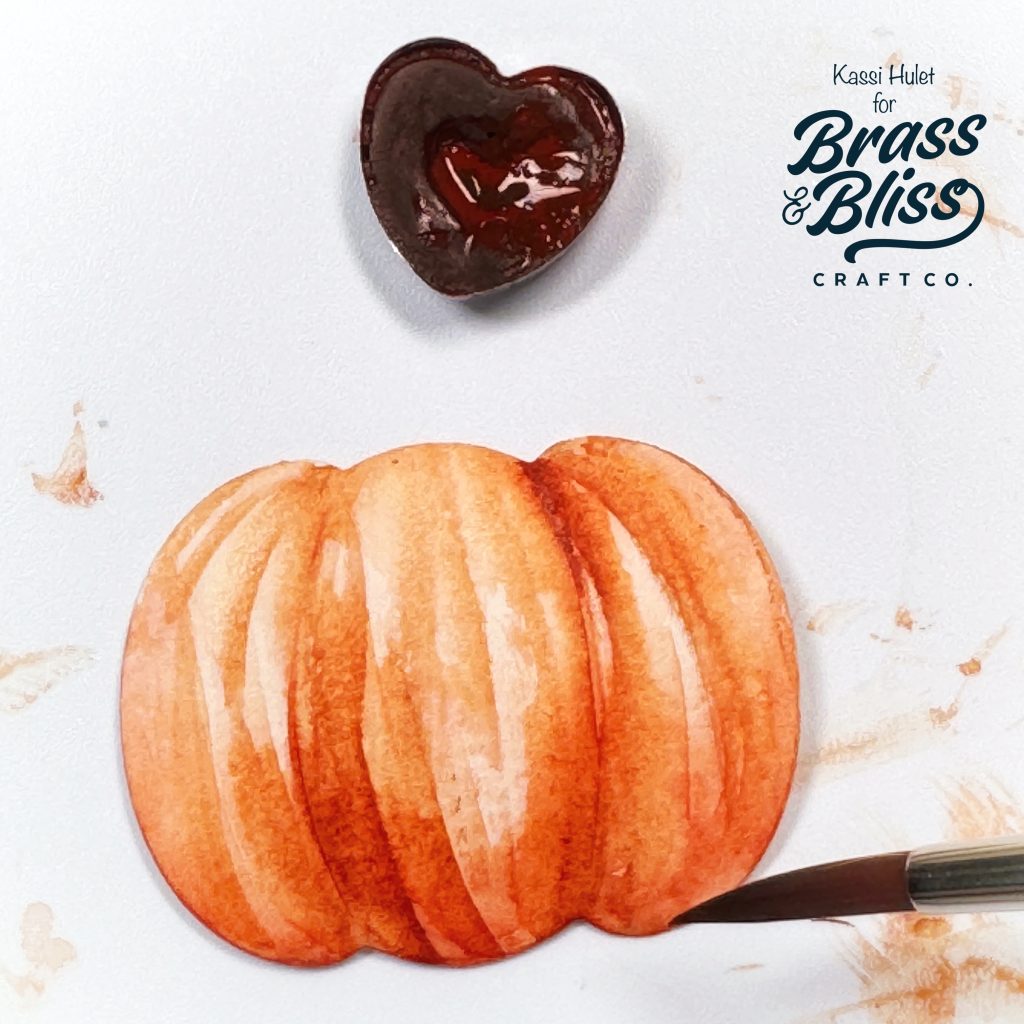
- Continue slowly building color with sketchy brush strokes following the shape of the segments. You don’t need to blend them. Let them be streaky. Let some areas be light, some dark. Keep the middles of each segment overall lighter than the bottom and edges. Let dry
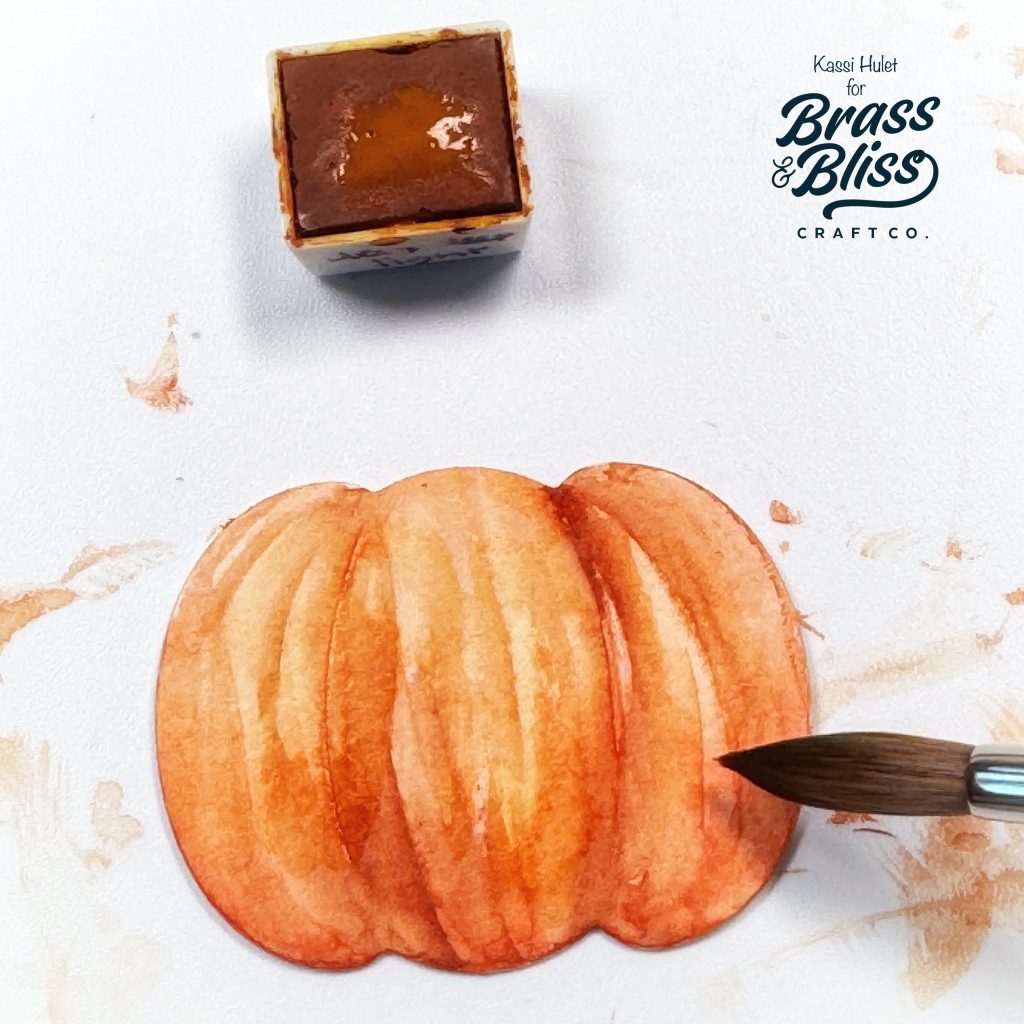
- Mix a watery light yellow and glaze the pumpkins. Don’t scrub, just a couple quick, light brush stroke over the pumpkin. This will warm up all the light areas of the pumpkin and make them look almost like they are glowing
- Add a few streaks of white gouache if desired for highlights
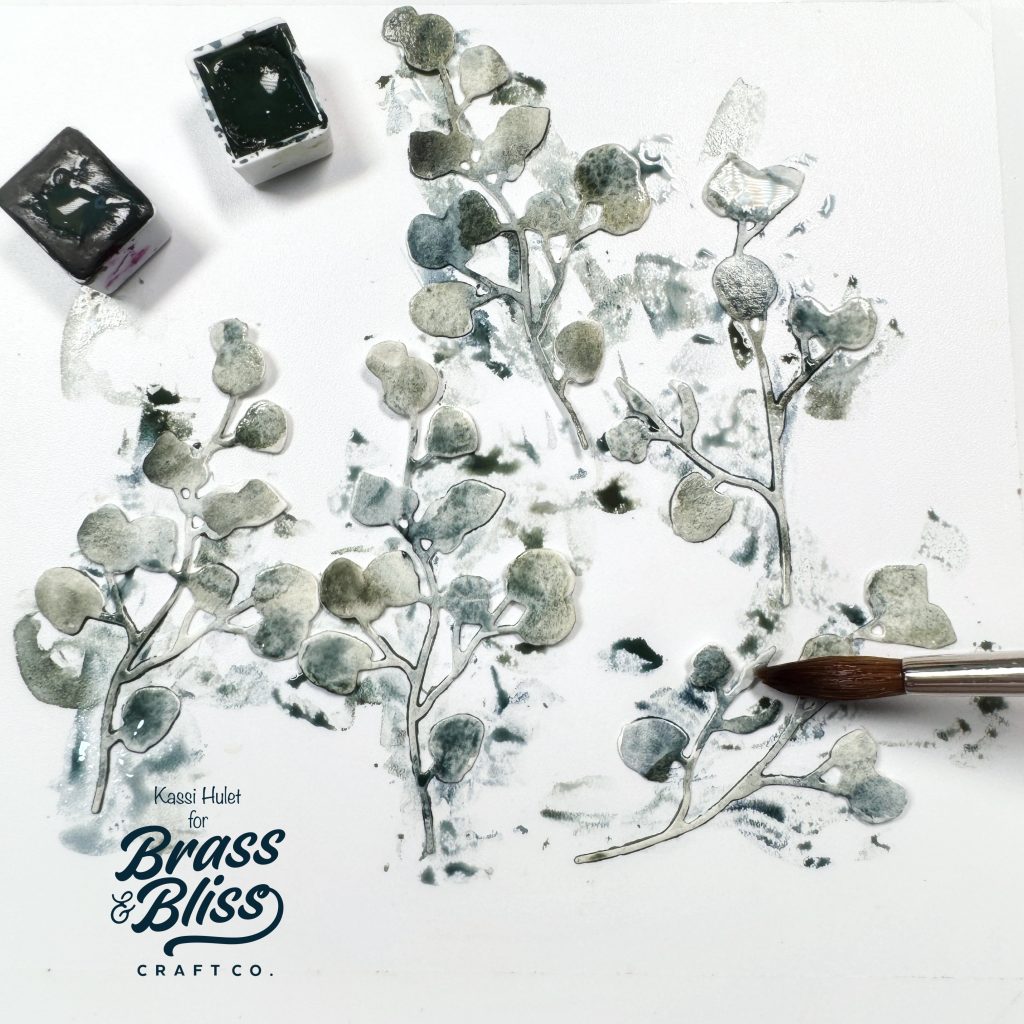
- Paint the eucalyptus branches by dabbing on a couple different shades of blue/green over the die cuts.. it’s messy and unpredictable, but it dries into a beautiful mottled coloring!
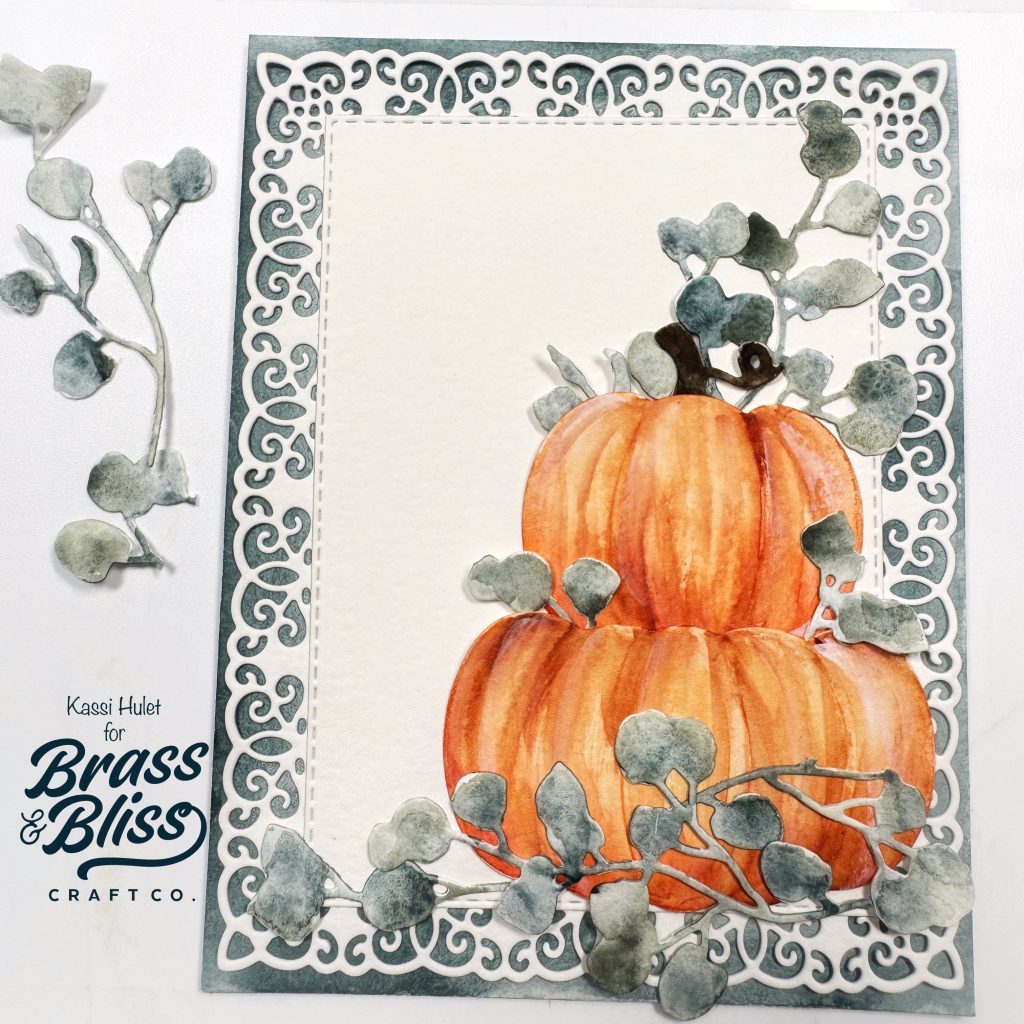
- Die cut a cream cardstock using 5939D Vintage Charm Nested
- Die cut another piece of cream cardstock using the 3rd largest rectangle from 5013D Nested Rectangle Sm Stitch
- Cut a piece of blue paper to 5.5″x4.25″
- Adhere blue panel to an A2 card base
- Adhere the fancy rectangle to card, then adhere the stitch rectangle to the center
- Adhere the pumpkins in a stack with eucalyptus intertwined as desired
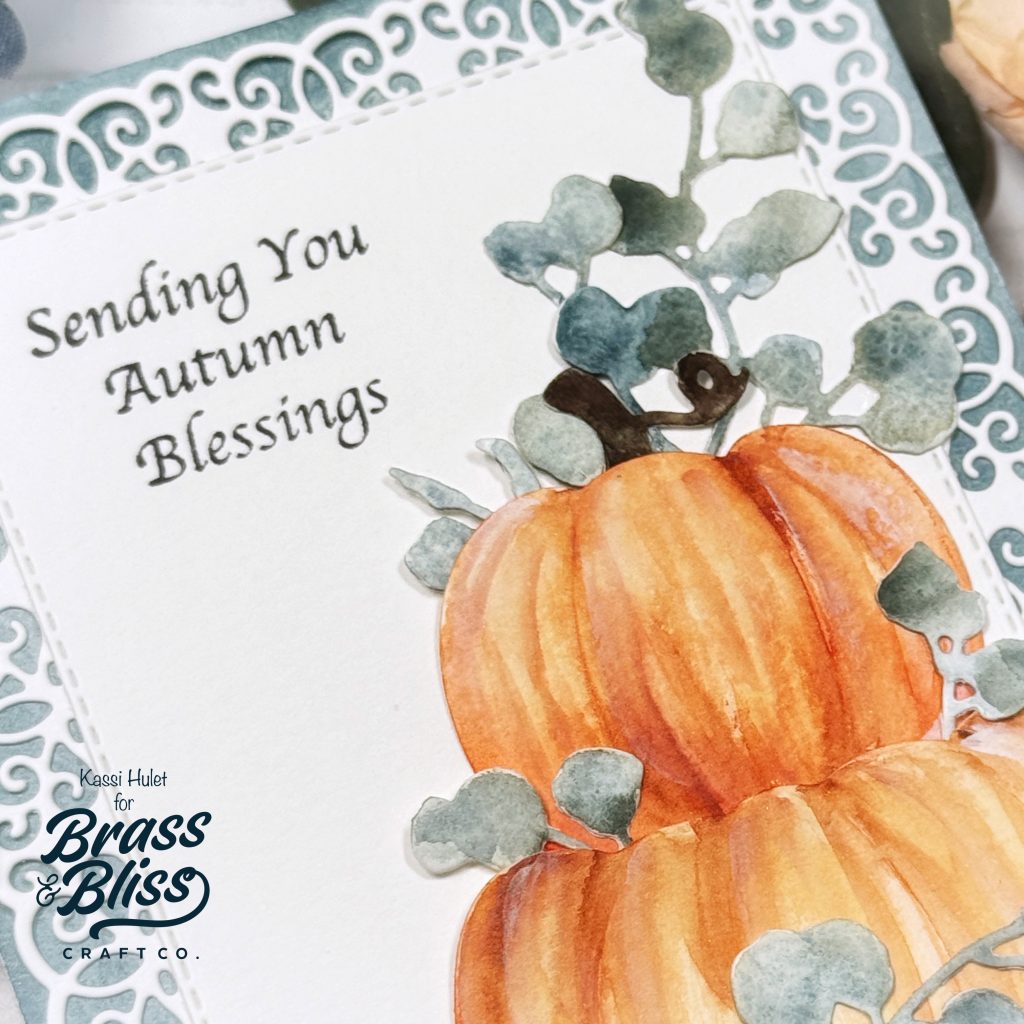
- Stamp the sentiment from 38045 Thankful Thoughts using Versafine Clair Nocturne ink
Supplies used:
- 5919-05D Simply Pumpkin
- 5915-01D Eucalyptus Branch
- 5939D Vintage Charm Nested
- 38045 Thankful Thoughts
- VersaFine Clair Nocturne