
Maximize those stencils for a fresh look, giving a different vibe to your handmade cards.
Today our designer Shelly is sharing a simple holiday card using a fun ‘reverse stenciling’ technique. If you have never heard of reverse stenciling or tried reverse stenciling, it’s so fun and super easy. We love how this technique made her card feel more rustic and fun and her bright color palette really made this card pop! Follow along as Shelly shows us how to reverse stencil your card backgrounds.
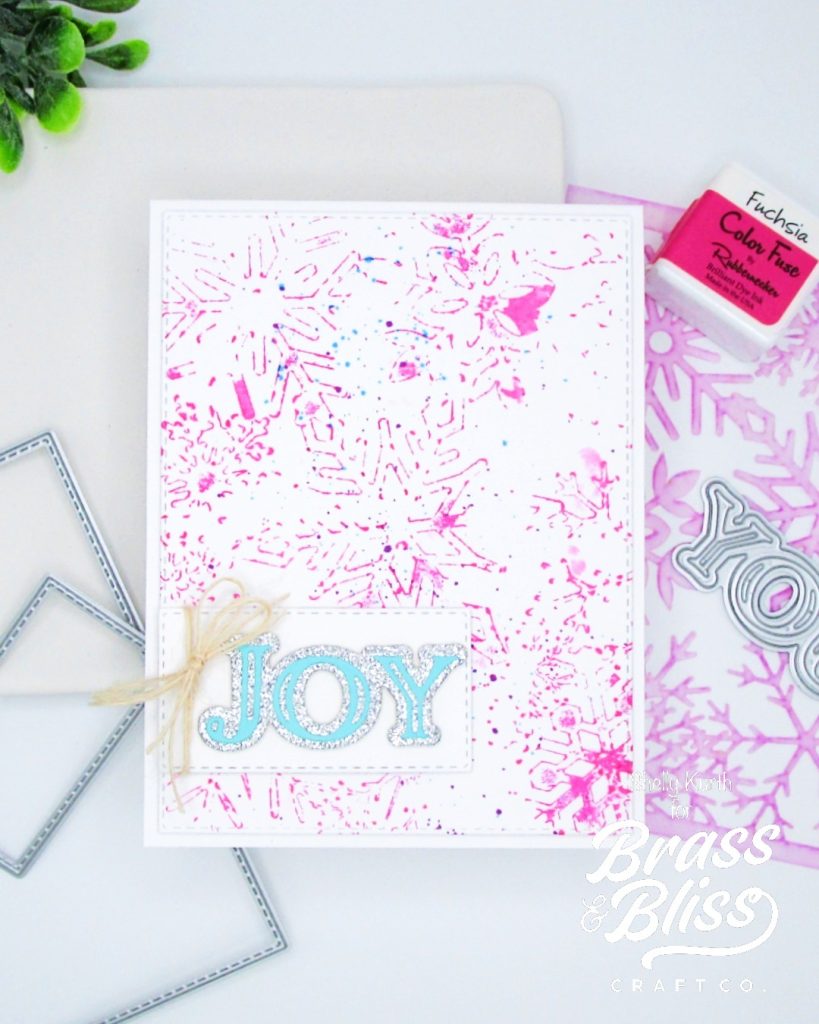
- Start with white cardstock and the 4123 Snowflake stencil, along with Color Fuse Iink in Fuchsia.
- Ink up the stencil using the ink pad (directly onto the stencil).
- Spritz lightly with a little bit of water.
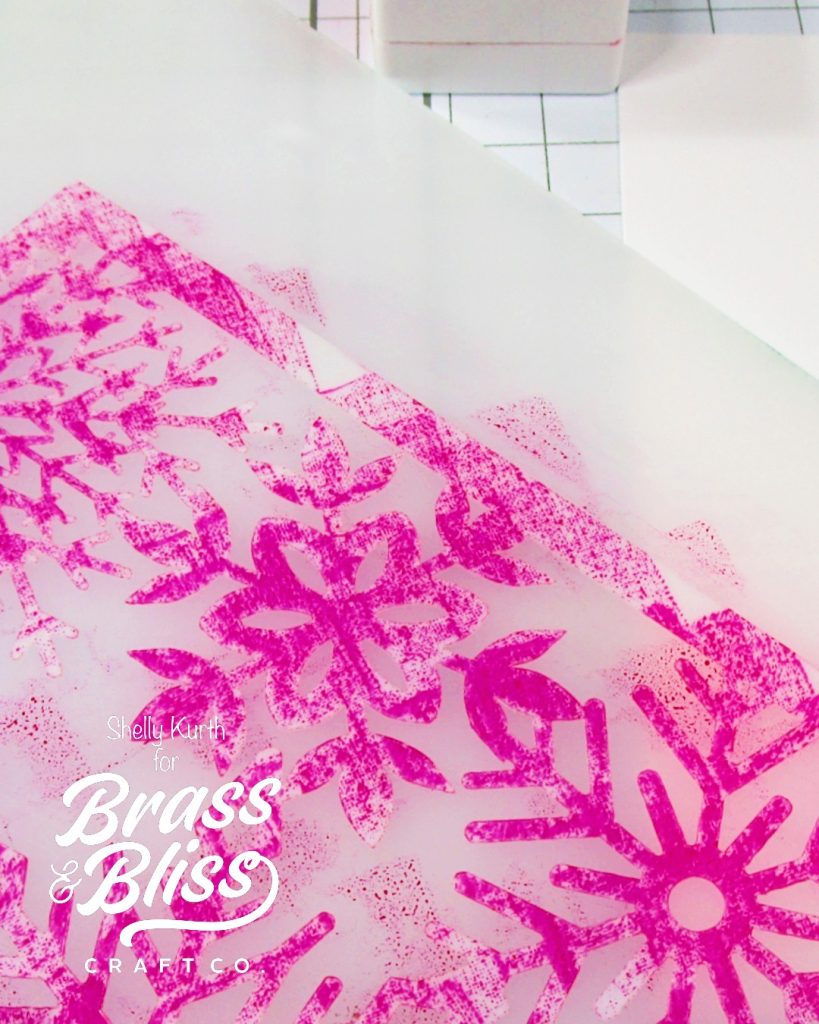
- Press onto cardstock, be sure to press firmly all over the stencil.
- Remove stencil and let dry.
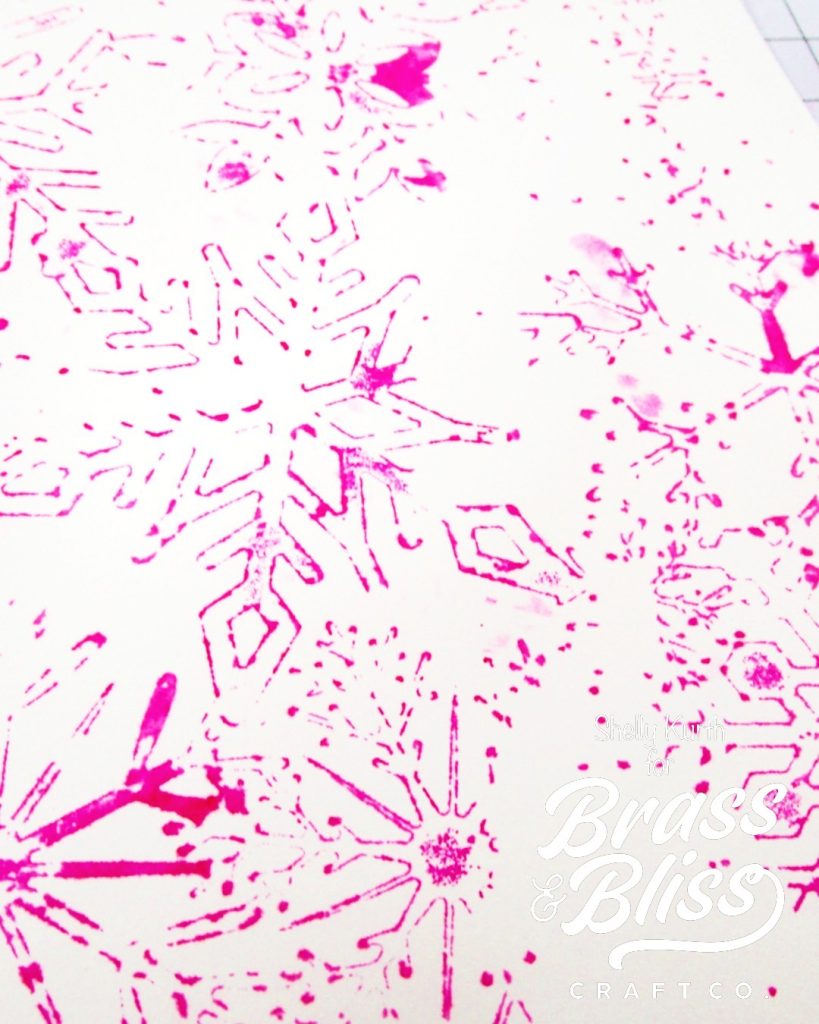
- Using watercolor paint or inks in blue and purple colors, add paint splatters to the dried snowflake panel.
- Let dry.
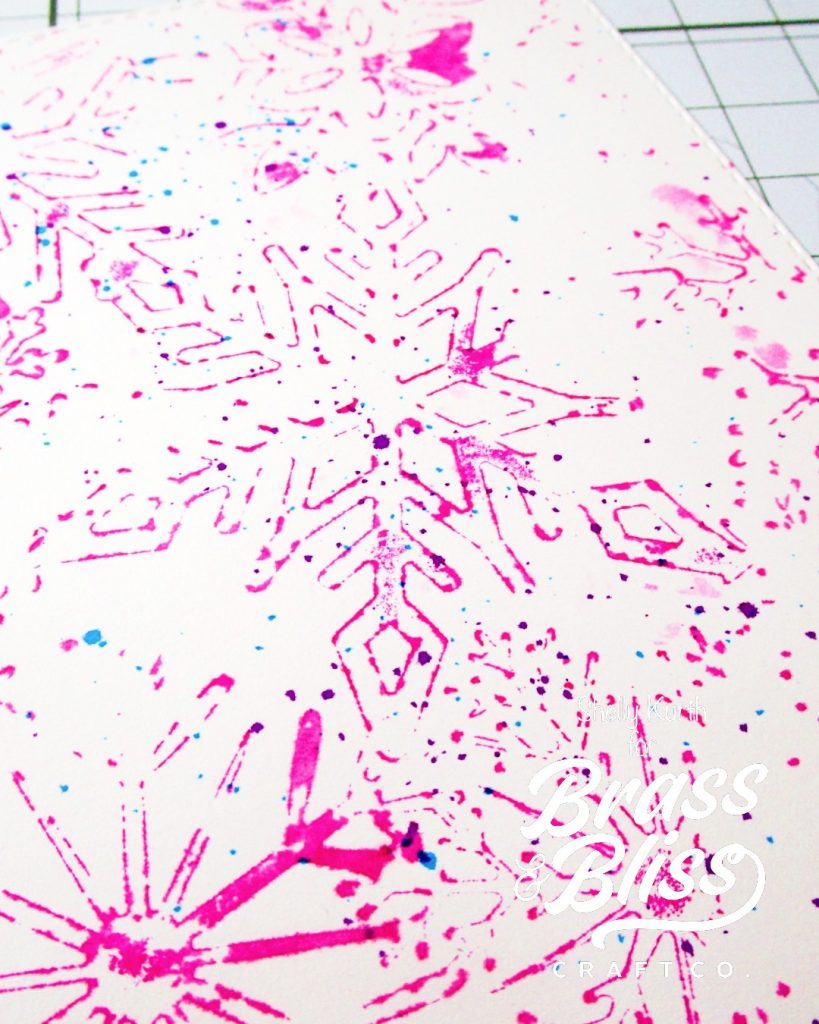
- Die cut the dried panel using the 5013D Nested Rectangle Small Stitch die set. (use the largest die)
- Set aside.
- Take a piece of white cardstock and use the smallest die from the 5013D Nested Rectangle Small Stitch die set.
- Set aside.
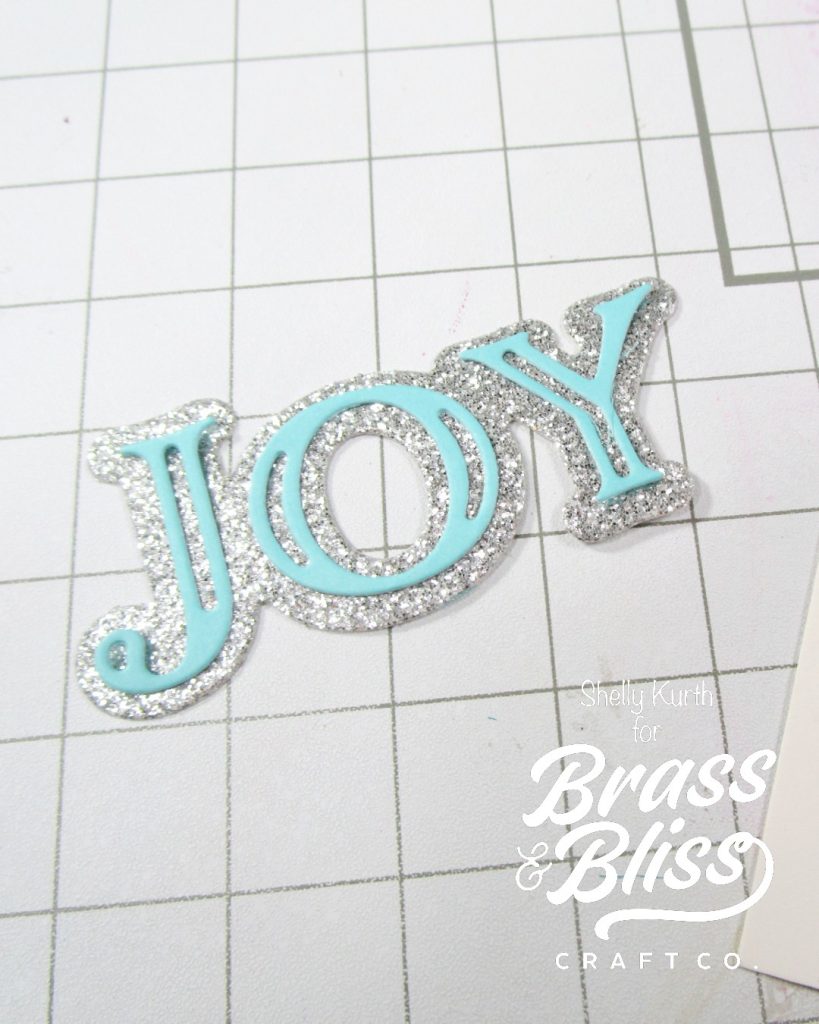
- Take a silver glitter cardstock as well and a light aqua/blue cardstock and use with the 5826-03D Joy Vertical & Horizontal die.
- Adhere joy die cut pieces together.
- Set aside.
- Adhere die cut snowflake panel to a white cardbase.
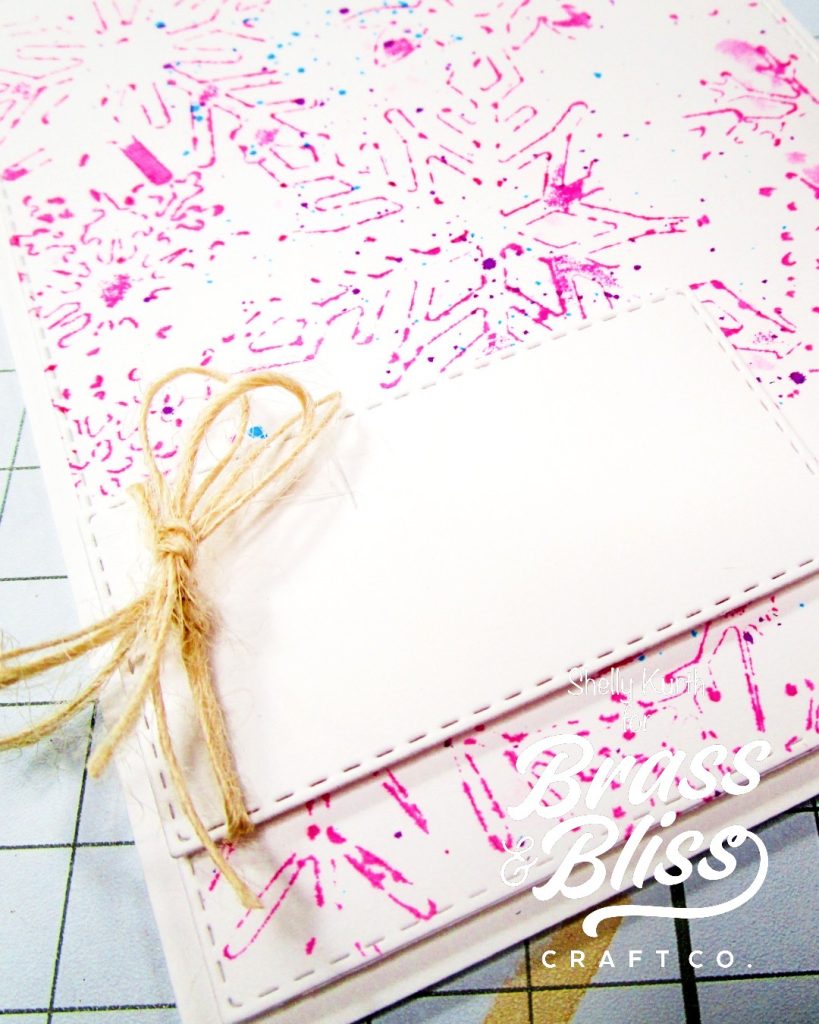
- Take the small rectangle die cut piece and adhere with foam tape to the card.
- Add burlap twine around the rectangle and tie into a bow.
- Adhere the ‘joy’ to the small rectangle on card with foam tape on the back.
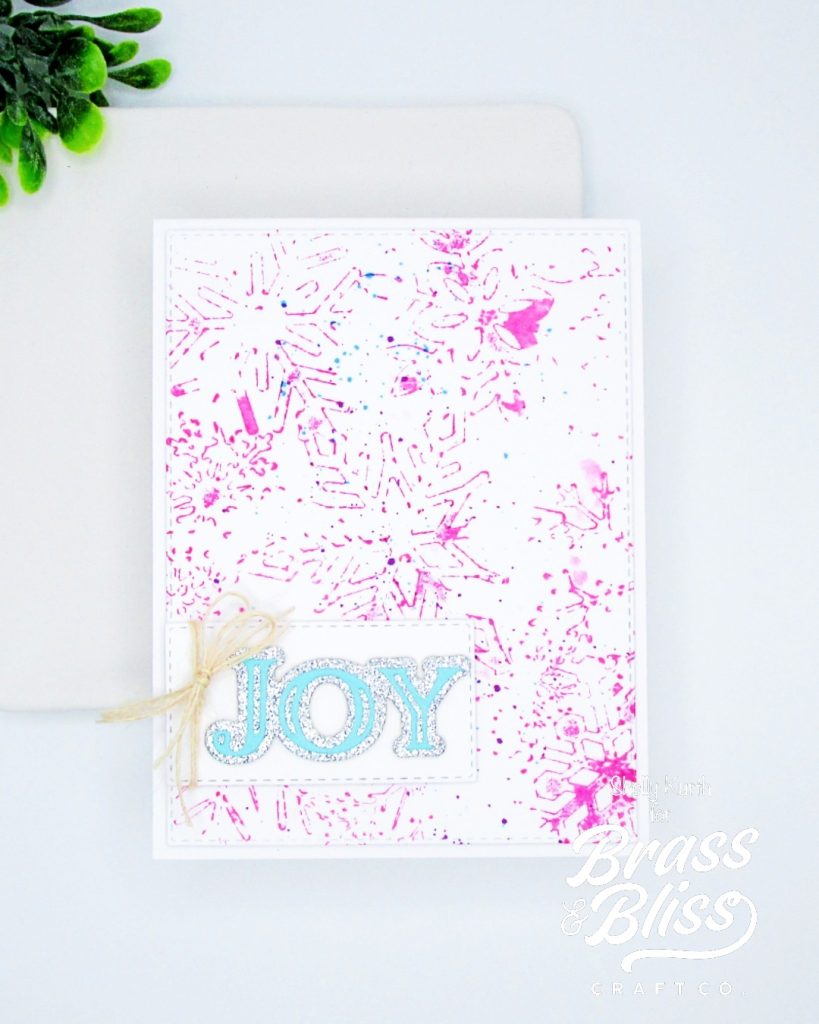
Products used: 4123 Snowflake stencil, 5013D Nested Rectangle Small Stitch die set, 5826-03D Joy Vertical & Horizontal die, Color Fuse Ink Set #5 (Fuchsia).