Check out this fun poinsettia inspiration with a bit of sparkle mixed in.
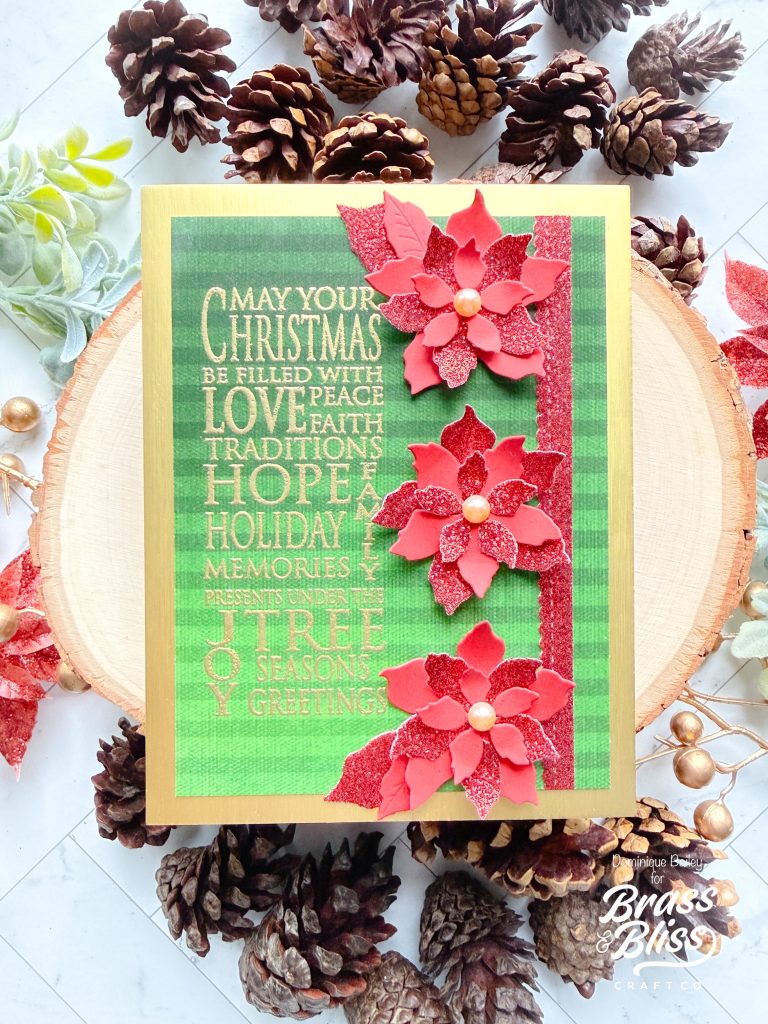
Today’s design is from Dominique who is bringing the glitter with these awesome poinsettia design for the holidays. They frame this large sentiment from our “Christmas Cheer” set, and we love how it looks embossed in Gold. Follow along as Dominique shows us how to recreate this festive card from home.
- Choose your main panel
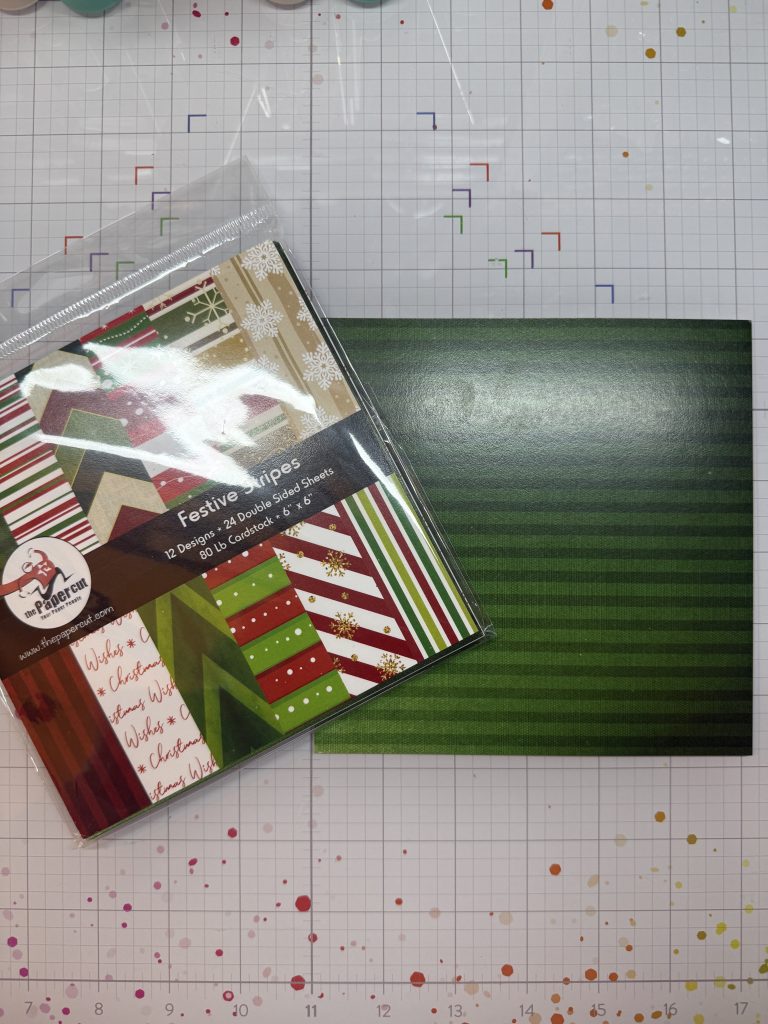
- Select a sheet of patterned paper for the card front. I used the green striped design from The Papercut Festive Stripes Paper Pack by The Papercut. Trim it to [insert size]
- Create the frame
- Pick a coordinating cardstock to frame the panel. I chose antique gold cardstock and cut it to 4 1/4″ x 5 1/2″.
- Die‑cut the poinsettias
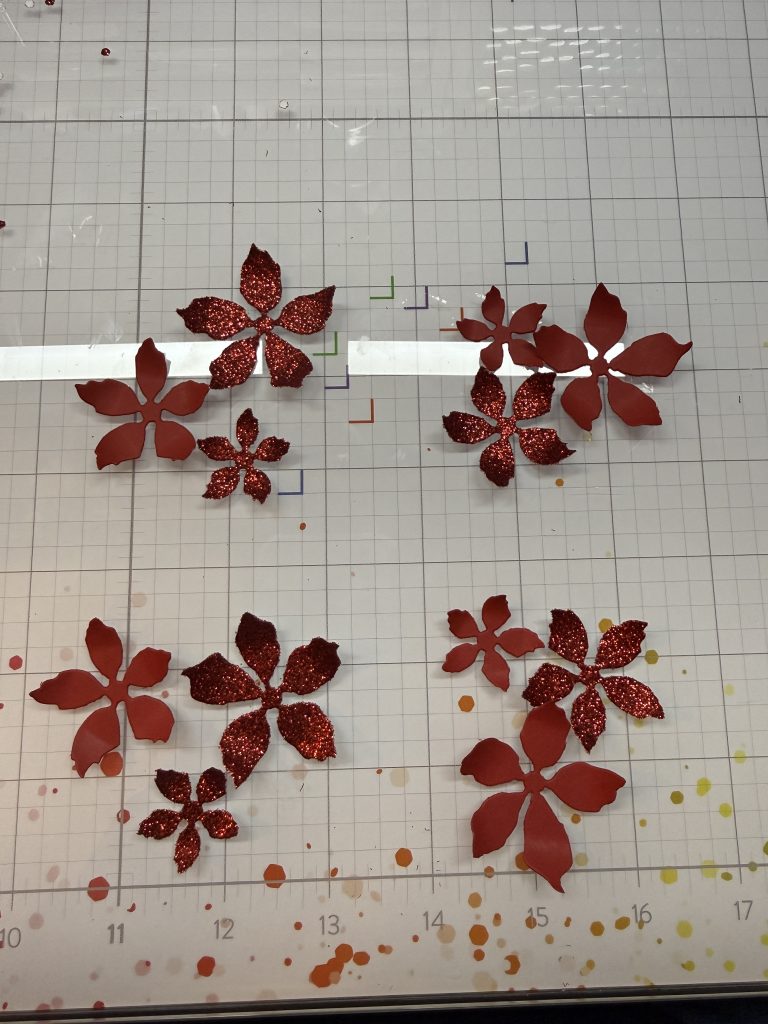
- Using the 5514-07D Buildable Poinsettia Die, die cut flowers from both flat red cardstock and glitter red cardstock.
- Assemble the flowers
- Layer the die‑cut pieces to build your poinsettias. Add a pearl embellishment in the center for extra detail.
- Add a decorative border
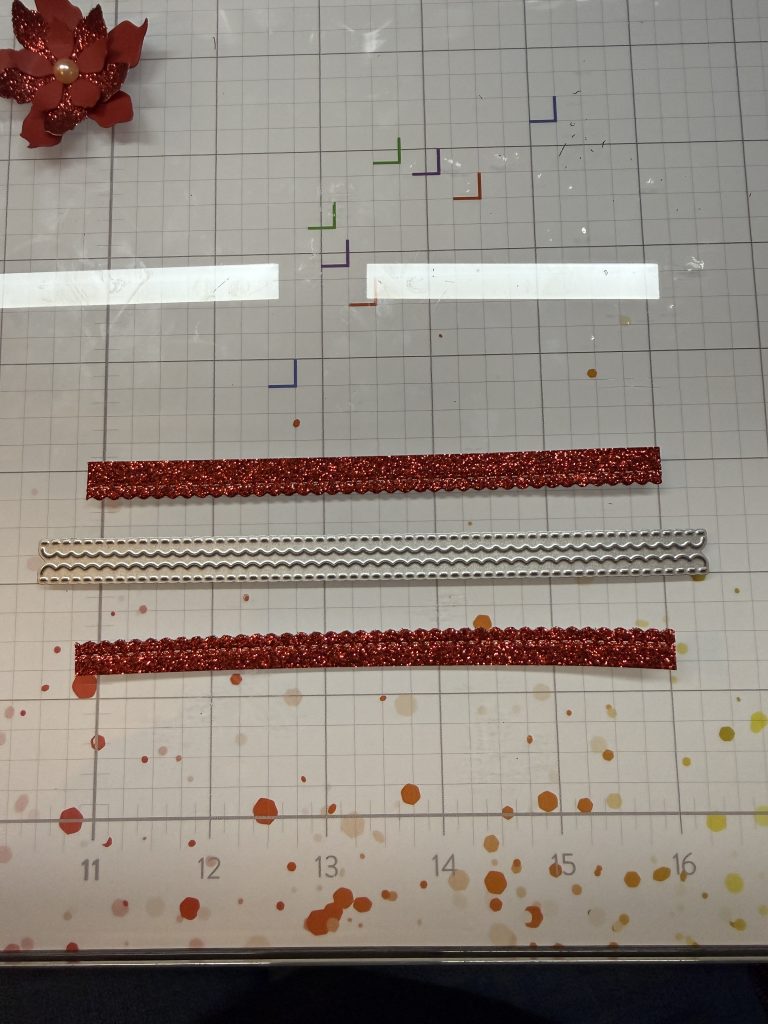
- Using the red glitter cardstock, die‑cut the scalloped edge using the 5807-01D Classic Edge Cute Dies.
- Prepare your sentiment
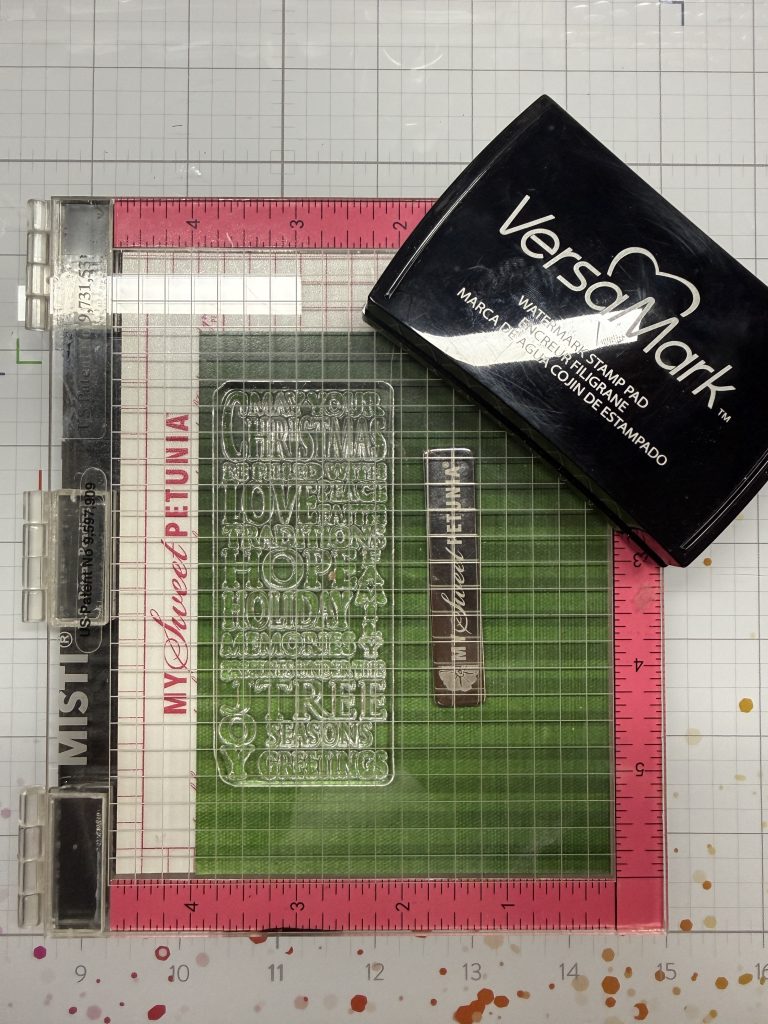
- Select a greeting stamp. I used “May Your Christmas Be Filled With Love” from the 3424 Christmas Cheer Set.
- Stamp and emboss
- Place the patterned panel in your stamp repositioner.
- Position the sentiment stamp and close the lid to secure it.
- Treat the paper with antistatic powder.
- Ink the stamp with clear ink (such as VersaMark).
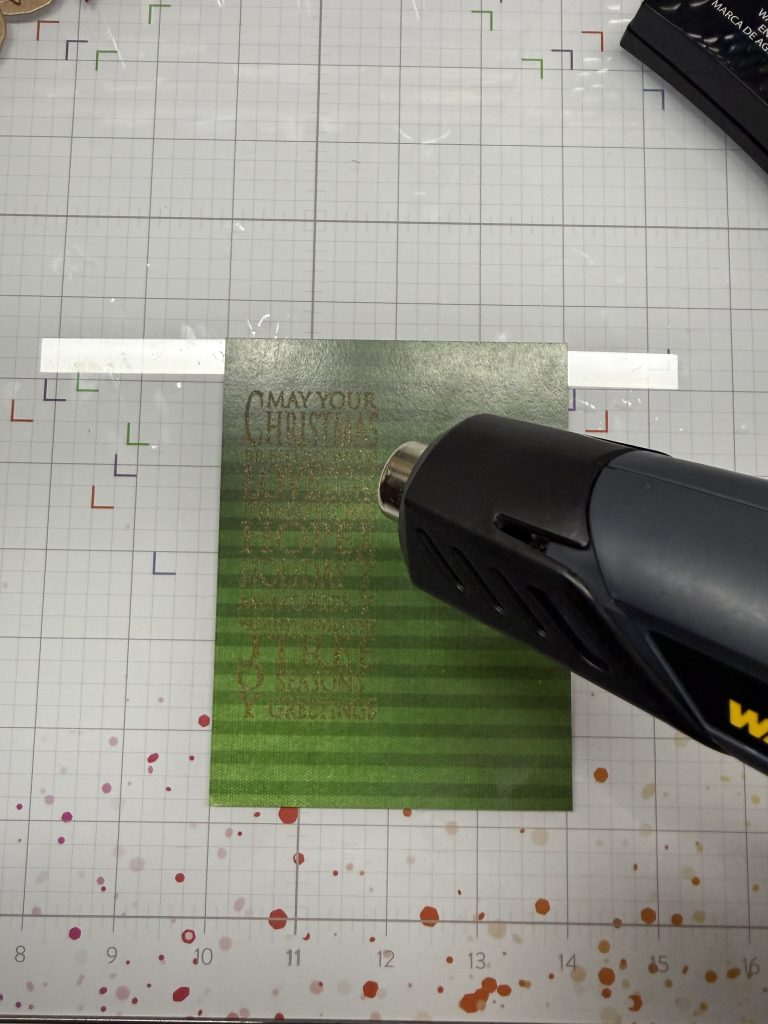
- Remove the panel, sprinkle antique gold embossing powder, and heat set with a heat tool.
- Final assembly
- Once the embossing has cooled, layer all your elements together to complete the card.