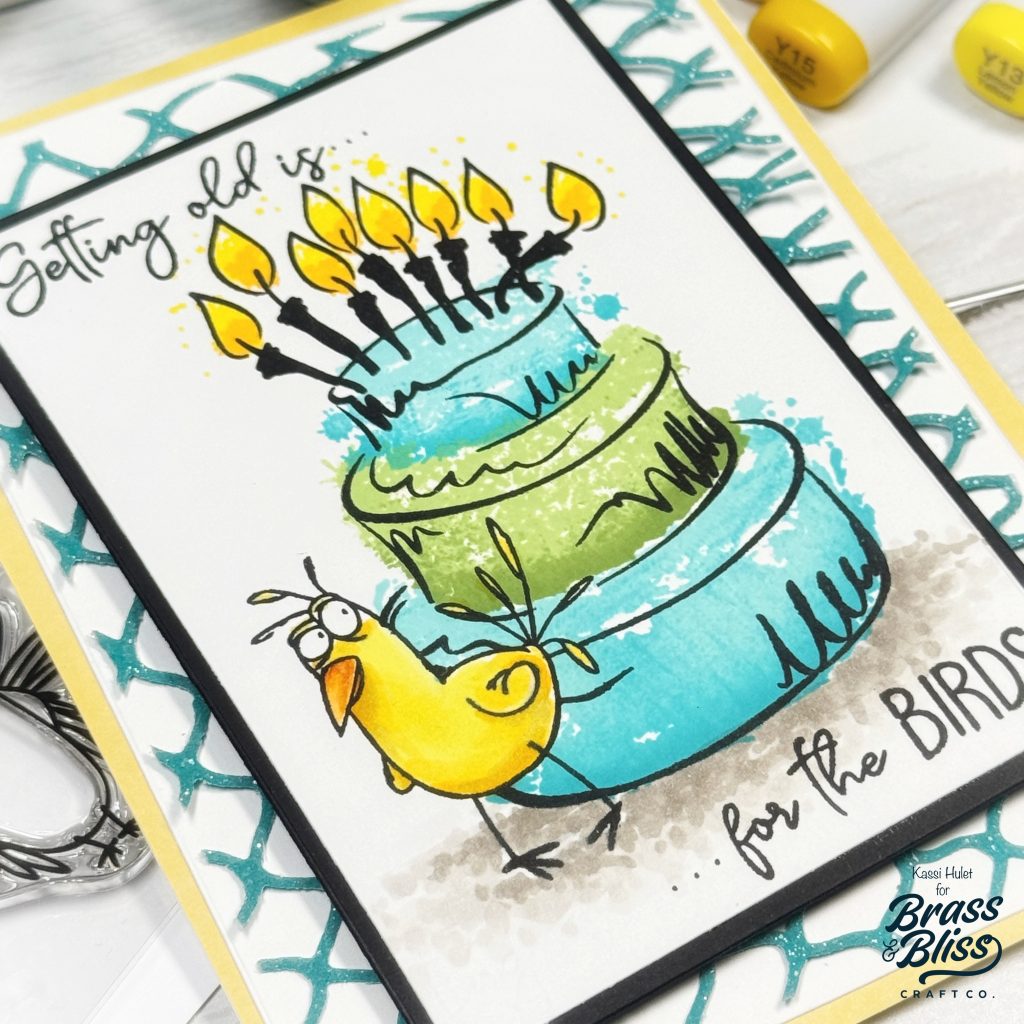
This awesome Watercolor Birthday Cake stamp is an awesome statement piece for your birthday card designs, giving a fun watercolor effect with your favorite inks!
Today we have this colorful birthday card from our designer, Kassi. Kassi said, “Making birthday cards for my nephews can be a bit challenging, but these adorable birds add just the right touch of humor!” We love how she masked off the bird stamp and coordinated it so perfectly with the watercolor cake and netting cover die, for a themed card that absolutely delights! Follow along with these easy steps to recreate this card on your own!
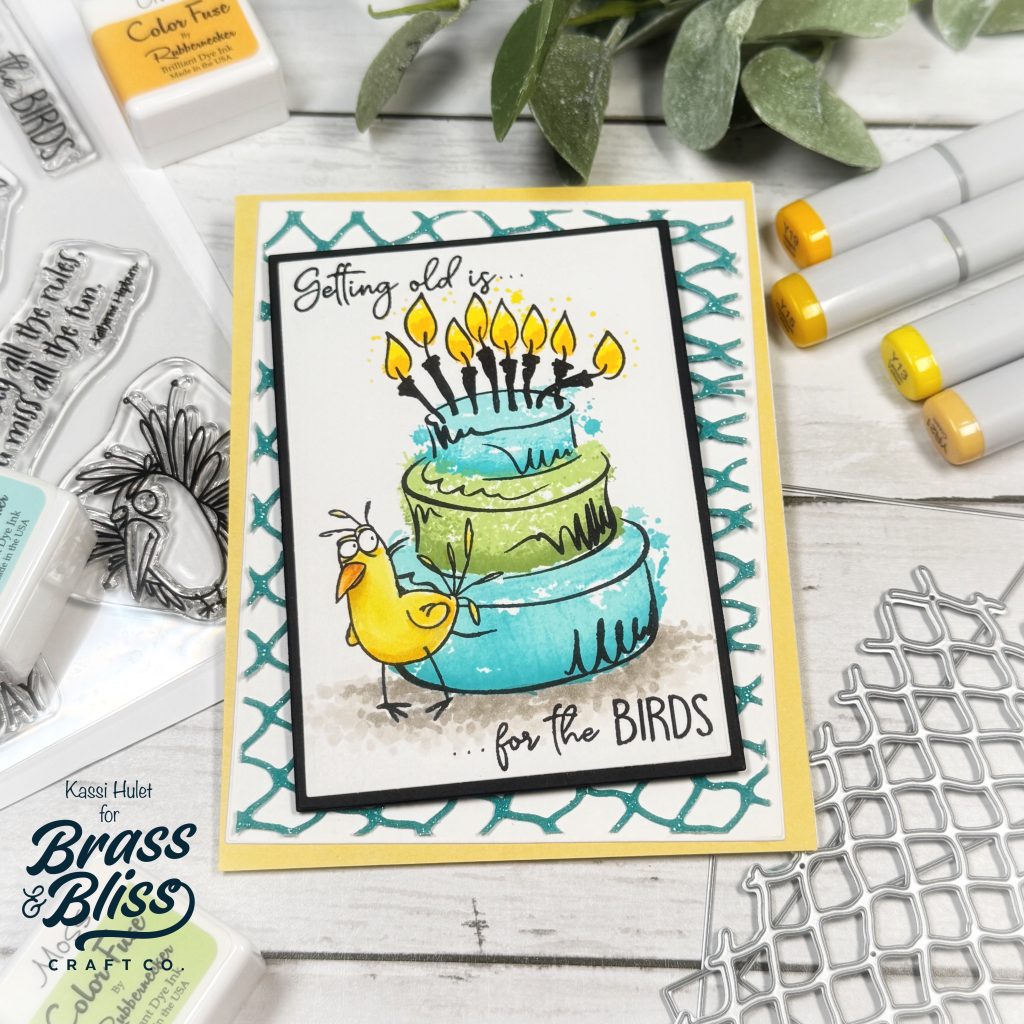
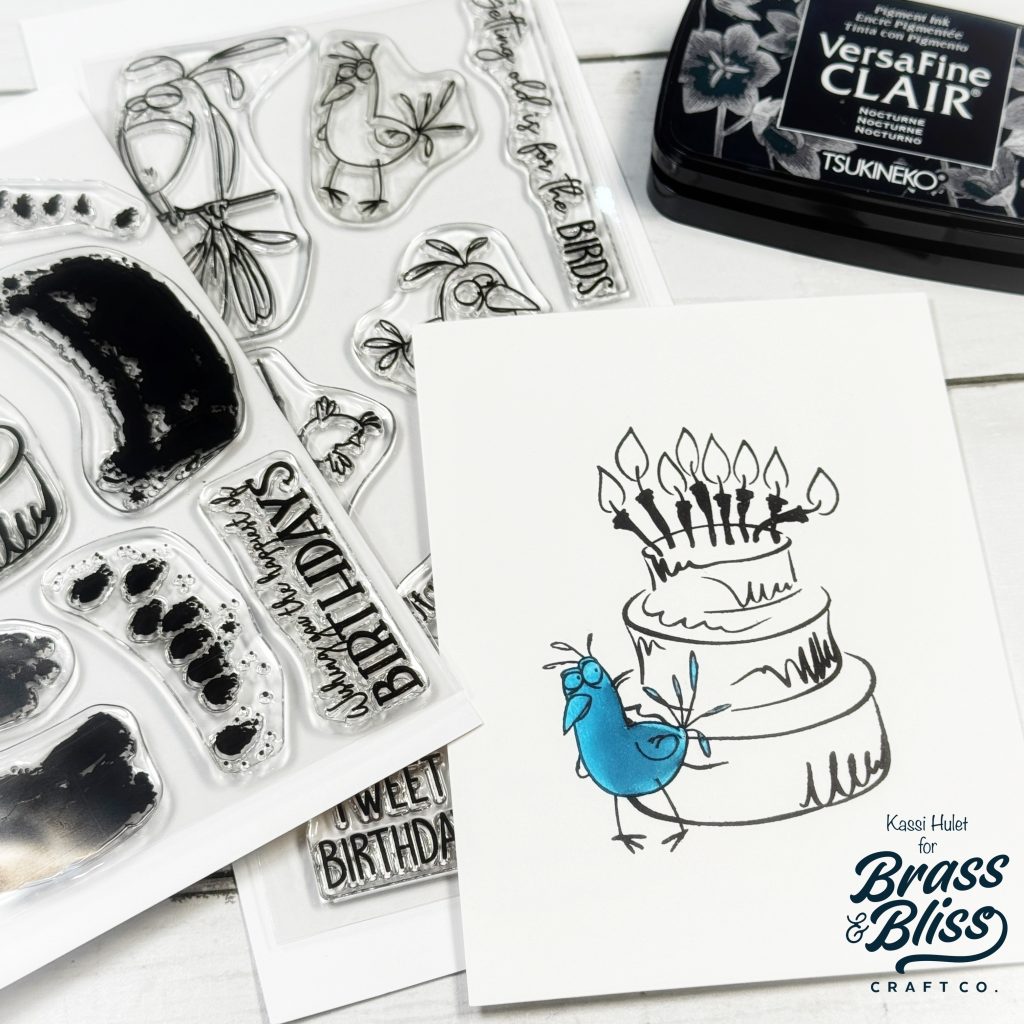
- Stamp and mask a bird from the 3421 Birds- 4×8 stamp set on white cardstock using Tuskineko- Versafine Clair-ink pad-Nocturne.
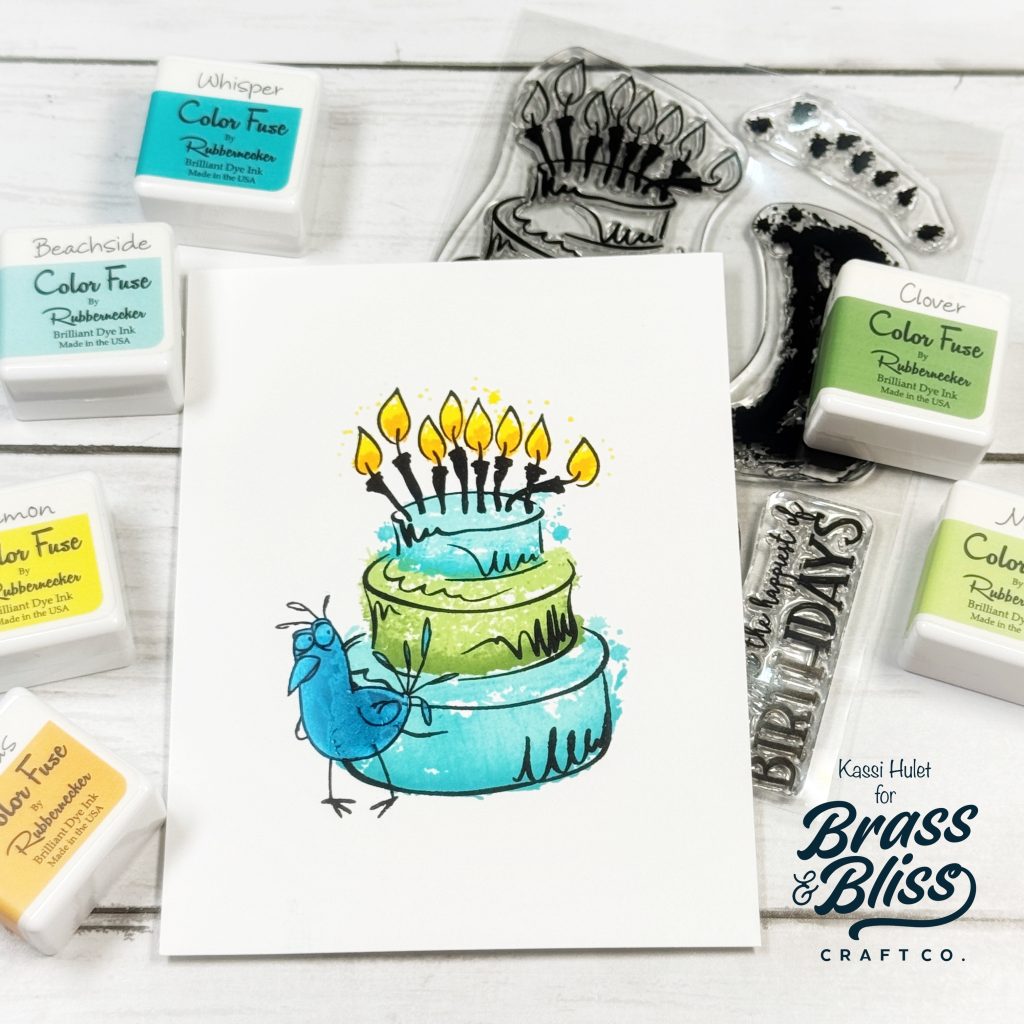
- Stamp the cake from 35042 Watercolor Birthday Cake- 4×6 stamp set using Tuskineko- Versafine Clair-ink pad-Nocturne.
- Stamp the layers of the cake using 2 colors for each layer. To do this, ink the layer stamp with the lighter ink color first, then gently tap on a little of the darker color near the bottom edge of the stamp. I used Beachside and Whisper (Color fuse set #9) and Moss and Clover (Color Fuse set #10).
- Stamp the flames using Lemon (Color Fuse set #1) and Citrus (Color Fuse set #2).
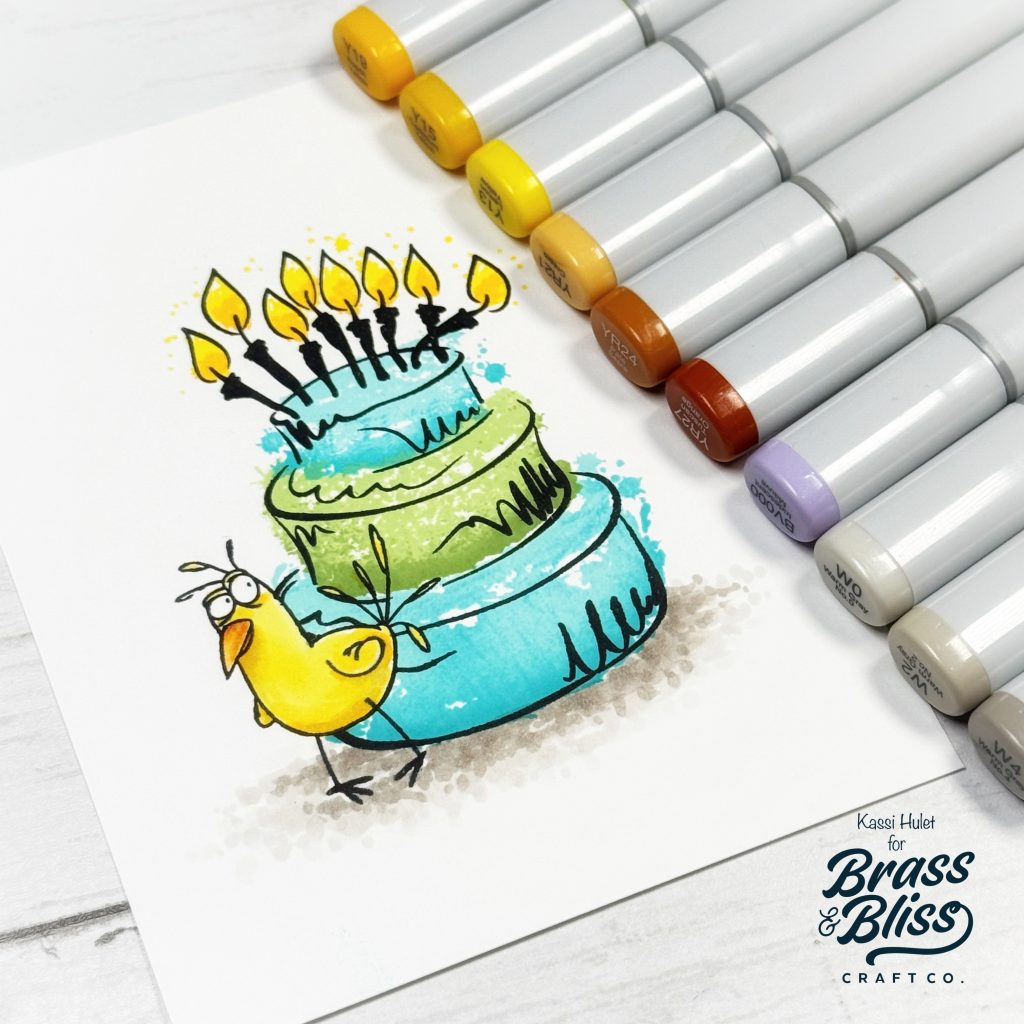
- Color the bird and ground using alcohol markers. I used Copics Y13, YY15, Y19, YR21, YR24, YR27, BV000, W0, W2, W4.
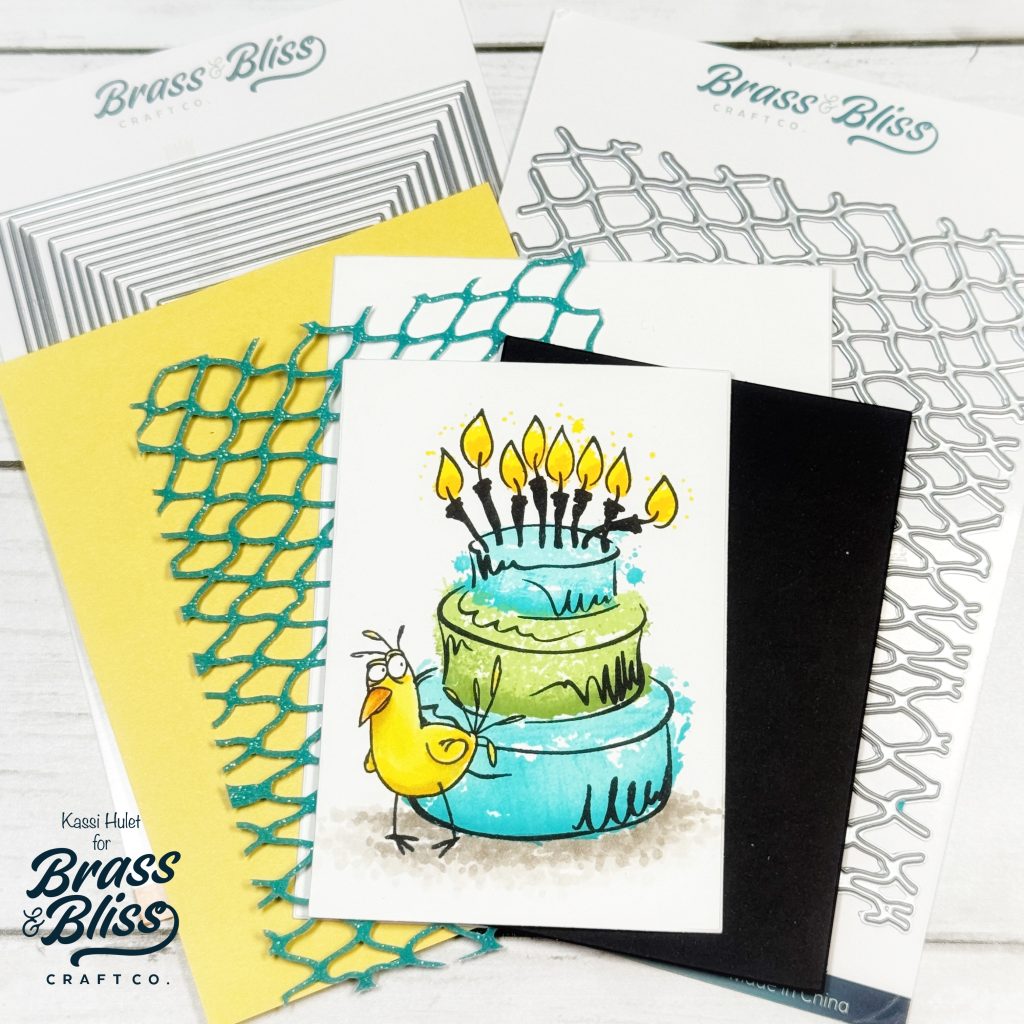
- Die Cut the stamped panel with 6th largest die from the 5003D Nested Rectangle die set.
- Die cut black cardstock using the 5th largest die from the 5003D Nested Rectangle die set.
- Die cut white cardstock using the largest die from the 5003D Nested Rectangle die set
- Die cut sparkly teal cardstock using the 5916-01D Nettting Cover die.
- Cut yellow cardstock panel to 4.25″ x 5.5″ (A2 card front size).
- Stamp the sentiment from the 3421 Birds- 4×8 stamp set on the stamped panel using Tuskineko- Versafine Clair-ink pad-Nocturne. I stamped the first half of the sentiment at the top of the panel and the second half of the sentiment at the bottom of the panel. I then used a black pen to add in the ellipses.
- Adhere the yellow panel to the front of an A2 card base.
- Adhere the large white rectangle to the card front at an angle. Lay the teal netting die cut over the white rectangle (no need to glue it down yet).
- Adhere the stamped panel to the black rectangle.
- Adhere the matted stamped panel to the card front over the netting using foam tape- this should also secure the netting to the card without any mess.