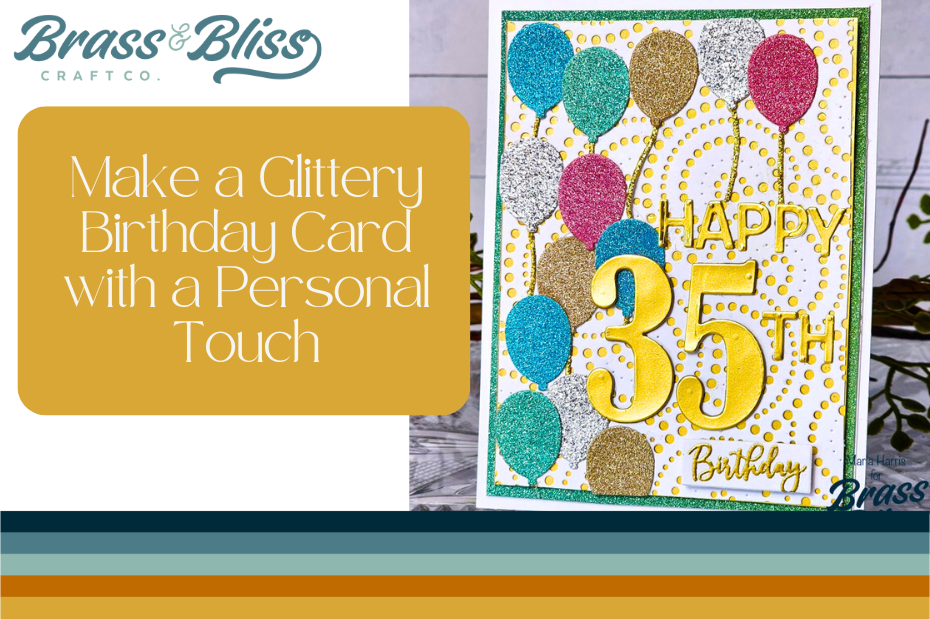
Personalize those cards with bold number dies and make them sparkle with all the glitter paper for card creation that dazzles.
Today, we have another birthday card for you. This one has more of a personal touch. Marla has brought the sparkle to today’s design and we are obsessed. If you thought you didn’t need our Class of w/Numbers die, you were mistaken. This bold number die was created with graduations in mind but is also perfect for commemorating birthdays and anniversaries. Let’s check out Marla’s birthday card tutorial.
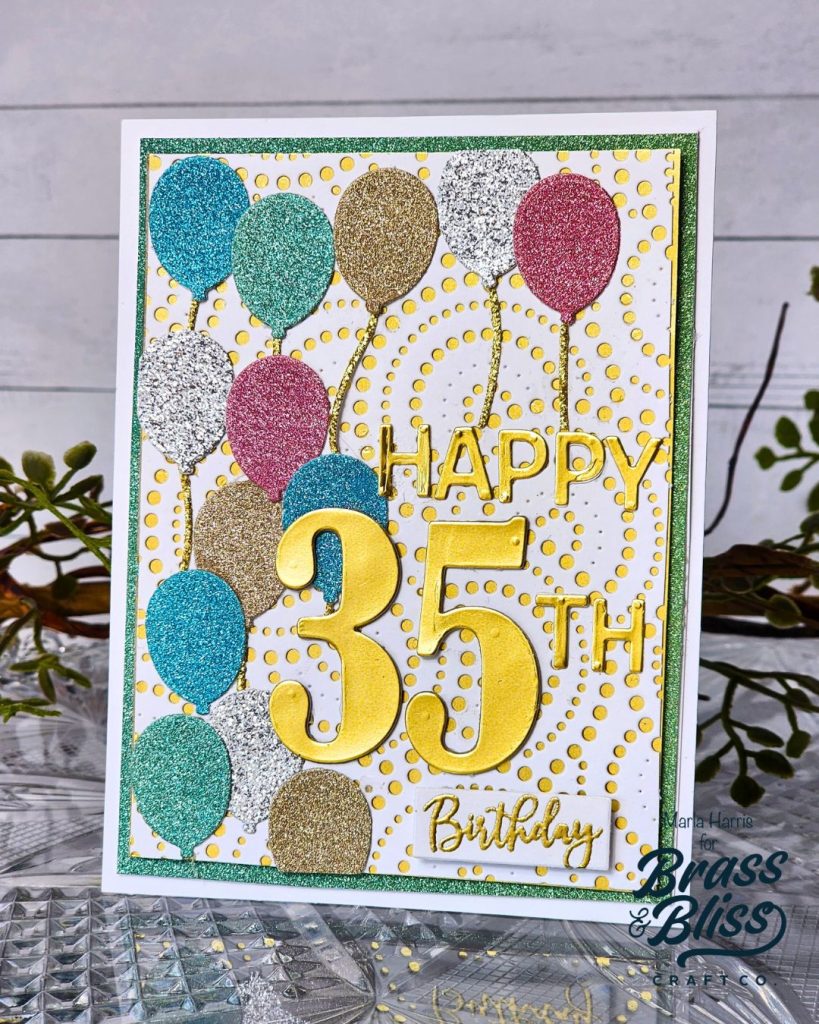
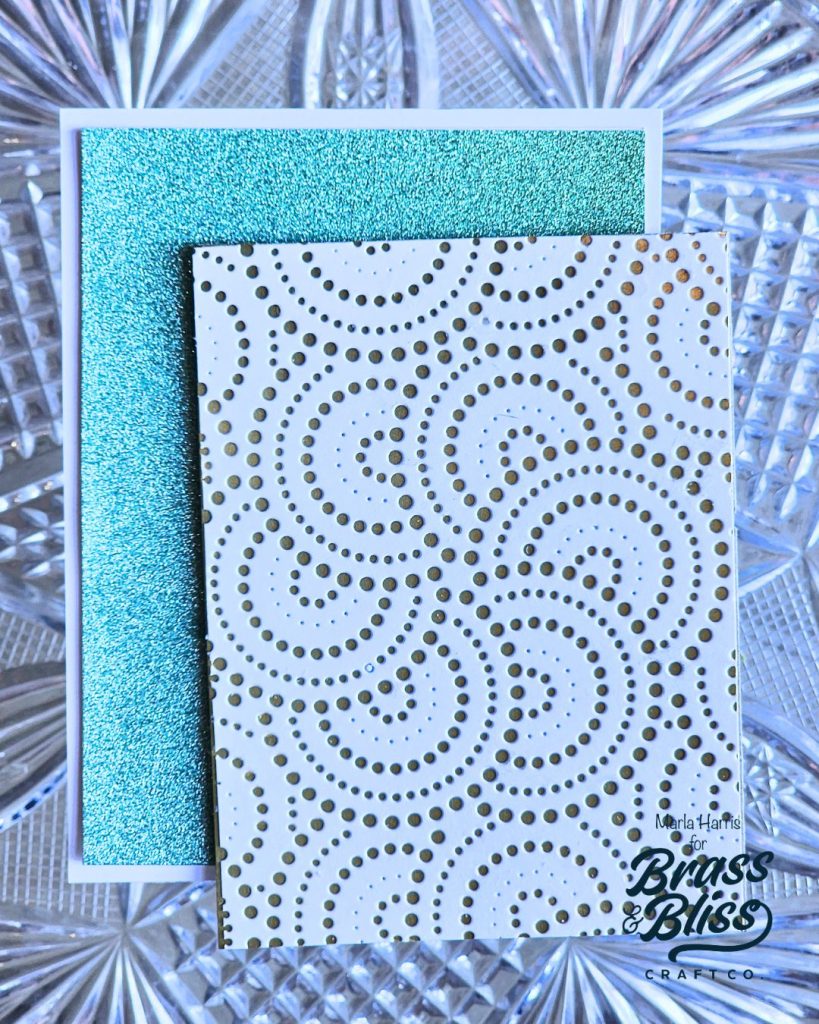
- Cut a piece of glitter cardstock to 4″ x 5.25″.
- Cut a piece of white cardstock to 3.75″ x 5″ and add a pattern by die cutting it with our 5834D Circle Cover Die.
- Cut a piece of matte gold cardstock to 3.75″ x 5″.
- Adhere the gold and white pieces of cardstock together and add dimensional foam tape behind the gold cardstock.
- Adhere all three pieces to a white A2 card base.
- Die cut the balloons using our 5804-01D Birthday Balloons die and multiple colors of glitter cardstock.
- Layer the balloons on top of the card panel.
- Die cut the letters for the word Happy and the TH using matte gold cardstock and our 5618D Small Classic Alphabet die.
- Use the same matte gold cardstock to cut out the number(s) of your choice using our Class of w/Numbers die. Cut the numbers 3x’s.
- Adhere the three layers together for added dimension.
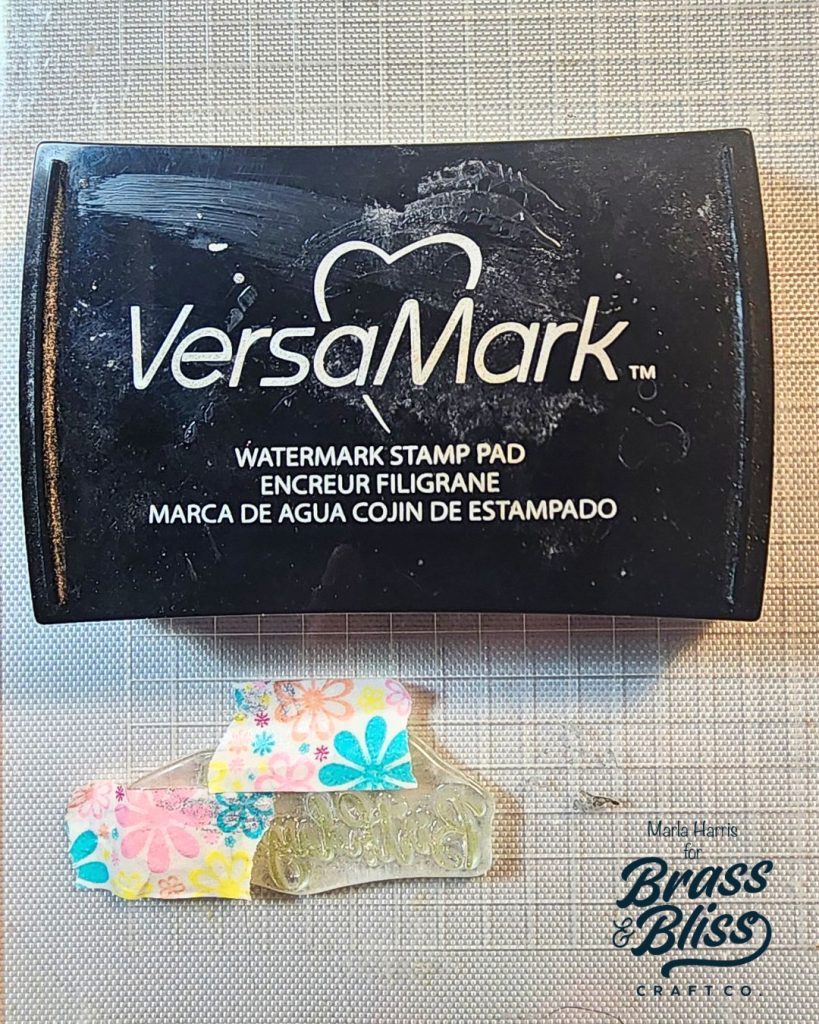
- Use the sentiment “Sending you a Birthday Wish” from our 37014 Hellebore Floral stamp and mask off all of the words except Birthday with washi tape.
- Ink the word using Versamark ink and remove the washi tape.
- Add anti-static powder to a scrap piece of white cardstock and stamp the sentiment.
- Add gold embossing powder and heat set.
- Cut the sentiment down using a paper trimmer and add dimensional foam tape to the back of the sentiment.
- Complete the card by adhering the letters, numbers and birthday sentiment to the card front.
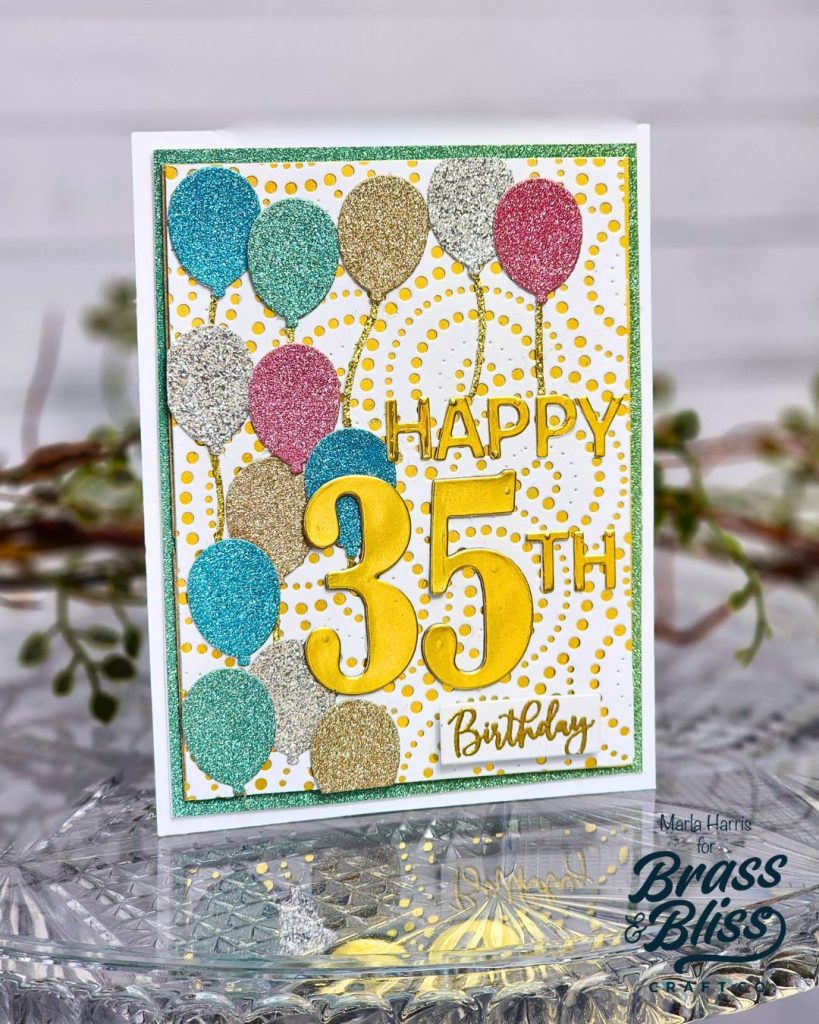
We love this project and think it’s the perfect way to send some love on a birthday!