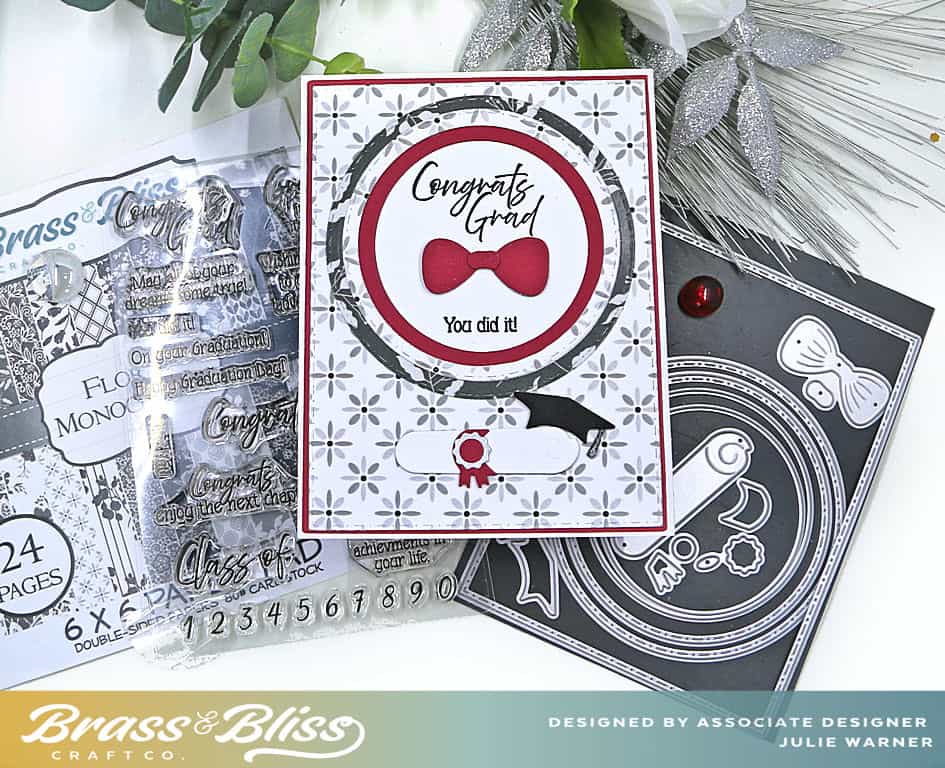
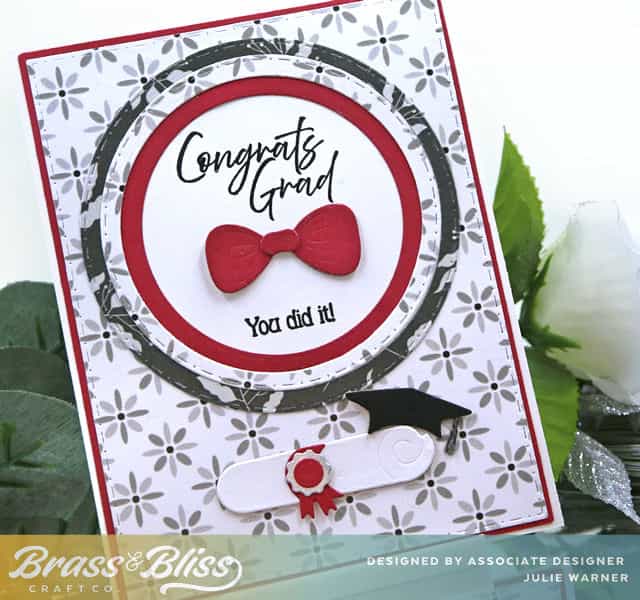
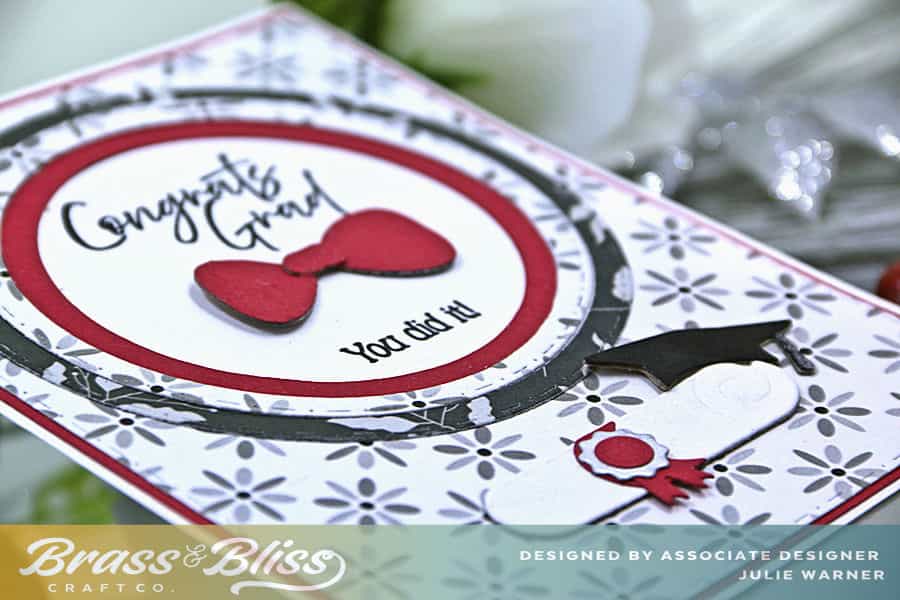
The time for graduations is quickly approaching- Check out this quick and easy card to congratulate this at the end of one chapter and the beginning of the next!
Today’s fun card design is from Julie, who said, “To me, graduation cards are some of the easiest to make and easiest to customize to each grad. This is a more masculine version, with the bow tie, but change the colors and papers to match the school colors and you have a personalized card they will surely love.” We think this is such a great design, and love the black, gray and red colors she chose! Follow along to see how Julie made this simple congratulations card for a graduate.
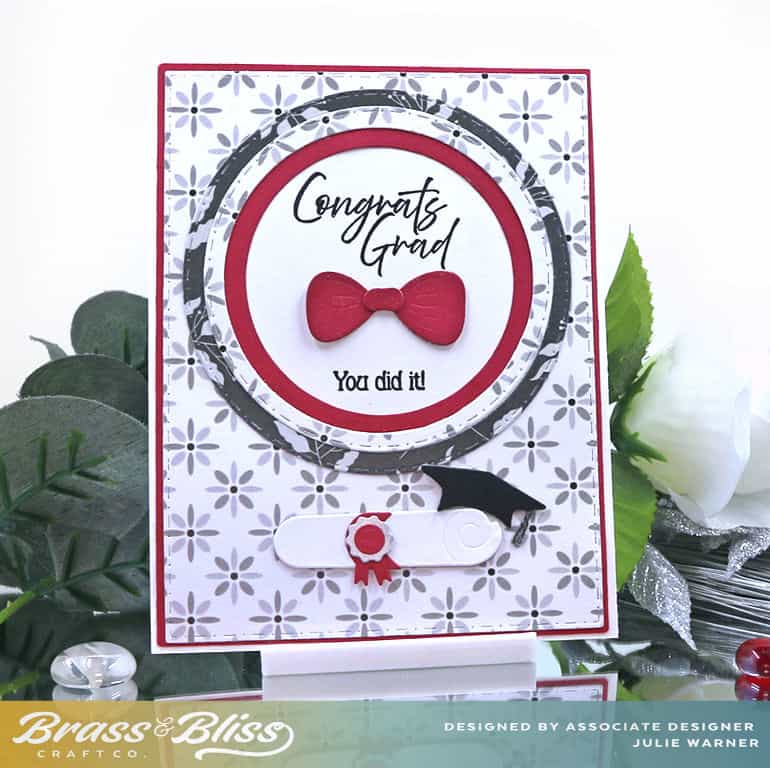
- I knew I wanted to use the black, white & red for the colors, so I picked the papers out I thought would work
- The largest paper was cut w/ a dot dash die & I cut a slightly larger red layer to go behind it. I attached them together w/ temporary tape & used the smallest circle die & cut through both of them.
- I removed the red layer & used a larger circle to cut around the circle in the printed paper.
- It was here I decided I wanted more of an impact around the circle, so I used a larger dot mask circle & cut the printed paper around the circle again.
- I used an even larger dot dash to cut a circle out of darker printed paper & cut the inside out.
- The 2 circles were layered on top of each other then attached around the red circle.
- The greeting was stamped on a white circle & attached behind. You could stamp it directly on the card front, but things seem to always go wrong when I do that.
- I added the red bow tie, the diploma & small mortarboard after the layers were attached to the card.