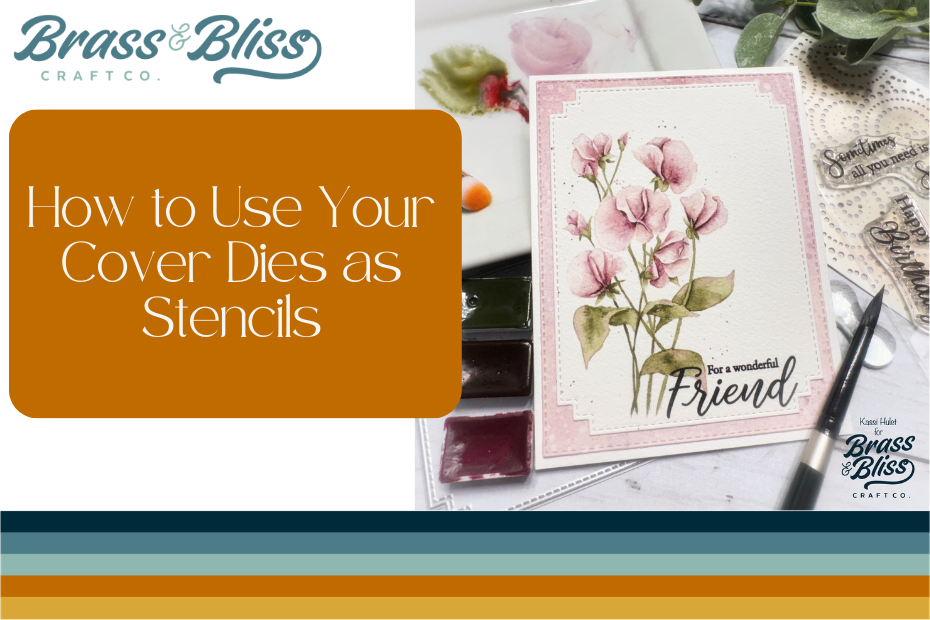
If you love finding new ways to use your craft products, peep this awesome cover die stenciling idea to create awesome card backgrounds!
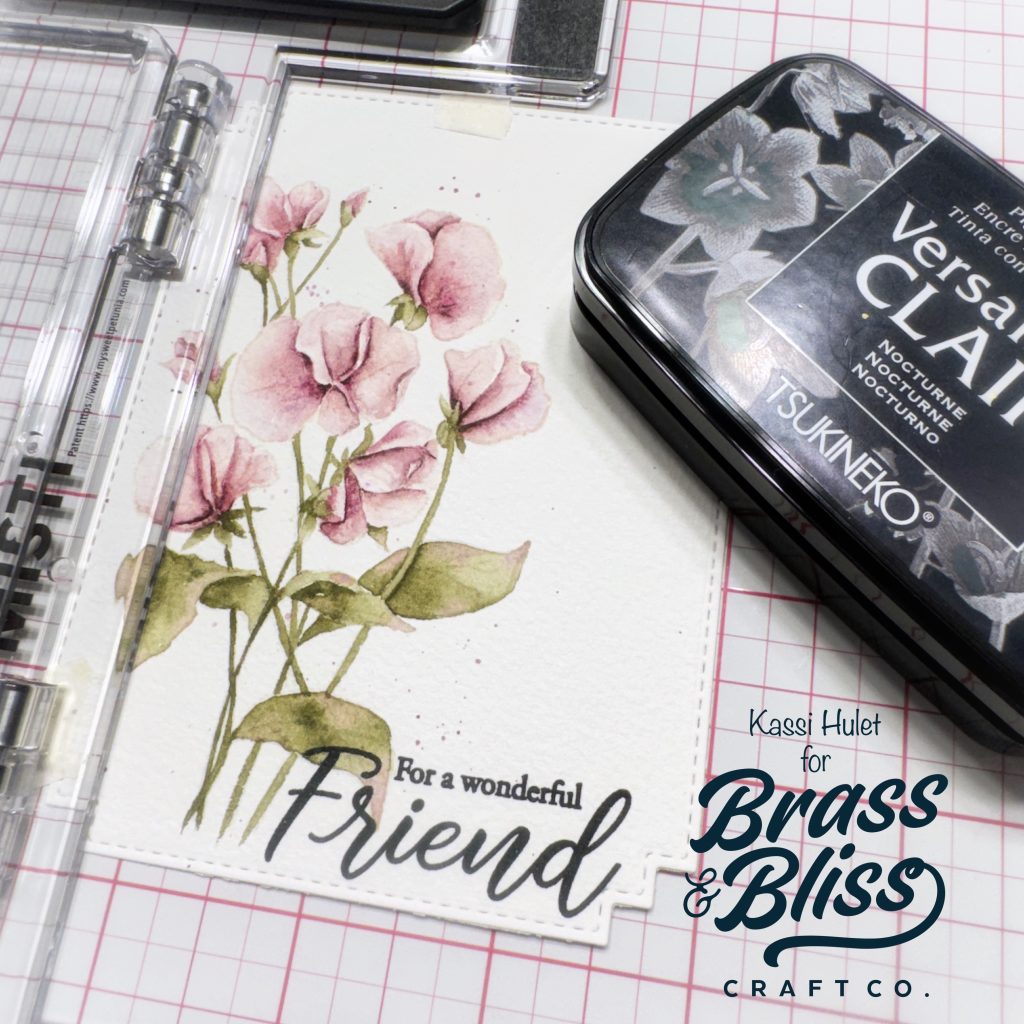
Today we have a stunning watercolor floral card fit for a wonderful friend. Our designer Kassi said, “I love finding new ways to use products- after all, we invest a lot of money in all the stamps and dies we buy, I want to get as much use out of each thing as possible! So I decided to play with some cover dies to see how else I might use them. I think I might just start turning all my cover dies into stencils now!” We LOVE it! Great job Kassi!
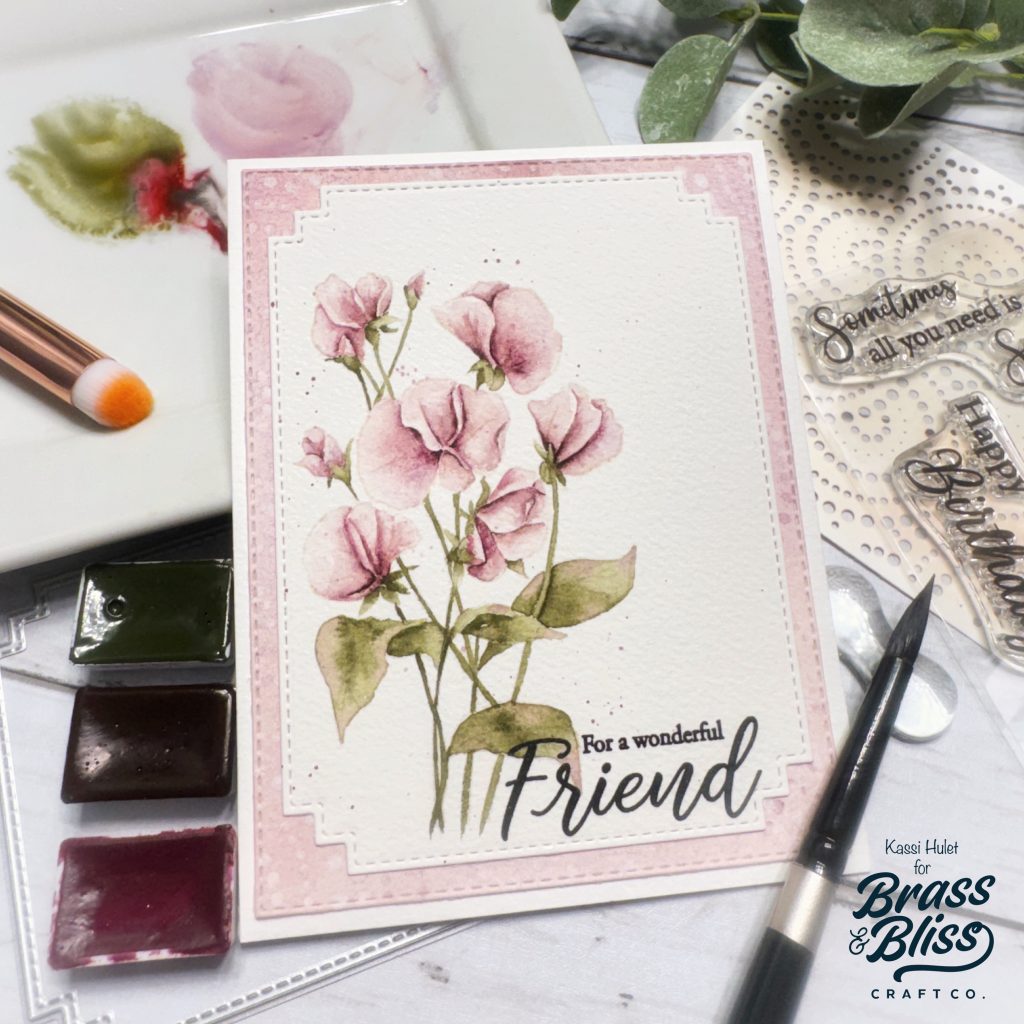
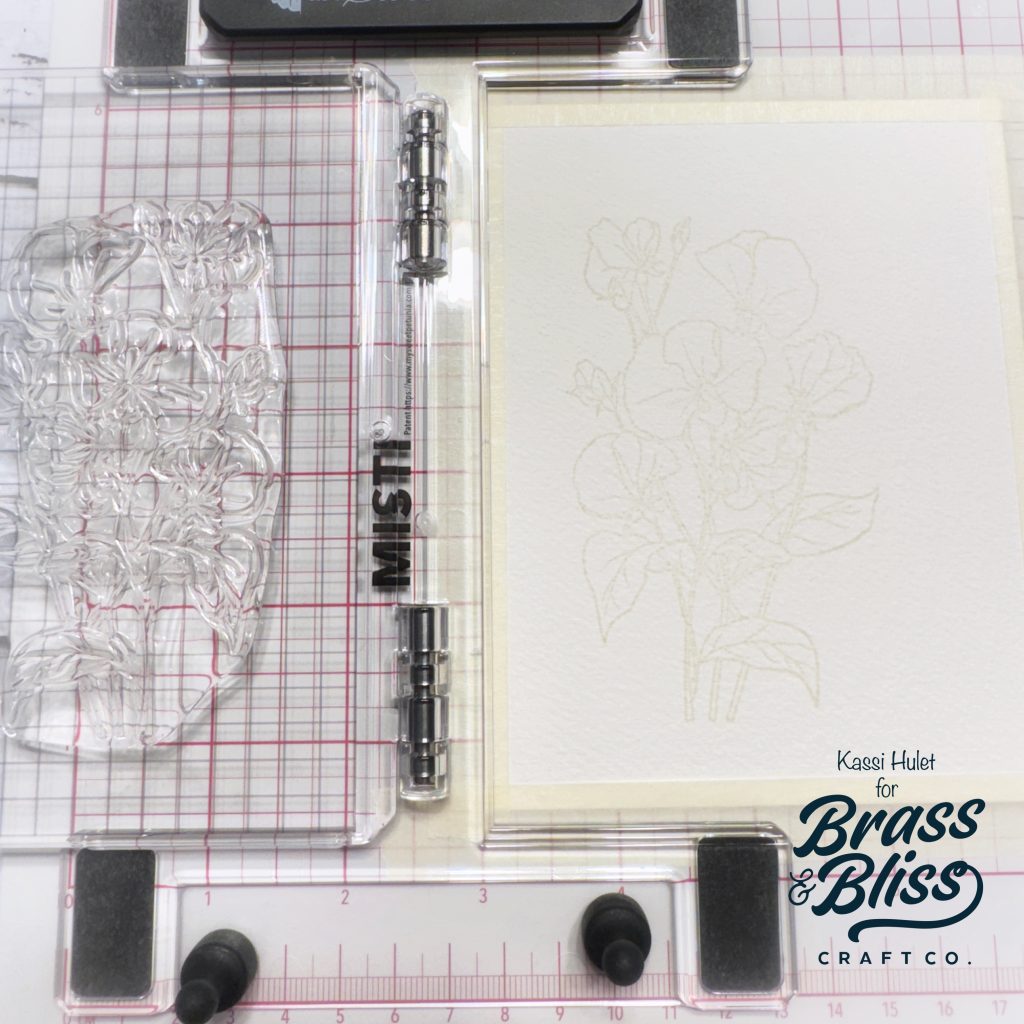
- Stamp the flower from 37013 Gardenia Floral stamp set onto some watercolor paper. I like using a very light ink so I can do no line coloring, but you can stamp in black waterproof ink if you prefer.
- Color your flowers using your favorite watercolor paints, then set aside.
- Paint a piece of watercolor paper with the same color paint you used for your flowers, then set that aside to dry.
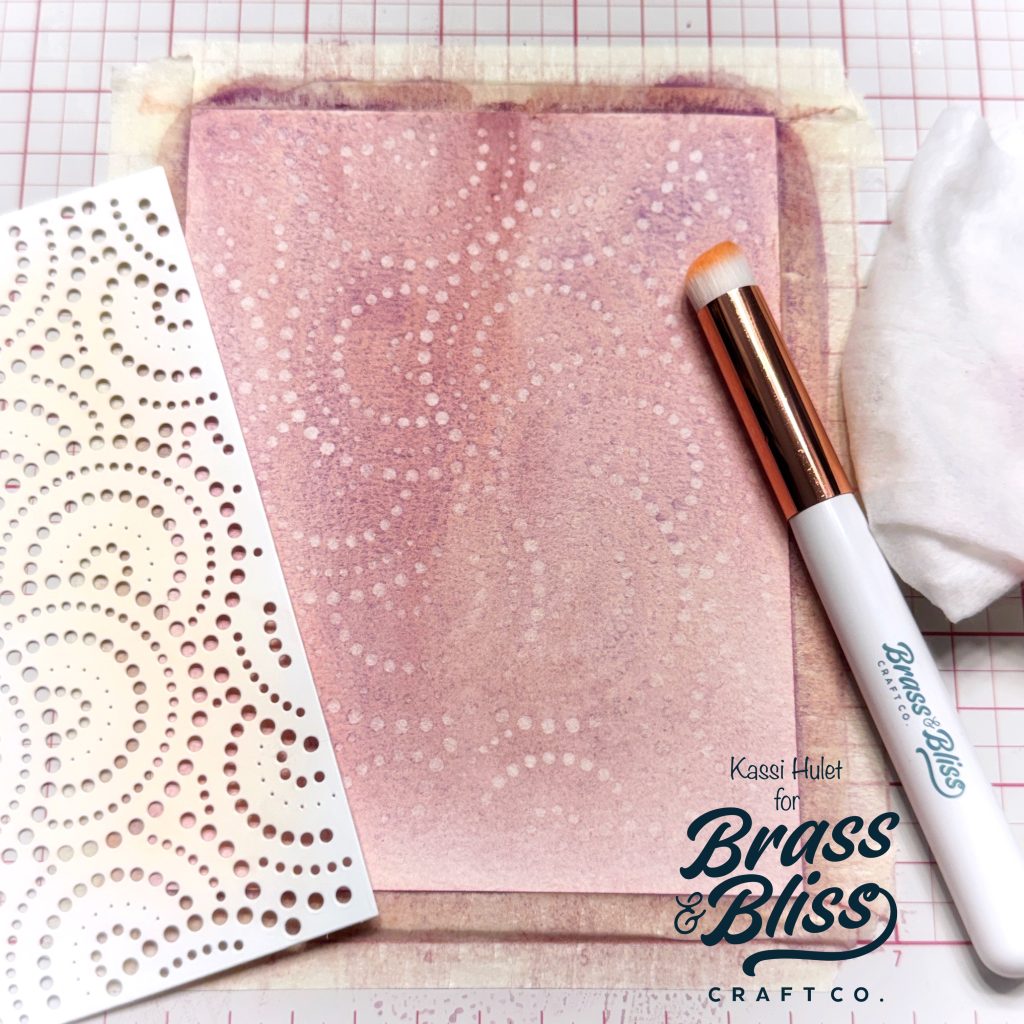
- Die cut the 5834D Circle Cover die out of Yupo paper. This will create a durable stencil that can be used over and over with wet mediums.
- Place the stencil you just made over the watercolored panel that you painted earlier. Rub a Detail Blender Brush on a baby wipe to moisten the bristles without getting them too wet, then rub the brush over the stencil. Blot with a paper towel. This should lift the paint, leaving a ghosted image of the stencil on then watercolored panel.
- Die cut the flower panel using the 2nd largest die from 5819-01D Nested Frame #1 die.
- Die cut painted panel with the largest die from 5013D Nested Rectangle Small Stitch Die
- Stamp a sentiment from 37013 Gardenia Floral on the flower panel using VersaFine Clair Nocturne ink.
- Adhere painted background to an A2 card base.
- Adhere the flower panel to the card.
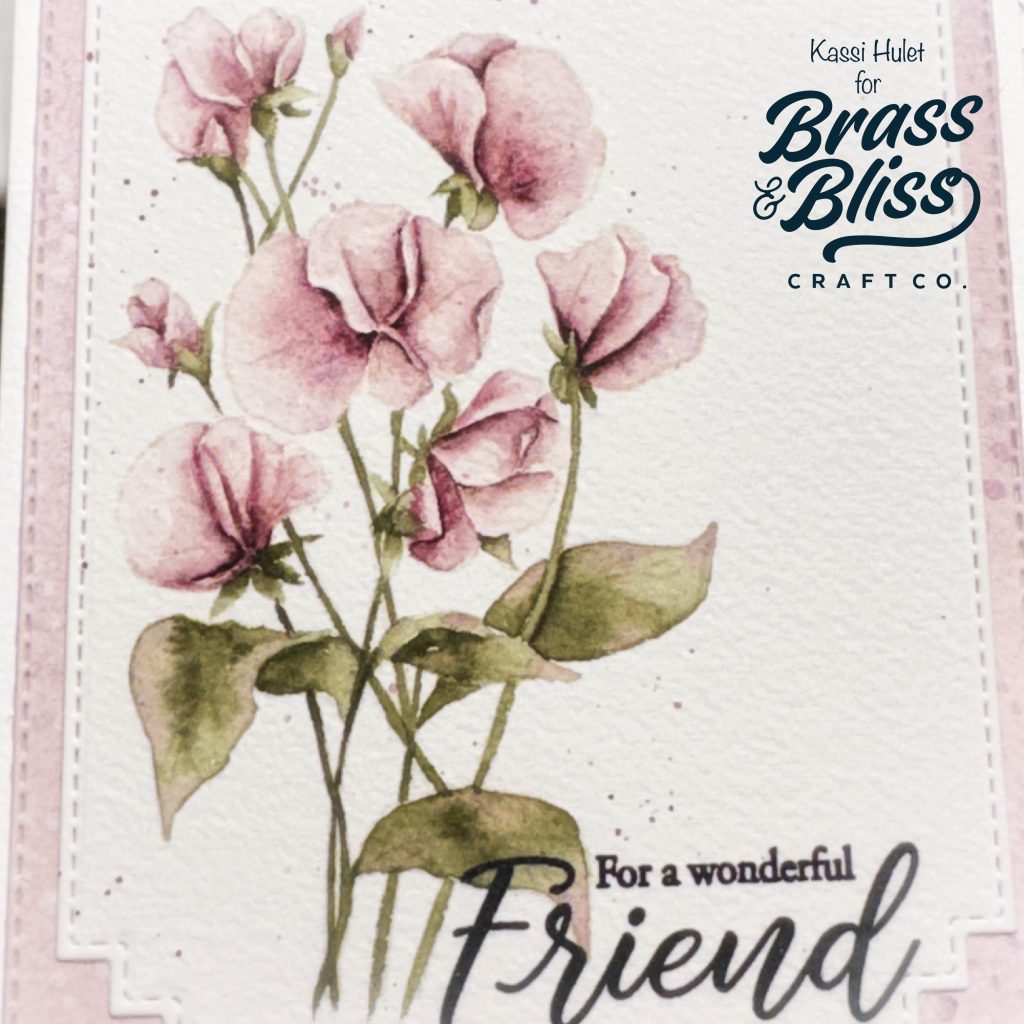
What a beautiful card creation! That stenciled background is wonderful and adds fun texture to this amazing watercolored masterpiece. We hope you try this technique from home!