
Take your gatefold cards to the next level with this added piece that holds it all together.
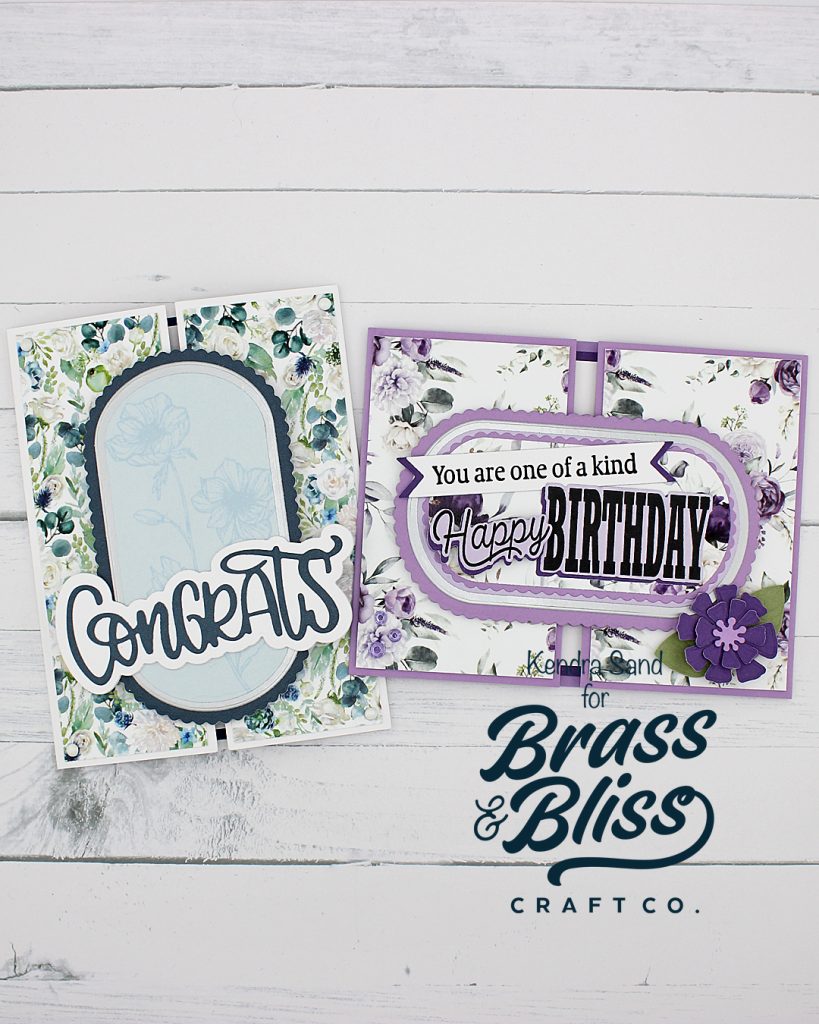
Gatefold Cards tend to open a little and not lay flat if you don’t use a bellyband, ribbon or some something else. Today Kendra is sharing a fun addition to gatefold cards! She is sharing how to create a Slide and Lock Gatefold Card today and has graciously created two different designs to really show us how to utilize this awesome new technique. This adds a fun interactive feature to the gatefold and we are absolutely obsessed with how it turned out.
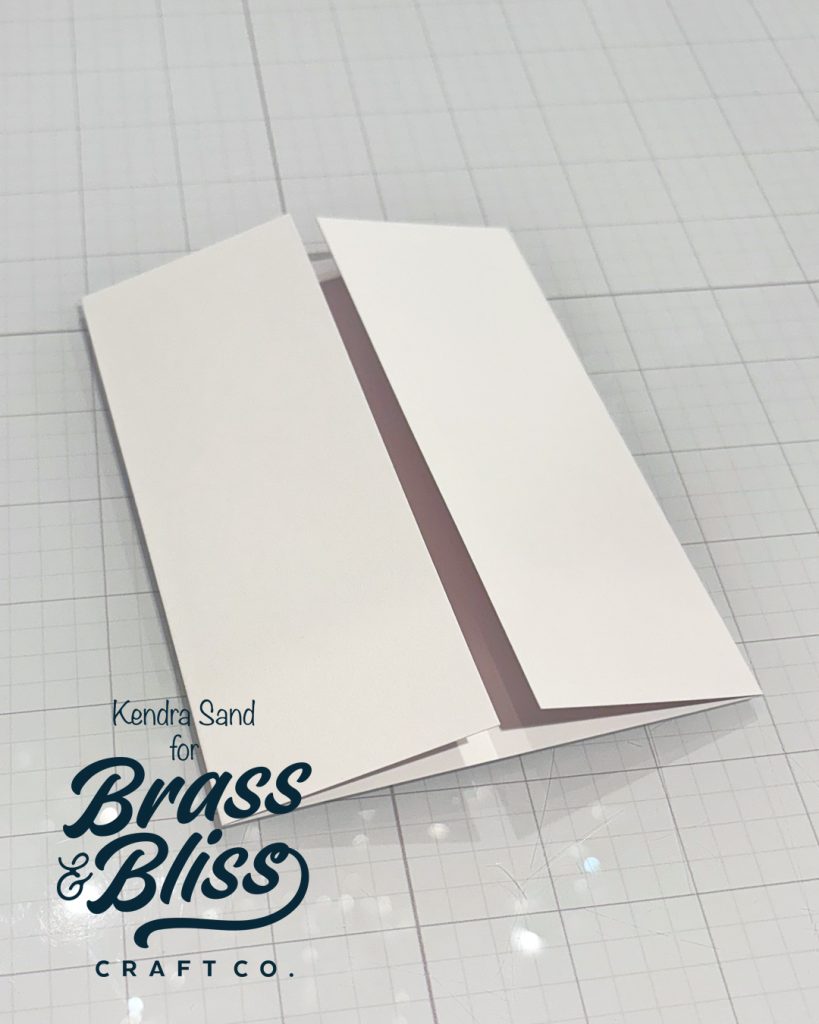
- Create a white card base 8.5” x 5.5”. Score at 2 1/8” from each end. Reinforce score lines with bone folder.
- It’s important to have enough space between the gates to allow the piece to slide through. Cut at least an 1/8” off each end.
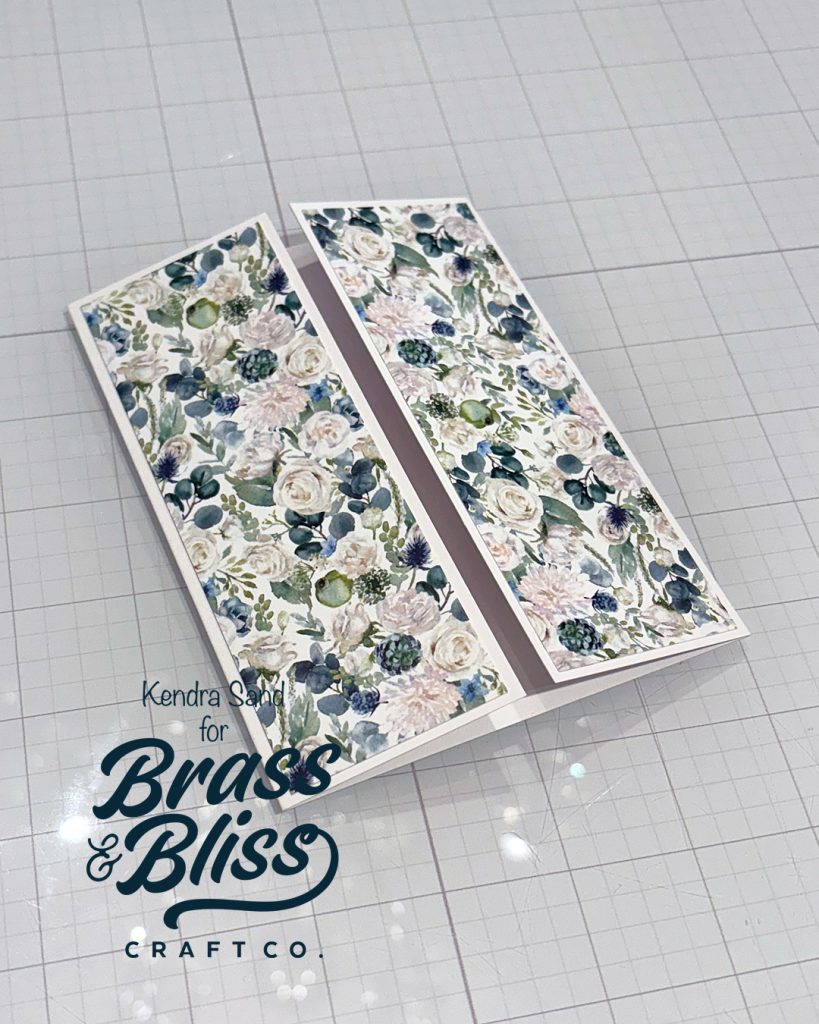
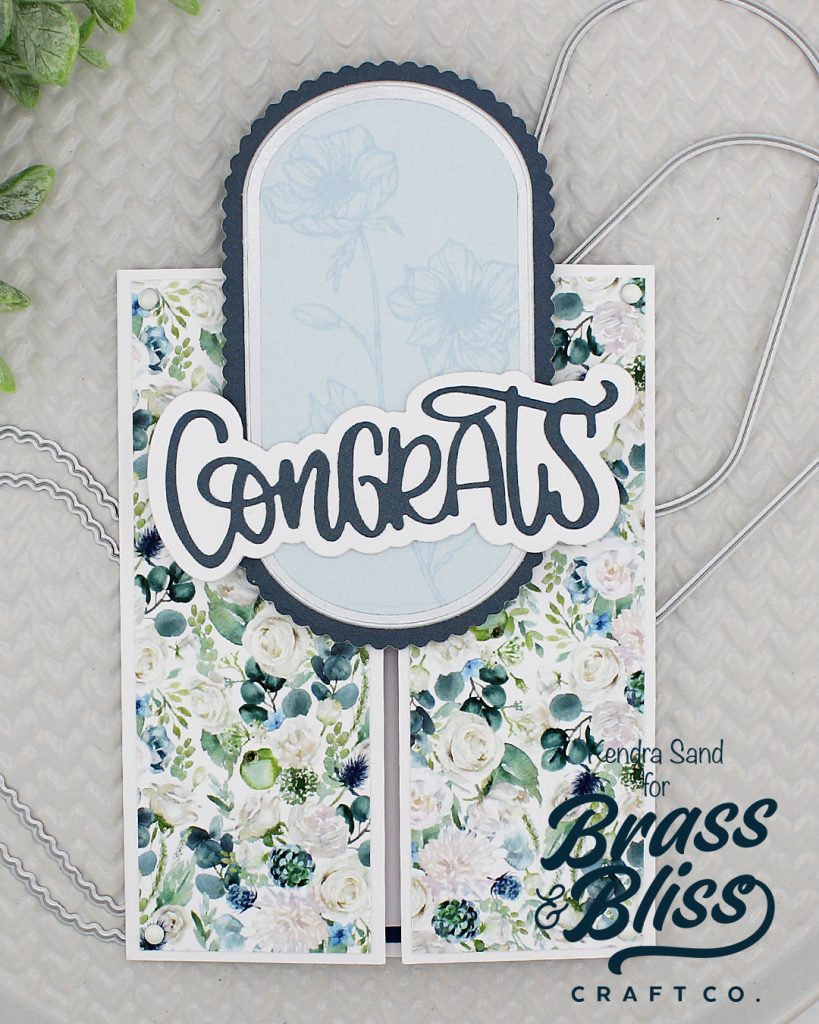
- Cut two pieces of blue floral pattern paper from the ‘2205 Abundant Bouquet’ 1 7/8” x 5 3/8”. Adhere to each side panel.
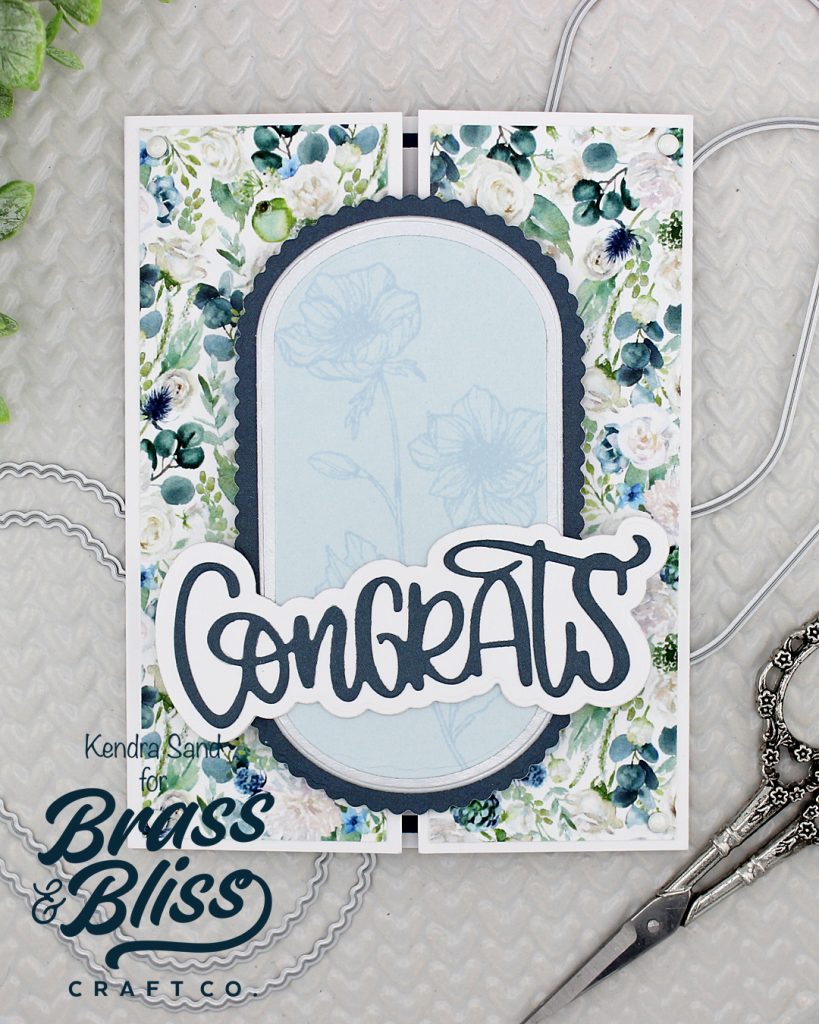
- Cut two 2.57” x 4.58” swanky scallops from ‘5812-02D Swanky Scallop Ovals Die’ from dark blue cardstock. Line up the scallops back-to-back (with the top one’s good side up and the bottom one’s good side down) so you know how they will be added later, if it helps mark the backsides of them both, which Kendra did with an arrow. (If easier you can skip adding the back scallop)
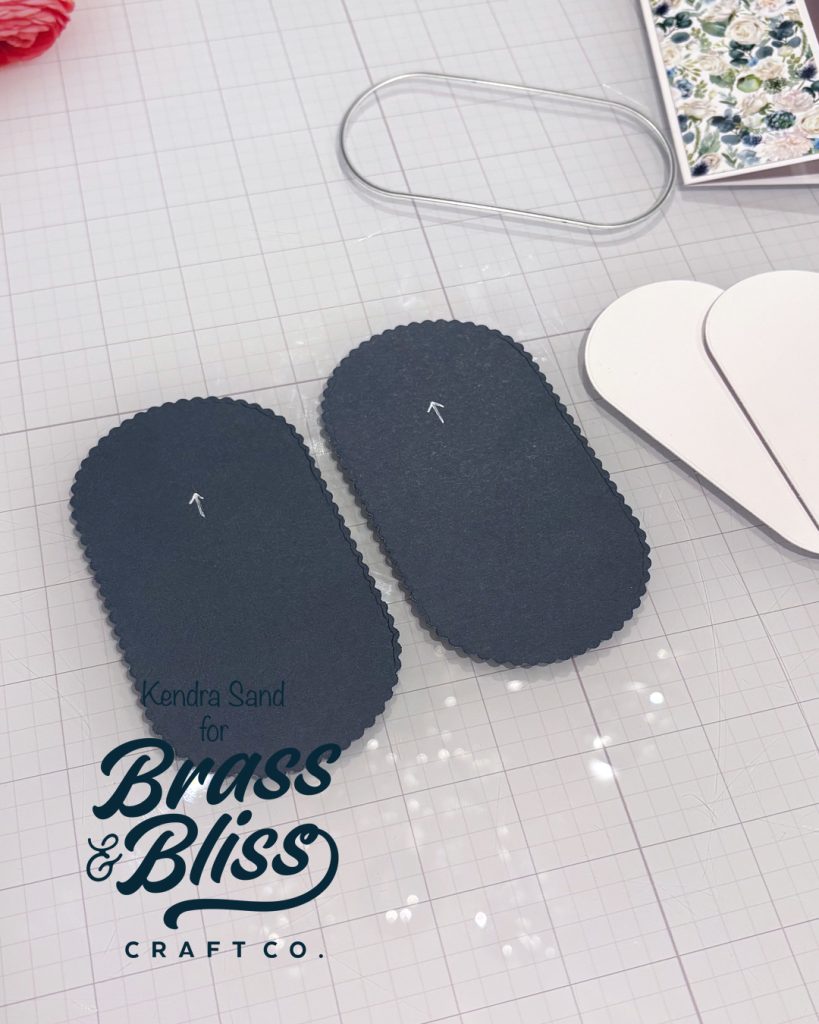
- Die cut four 2.25” x 4.25” swanky ovals from ‘5812D Swanky Ovals Die’ from white cardstock.
- Grab one of the blue scallop layers from before, making sure to keep the arrow up and good side facing down, add one white oval to the back side. Take two of the other white ovals and fold each in half. Adhere each of the halves to the oval already on the scallop layer, making sure the scored side is to the center. Adhere the last white oval on top. Last adhere the scallop layer to the top, flipping it over and keep the arrow up. This creates the slider! (Decorate the back side, which will be inside the card if you’d like or just leave the dark blue scallop as is)
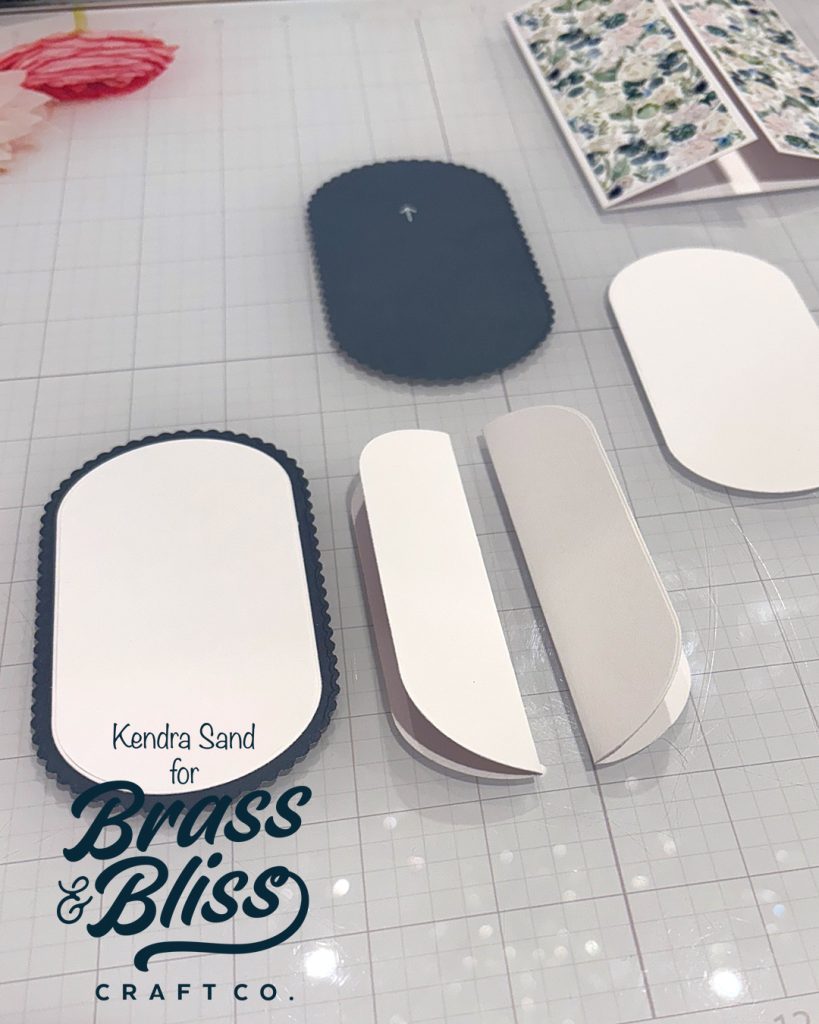
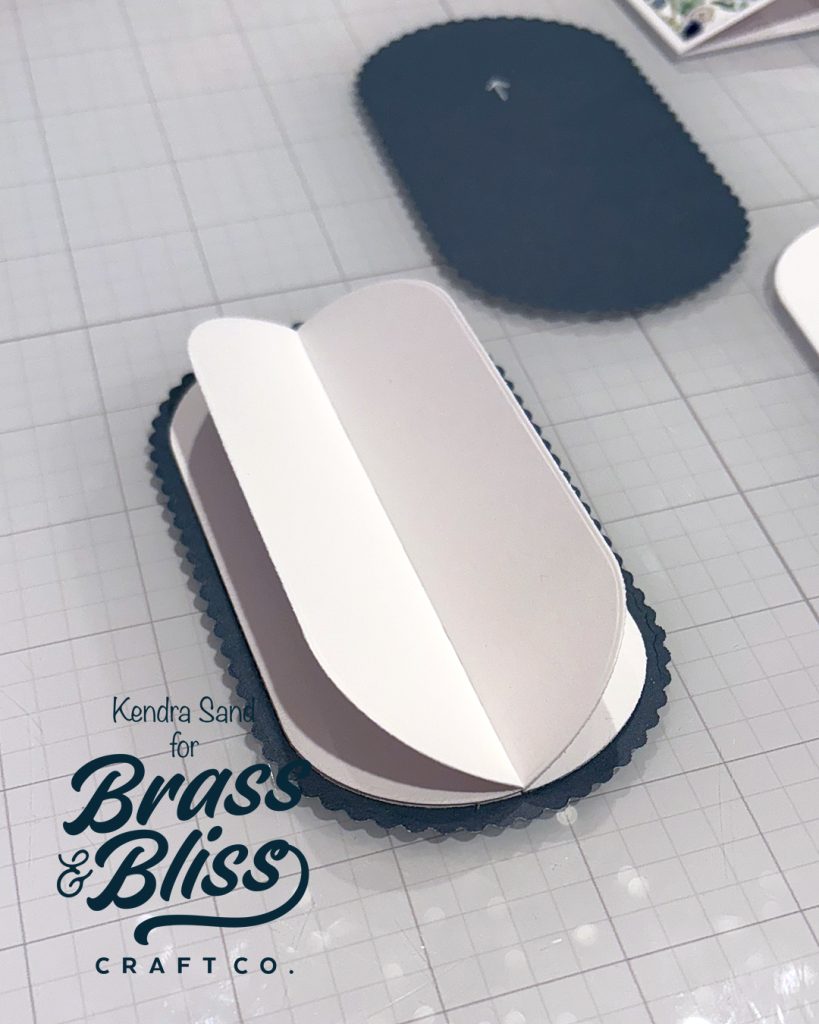
- Place slider between opening.
- Die cut one 2.25” x 4.25” swanky oval from ‘5812D Swanky Ovals Die’ from silver cardstock. Adhere to slider.
- Die cut one 2” x 4” swanky oval from ‘5812D Swanky Ovals Die’ from light blue cardstock. Stamp a floral image from the ‘37002 Floral Memories” in ‘Arctic’ ink from the ‘Color Fuse Set; 7”. Adhere to slider.
- Die cut the congrats shadow layer from the ‘5749-03D Congrats Die’ from white cardstock. Cut the congrats sentiment from dark blue cardstock. Adhere to shadow layer. Adhere near bottom of oval slider.
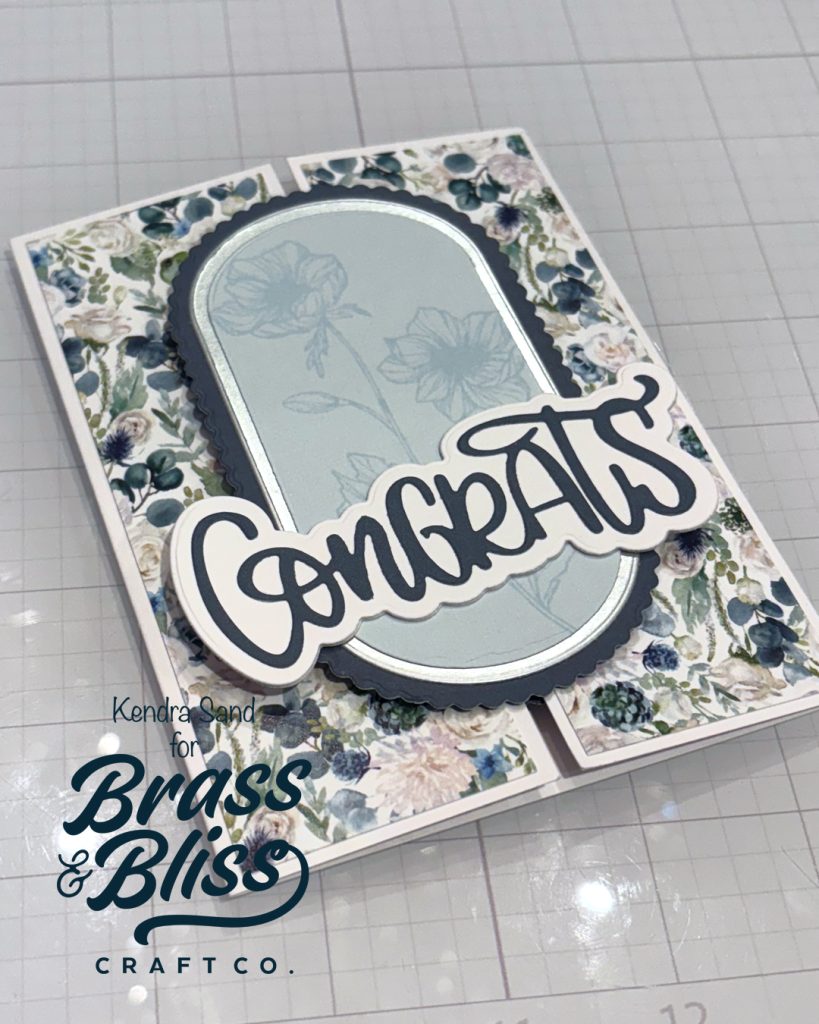
- Finish by adding a white gem to each corner.
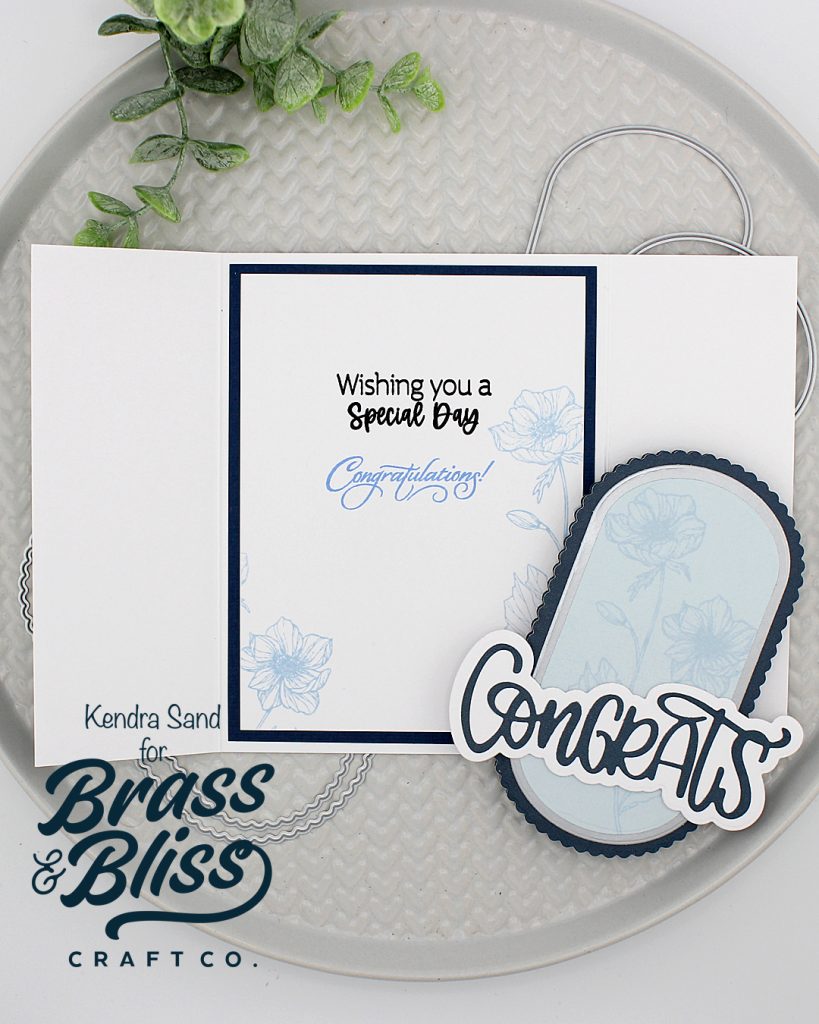
- Open card; cut a piece of dark blue cardstock 4” x 5.25”. Adhere to center of inside of card base.
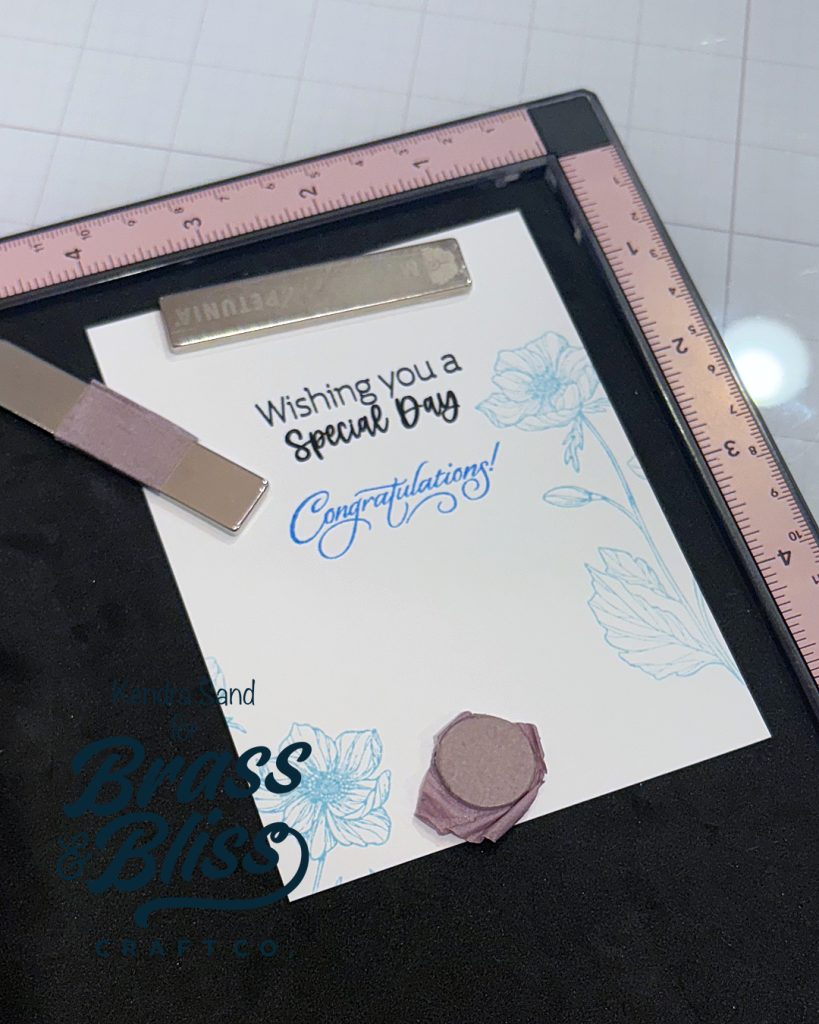
- Cut a piece of white cardstock 3.75” x 5”. Stamp the ‘Wishing you a special day’ sentiment from the ‘37009 Spring Greetings’ in black ink about 1” from the top. Then stamp the ‘Congratulations!’ sentiment from the ‘3029 Best Wishes Etc’ in ‘Sky’ ink from ‘Color Fuse Set; 7’ just under previous sentiment. Stamp the same floral image you used on the front of the slider to the right of the sentiments from the ‘37002 Floral Memories” in ‘Arctic’ ink from the ‘Color Fuse Set; 7”. Stamp again near the bottom left of the layer as well. Adhere to inside of card base.
All products used for blue card:
5812-02D Swanky Scallop Ovals Die
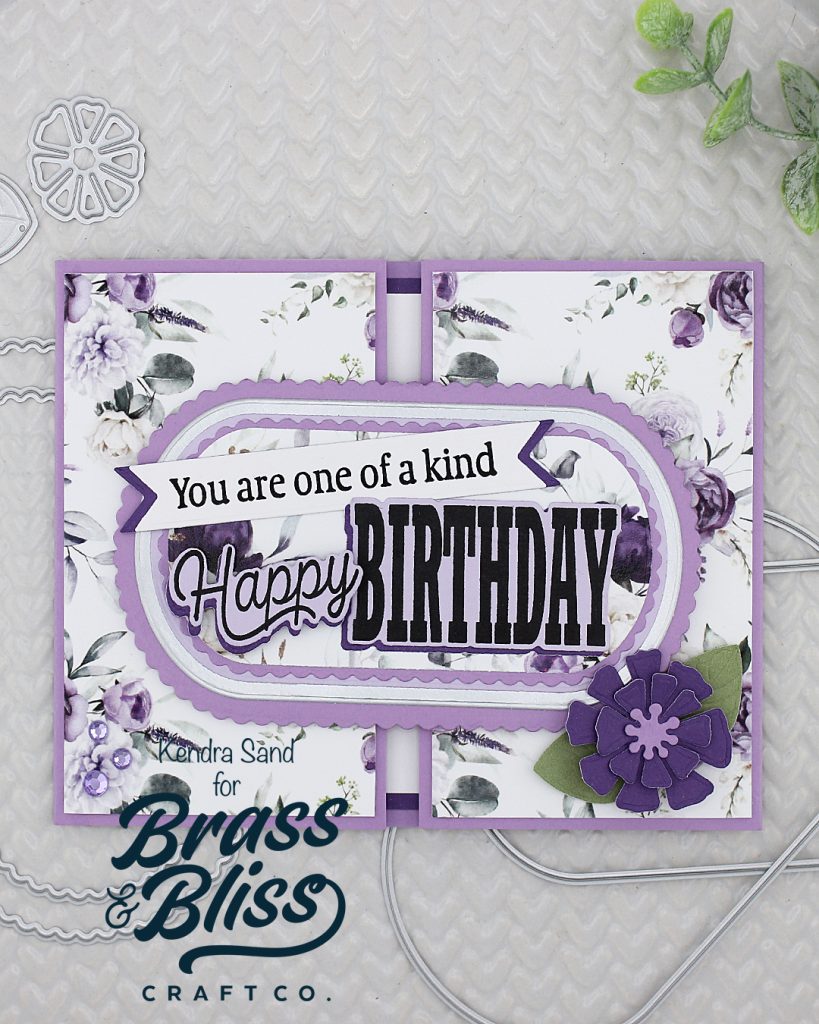
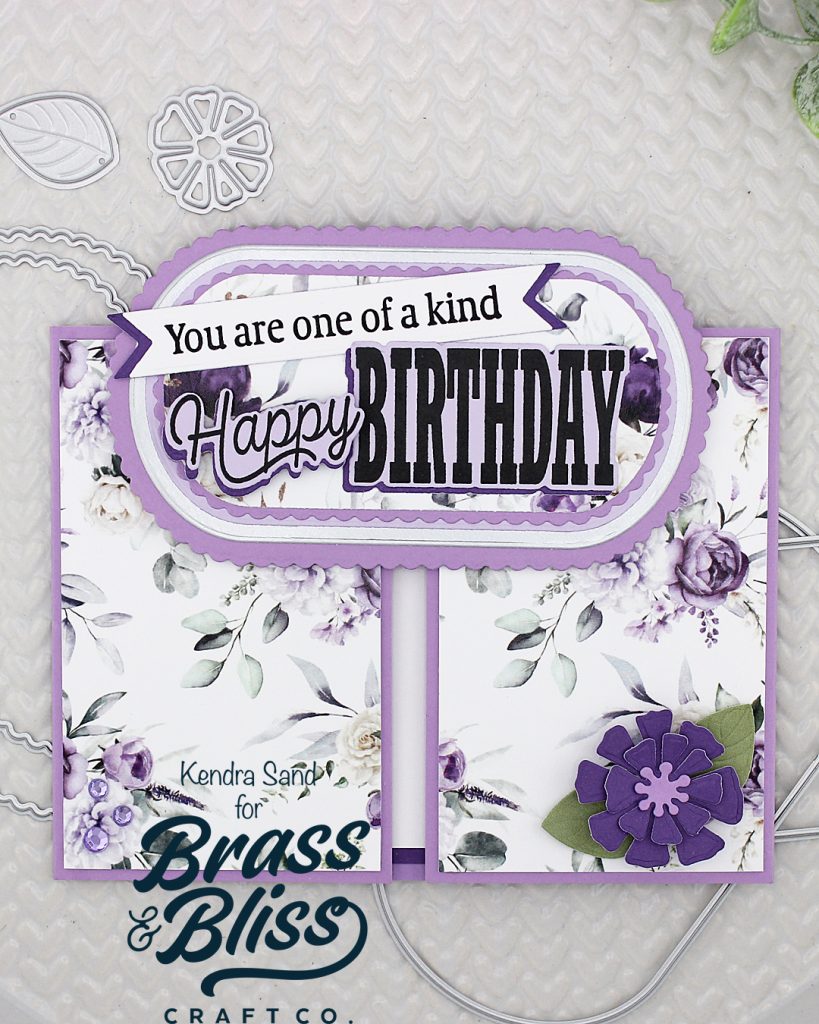
Another slightly different birthday version:
If you want to see more creative folds, check out these projects for tons of inspiration.
Products Used for Purple Birthday Card:
5812-02D Swanky Scallop Ovals Die
5508-04D Stackable Flowers/Leaves 4
38012D Mix & Match Sayings Dies