
When we are missing someone, there is no better way to show our love than a handmade card just to say “Hello”.
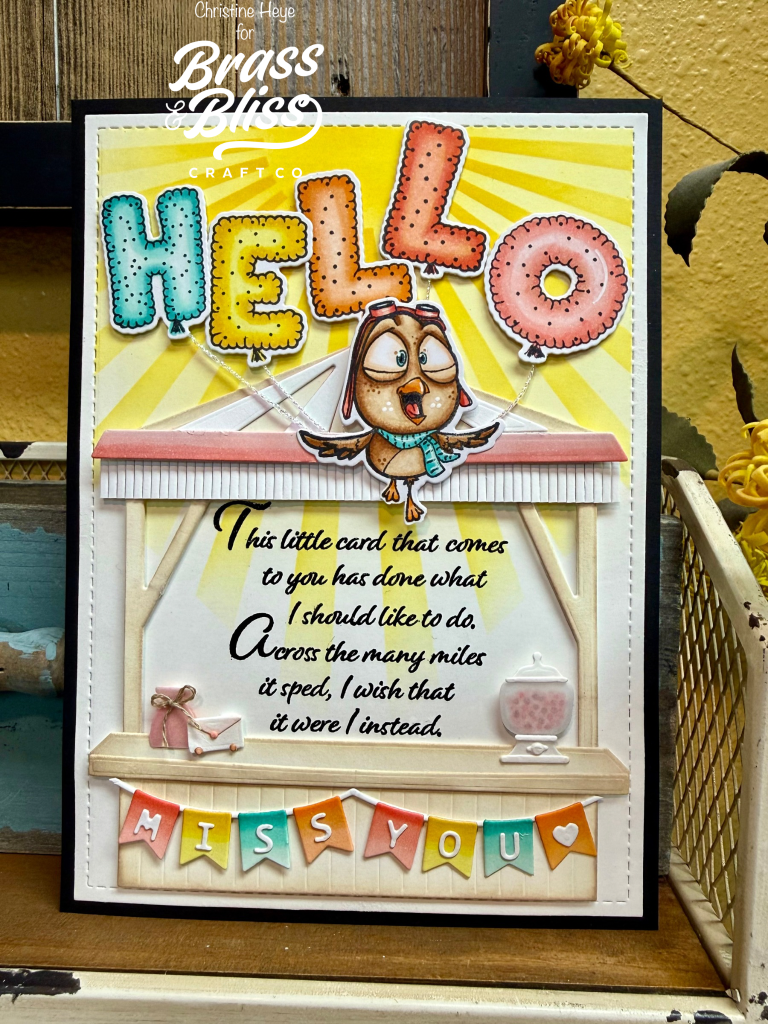
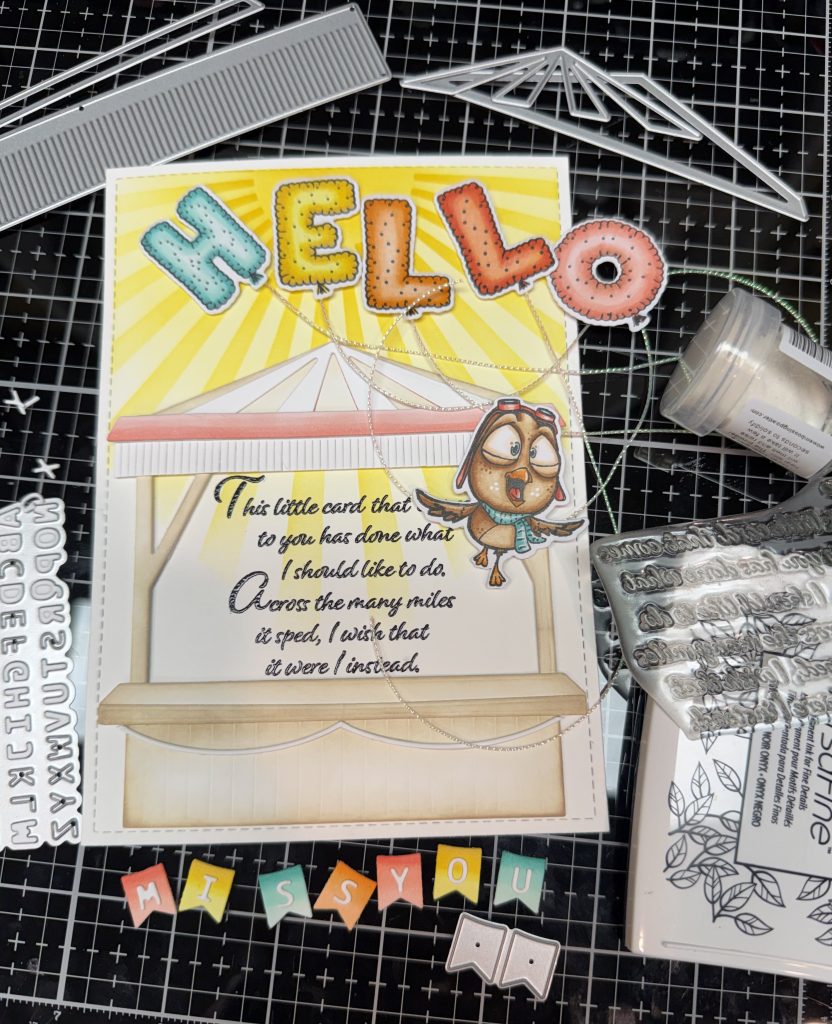
It is always a happy day when someone sends a sunshiny, cheery, ‘hello’, greeting card; it lets you know how much you are missed. This A7 card features tons of items from the NEW “Sweet Wishes” release! Our fabulous designer, Christine, is bringing all of the cheer with this amazing design that is sure to bring a smile to the face of the sweet friend that receives it. Follow along and see how to make this sunny card to say “Hello”!
Step by Step Instructions:
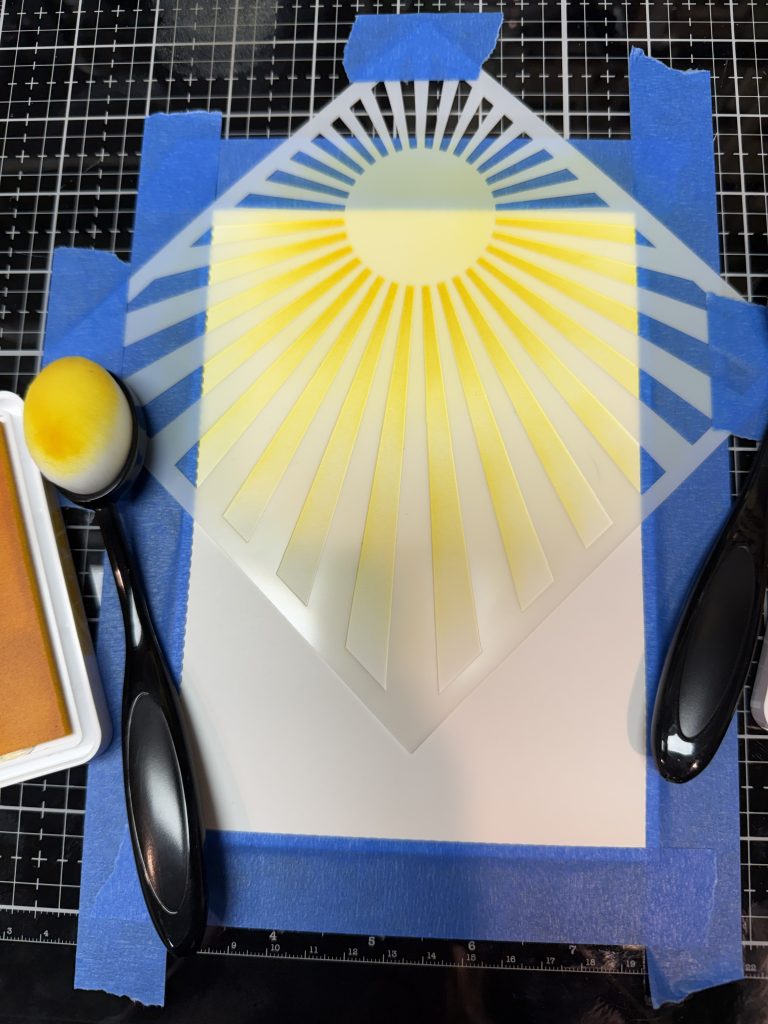
- Start by taping a 5×7 piece of smooth cardstock down. Secure stencil at an angle to have the sun in the center and the rays coming to a point towards the bottom. Use yellow of choice to ink blend from center out, fading towards bottom. I used 2 colors for a bit of gradient.
- Stamp owl and balloons. Diecut out.
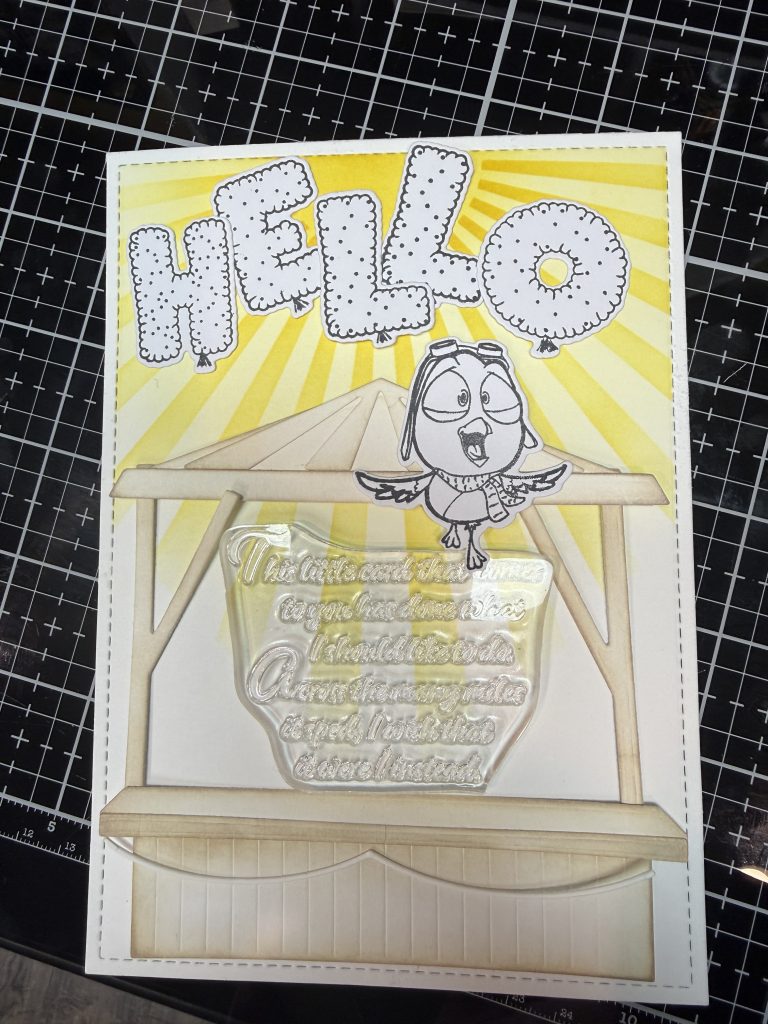
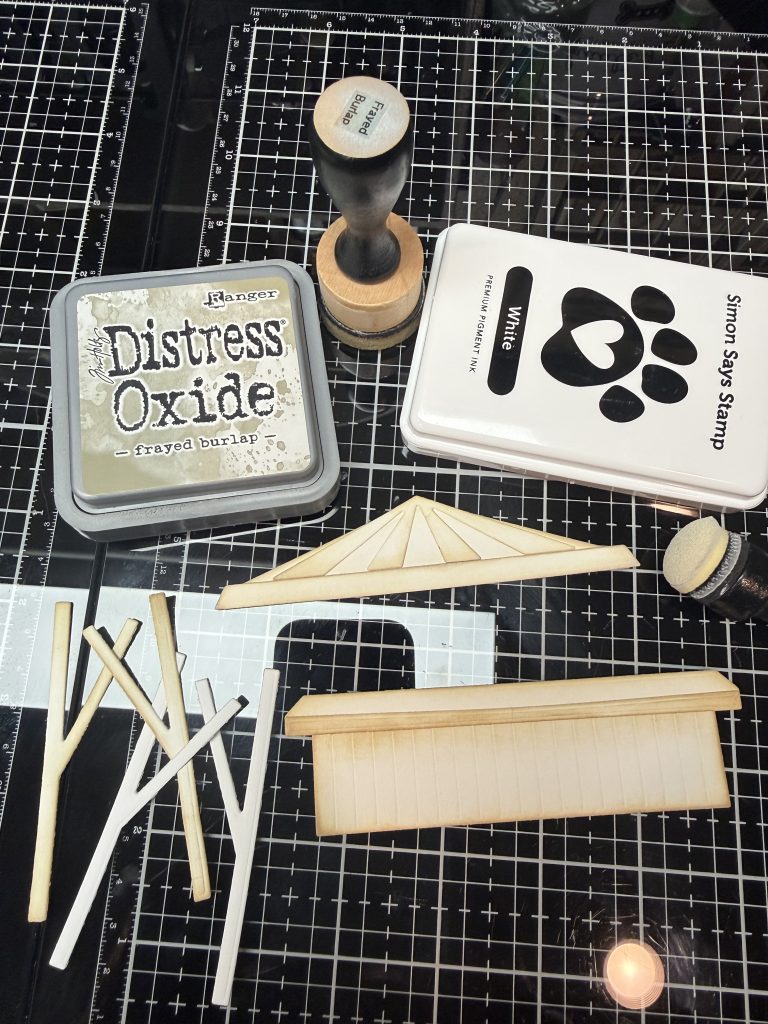
- Diecut Farmer’s Market Cart & Additional market cart items. Add preferred ink to edges to give depth and a bit of a vintage feel.
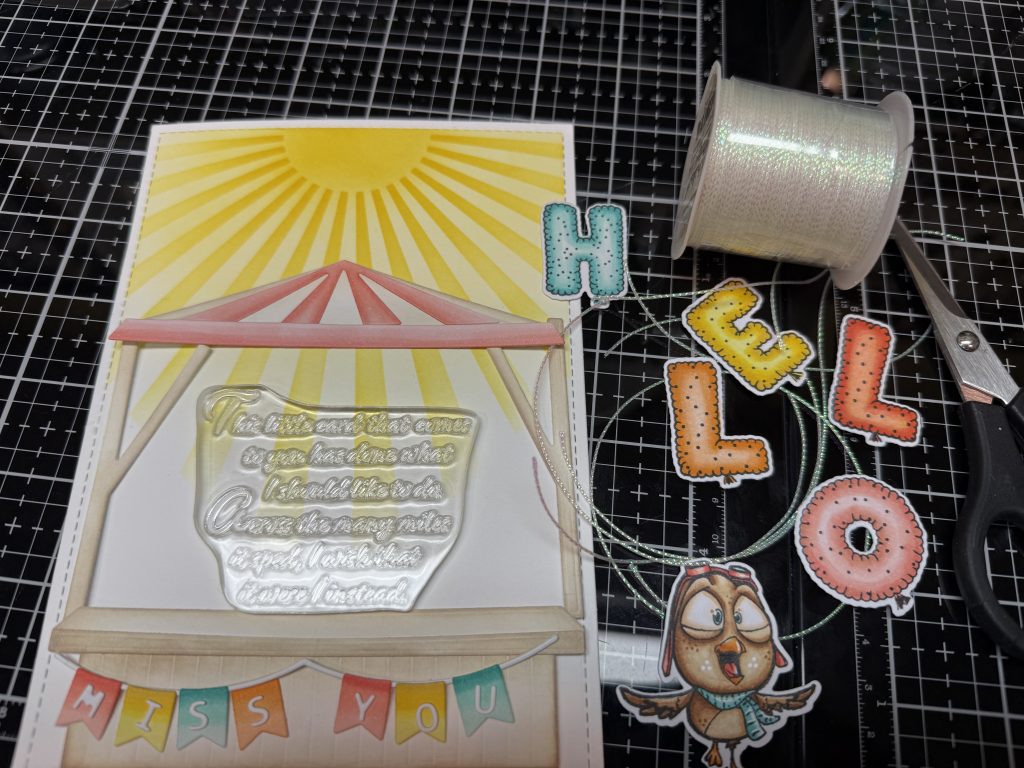
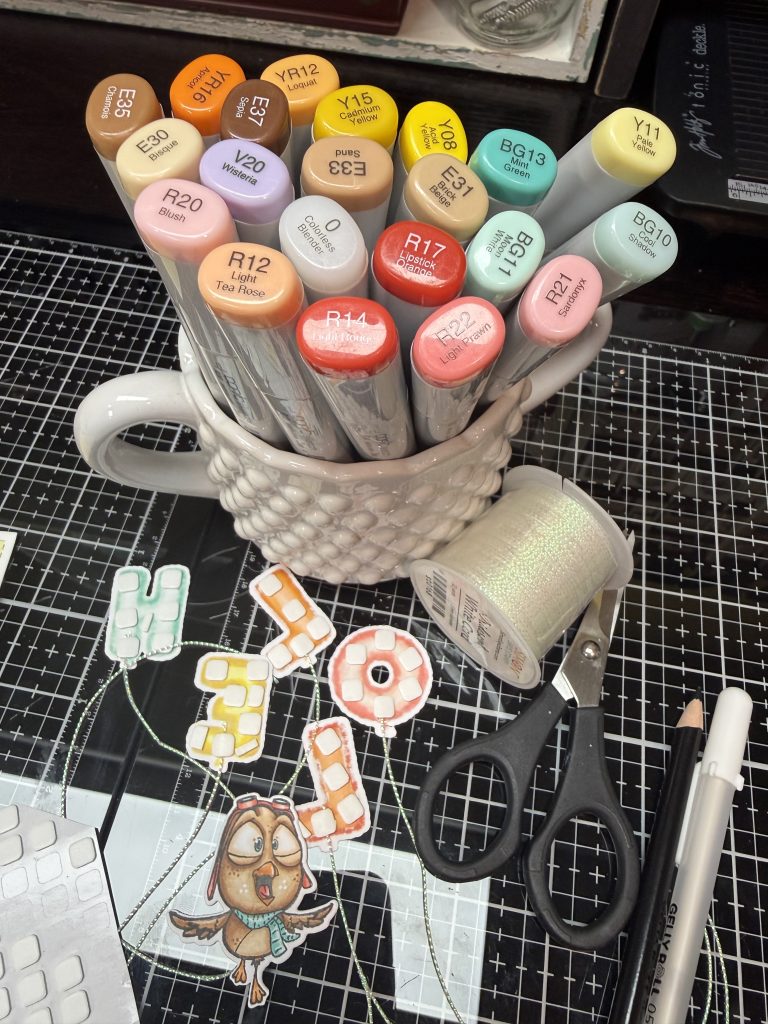
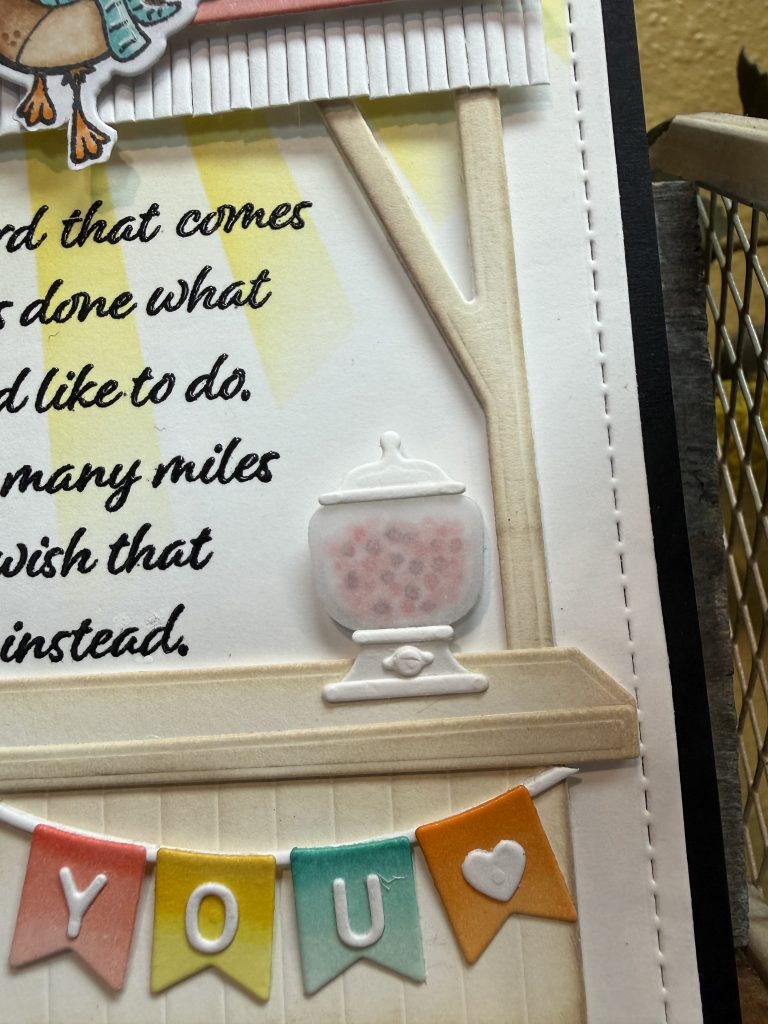
- Diecut banners and banner swag (Birthday Market Add-on die set). Die cut small fringe die, top of roof overlay & tiny letters (Small Classic Alphabet die), from white heavyweight cardstock. Color balloons and owl with preferred medium. (I used alcohol markers). Ink blend roof strip and banners of cart. Glue on tiny letters. Assemble cart, making sure to leave room for the sentiment. Add swag to cart and using foam adhesive add banners to swag.
- Add preferred string to each balloon, making sure to secure under thin foam adhesive. Die cut additional candy/gum jars from Birthday Market add-on and the envelope from the Market Spring add-on. color the gumballs by simply adding alcohol marker dots to the inside die layer. Use thick vellum (made into a sticker) to cover the gumball section. Die cut the top and other detail pieces from same heavyweight white cardstock and assemble. Tie a tiny string/twine bow for jar and adhere using glue.
- Assemble card using thing foam where desired and placing market cart around sentiment. Layer card front onto a black cardstock layer that is slightly larger.
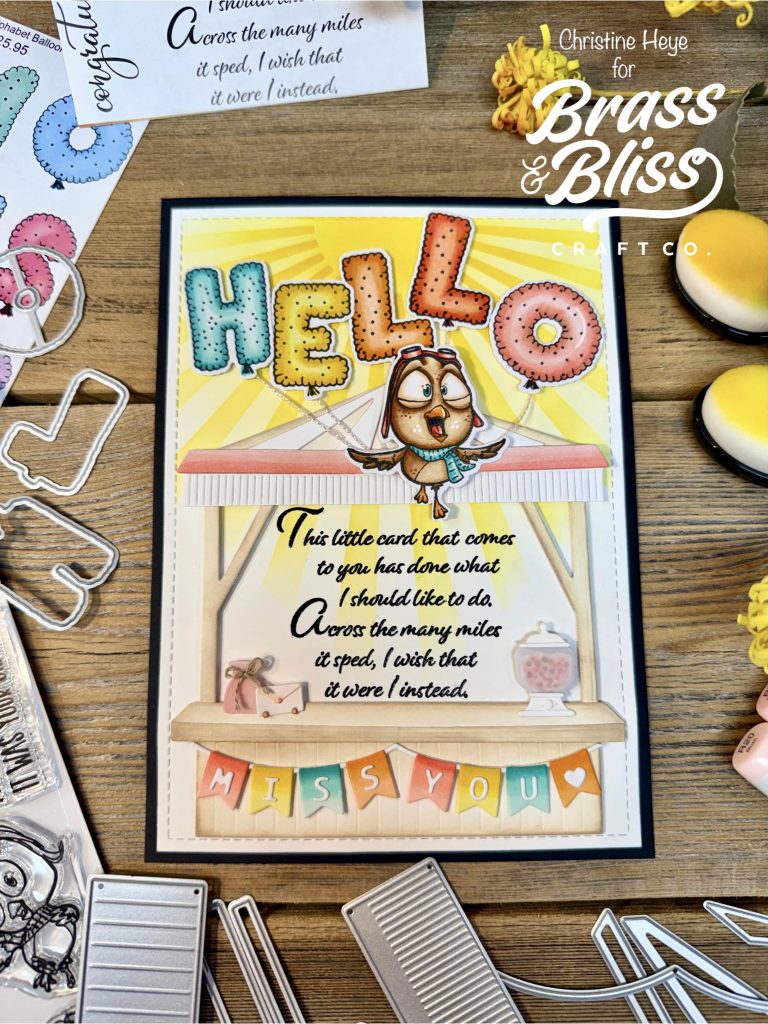
Supplies Used:
- 38013 Alphabet Balloons 6×8 Stamp Set https://brassandbliss.com/products/38013-alphabet-balloons-6×8-stamp-set?ref=christine_heye
- 38013D Alphabet Balloons coordinating die https://brassandbliss.com/products/38013d-alphabet-balloons-coordinating-dies?ref=christine_heye
- 38015 Sky-High Birthday Birds 4×8 Stamp Set https://brassandbliss.com/products/38015-sky-high-birthday-birds-4×8-stamp-set?ref=christine_heye
- 38015D Sky-High Birthday Birds coordinating die https://brassandbliss.com/products/38015d-sky-high-birthday-birds-coordinating-dies?ref=christine_heye
- 5813-01D Farmers Market Stand Die https://brassandbliss.com/products/5813-01d-farmers-market-stand-die?_pos=1&_sid=cdd1e961e&_ss=r?ref=christine_heye
- 5813-02D Farmers Market Spring Accessories Die https://brassandbliss.com/products/5813-02d-farmers-market-spring-accessories-die?pr_prod_strat=pinned&pr_rec_id=cc384468a&pr_rec_pid=9832817066297&pr_ref_pid=9832816509241&pr_seq=uniform?ref=christine_heye
- 5813-07D Farmers Market Birthday Add-on Die http://5813-07D Birthday Market Add on Die — Brass & Bliss Craft Co.?ref=christine-heye
- 4108 Sun Burst Stencil https://brassandbliss.com/products/4108-sun-burst-stencil-6×6?_pos=1&_psq=Sun+burst&_ss=e&_v=1.0?ref=christine_heye
- 38005 Birthday Wishes & Blooms 4×6 Stamp Set https://brassandbliss.com/products/38005-birthday-wishes-blooms-4×6-stamp-set?ref=christine_heye
- 38005D Birthday Wishes & Blooms coordinating Die https://brassandbliss.com/products/38005d-birthday-wishes-blooms-coordinating-dies?ref=christine_heye
- 5853-01D Small Fringe Die https://brassandbliss.com/products/5853-01d-small-fringe-die?_pos=1&_psq=Fringe&_ss=e&_v=1.0?ref=christine_heye
- 5618-D Small Classic Alphabet Die https://brassandbliss.com/products/5618d-small-classic-alphabet-die?_pos=3&_psq=Alphabet&_ss=e&_v=1.0?ref=christine_heye