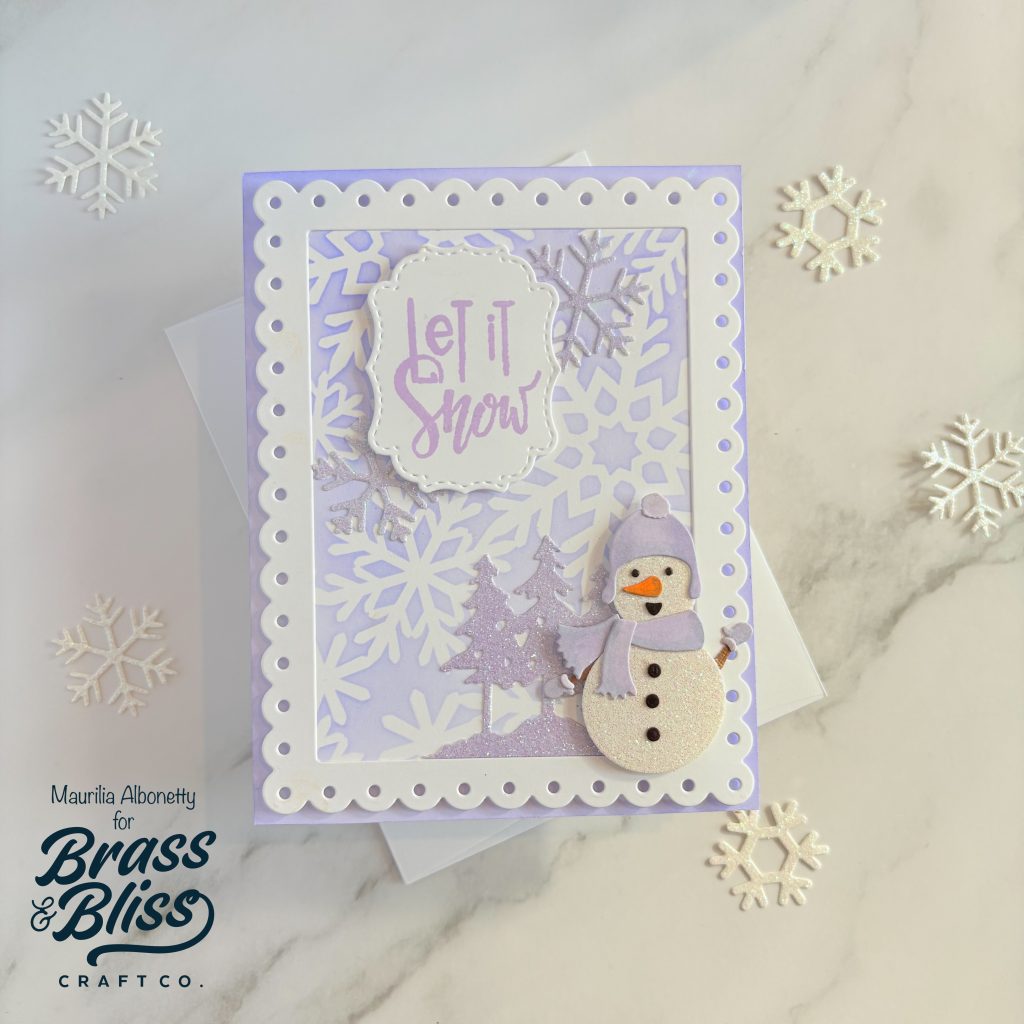
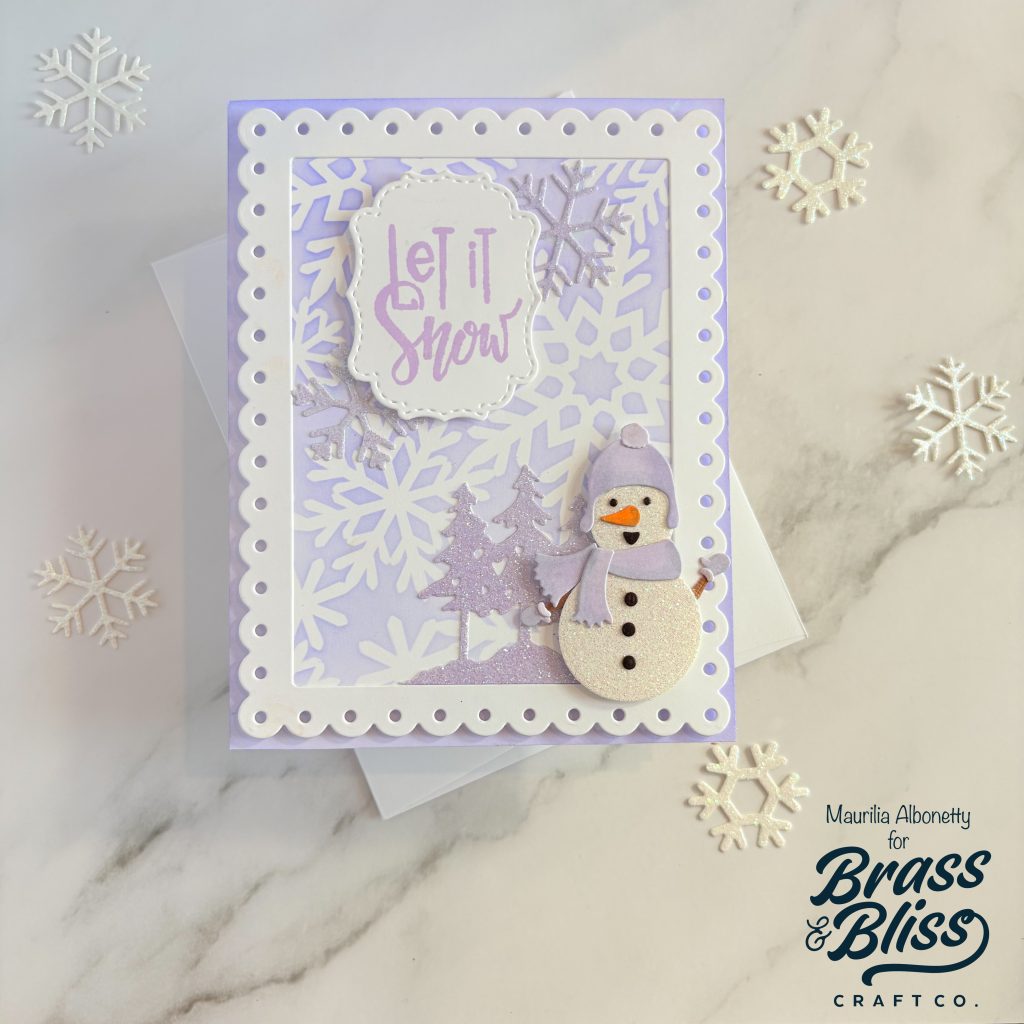
Make your snowman stamps and dies last well past the Christmas Season and create with them all winter long. This Purple winter wonderland is the perfect setting for this adorable snowman!
Todays chilly winter card comes from our designer, Maurilia, who said, “Building a snowman reminds me of happy childhood snow days.The purple shades add a touch of joy and whimsy to this sweet card. Let someone know you are thinking of them during this cold season with warm thoughts.” We love this card, and it definitely feels appropriate during this Icy February. Follow along with the steps below and recreate a winter snowman card for this cold season.


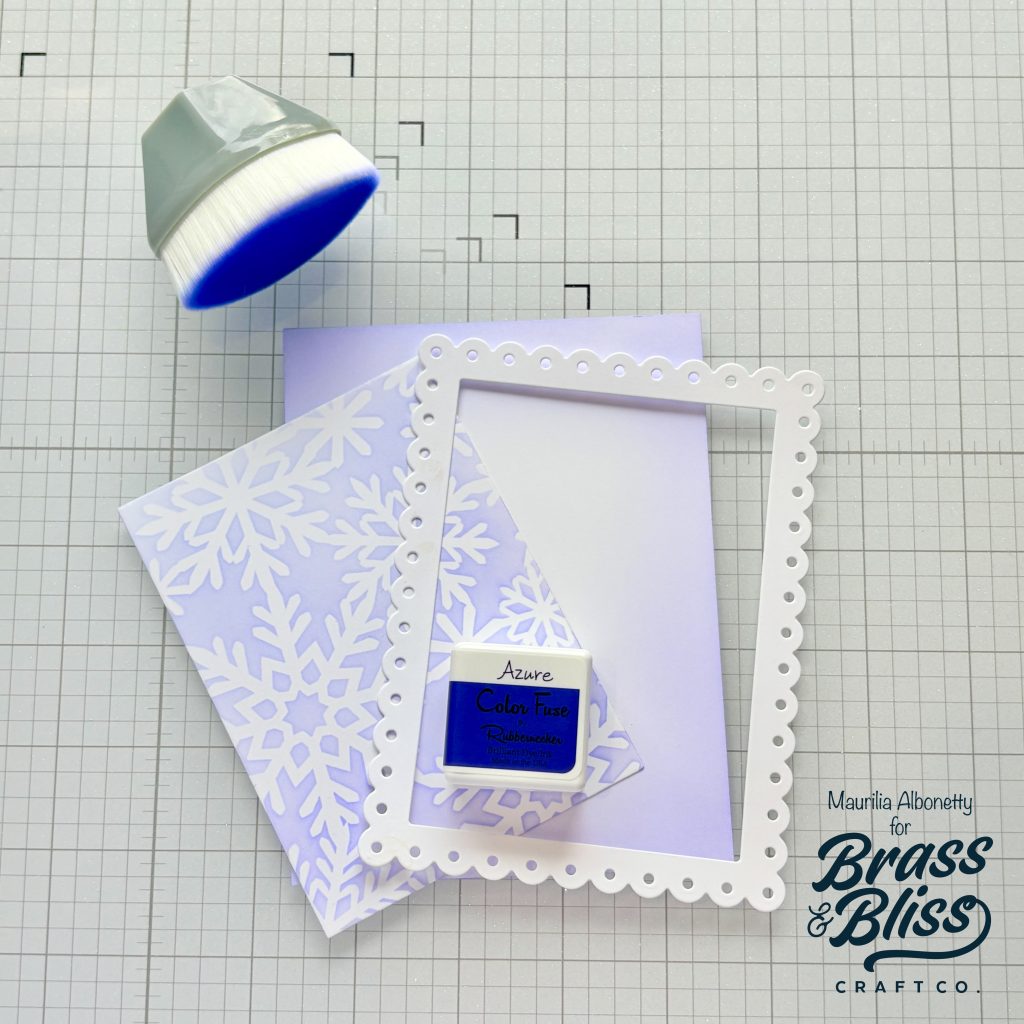
- Step 1 Apply Azure color fuse set #7 to a smooth white rectangle using the 4410 snowflake #2 6×6 stencil.
- Step 2 Next die cut the scalloped frame out of white card stock using the 5218D rectangle combo OPC #3 die.
- Step3 Next cut the hat, gloves and arms using 5337-03D winter snowmen die out of white card stock and white glitter cardstock for the body. Color the hat, gloves, carrot, nose, arms and eyes using alcohol markers. Assemble the snowman by gluing all the accessories.
- Step 4 Did you know you can shade white glitter card stock with color fuse inks?? I recently discovered this and I was pleasantly surprised how well the ink blends on this gritty surface. Apply color fuse azure set #7 to white glitter paper for trees and snowflakes.
- Step 5 Next die cut 5164-01D three pine tree forest die trees and the 5513-07D snowflake dies from the ink blended purple glitter card stock.
- Step 6 Stamp 36045 let it snow set to stamp let it snow stamp sentiment in color fuse set #6 in lavender onto the second to smallest die measuring 1.65″ x 2.1″ from the 5903D Victorian label nested dies
- Step 7 Finally adhere all elements onto an A2 card base. Begin with the azure ink blended panel. Next adhere the snowflake panel to the scalloped frame. Add foam behind the frame for dimension. Adhere the glitter trees to the low right hand corner. Next add foam behind the snowman for dimension and adhere it to the lower right hand corner slightly overlapping the trees. Lastly add the sentiment label in the upper left corner and adhere the two glitter snowflakes on opposing corners.