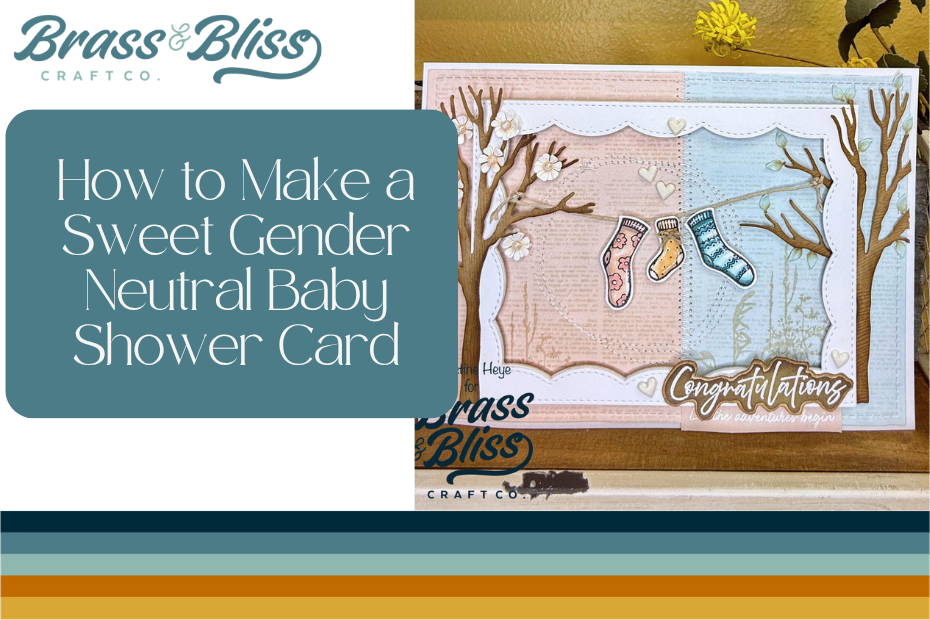
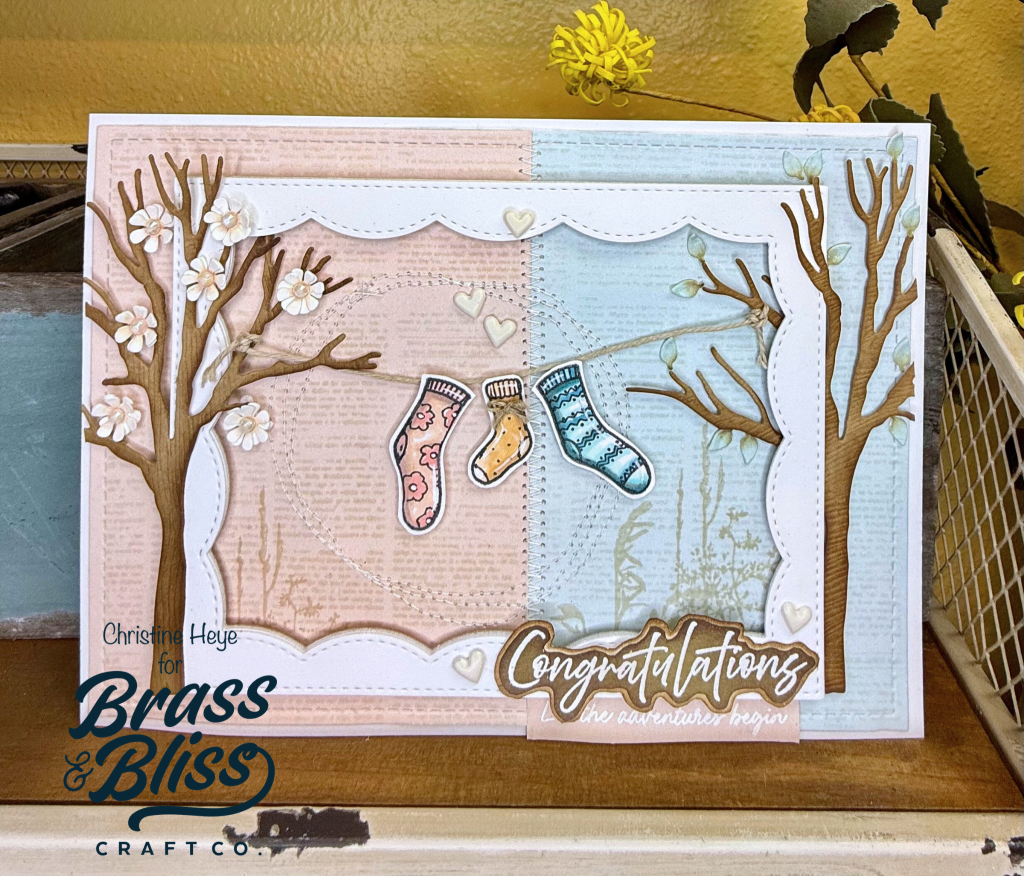
This Congratulations card is perfect for a boy or girl baby shower, or just to give to new parents as they step into this next adventure!
The joy of parenthood…..it’s sweet and exhausting. Why not make it extra special with a “The laundry is about to get super cute!” greeting card. Today our super talented designer, Christine, has created this beautiful creation that’s packed full of details that take this card to the next level. Sweet colored socks hanging on the twine line is a fun way to signify a baby card. This card takes a “fall themed” set and turns it into an all-season congratulations. Some florals, a bit of masking and a touch of sewing to make a sweet and happy scene! Great job Christine! Follow along and see how you recreate this sweet gender neutral baby shower card.
Steps to recreate this card:
- KEY: card stock abbreviated =CS & heavyweight card stock =HWCS & paper pad =PP
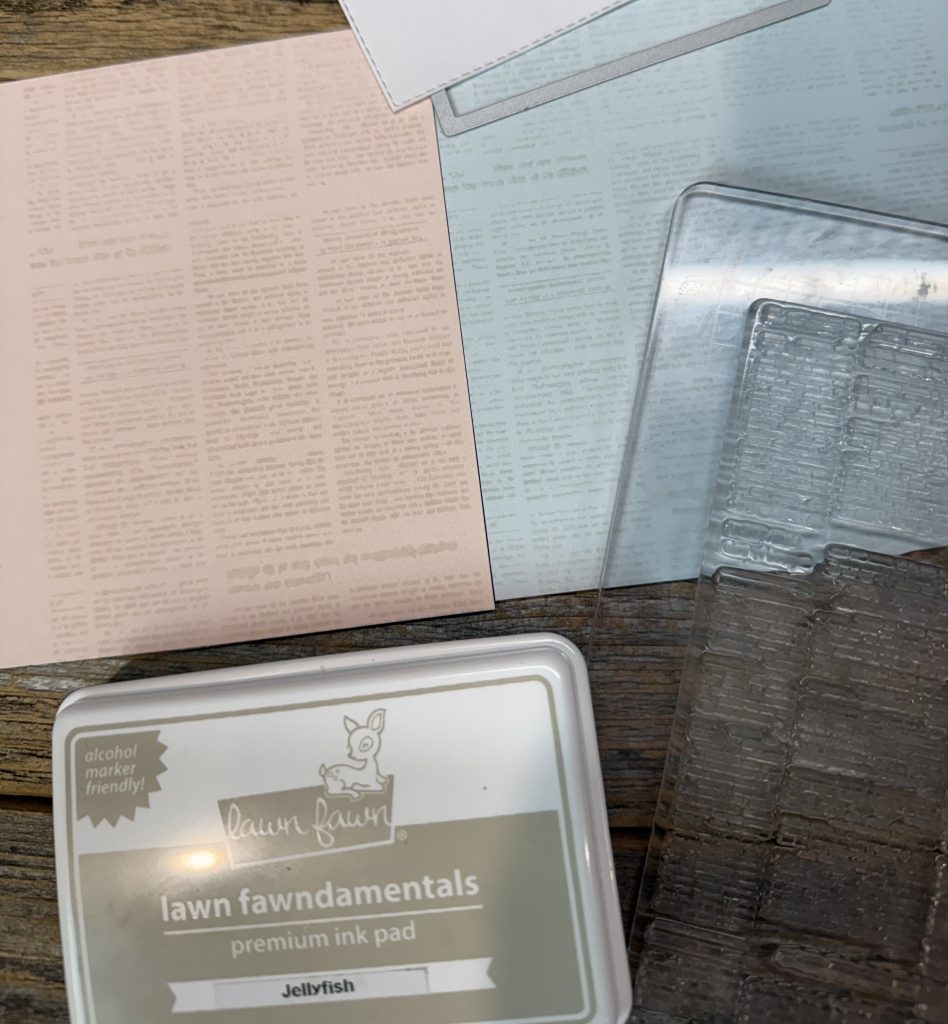
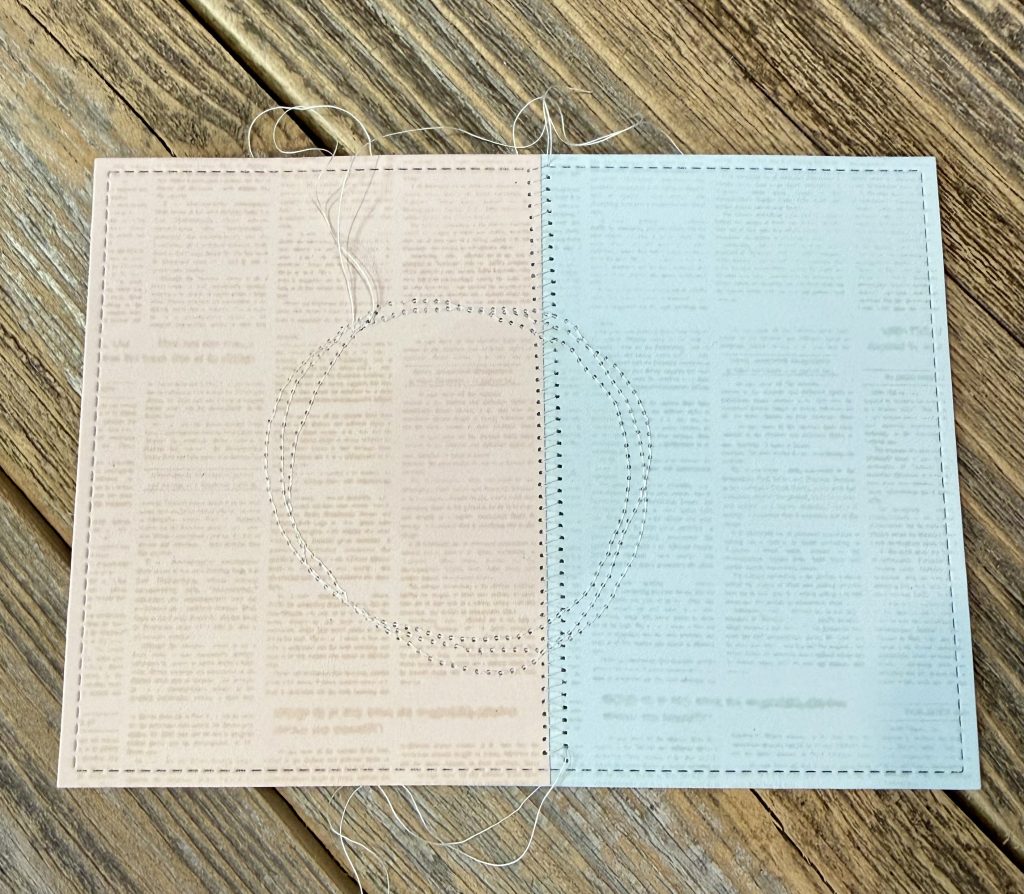
- Cut 2 pieces down from (pink-Tropical Dreams PP/blue-Life Upon the Sea PP) from 6×6 to 5×6. Stamp Newspaper background onto both pieces with a light warm gray ink. Cut a piece of copy paper down to 5×7. Line sheets up w/a low tack tape to piece of copy paper for stitching to attach to. Using a 5×7 stitched rectangle die cut the piece down. Add zigzag stitching w/sewing machine, down center seam. Add 3 straight stitch circles around area socks are intended to be. If sewing is not preferred, you can use a white gel pen.
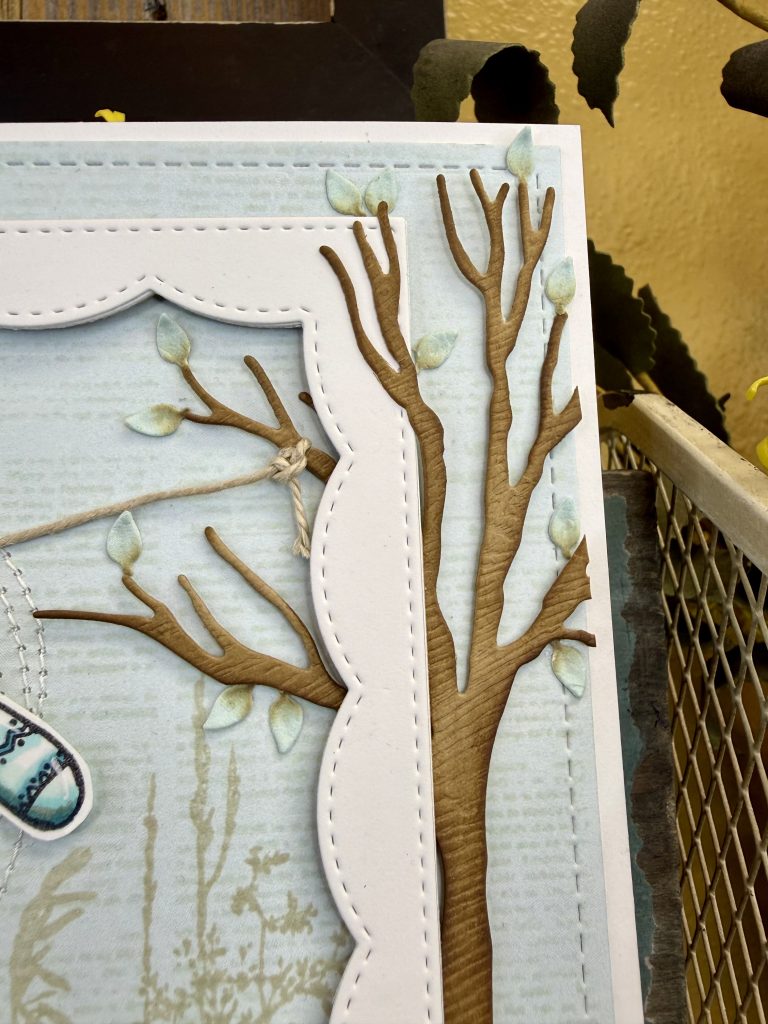
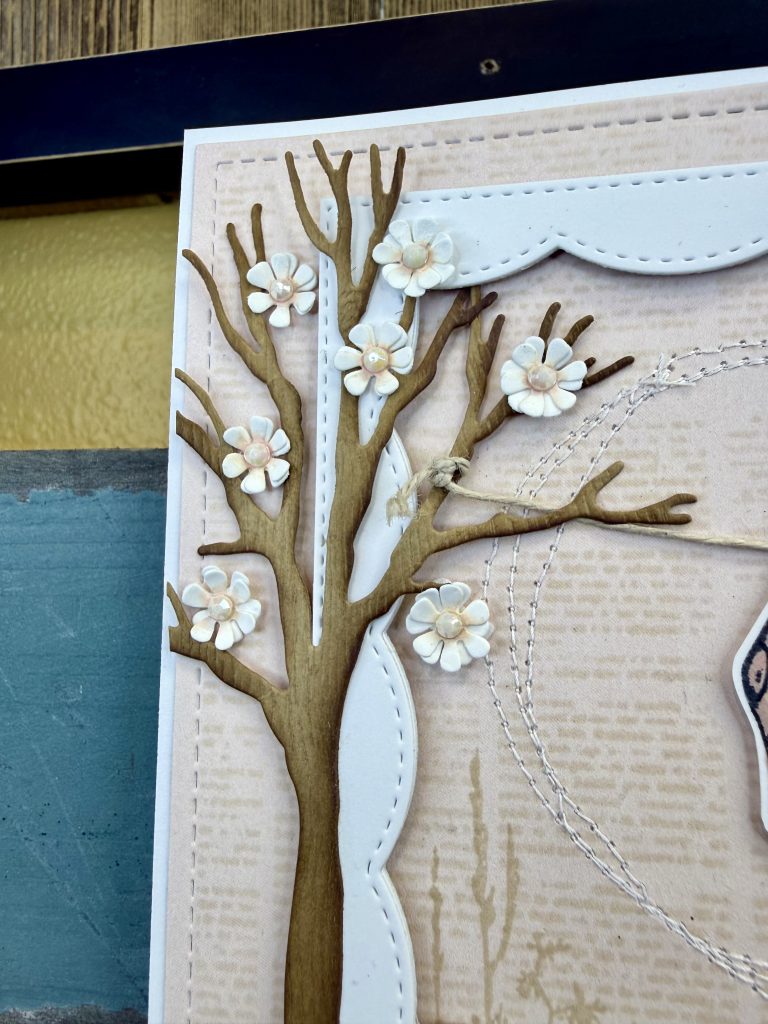
- Die cut Fall Tree 2X from wood grain CS. Add dark brown to edges.
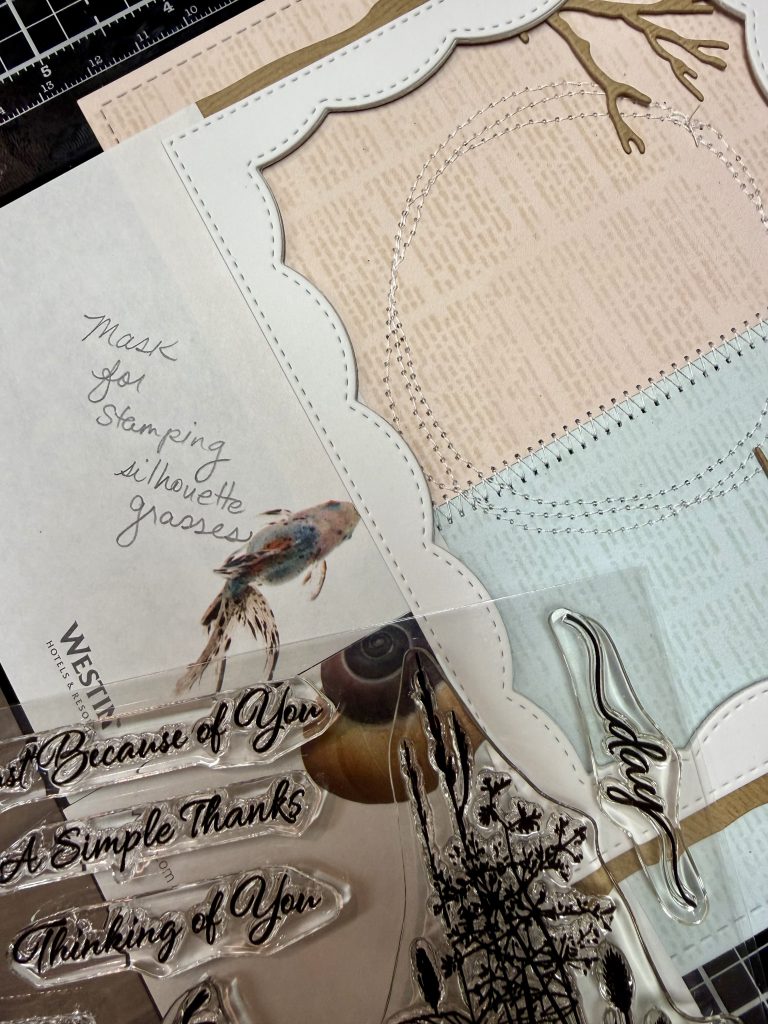
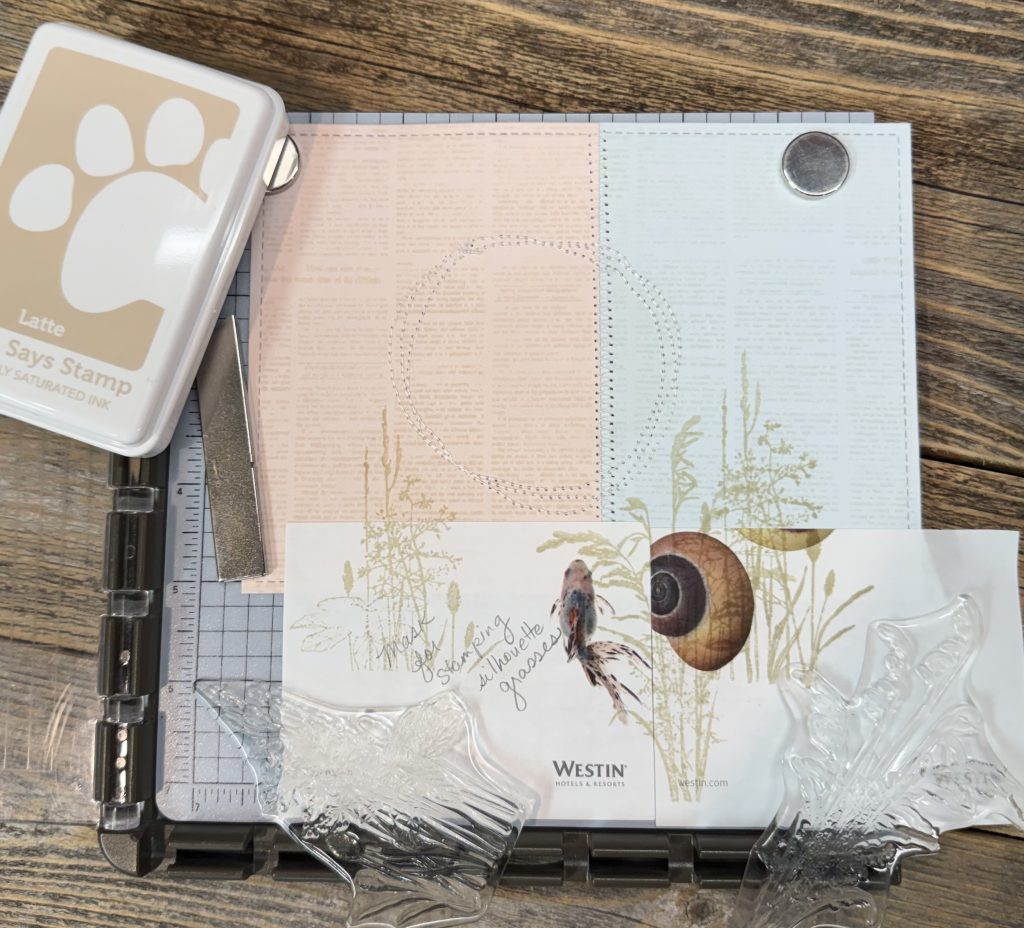
- Die cut Framed Scallop from white HWCS 4X. Adhere together. Temporarily lay frame on sewn piece, centered. Using low tack post its or tape, mask under & sides of frame (see photos) and set frame aside. Using a soft brown ink stamp Silhouette Wildflowers (2X w/stamp positioner). Remove masks. Set aside.
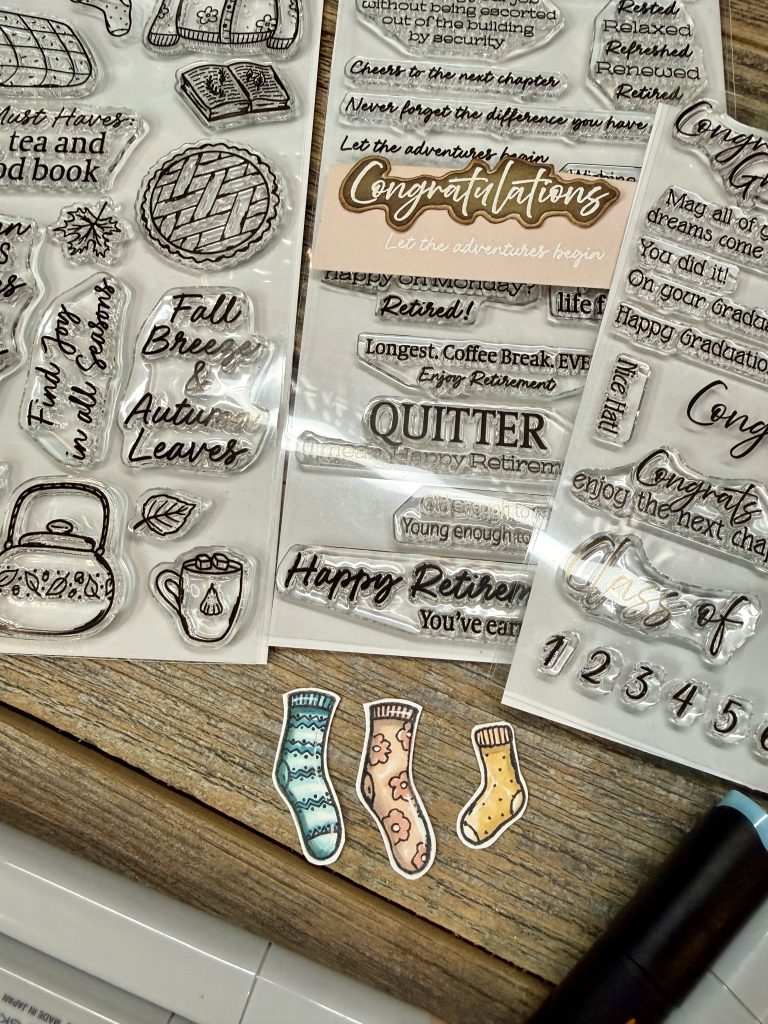
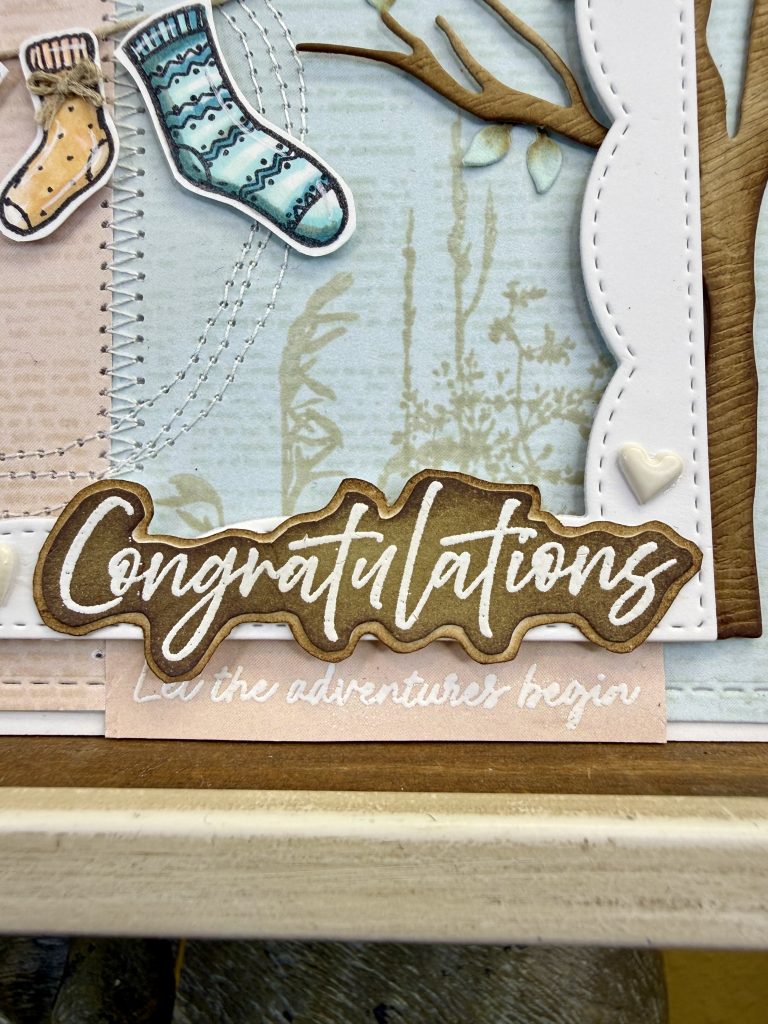
- Using same blue paper heat emboss congratulations (Congrats Grad stamp set) using white embossing powder. Glue onto a white CS and fussy cut out. Using brown ink, (DO walnut stain) gently add color over top until desired look. Let dry. Gently, using a clean & dry cloth buff off the white embossed sentiment. Using same pink paper heat emboss subsentiment (Happy Retirement stamp set) using white embossing powder. Fussy cut using straight lines.
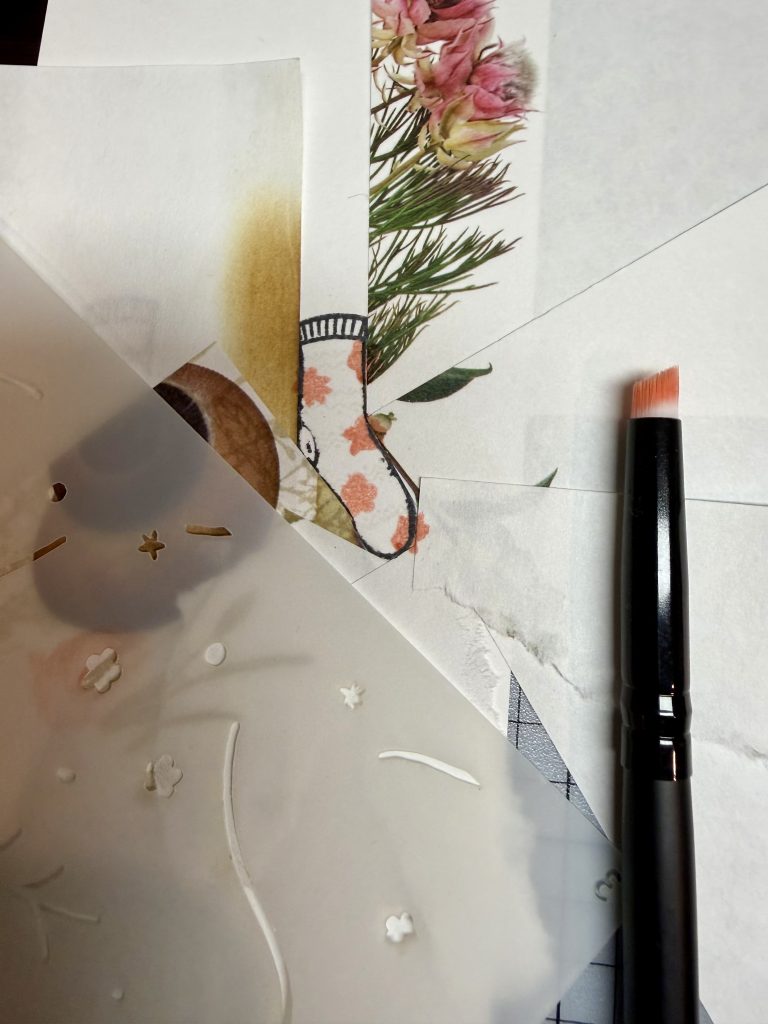
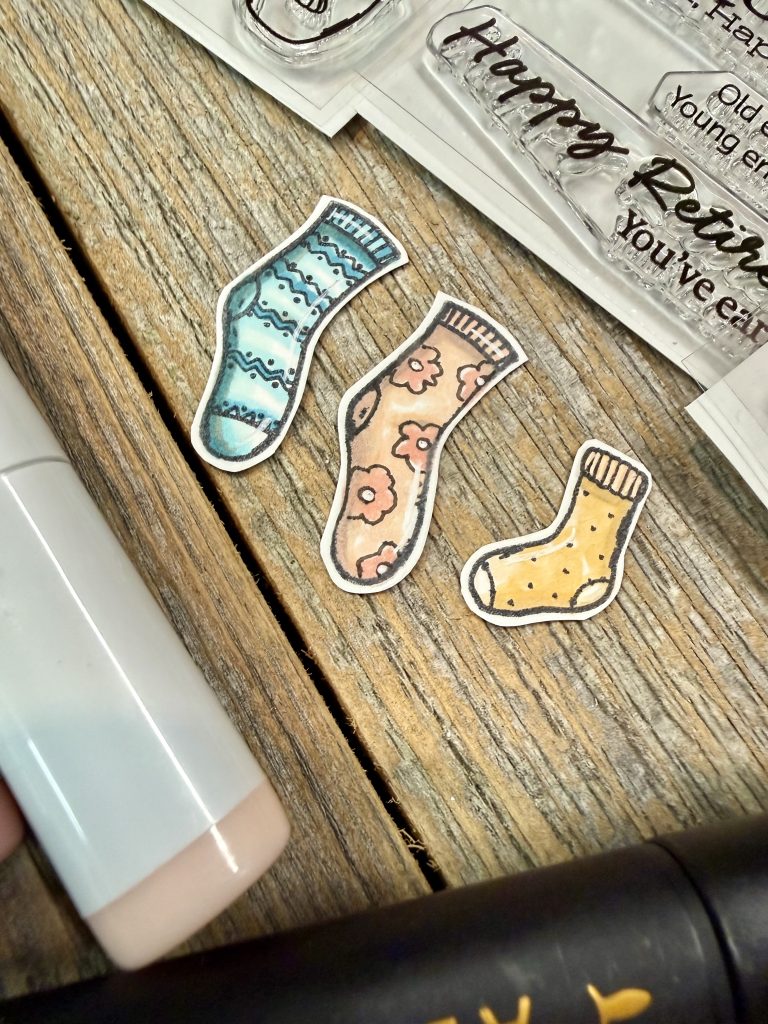
- Stamp using Sweater Weather stamp set- “daddy” sock & “baby” sock w/black alcohol friendly ink (memento is my fav). Color both. Fussy cut out. Stamp “daddy” sock again onto masking paper. CAREFULLY CUT w/blade or fine scissors the inside of the sock out, leaving the outer lines of the sock (See photo). Save both pieces of the masking sheet. USING A STAMP POSITIONER -On same CS as stamped other socks, stamp the “daddy” sock again USING NO LINE INK. Take the inner sock part you cut out and place over that stamped sock. Now keeping mask in place stamp “daddy” sock again using same black ink. Remove inner sock mask and place outer sock mask over area to avoid over inking on next step. Ink Fall Floral Stencil Set (tiny flower centers #3) onto the inside masked area in a pink ink….move stencil to make the flower centers cover the sock evenly. Remove mask, add fine liner (marker safe) to create flowers, centers on sock and heel. Color sock. I fussy cut out to make certain it was die cut/cut correctly, after all that effort. :O) Now you have the “mommy” sock!
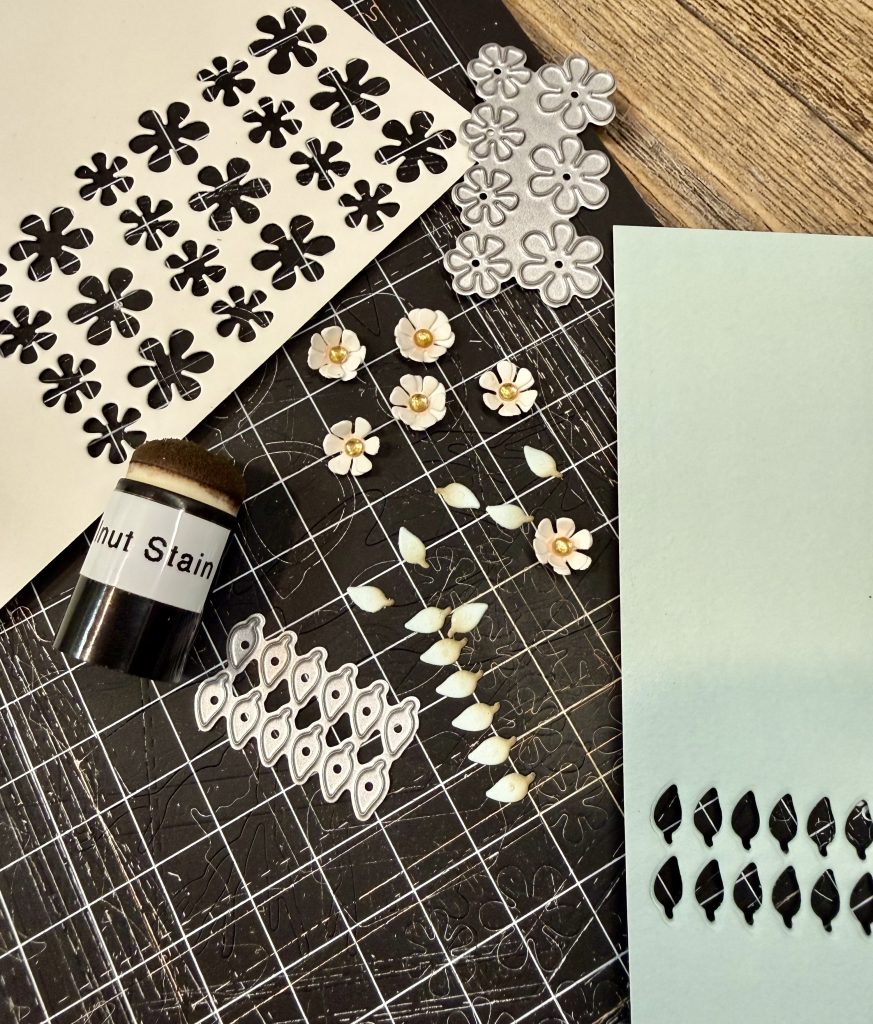
- Add trees to frame. 1- to front side and 1 to backside. This gives depth to the scene. Secure frame to sewn papers layer w/thin foam tape. Add thin twine to chosen branches w/liquid glue and knots. Die cut the small size blossoms from Sunlit Blossoms die set from white CS. 4X (die cuts 4 at a time). Gently ink centers of 7 blossoms w/pink ink. Using a stylus press into centers of all 14 flowers. Stack the inked blossoms onto the white w/liquid glue. Allow to dry before adding embellishment to centers. Adhere where desired to tree on “momma” side. Die cut Small Fall Leaves 1X (die cuts 12 in one pass) from green paper from Tropical Dreams PP. Curl using stylus and add a bit of brown ink (DO Walnut Stain) to tips. Adhere w/liquid glue to branches on “daddy” side.
- Using thin foam adhesive add socks to clothesline making the appear to be hanging. Make a tiny twine bow for the “baby” sock and adhere w/liquid glue.
- Glue both sentiments down flat. Congratulations to frame and subsentiment to sewn piece. Attach entire card front to a white HWCS base. Add white heart embellishments, if desired.
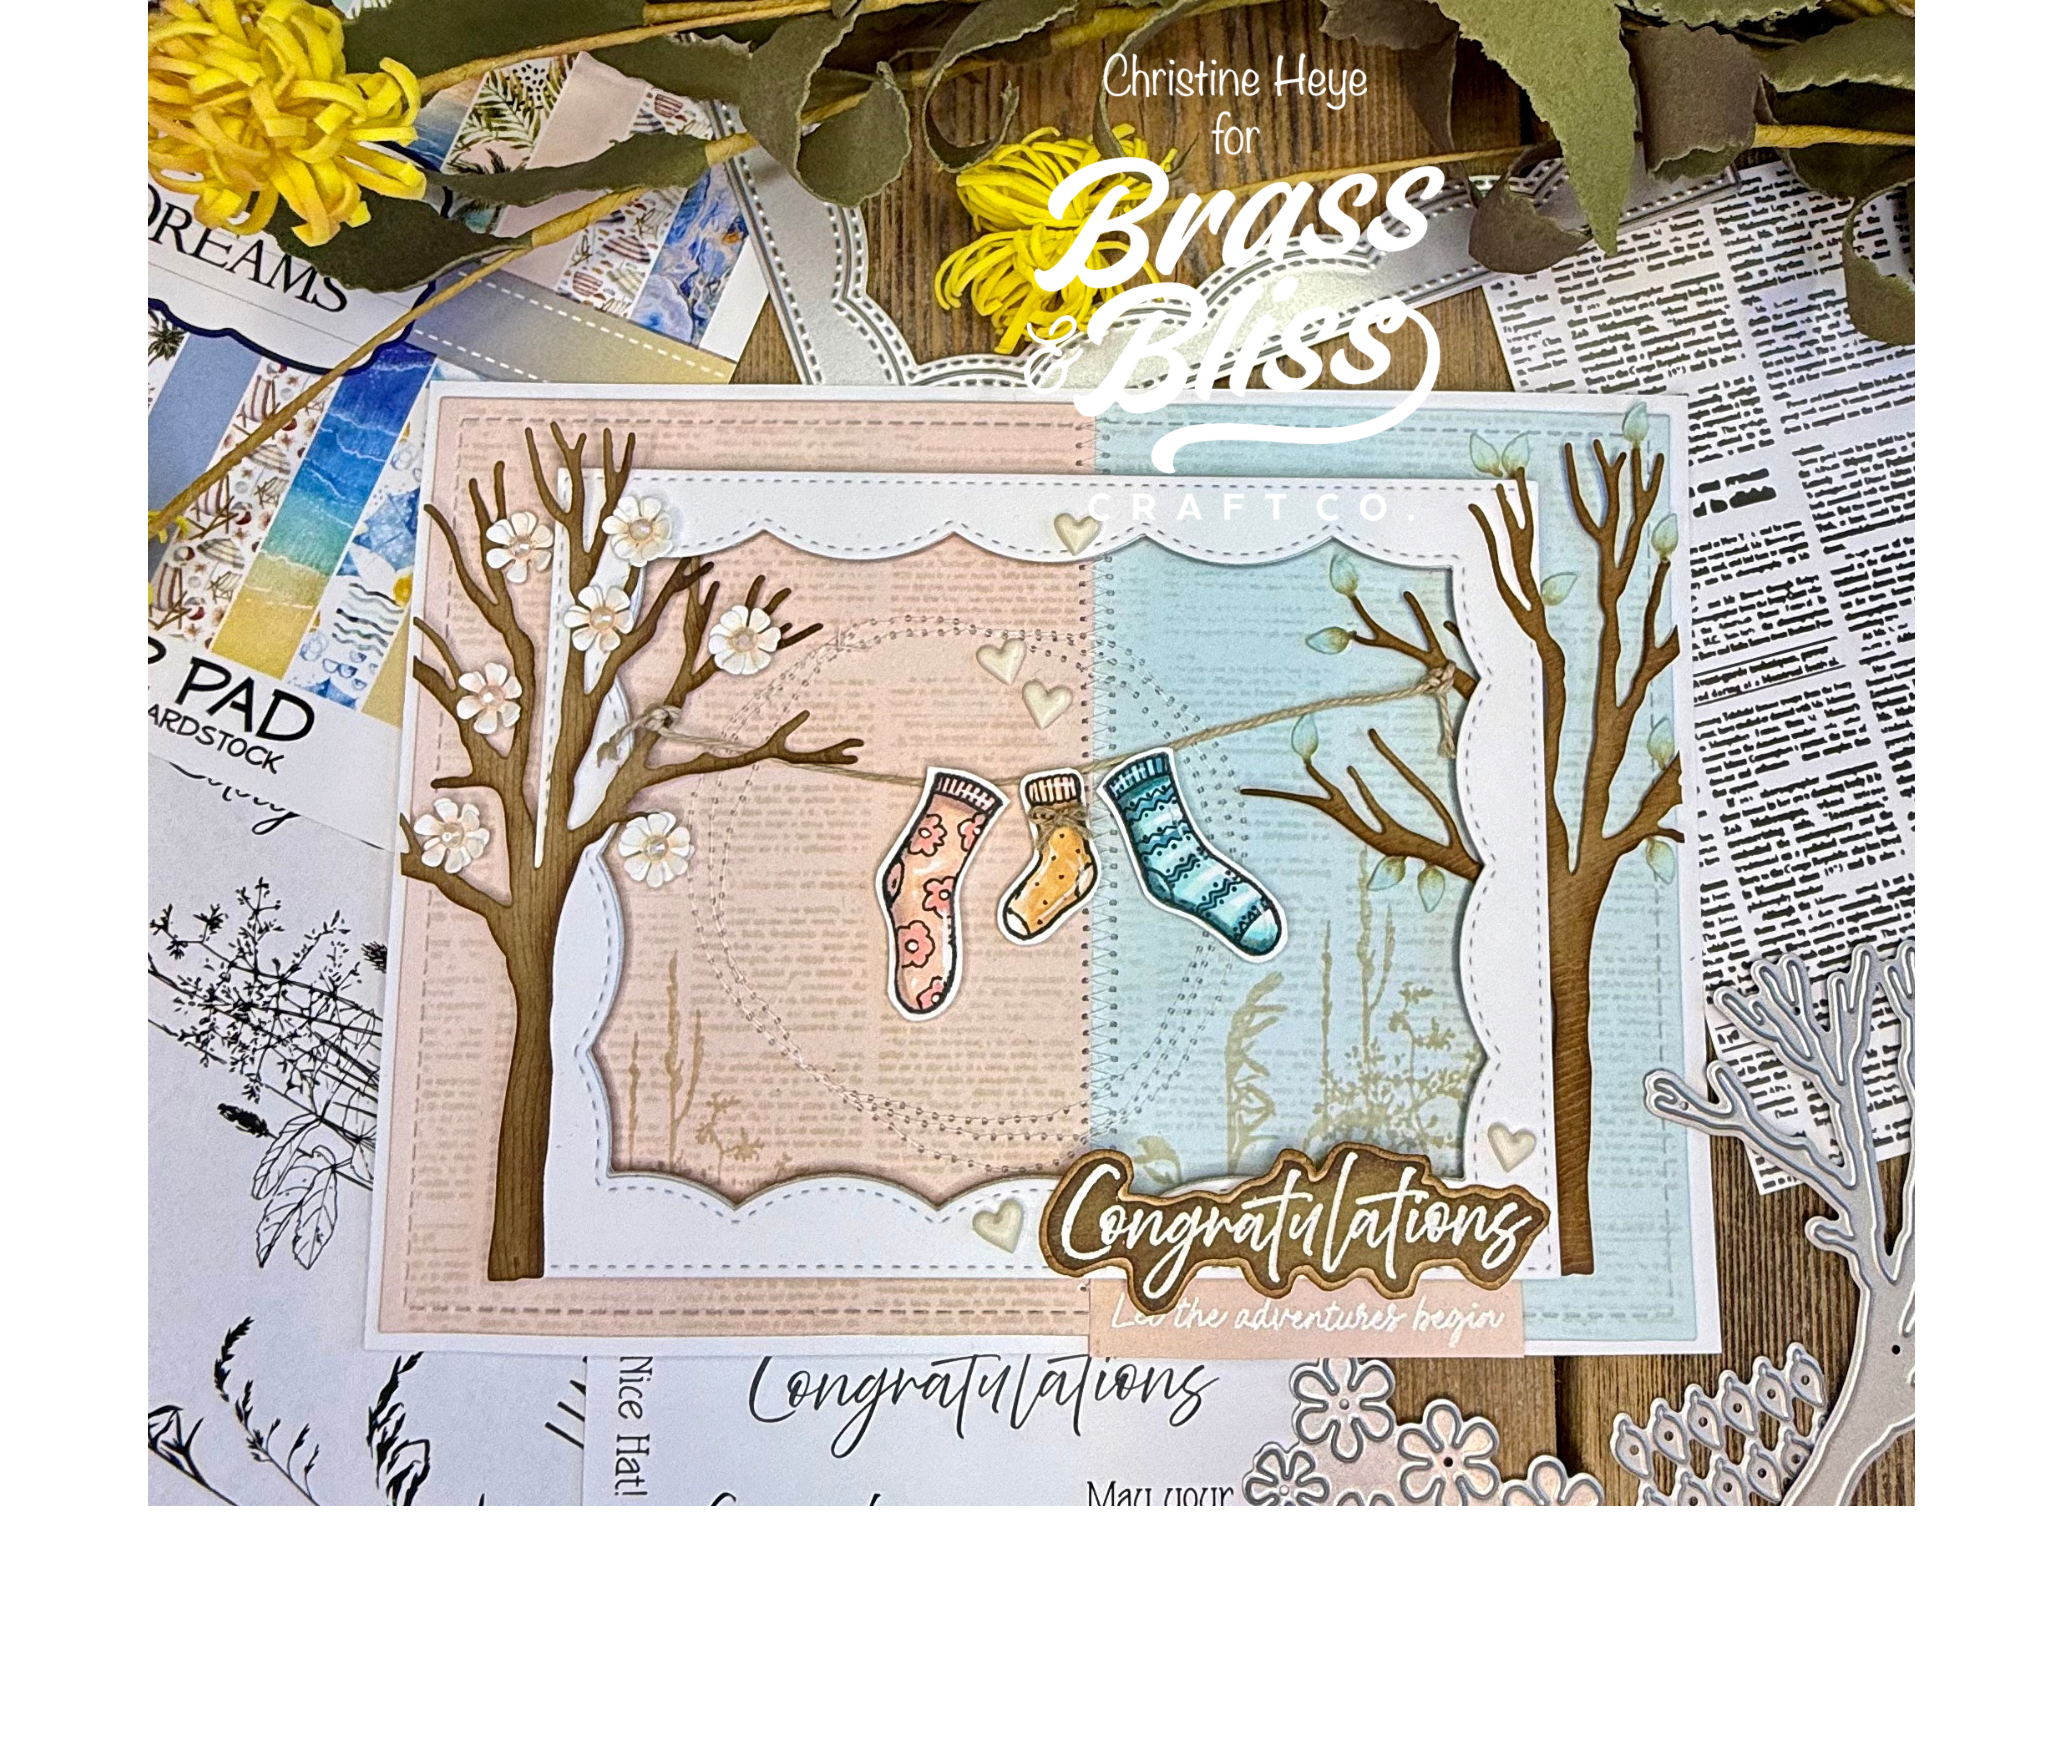
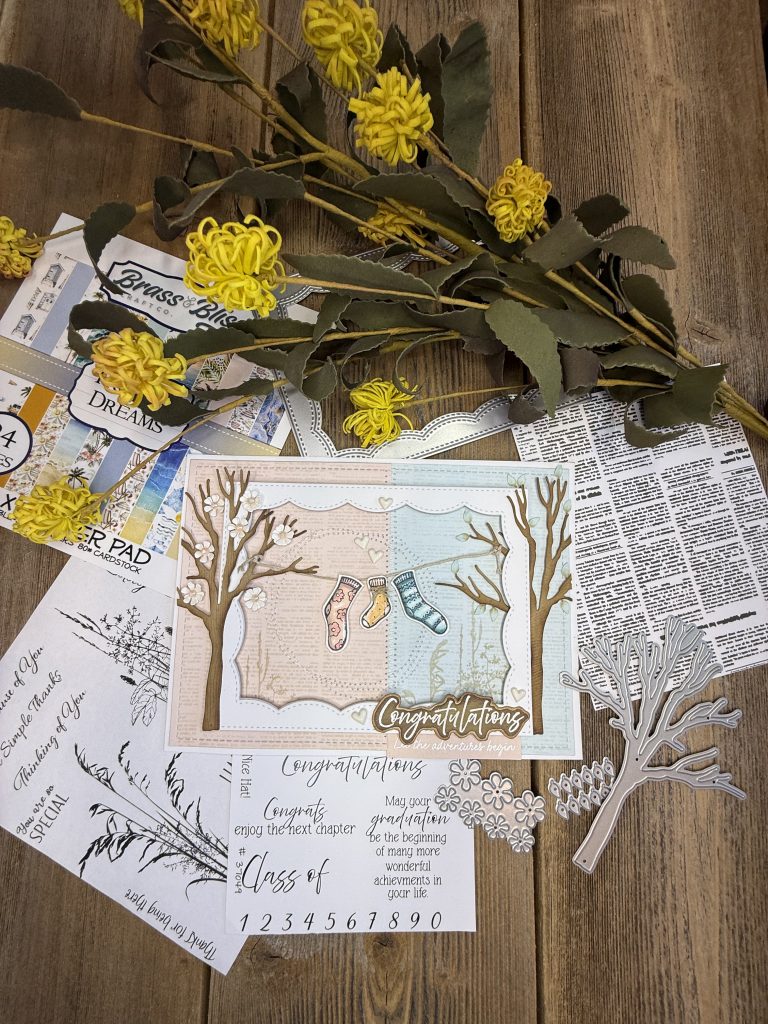
Supplies Used:
- 36054 Sweater Weather 4×8 stamp set
- 36054D Sweater Weather Coordinating Die
- 2208 Life Upon the Sea 6×6 paper pad
- 2207 Tropical Dreams 6×6 paper pad
- News Paper Background stamp set
- 5849-01D Fall Tree Die
- 37047 Happy Retirement 4×8 stamp set
- 37049 Congrats Grad 4×6 stamp set
- 36028 Silhouette Wildflowers 5×6 stamp set
- 5852-01D Framed Scallop w/Stitch Die
- 4306 Fall Floral 6×6 3 part Stencil
- 5811-03D Sunlit Blossoms Die
- 5849-02D Small Fall Leaves Die