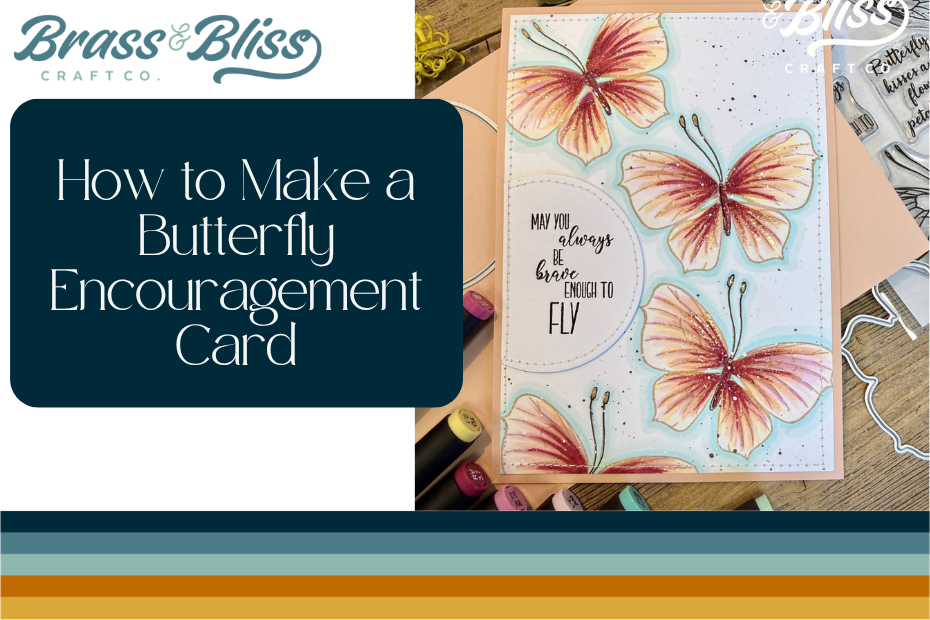
Just Fluttering by to give some encouragement with this soft spring design in pastels.
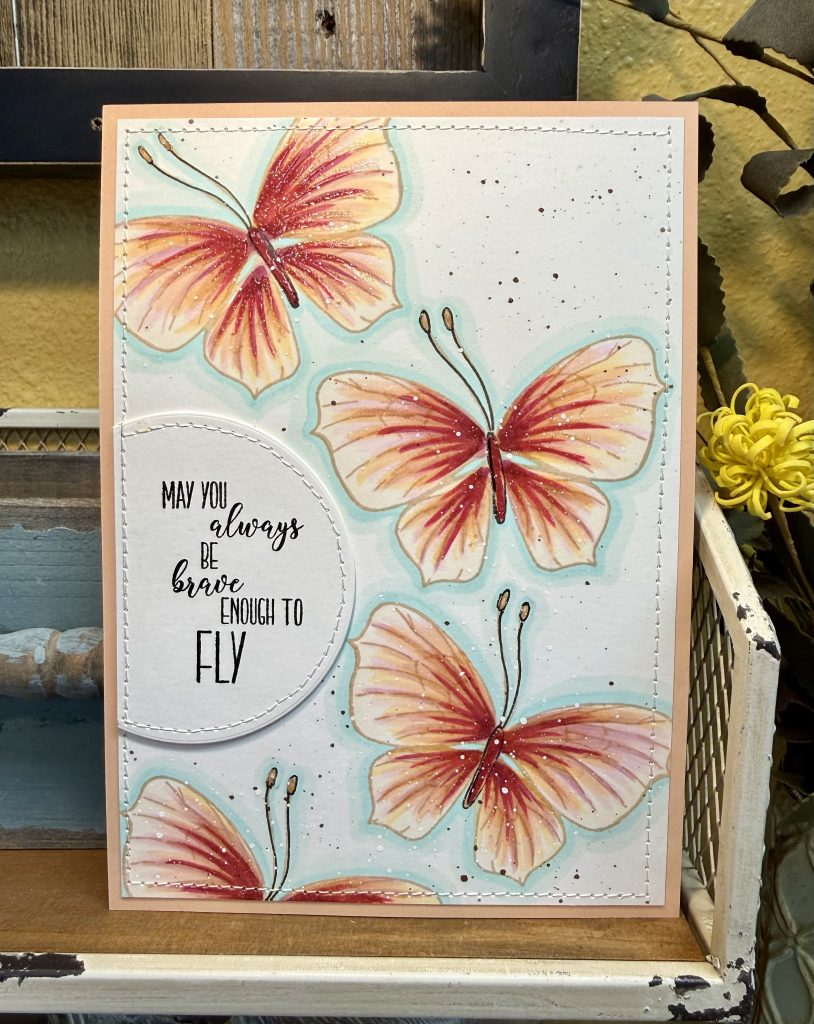
Today our designer Christine is bringing us this A7 greeting card featuring the new Fluttery Wishes Stamp set from the new “Botanical Daydreams” Release. These happy, bright butterflies will fly right into your heart and make your crafting feel like it’s being lifted to new heights! A bit of crafty stitching, simple alcohol marker coloring and a bit of splatter will delight any recipient! May all of us “always be brave enough to fly”!
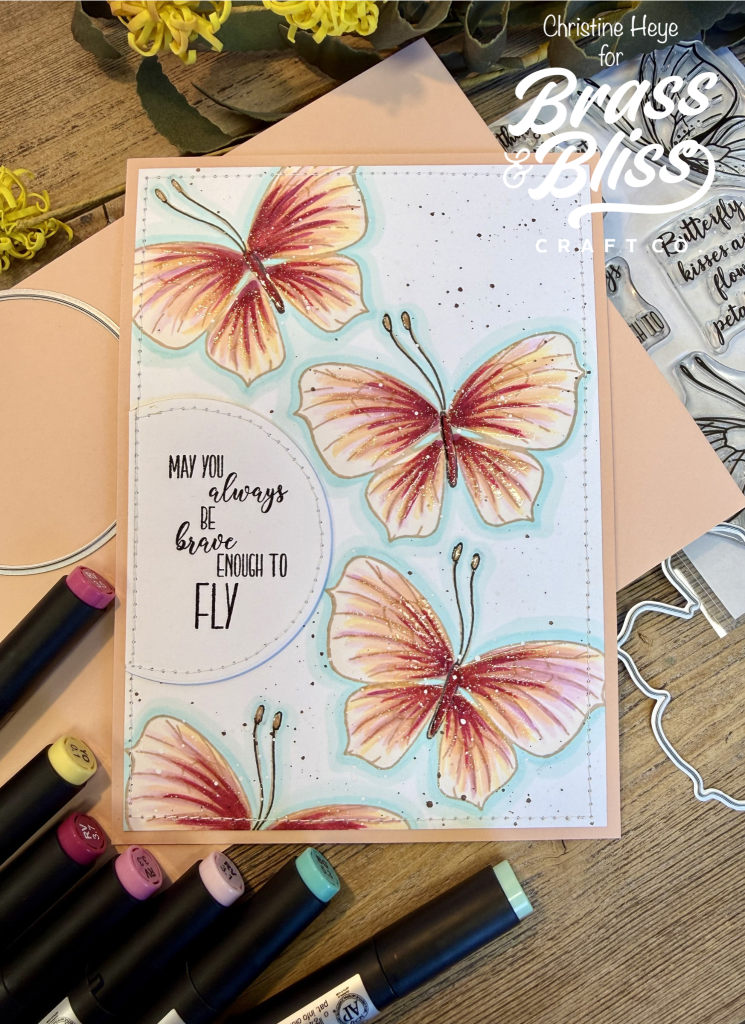
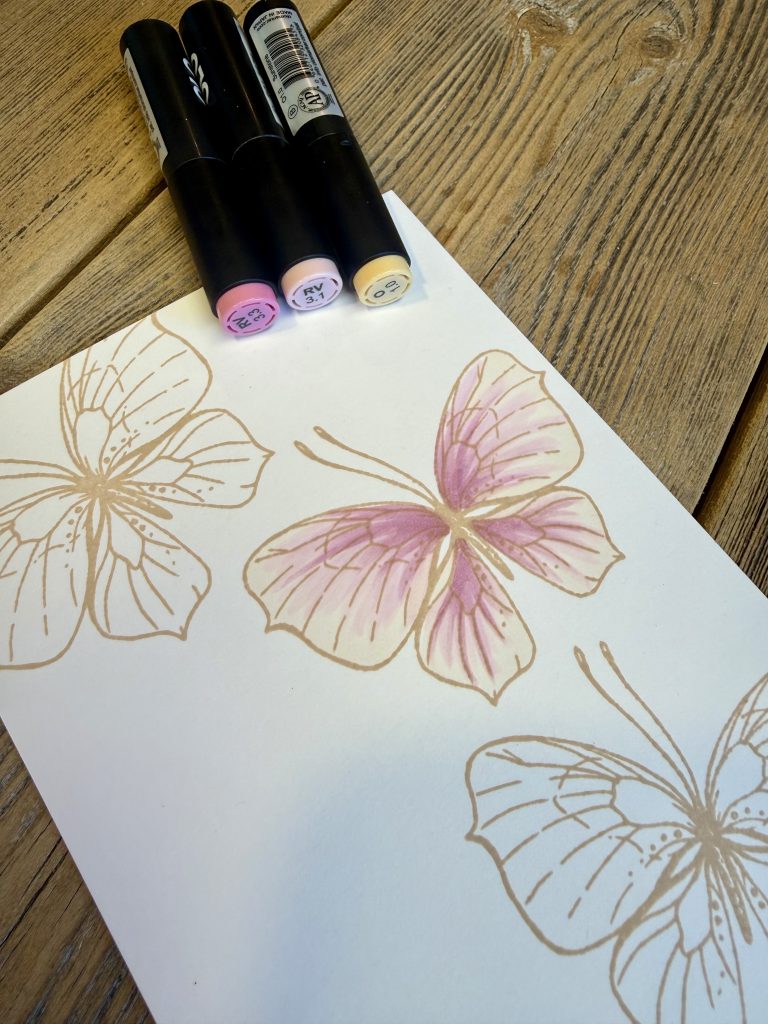
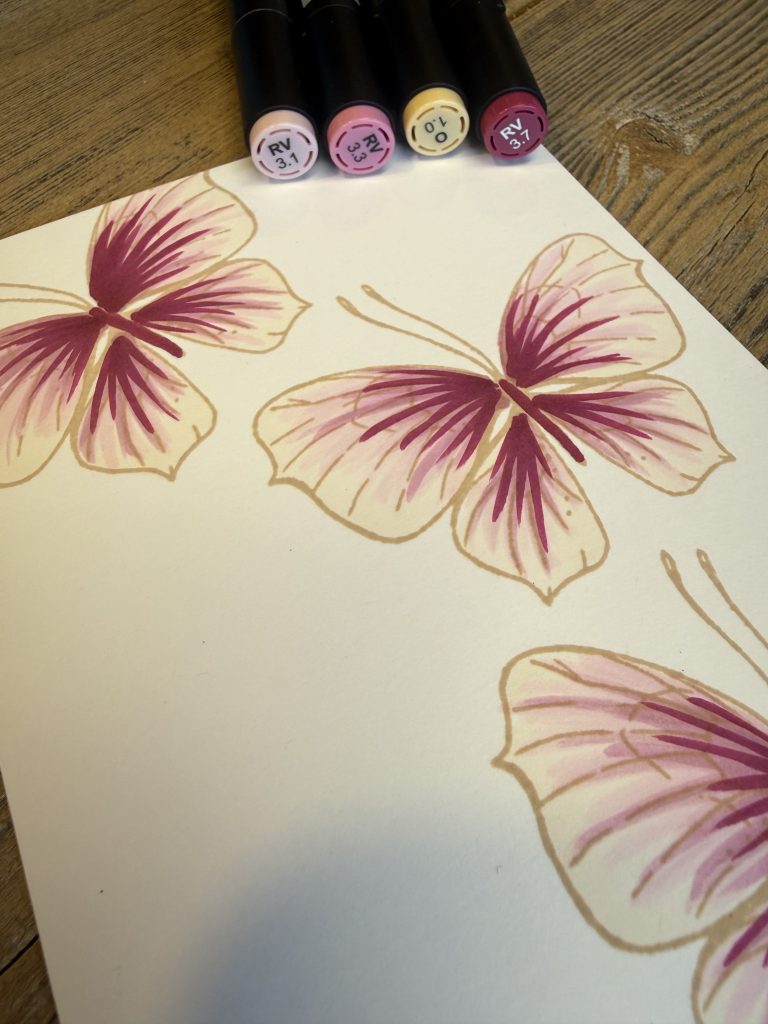
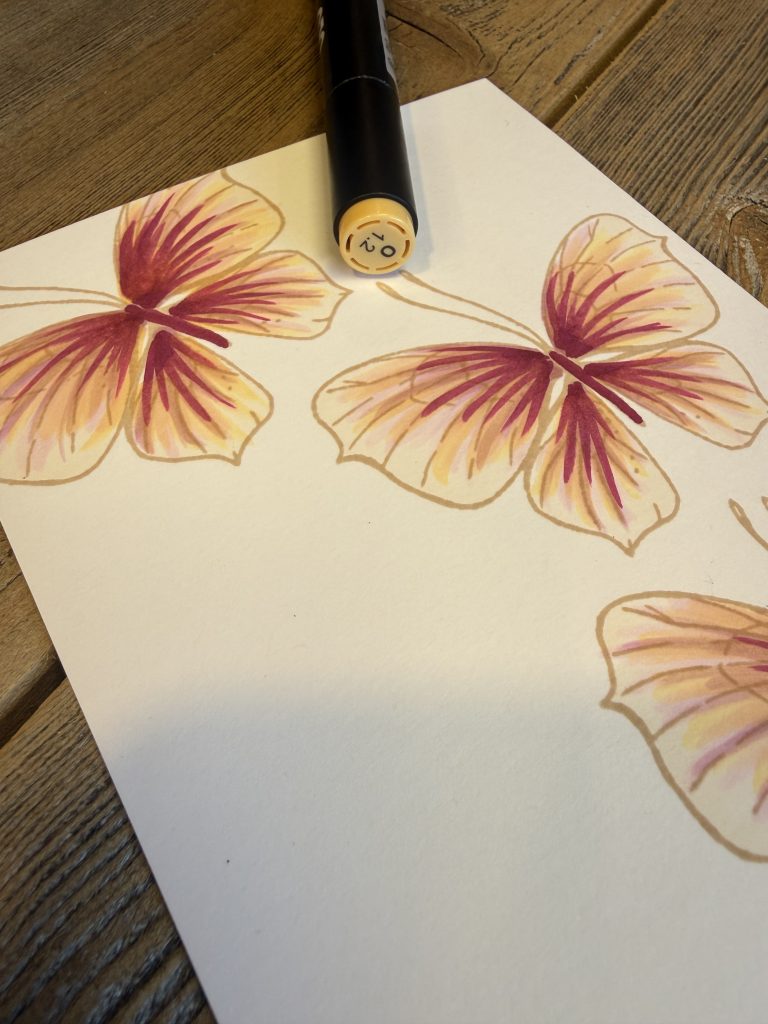
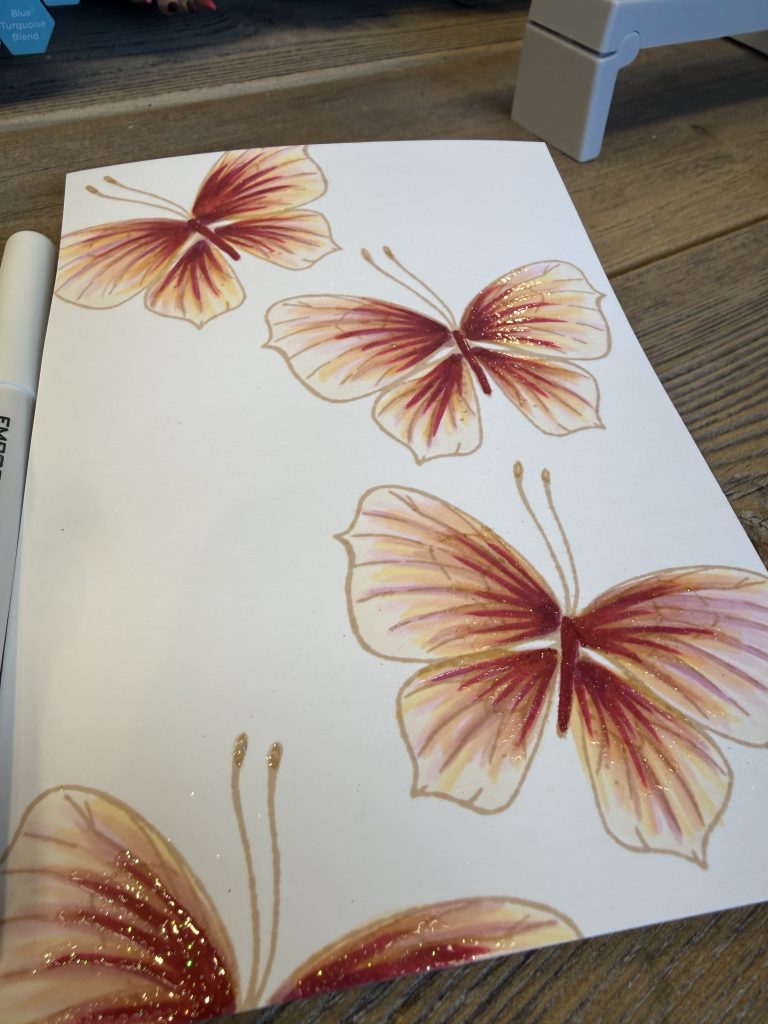
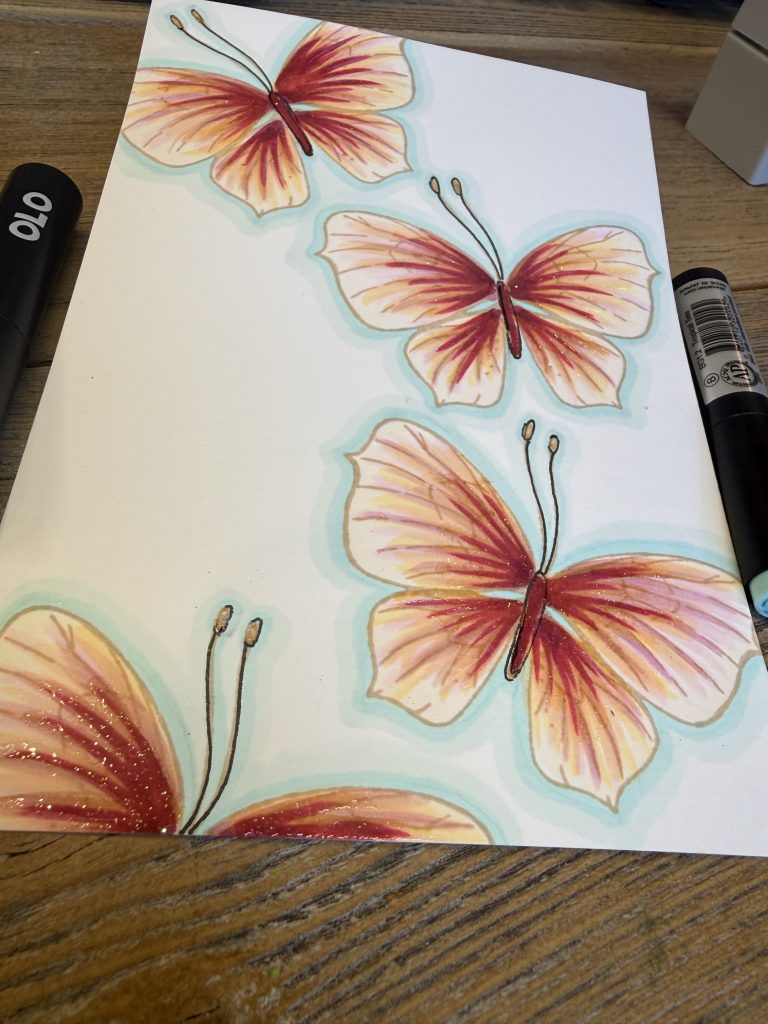
- Using an alcohol marker friendly light ink stamp the butterfly from the Fluttery Wishes stamp set, repeatedly onto a 4-3/4” X 6-3/4” piece of white CS, on and off the paper. Coloring the butterflies in starting w/light colors and adding details w/darker colors. (See photos)
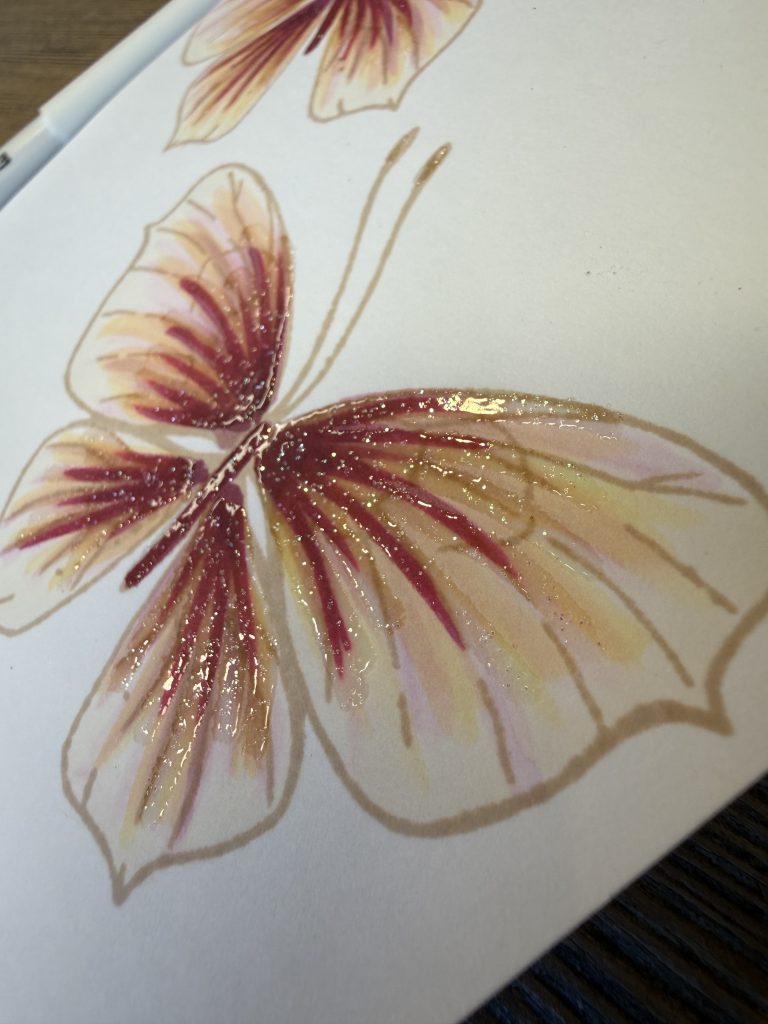
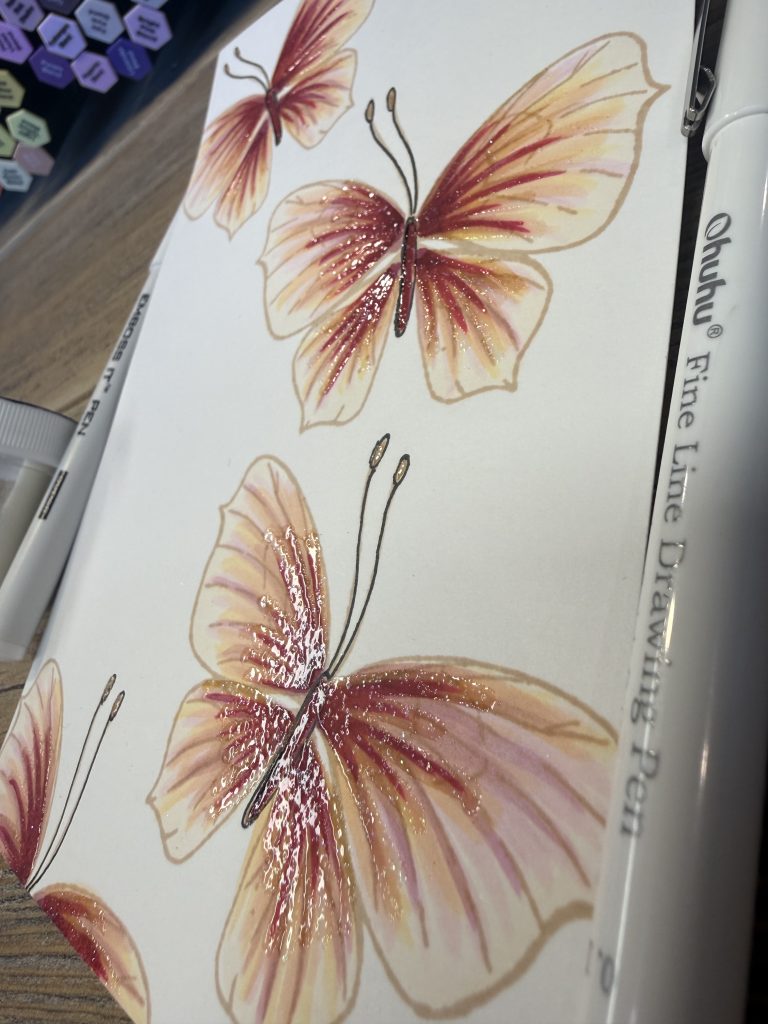
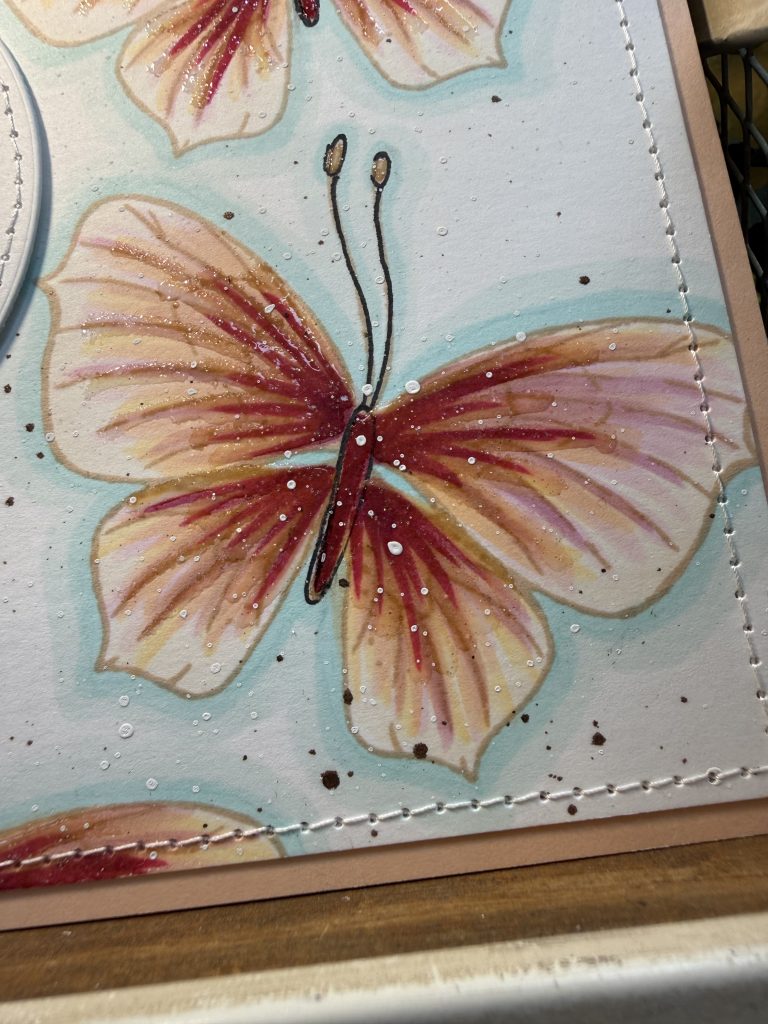
- Take an embossing marker, in a clear ink (ranger) and brush the darkest marker strokes & top of the antenna- on one butterfly at a time. Add clear w/sparkle embossing powder and heat set- again 1 butterfly at a time, to ensure ink stays wet long enough. I did half of a butterfly per heat setting. I chose to put my panel into a piece of copy paper and run it through a die cutting machine with light pressure (no shim) to flatten the piece back out from the embossing, but not affect the embossing.
- Carefully trace the body and the antennae with a fine liner black pen.
- Using 2 shades of BG alcohol markers add darkest first to perimeter only of each butterfly. Next add the lightest color on and just next to the first color to blend out, but not too much. The lines look nice a bit refined. Using Ground Espresso DO splatter panel. After dry, use white acrylic paint to splatter panel again.
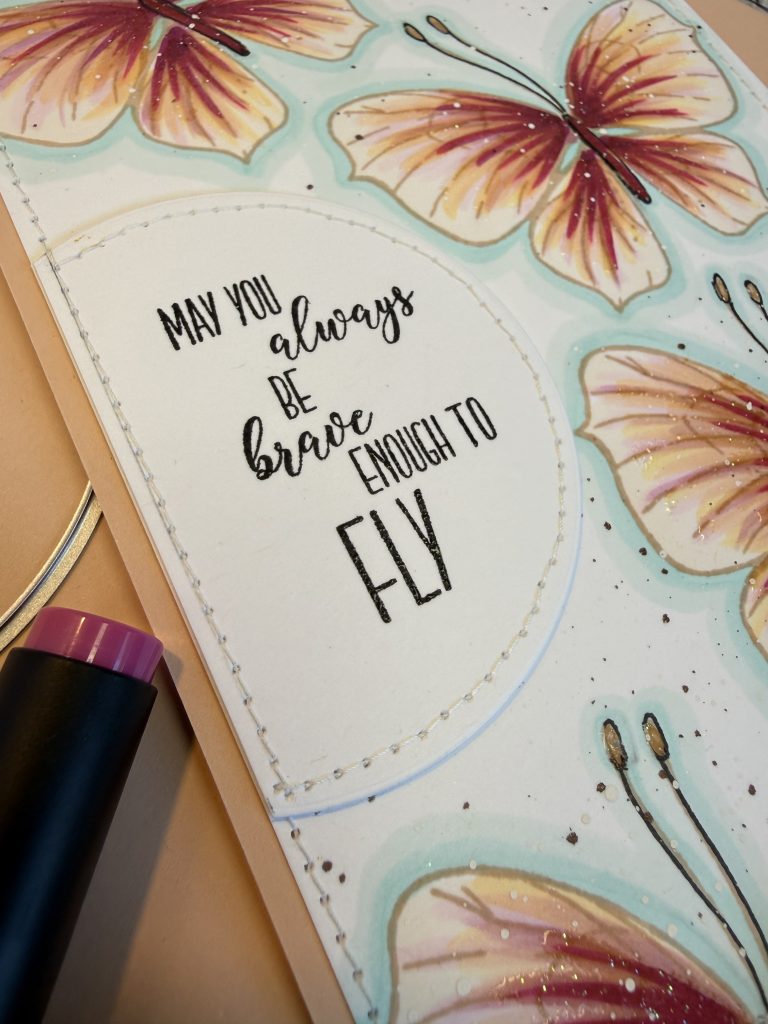
- Stamp sentiment using versafine or preferred black ink onto same white CS. Gently heat set before die cutting & sewing. Die cut this piece out using a circle die. I used the circle from the Gumball Machine Die – it was the perfect size for this sentiment.
- Lay your butterfly piece flat, determine where you wish the sentiment to be. Lightly adhere it using liquid glue in the CENTER ONLY. Trim off the excess part of circle. If desired sew all four edges of your butterfly panel and the 3/4 remaining section of the circle (see photo). Pull threads to back and secure w/tape
- Cut your choice of soft pink CS and layer sewn butterfly piece to it w/liquid glue or a thin foam adhesive. Done! :O)
- 38003 Fluttery Wishes 4×6 Stamp Set https://www.google.com/url?q=https://brassandbliss.com/products/38003-fluttery-wishes-4×6-clear-stamp-set&sa=D&source=editors&ust=1771887727344698&usg=AOvVaw0LAkP5EsnMHIeSUj91zMAA?ref=christine_heye
- 38003D Fluttery Wishes Coordinating Dies https://www.google.com/url?q=https://brassandbliss.com/products/38003d-fluttery-wishes-coordinating-dies&sa=D&source=editors&ust=1771887727344830&usg=AOvVaw3OcummdkHC94cGTTREgCaT?ref=christine_heye
- 5846D Gumball Machine Die https://brassandbliss.com/products/5846d-gumball-machine-die?_pos=1&_psq=Gum&_ss=e&_v=1.0?ref=christine_heye