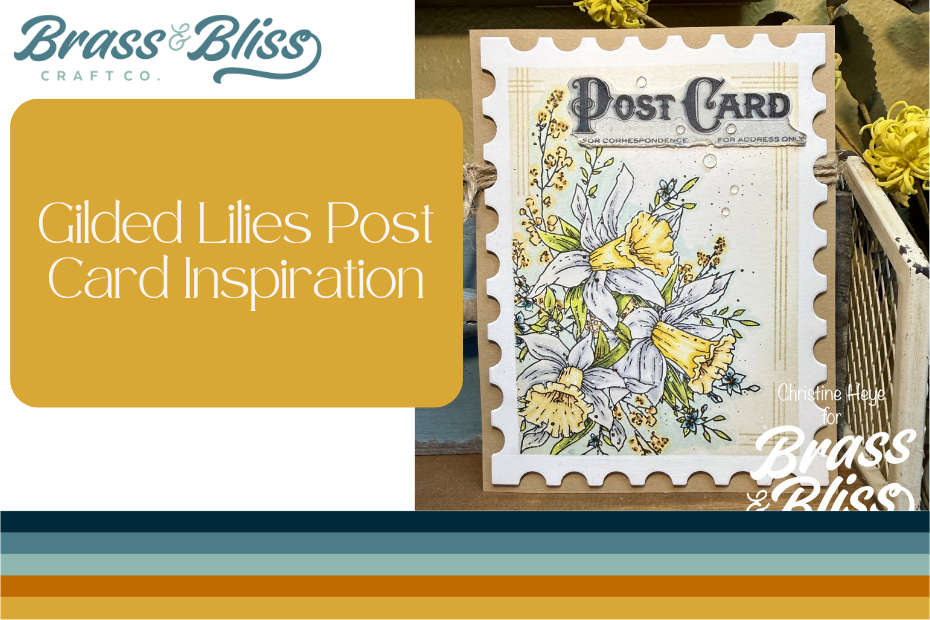
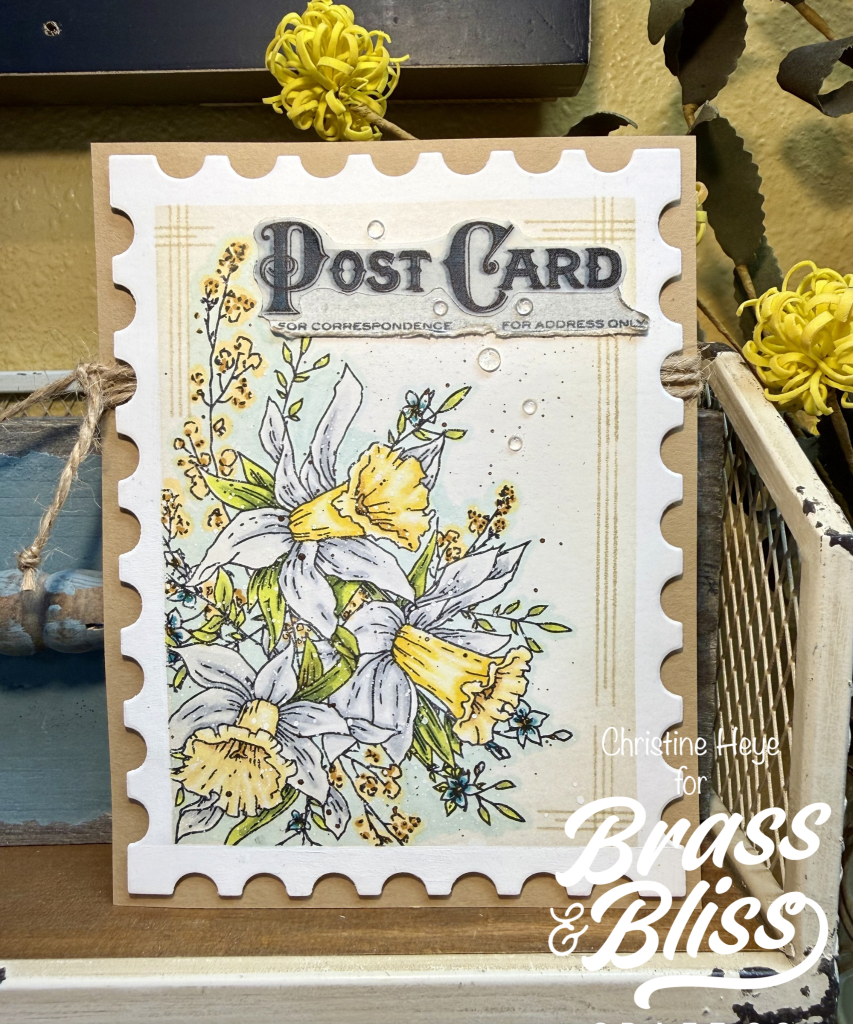
Bring on the florals with these blooming Lilies and post-card design- sparking creativity and dreams of Spring.
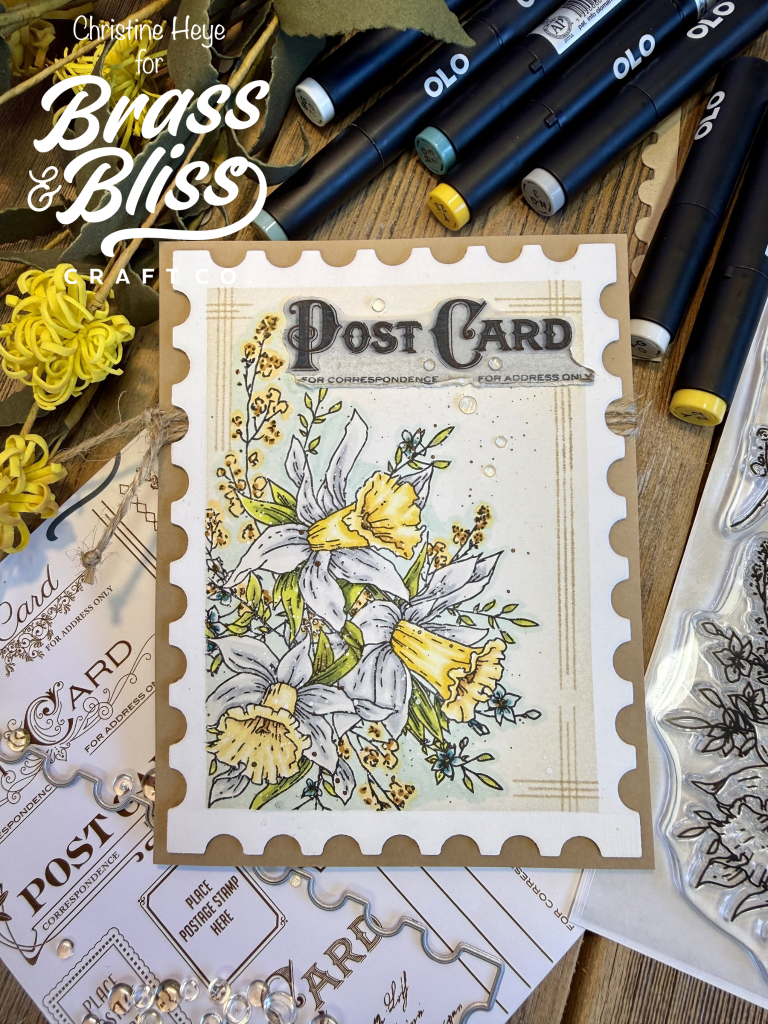
Christine has done it again with today’s stunning spring creation! She said, “Spring is springing and bulbs are beginning to greet us! These lilies are a stunning addition to the Brass & Bliss floral line from the new “Botanical Daydreams” release. This Gilded Lilies in Bloom stamp set is elegant and a joy to watercolor, marker, or pencil in. It could easily be stamped tone on tone too, for another stunning effect.” This cheerful, Springtime, postcard themed greeting gives us all a reminder that seasons change and good things pop-up! Spring is soon to be here! Such a happy vibe for any recipient! Check out the details for how Christine made this gilded lilies post card inspired card.
- Key: Card stock= CS. Heavy weight card stock= HWCS.
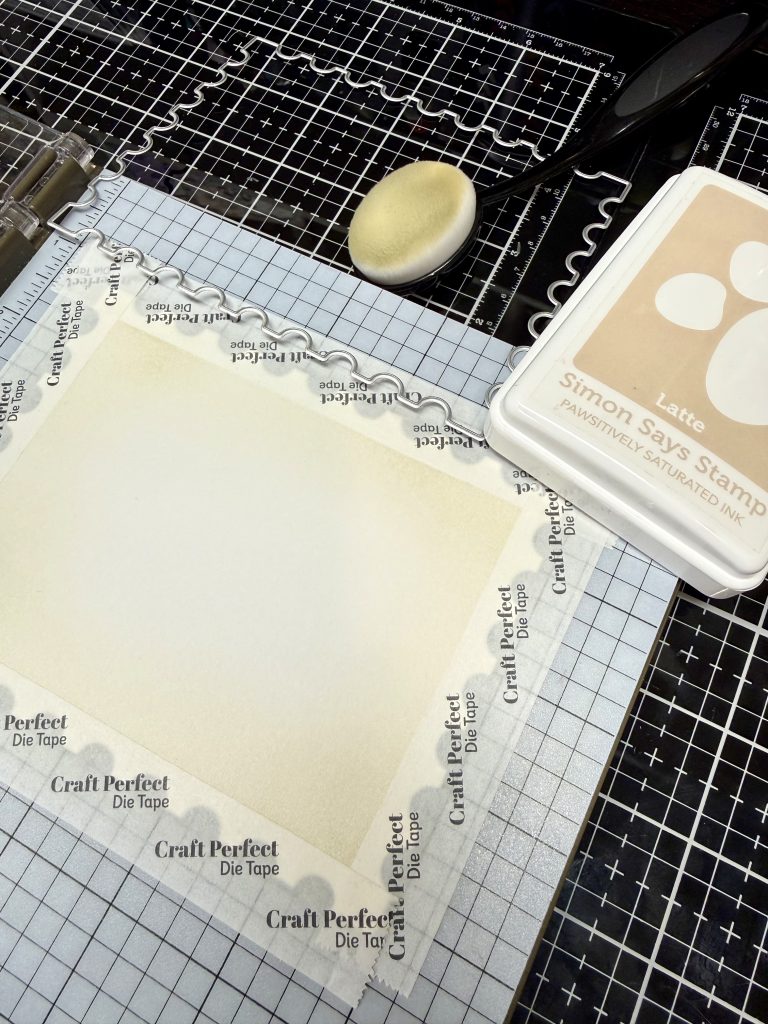
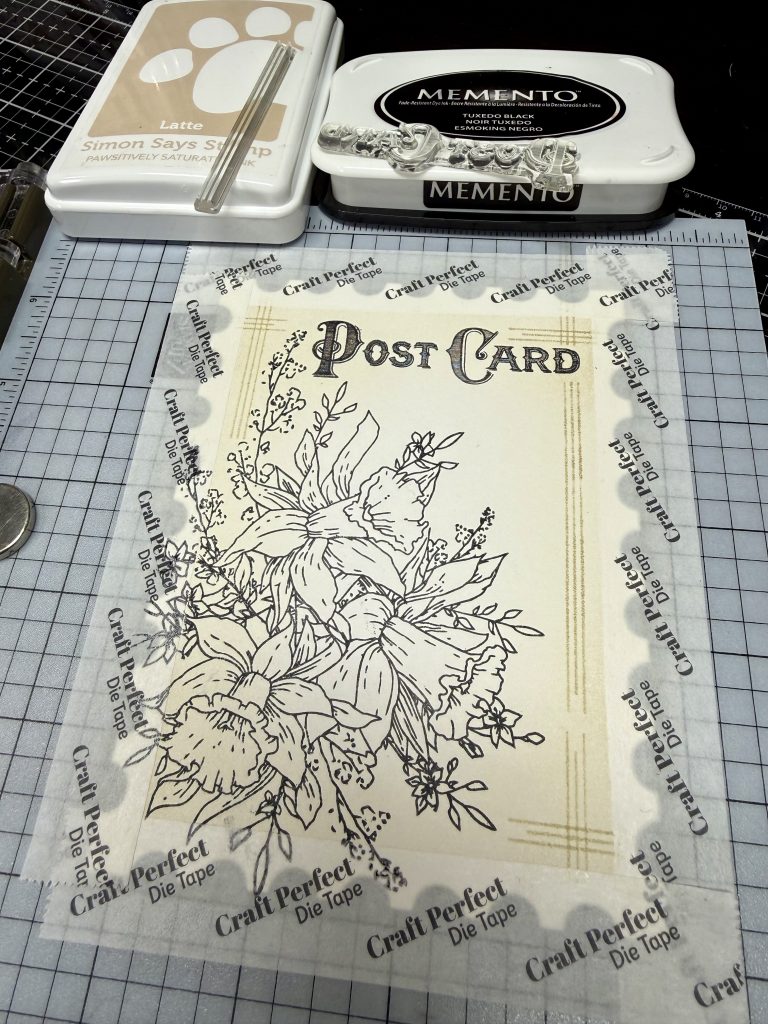
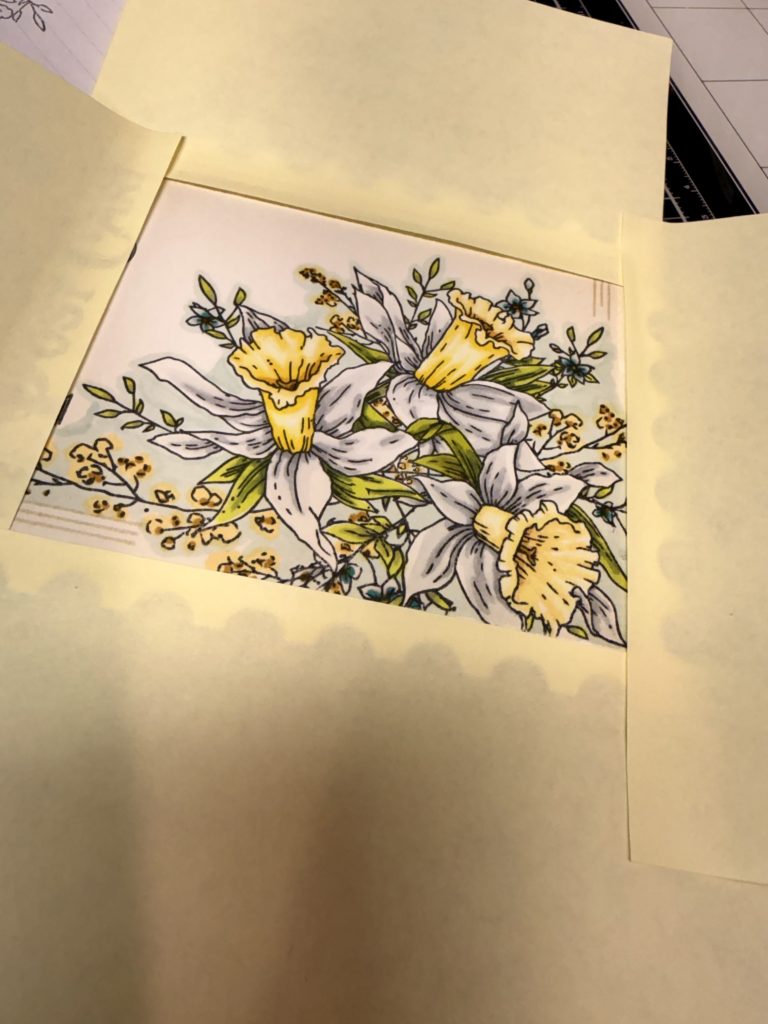
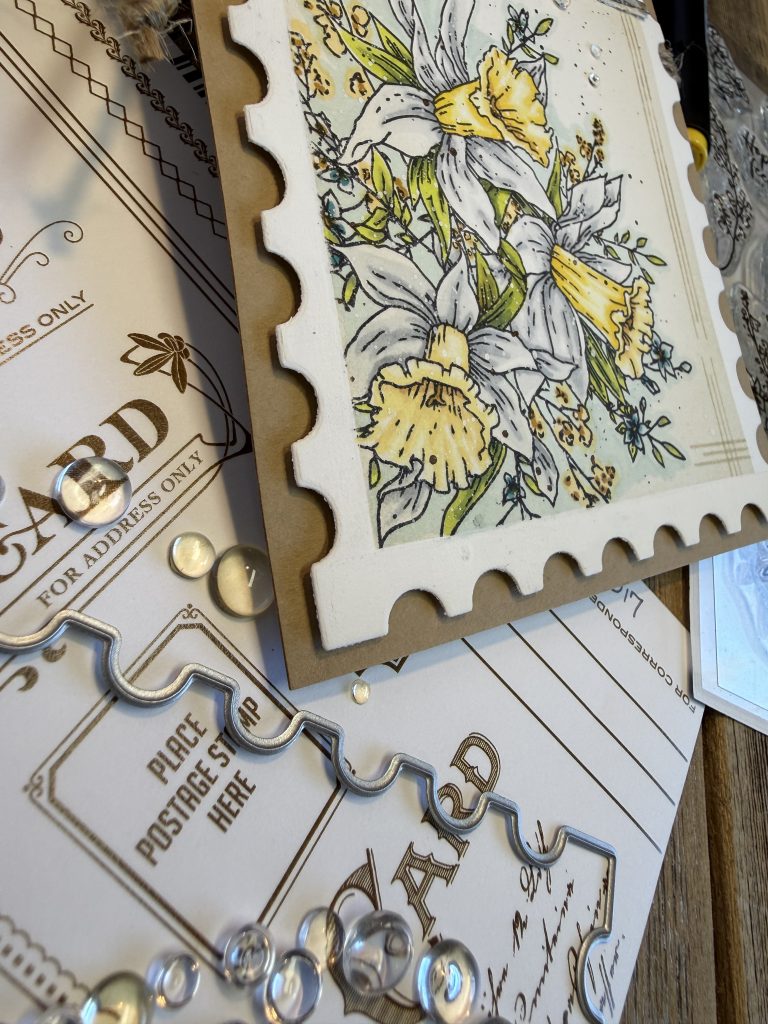
- Die cut the largest size Postage Stamp Nested Die from a cream/ivory or white HWCS. Carefully mask off the postage edges making sure to use low tack tape and straight lines (see photo). Using a very light taupe or soft brown, ink blend the center. Doesn’t need to be a perfect blend, a bit of splotch adds to the vintage charm. With tape still on stamp the lillies image from the Gilded Lilies in Bloom stamp set, using a black alcohol friendly ink, on the bottom left corner. Next stamp the “post card” sentiment from Vintage Postcard stamp set on the top right of the card panel. Using the same stamp set, stamp the 3 lines image multiple times on the edges (see photo) using the same brown ink. Carefully remove masks/tape.
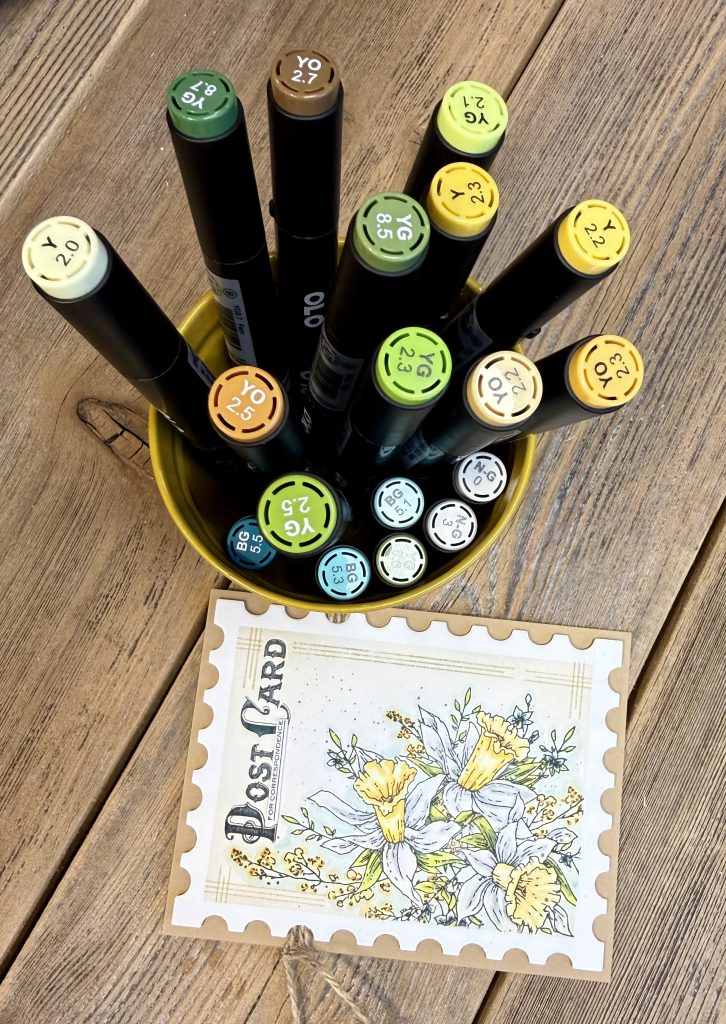
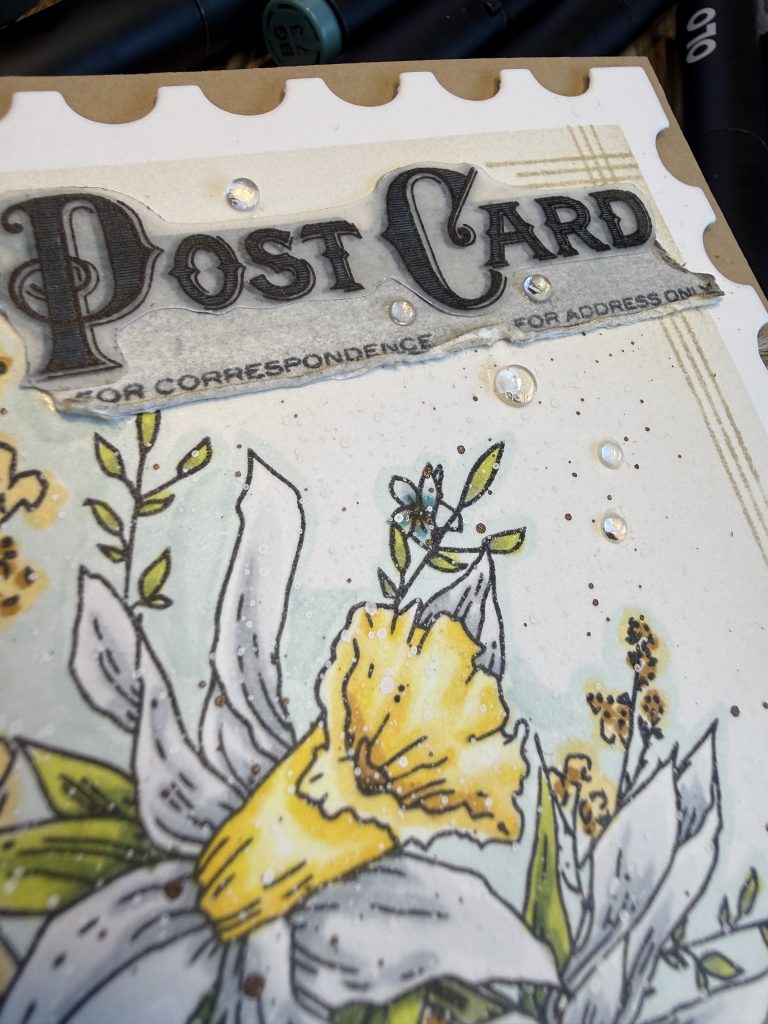
- Color lilies image in w/alcohol markers. Put large post-it notes or the same low tack tape back on only covering most of the edges (see photo). Splatter using white acrylic paint and any black or brown you choose. Remove masks. This can be called done or you can alter the “postcard” sentiment by stamping it again onto vellum w/black staz-on ink. Coloring from the back side use a dark Blue green (OLO 5.5). You can then stamp the small detail correspondence & addressee stamps underneath carefully using a stamp platform/positioning tool. Heat set gently. Fussy cut out and run through a sticker maker. Apply to a piece of same cream CS and fussy cut this around vellum shape. Distress edges w/fingers or a tool. Glue directly over the stamped post card sentiment stamped at the start of project. This is an optional step, but I loved the end result, adding just a touch of dimension and distressing to the finished card.
- Take a thicker twine and wrap 3X around a piece of kraft CS about 1/3rd of the way down from top of card. Tie ends into thick knots and cut to desired length. Add foam adhesive to the back of lily postcard piece, avoiding the twine area. Attach piece to the kraft CS. Glue using glossy accents or like glue 6 or desired amount of flat back bubble embellishments. Voila! :O)
- 38014 Gilded Lilies in Bloom 4×8 Stamp Set
- 38014D Gilded Lilies in Bloom Coordinating Die https://www.google.com/url?q=https://brassandbliss.com/products/38014d-gilded-lilies-in-bloom-coordinating-die&sa=D&source=editors&ust=1771913853101391&usg=AOvVaw3f0ytSuVWwBTF-qM9engR9?ref=christine_heye
- 5806D Postage Stamp Nested Die 4×6 Stamp Set https://brassandbliss.com/products/36017-vintage-postcard-set?_pos=1&_sid=246c16454&_ss=r?ref=christine_heye
- 4PCLBB Large Blending Brushes 4 Pack https://brassandbliss.com/products/large-blending-brushes-4-pack?_pos=1&_psq=Blending&_ss=e&_v=1.0?ref=christine_heye