Got a crafty friend who would adore a handmade card full of love? This beautiful craft-inspired card is sunny and encouraging!
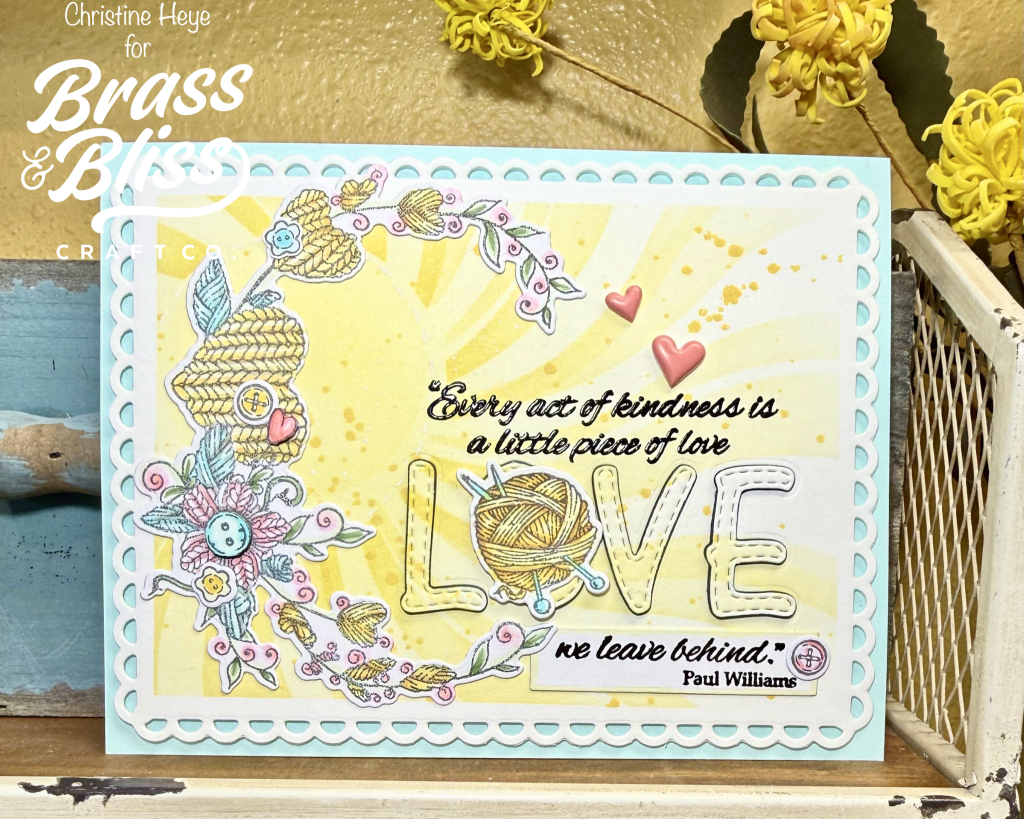
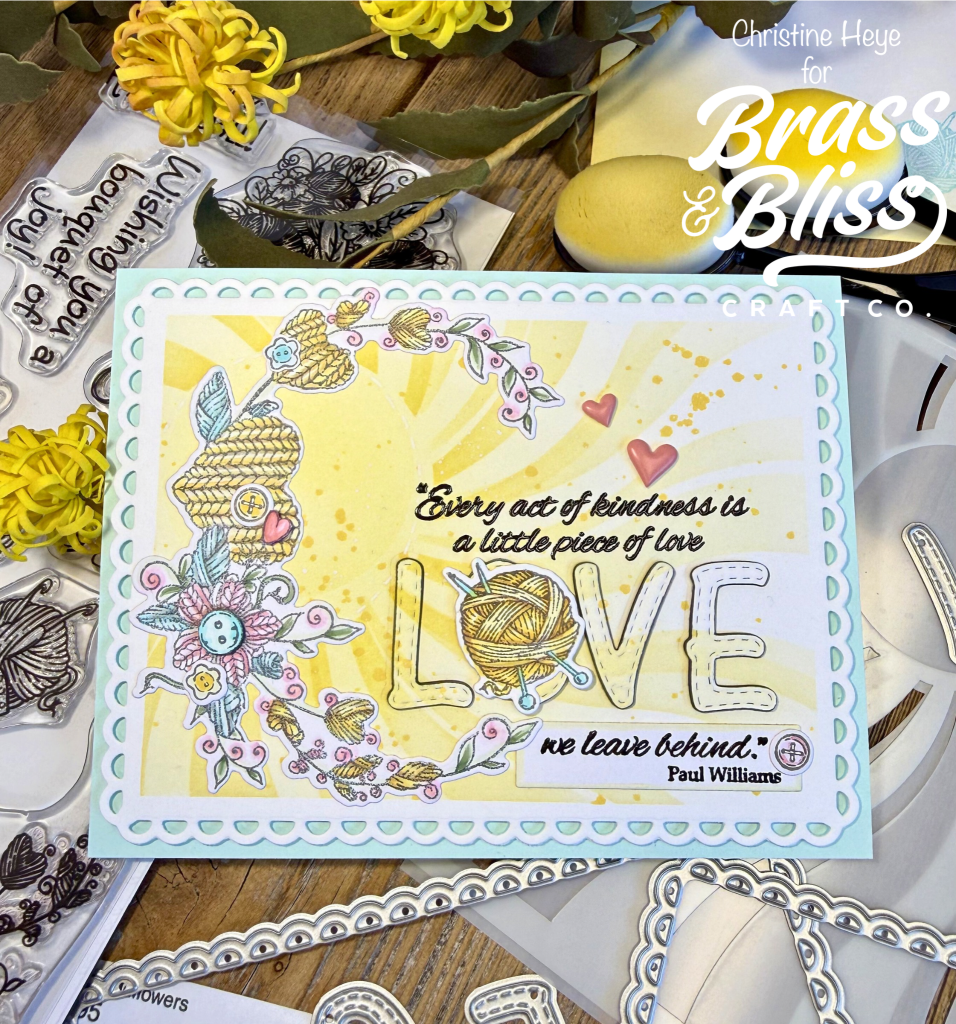
Today our designer, Christine, is brining us a sunshine-filled, craft-loving greeting card full of heart & gratitude! Christine said she made this “For that artsy and talented friend. The one that yarn is never a tangled for. The one that finds life to be a crochet of “knittiness”, and has a ball doing acts of kindness for others!” This die cutting, stenciling, and coloring card is a bit of sunshine to cheer the creative soul. It’s a whimsical card that will bring a smile to any fellow crafters heart and creative therapy to the card maker, too! Follow along as Christine shows off her process for making this fabulous card full of kindness and knitted blooms!
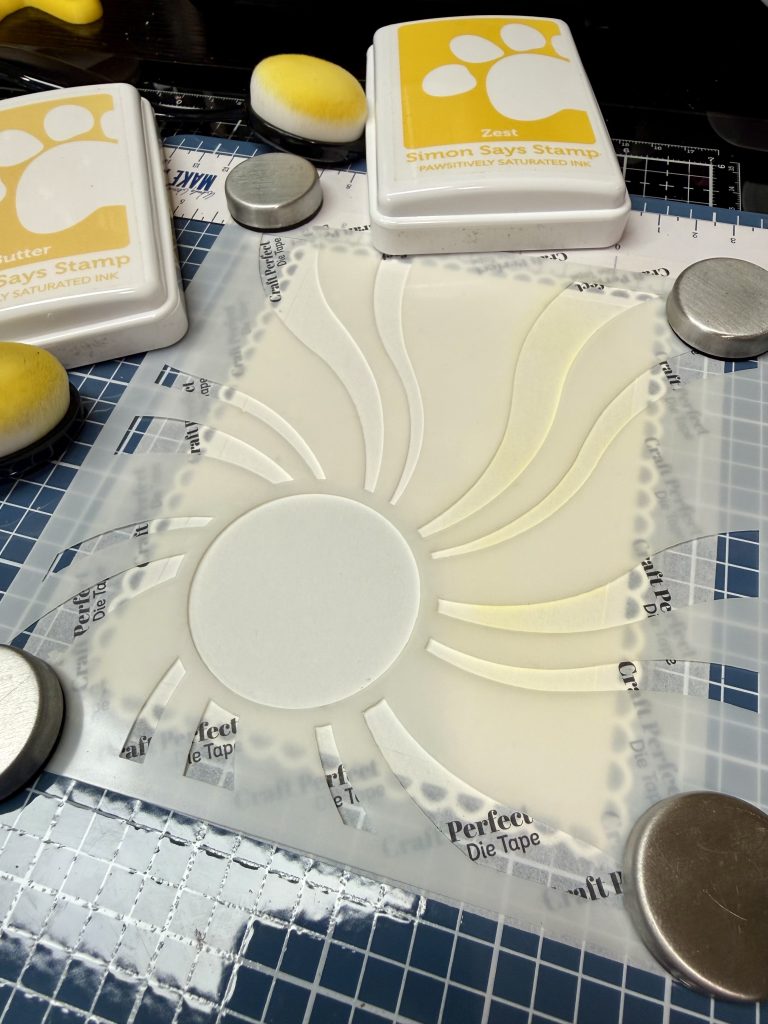
- Using largest of the Scallop w/Half Holes die cut a piece of heavy weight white card stock. (Bristol smooth is wonderful for inkblending). Using low tack tape carefully (evenly) mask off the edges to create a white frame. Lay step 1 stencil over top and secure (see photo). Using a light/soft yellow and blending brush, gently add color in circular motions. Using 2nd layer of stencil set- do the same using a bit darker yellow. I was quite light handed. Remove stencil and with lightest color add a bit of ink/blending into white areas closest to center and fading out to edges, as desired. Using Distress Oxide Mustard Seed & drops of water, splatter over the stenciled area. Set aside to dry or heat set. Carefully remove tape.
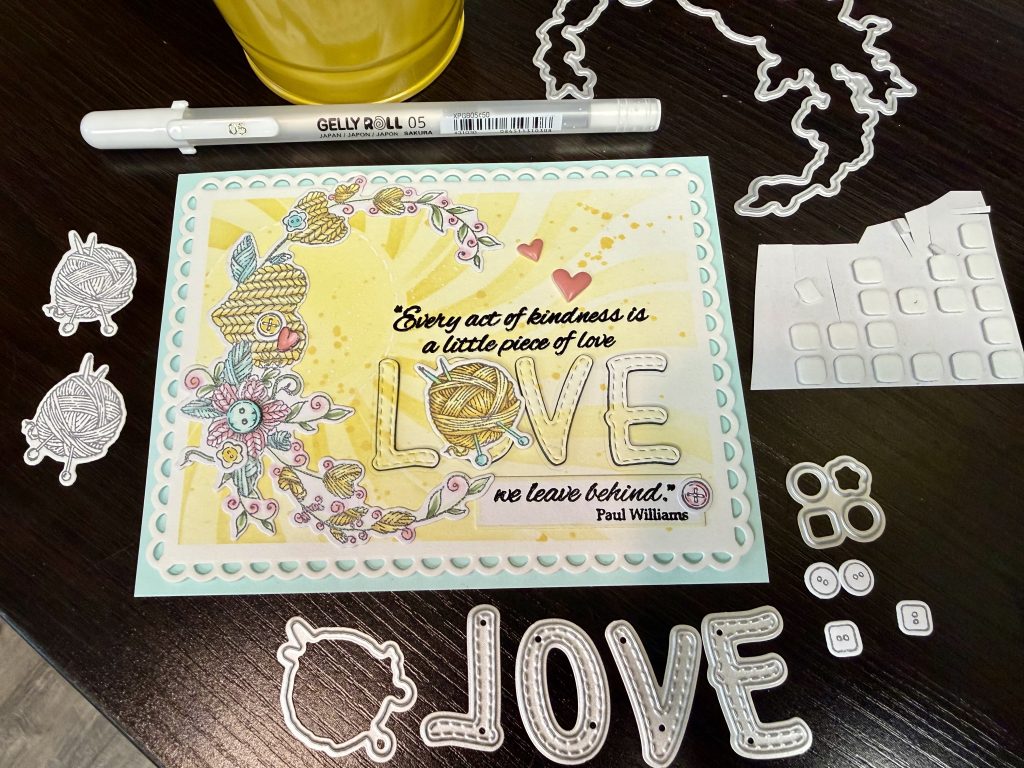
- Carefully line up and tape down the Upper Alpha w/Stitch letters onto panel and die cut. NOTE: It was an after thought for me, that the “O” didn’t have to be cut out. If you like the look, follow what I did. I wish I had not cut the O and simply used the yarn ball as the O. Up to you! ;o). Set stenciled letters aside to be glued to top of stack. To create stack of letters- Die cut each letter 3X from a heavier dark gray cardstock or 4X if thinner. Lastly, glue the stenciled, sunshine layer to the tops.
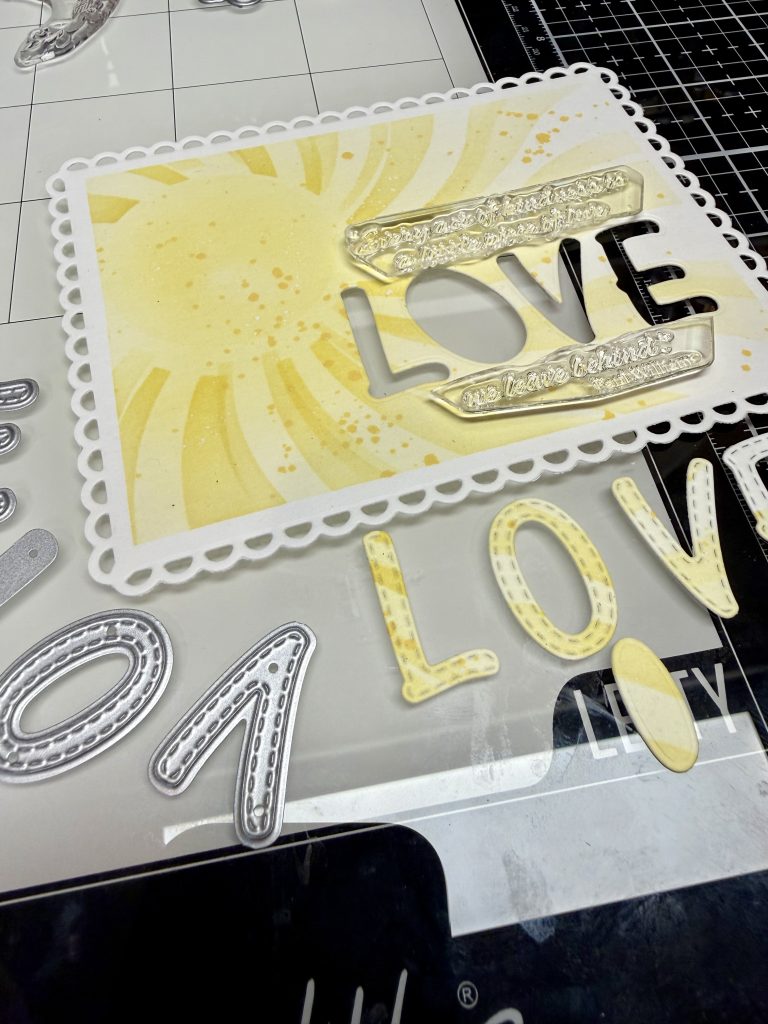
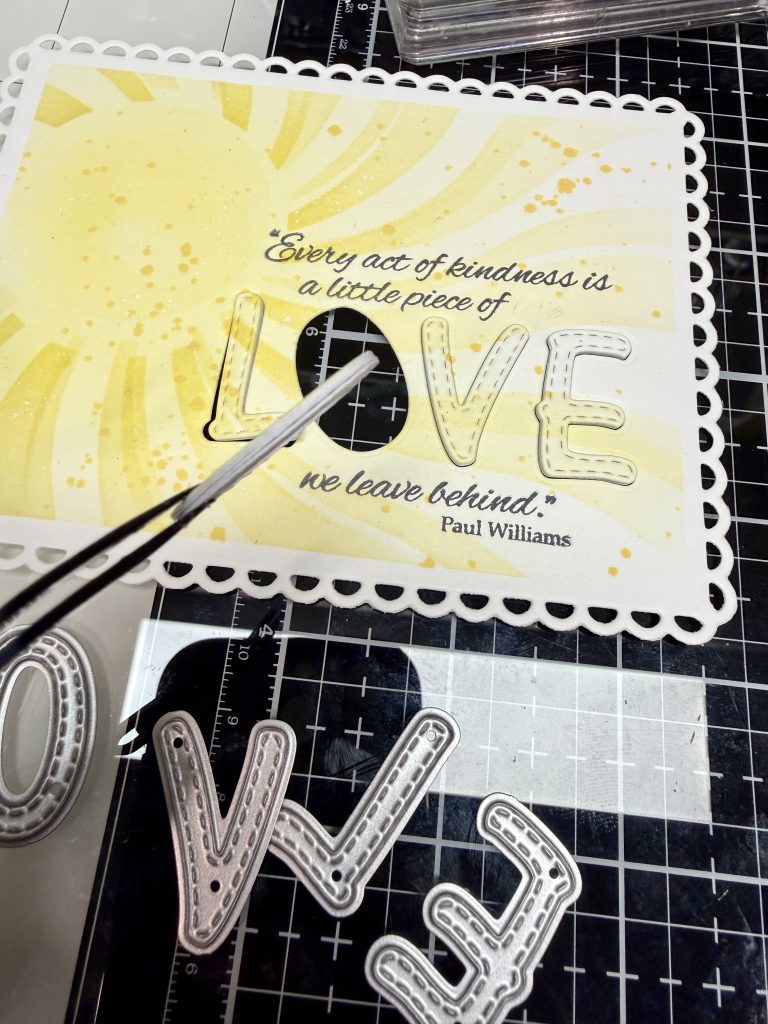
- If desired do a bit of stamp surgery and cut apart the sentiment, very carefully as shown in photos. If not you can simply mask the area or cover the stamp before inking to do partial stamping above the letters. For the bottom portion stamp it onto the same white card stock used for stenciling and die cut or cut out with scissors. I used Versafine Clair nocturne ink and wet embossed with a clear embossing powder. Sentiment is from Silhouette Wildflowers stamp set.
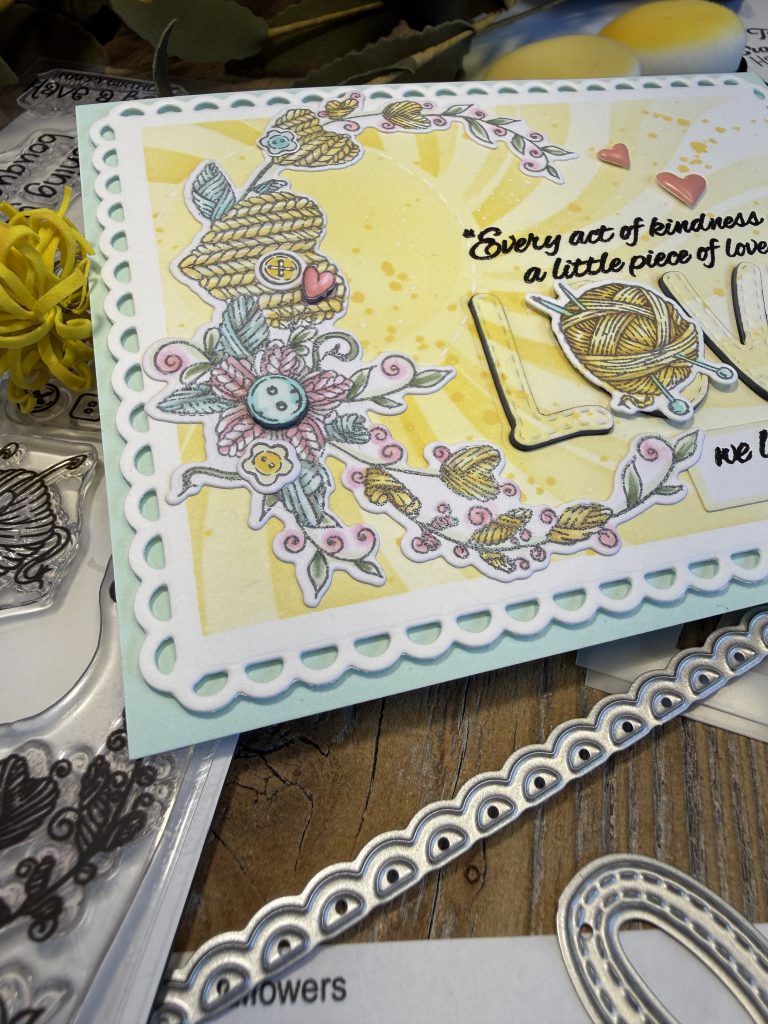
- Stamp the swag/wreath yarn image, yarn ball image, and buttons image from Loops of Love stamp set using a dark gray ink. (I used a gray lawn fawn River Rock- alcohol friendly ink). You may wish to also stamp parts of the swag again (partially) the main flower button and the small heart on the larger knit yarn heart. These will be colored and fussy cut out to layer over top at the assembly stage. I die cut my images first and color after, so as to avoid die cutting mishaps. Color with your choice of alcohol markers. Set aside colored images.
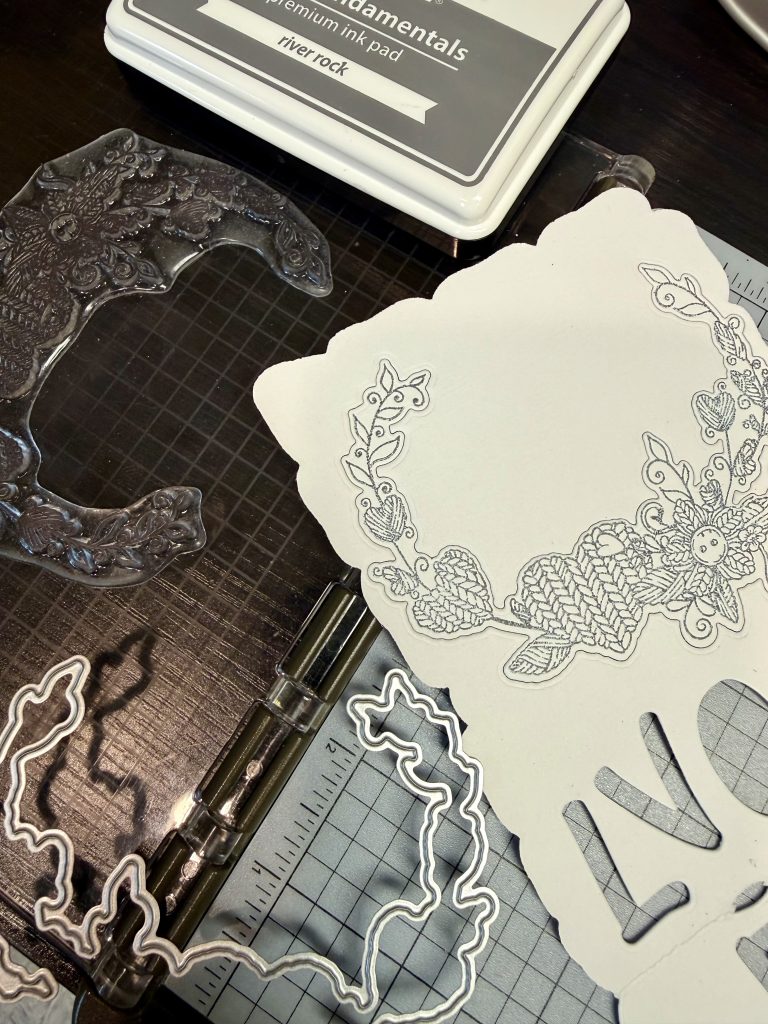
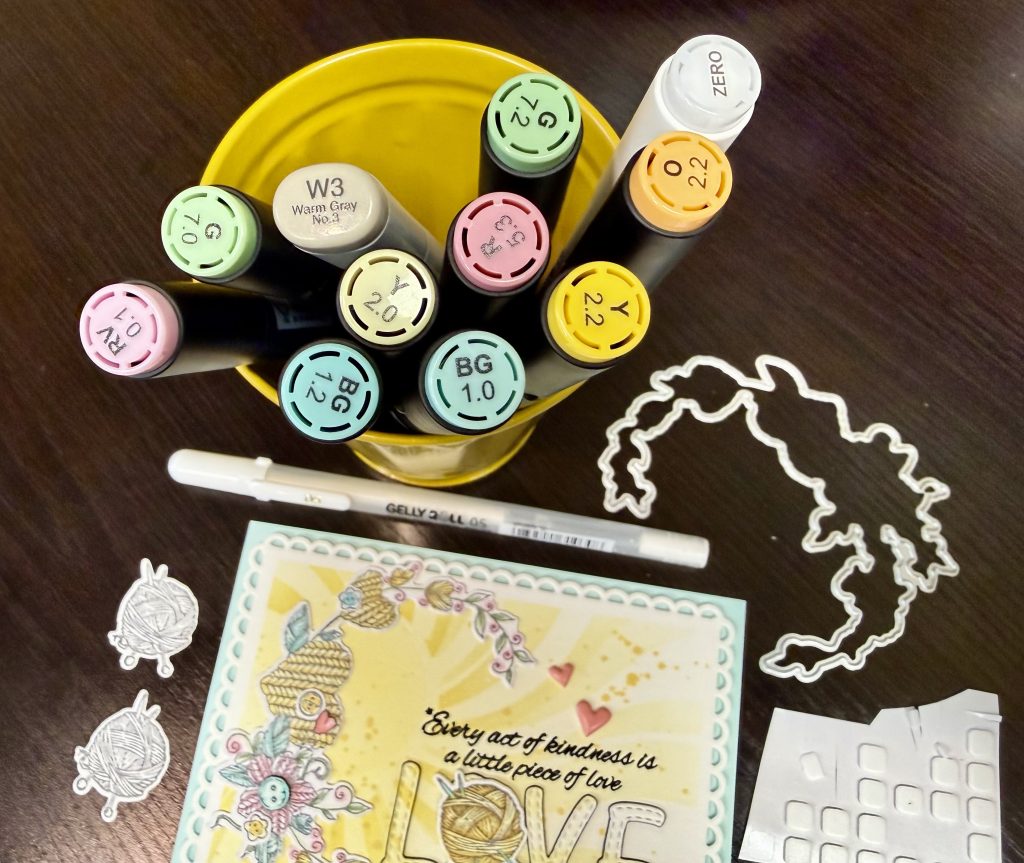
- Flipping stenciled panel over, add thin foam adhesive to entire background, including over the letters openings. Attach this panel to a soft blue card stock base. Adding a bit of liquid glue to each letter, place the letters back into openings. Now attach with liquid glue, directly to panel, the colored swag/wreath image; leaving a space for the end to go over the bottom sentiment banner. Attach the yarn ball image to the O w/liquid glue or where the O would be, with thin foam adhesive. Attach bottom part of sentiment with liquid glue just under the alpha letters and the swag end. Add button and heart with thin foam adhesive to top of swag and the additional buttons images over desired parts of the swag. Add a few foam hearts or desired embellishments. Finished!