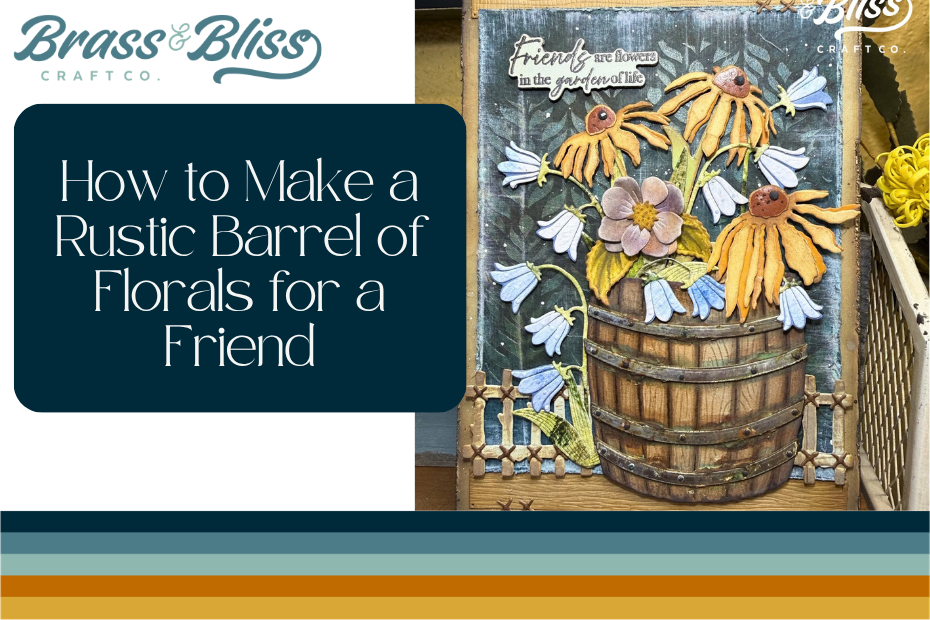
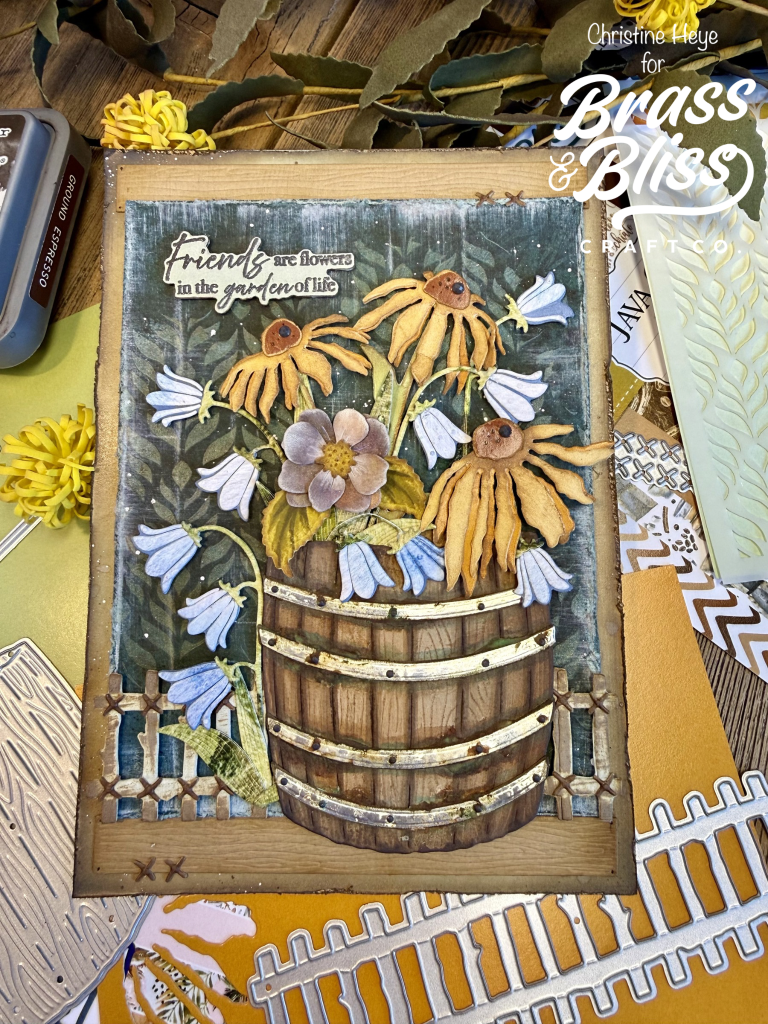
Looking for a rustic and rich handmade card idea that takes paper florals to the next level? Check out this amazingly intricate barrel and floral bouquet that dazzles!
Today you are in for a treat, as our talented designer, Christine, shows off these rustic and rich earth tones on this 5×7 floral card. Combine woodgrain, fence boards, delicate blooms and a rusty barrel, along with many fun techniques and you are sure to feel like a mixed media master and oh so accomplished, when done. Grab your paper pads, some stenciling paste & of course, inks and let’s go create a forestry floral masterpiece of fun!
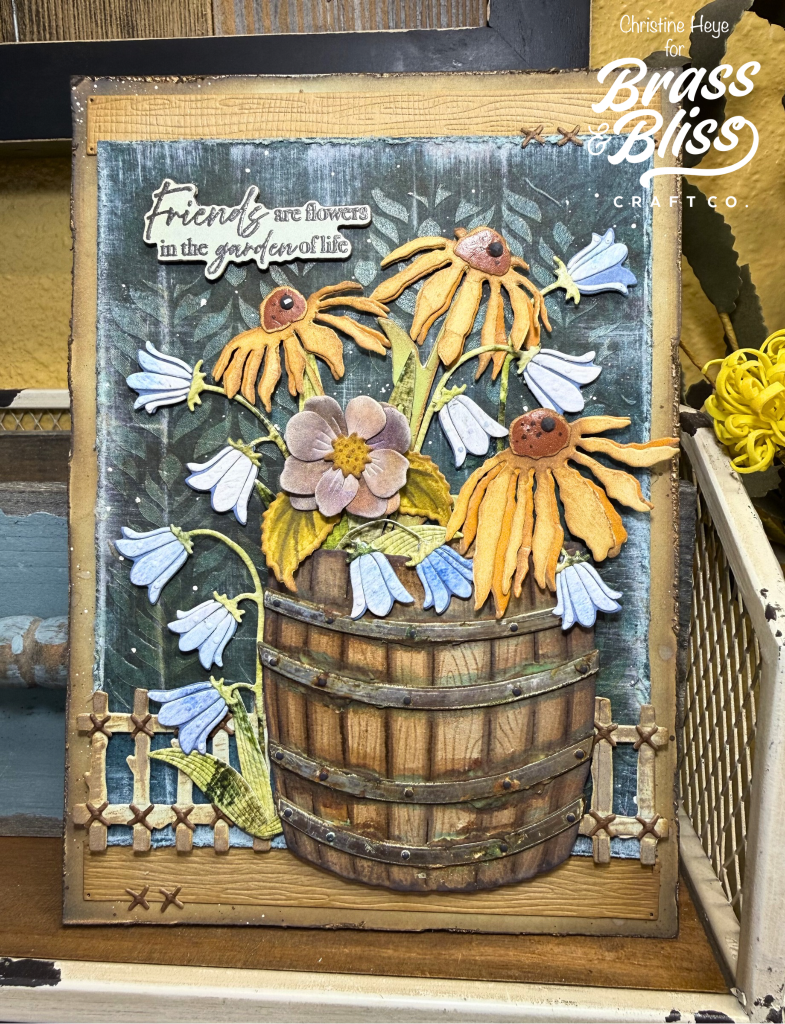
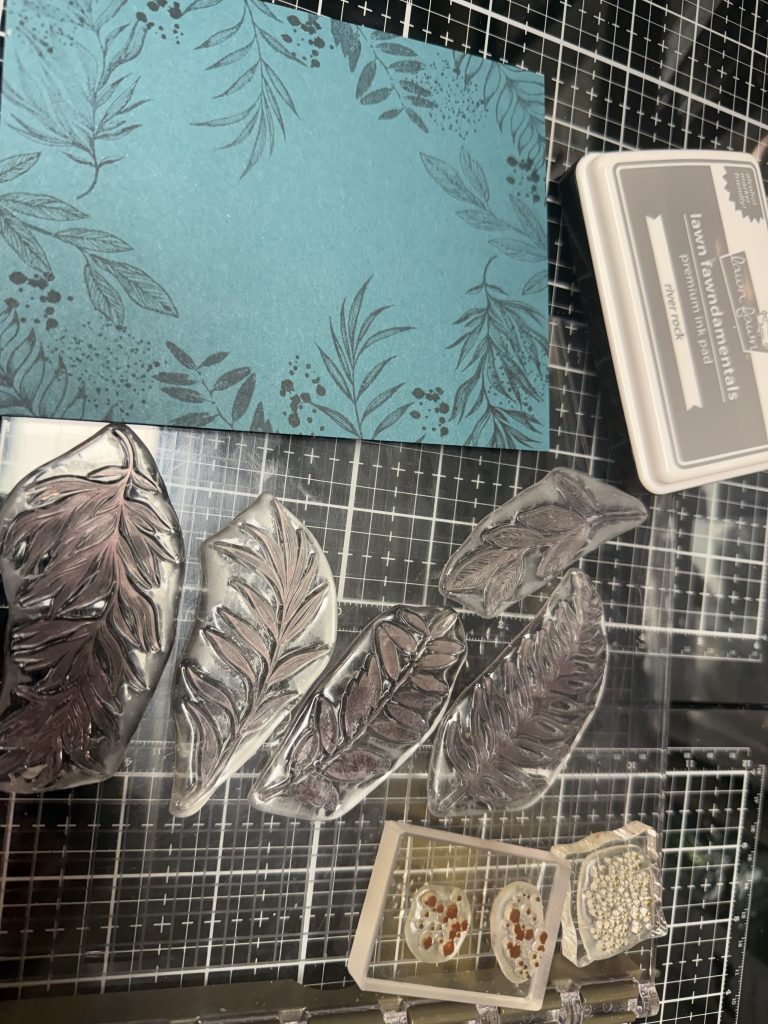
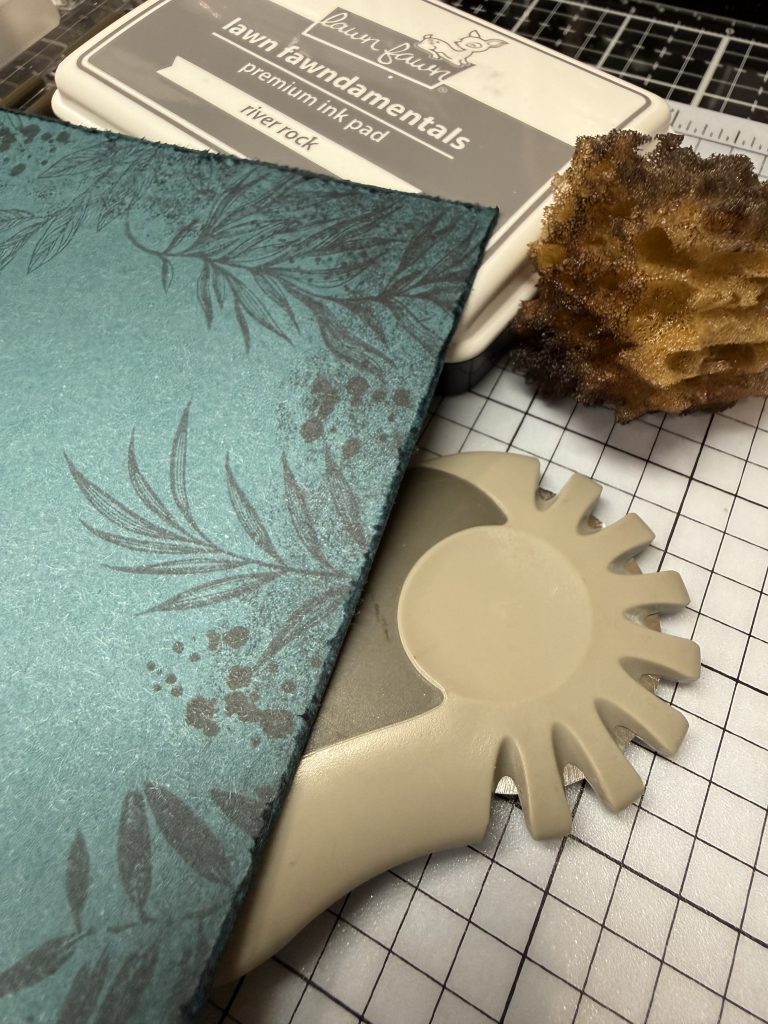
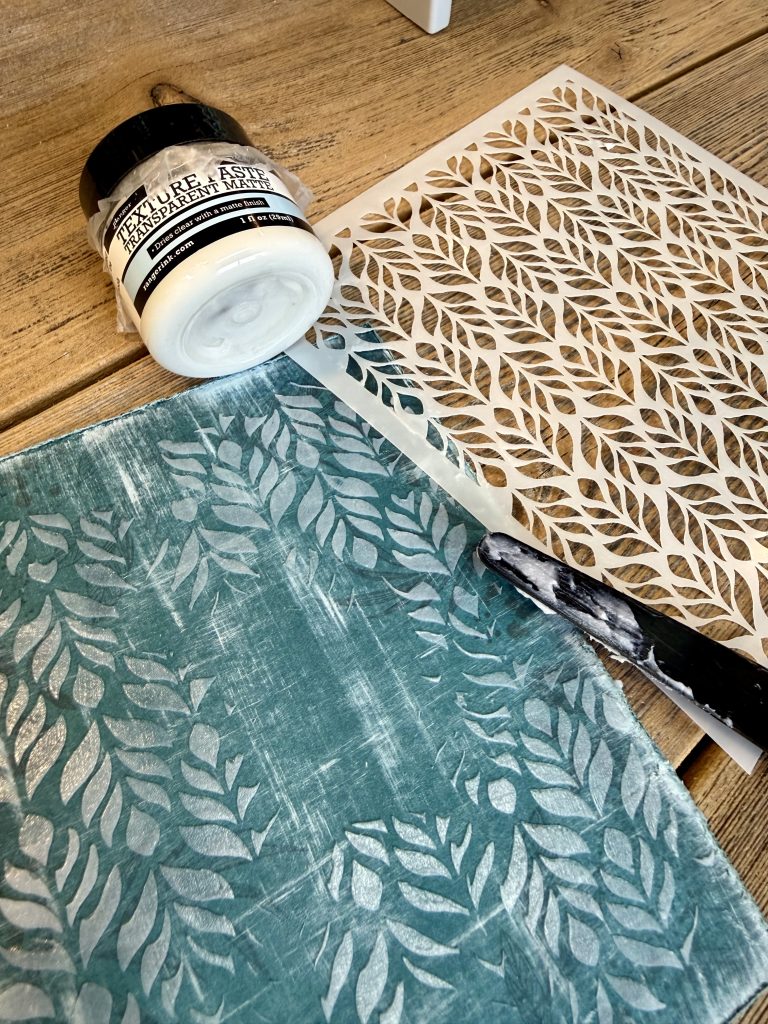
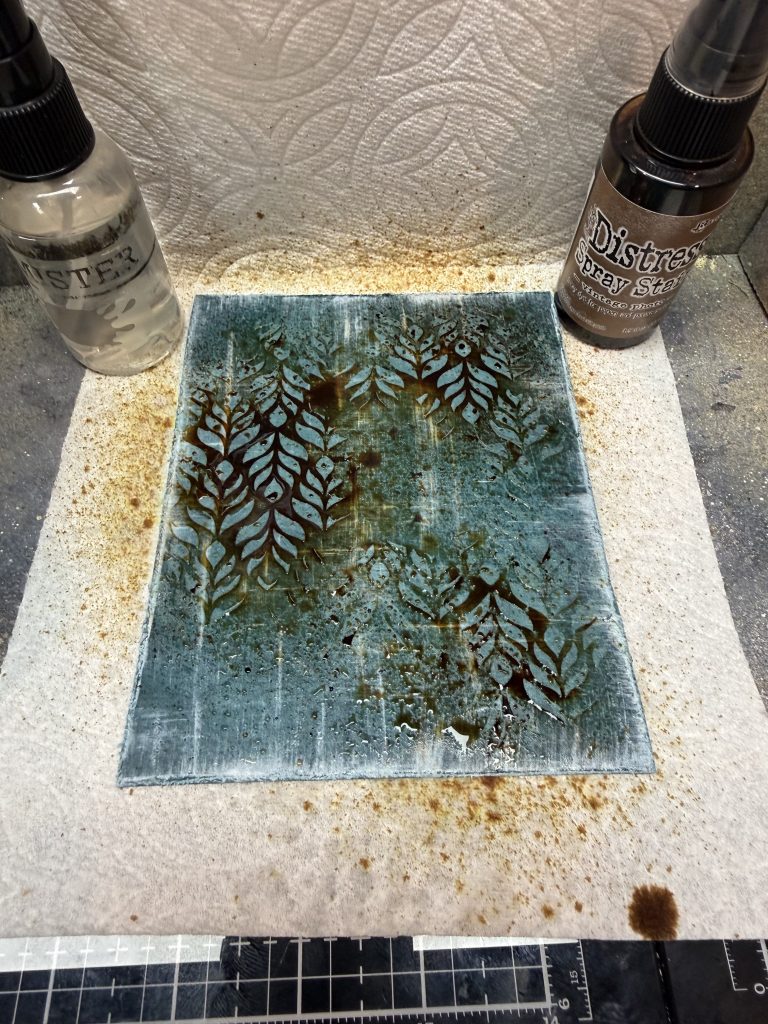
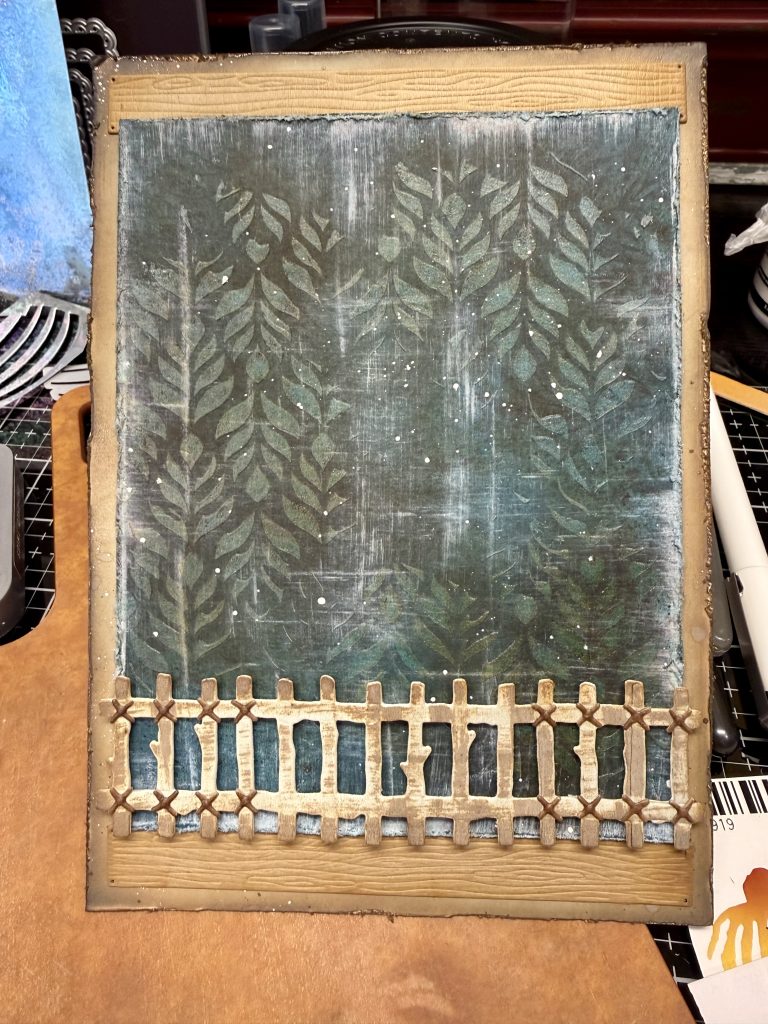
- Begin by stamping on and off the edges of a deep green cardstock cut to 4-1/2”X5-3/4” using the Spring Greenery Stamp set and a dark gray ink. Ink blend the edges using same ink and a sponge. Using scissors or a distressing tool, rough up edges. Using the Flourish Leaf Stencil add areas of transparent matte or preferred paste, covering only some areas of the background. Once paste is completely dry, put into a splatter box and spray in a few places using Vintage Photo distress spray & water. Heat set or allow to completely dry. After paste completely dry place in splatter box, again and this time splatter with white paint and brown or bronze ink. Allow to dry. Add direct to paper with white pigment ink- some streaks. Heat set.
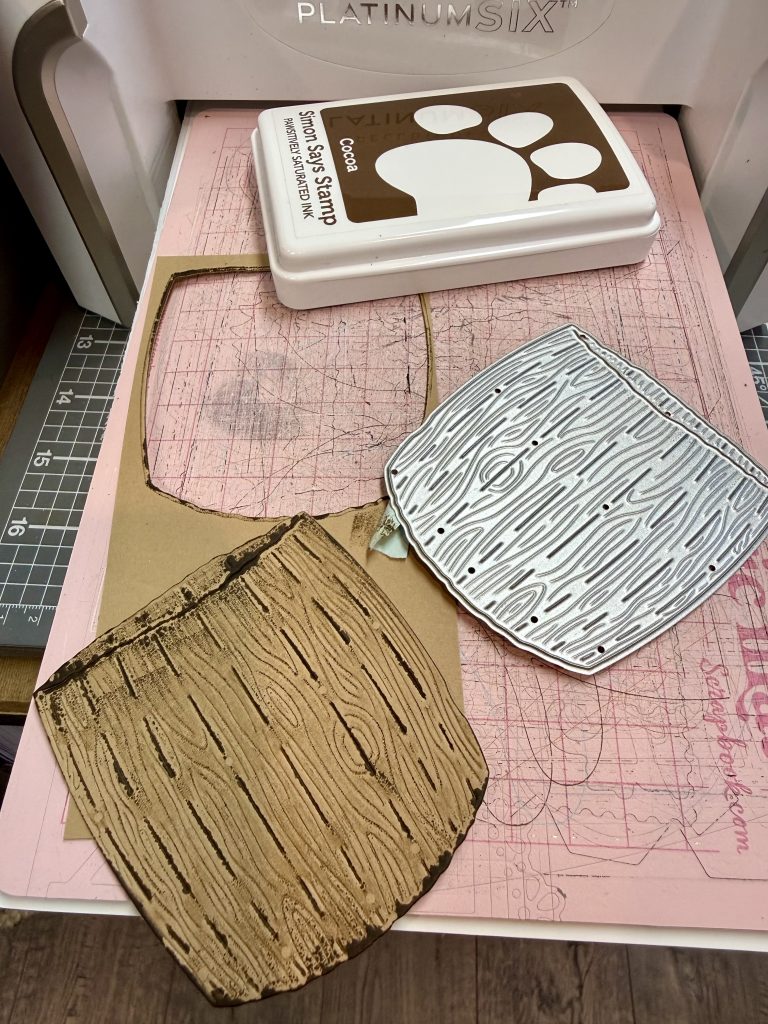
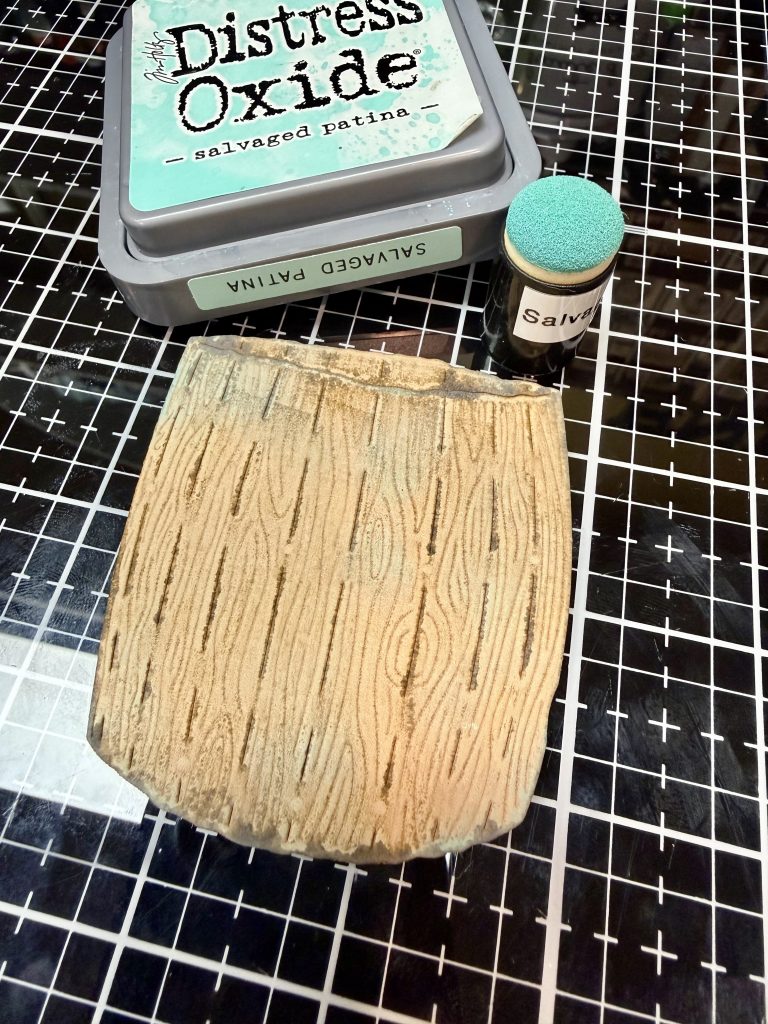
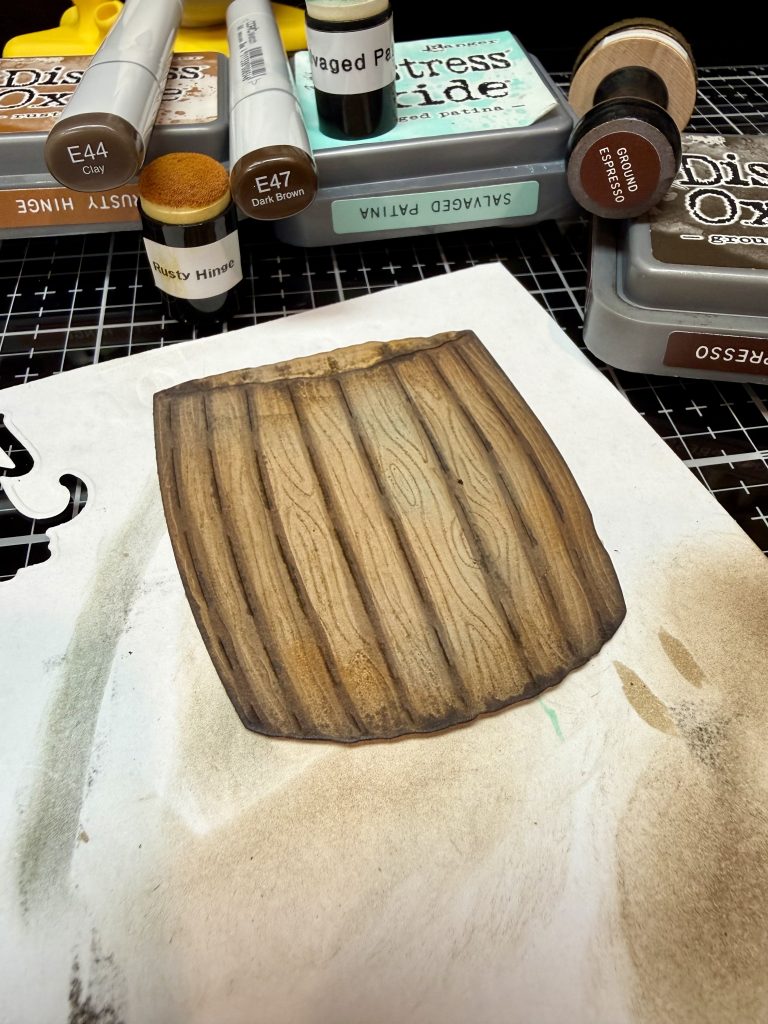
- Using kraft card stock die cut the barrel die, firstly adding a dark brown ink directly to the die, then run through the die cutting machine. Sponge same ink onto edges, somewhat randomly. Using Salvaged Patina oxide ink and a finger dauber, add ink randomly on the barrel. Color the lines using E44 & E47 to create dimension. Add more Salvaged Patina and now add in Rusty Hinge oxide ink. Sponge all edges of barrel using Ground Espresso oxide ink.
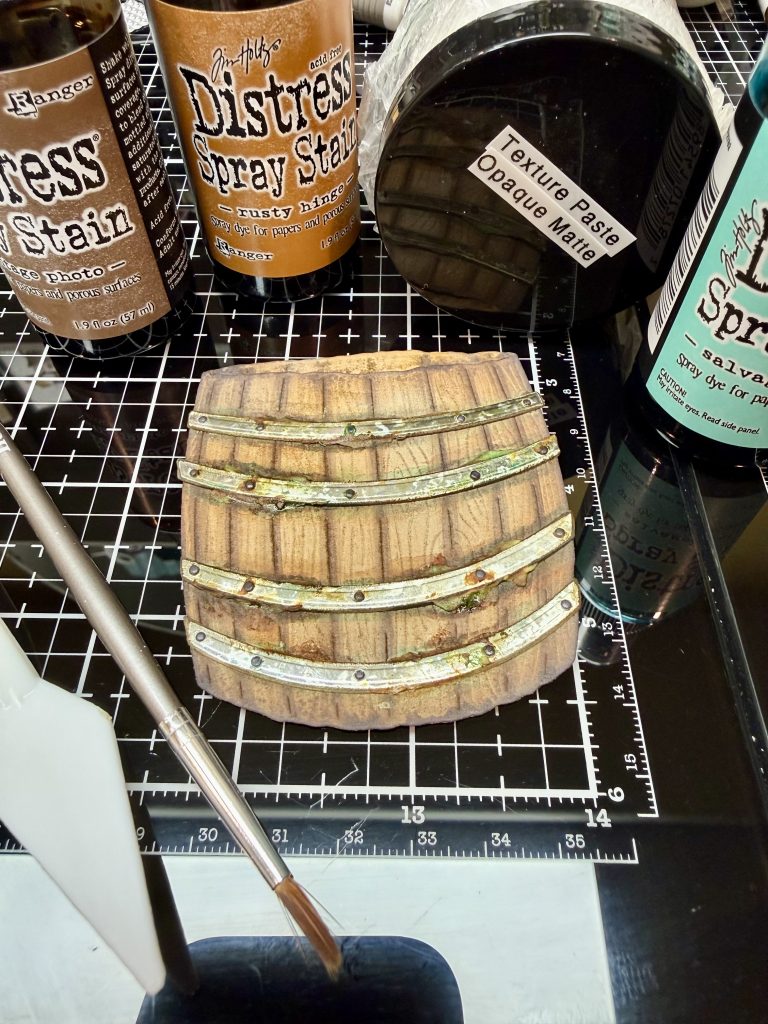
- Die cut the barrel metal pieces and “nails” dots from a silver metallic cardstock. Glue all into proper place using packaging guide. Take small amounts of Opaque matte texture paste and apply to some edges here and there (see photos). You may heat set carefully. Take same colors of distress spray or distress ink on a non porous surface and add tiny amounts of water to collect up with a small paint brush. Add these inks onto the paste in various spots. As this drys it looks more and more realistic. Set aside to completely dry.
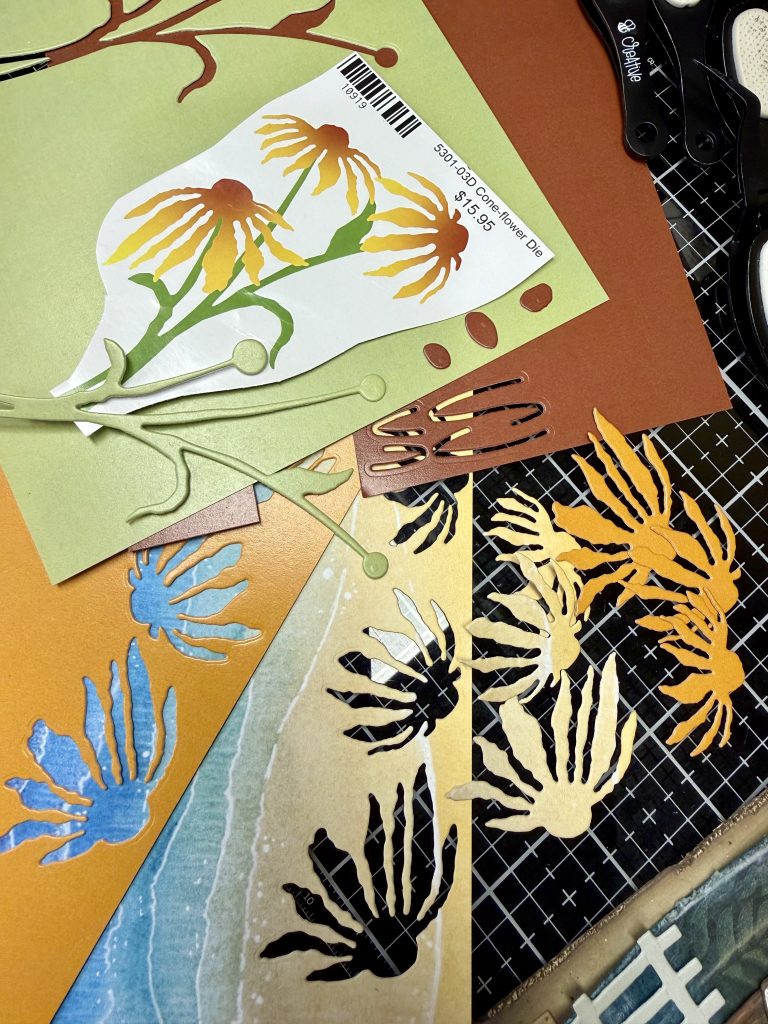
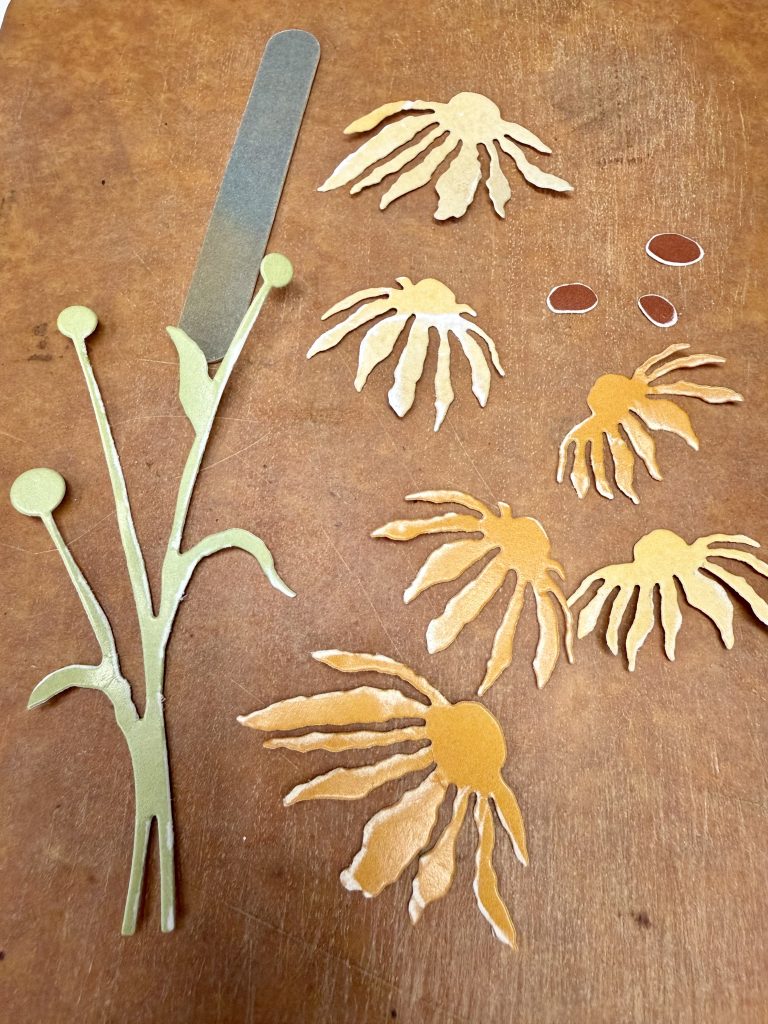
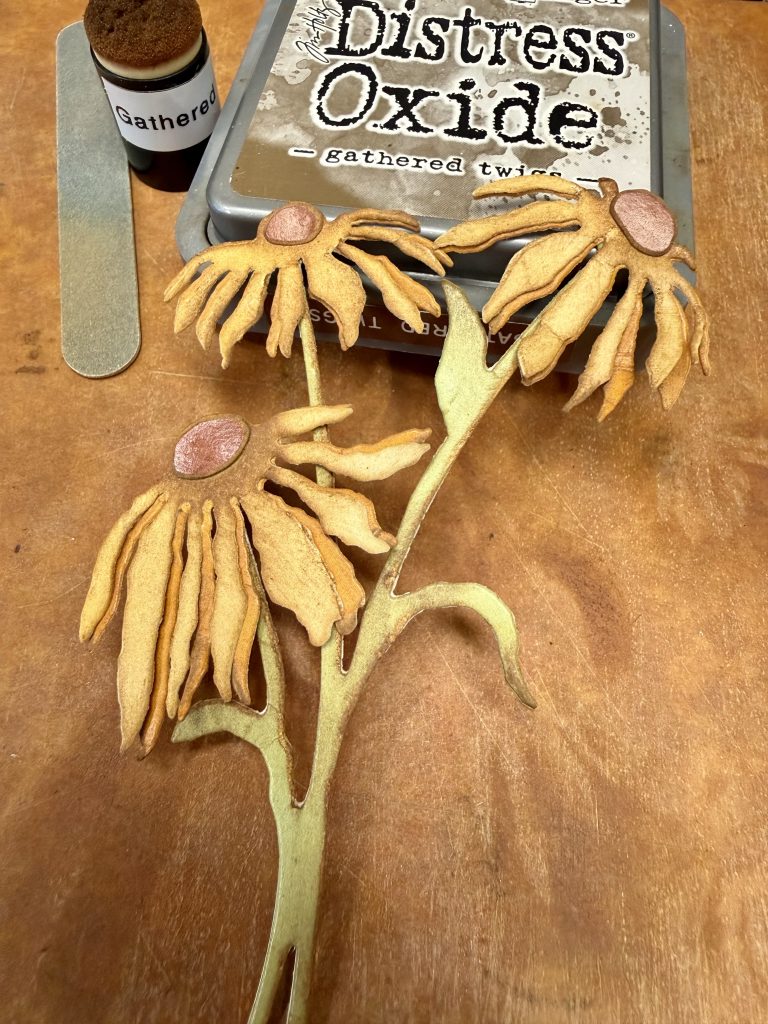
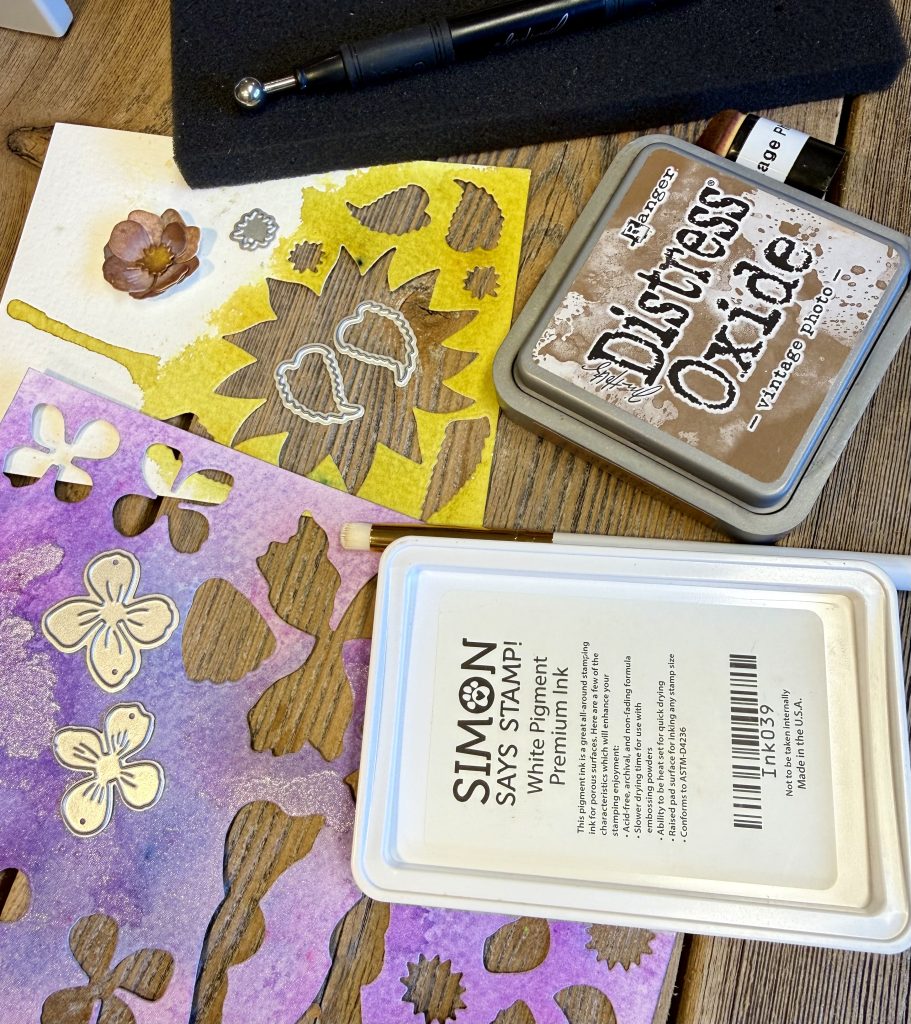
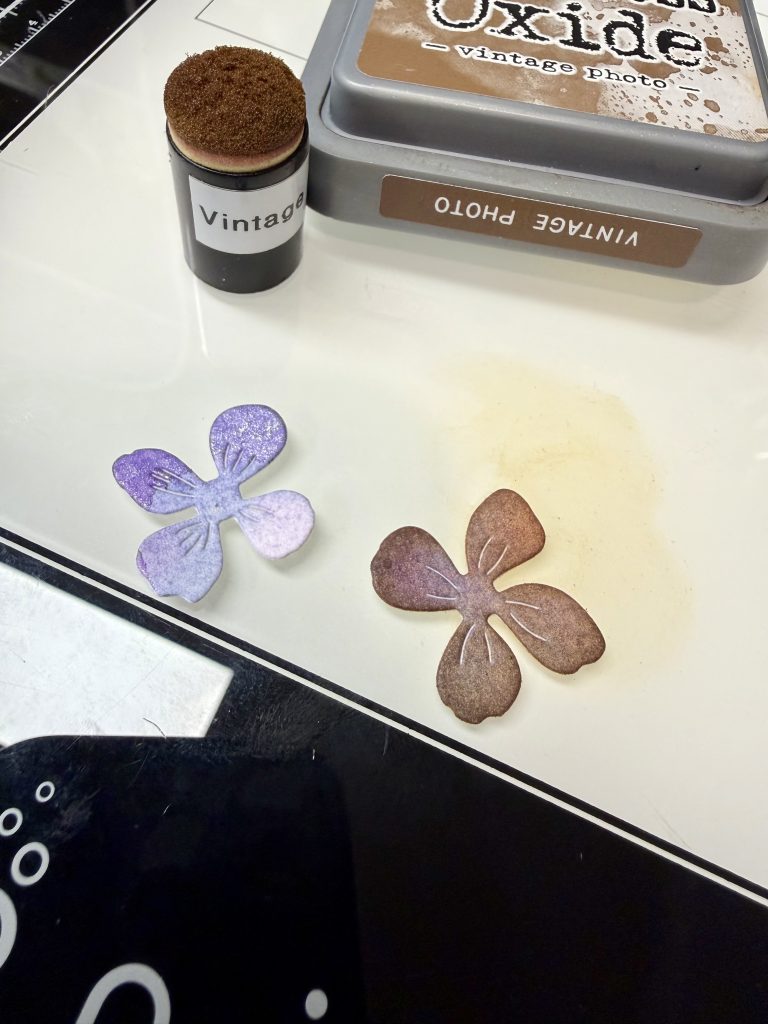
- Selecting papers from listed paper pads, die cut the Coneflower parts, Bell Flower, Large Sunflower (leaf) and Fall Florals blooms, leaves, stems etc. Sand carefully all edges, before adding a dark brown oxide ink (either Gathered Twigs or Ground Espresso). Assemble all of the florals as the packaging indicates. Set aside. Note: I altered the coneflower centers by die cutting the bloom again, and fussy cutting a larger flower center. Again, sanding and adding ink to the sanded edges.
- Cut a piece of the green from Botanical Dreams 6×9 paper pad down to just over 5X7. Taking scissors or a distressing tool, distress the edges well. Using a large blending brush add a generous amount of the same dark brown to the edges working in toward center about 1”. Splatter with water droplets and use a paper towel to pat up. Place in Splatter box and use same white paint and brown or bronze ink to splatter. Let dry.
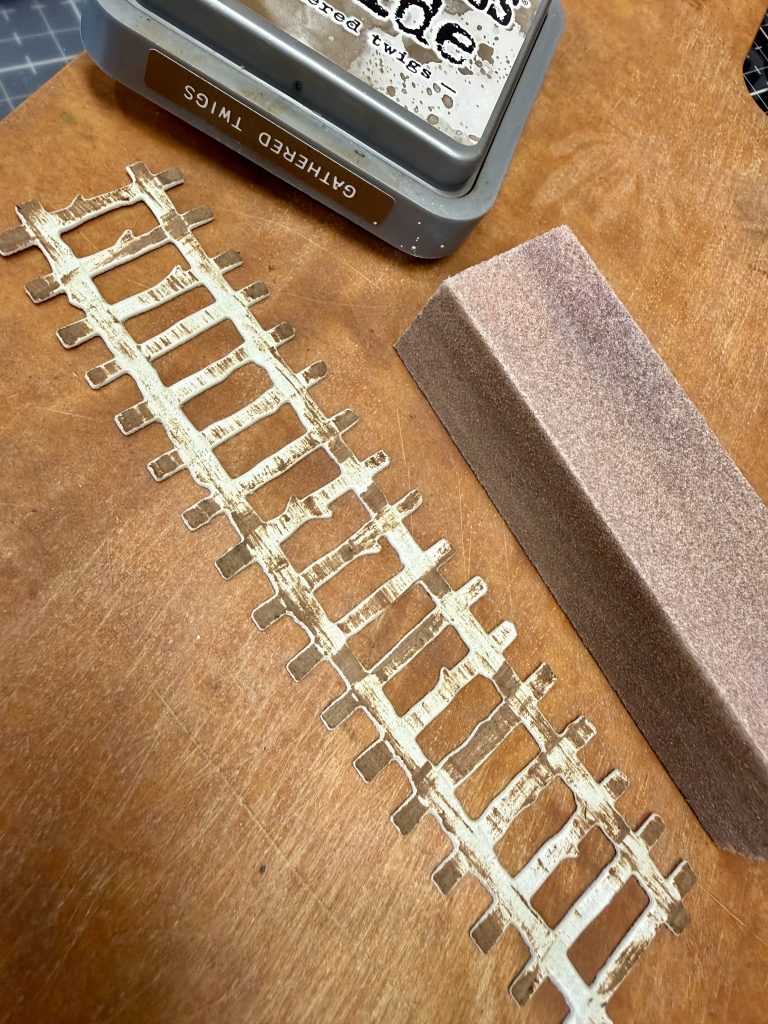
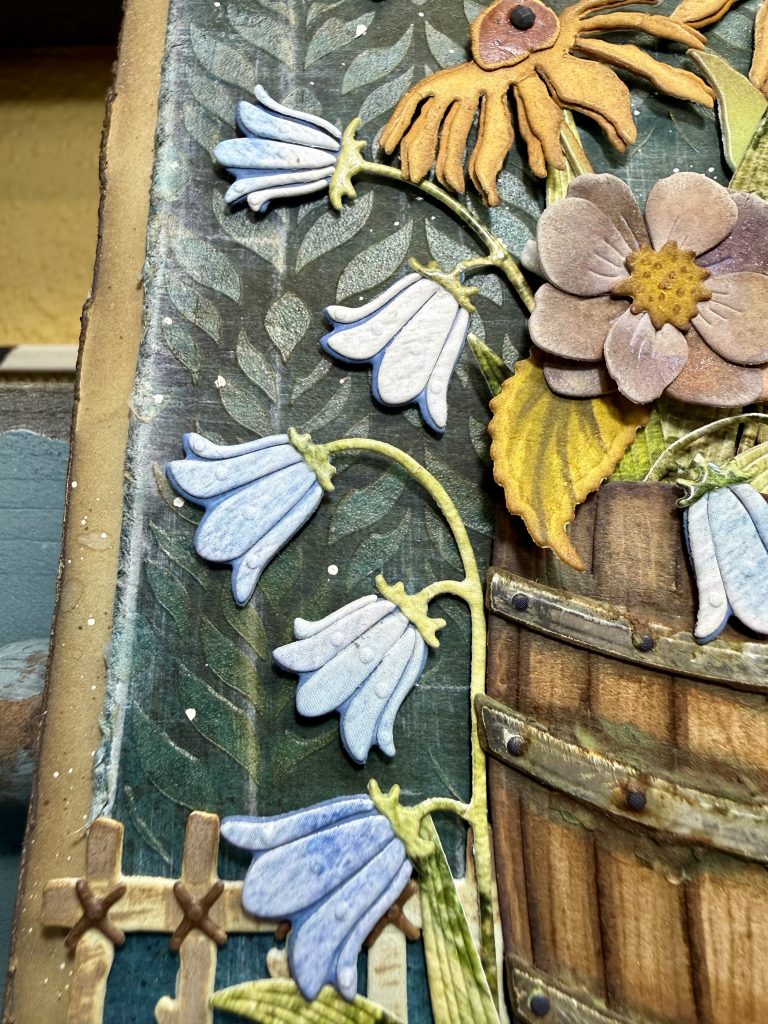
- Die cut two Wood Planks from kraft or brown cardstock and ink edges. Highlight the nail holes with a fine tip black pen. Die cut Rustic Fence die using a piece of a lighter ivory cardstock. Sand gently to add some places for ink to flow. Rub brown (gathered twigs oxide) ink directly over the fence in swipes (see photos). Lightly mist with water and let air dry. Die cut the fence “ties”/Xs from a wood grain or brown cardstock with double sided adhesive attached for ease of attachment. Color the X’s with E47 or like color. Put on the fence area (see photos) determined to be seen and not covered by florals or barrel.
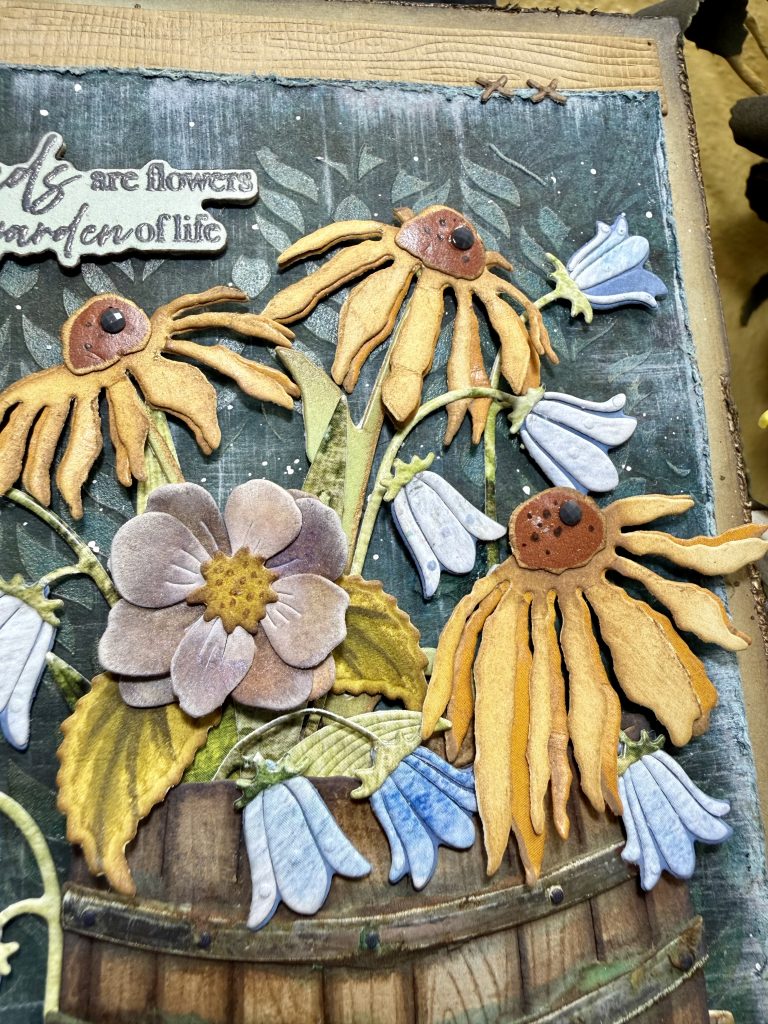
- Attach with liquid glue the fence board pieces 1- on top and 1- on bottom, as shown in photos. Attach the green background piece to the fence boards and base piece using thin foam adhesive. I prefer a wide thin roll. Adding small pieces of thin foam adhesive attach fence to bottom edge of green piece. Add barrel to fence with glue, but remainder of barrel with foam adhesive- keeping everything evenly layered. Add all of the florals into the barrel, as desired. I cut the Coneflower off of the assembled stem to add it to the right side. Play with it and be a florist!:O) Use different foam adhesive thicknesses if desired to achieve the planting/grouping look.
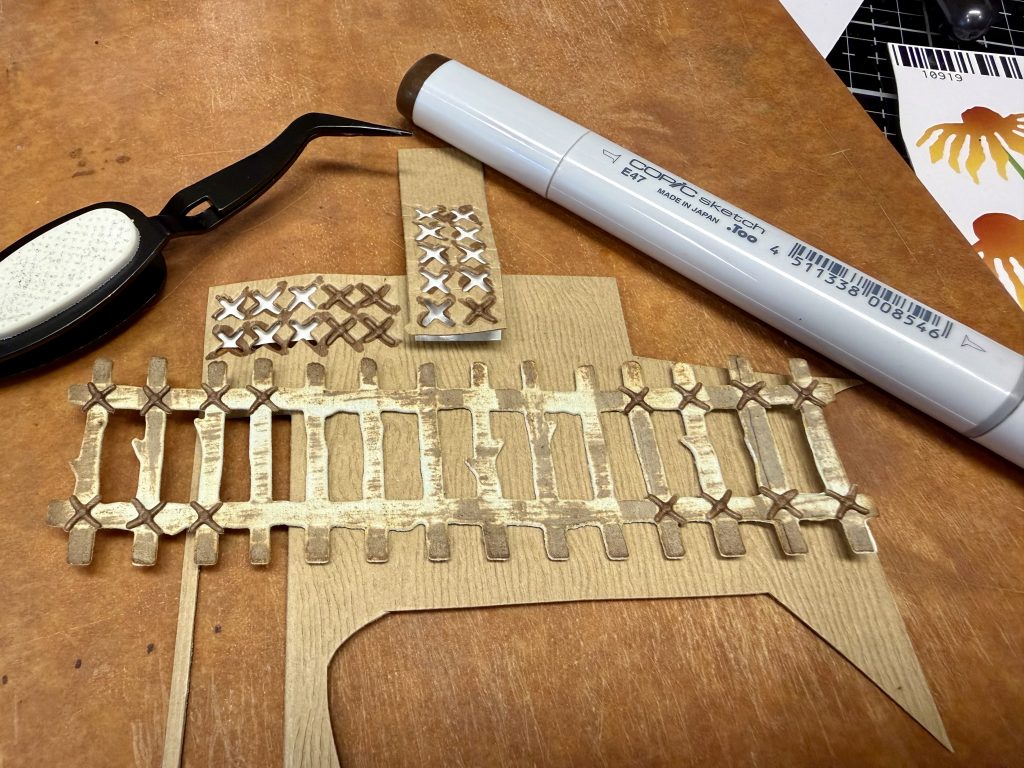
- Using a dark gray pigment ink, stamp the sentiment onto the same green Botanical Dreams paper and emboss with clear embossing powder. Add foam adhesive to backside and attach to card front. Lastly, I added a gem to each Coneflower head and some black pen dots, a bit of marker flicking to the large sunflower leaves used with the Fall Florals bloom. Finally adding two X’s to the top right and bottom left of the card appearing to attach the fence boards to the green background piece.
- 4505 Flourish Leaf Stencil
- 2403 Botanical Dreams 6×9 paper pad
- 5914-01D Build A Bloom Bell Flowers Die
- 5708-04D Wooden Barrel and Crate Die
- 38014 Gilded Lilies in Bloom Stamp set
- 38014D Gilded Lilies in Bloom coordinating dies
- 5849-03D Rustic Fence Die
- 5301-03D Cone Flower Die
- 2018 The Scenic Route 6×6 paper pad
- 5708-02D Wood Planks Die
- 2206 Floral Meadows 6×6 paper pad
- 2207 Tropical Dreams 6×6 paper pad
- 2020 Java Good Time 6×6 paper pad
- 5726-02D Large Sunflower Die
- 5832-04D Fall Florals Die
- 38008 Spring Greenery 5×6 Stamp set
- 4PCLBB Large Blending Brushes 4 Pack