
Let’s get adventurous and bust out those random paper pads to create a stunning card background for our next card project!
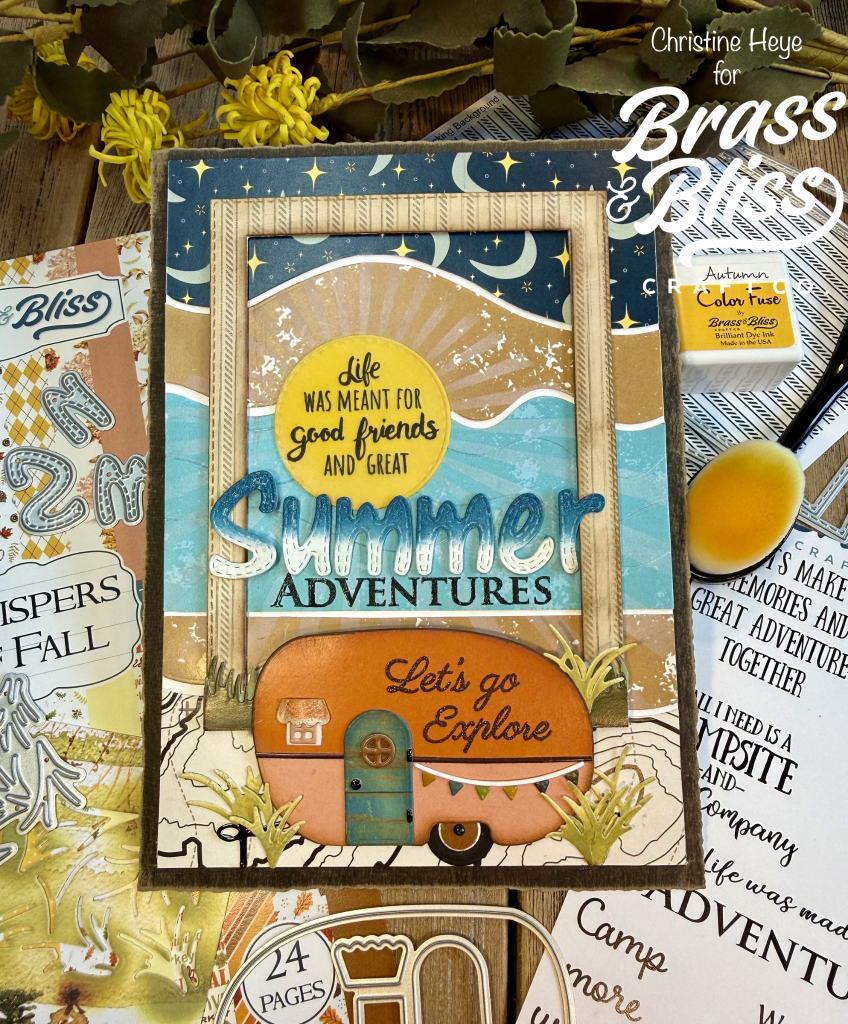
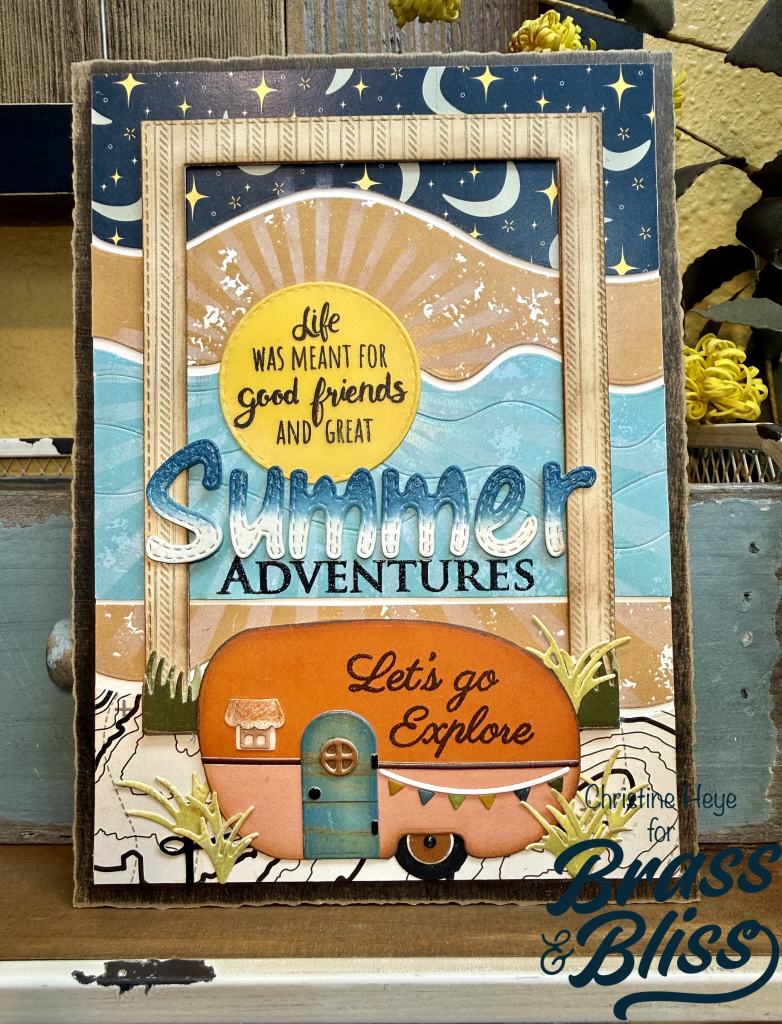
Summer is just around the corner and we are here for it! Today our designer, Christine, has a treat for us as she shows us how to utilize paper pads to build amazing background scenes. Christine says, “Summer cards are filled with fun, happy memory making, family-time, adventures, and a way to celebrate friendships. Who wouldn’t love to receive a special invitation to go to the beach or camping? This 5×7 card features a darling glamper camper die, a stitched alphabet and outdoorsy sentiments that tie it all together. It has a crisp, cool, starry night, warm sunny rays day, a bit of water & sand and of course a topography paper, that serves as a map or guide for the lil’ campers to navigate!”
Utilizing paper pads is a great way to make scene cards and the B&B paper pads work beautifully with every project. Follow along with the instructions below and let’s take you on a fun and crafty adventure….
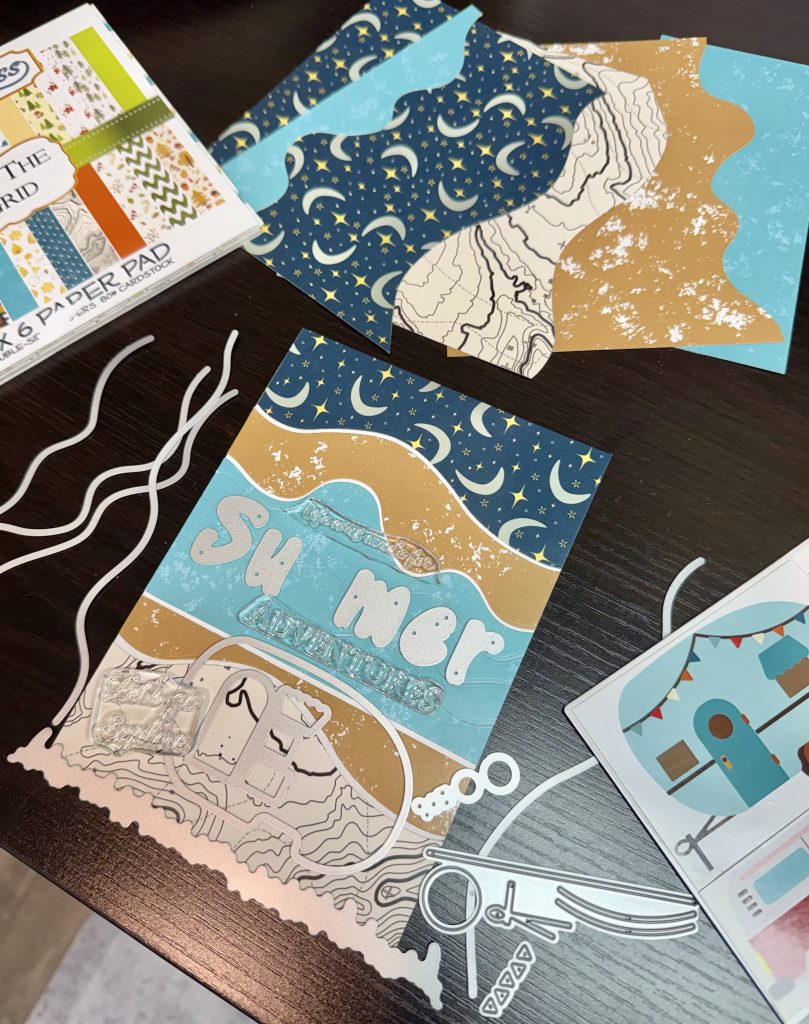
- First diecut the background stacked pieces using the Wavy Lines die set and the Off the Grid 6×6 paper pad. You will want to remember to use each layer die 2x. First on the top paper bottom section (see starry sky piece) and then again on the top of the next layer (in this case tan/speckled paper) You will repeat this with all desired layers and papers you have selected. This card “background” features papers only from Off the Grid paper pad- so you can find it all, in one pad) Once done diecutting the layers, attach to a piece of white cardstock, leaving gaps where desired or not- I left the water pieces butted up to each other). Once all are attached, cut the edges off that overhang. Taking the Sun Burst stencil and white pigment ink- stencil white ink, where you see the sun/circle be adhered. Background is done.
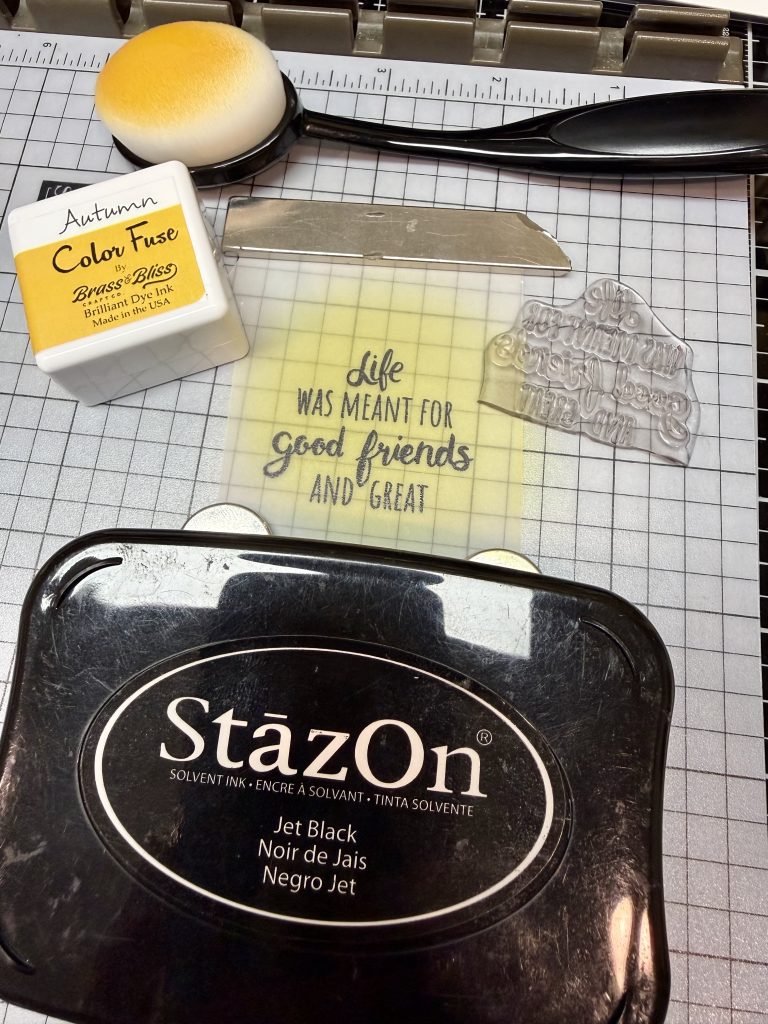
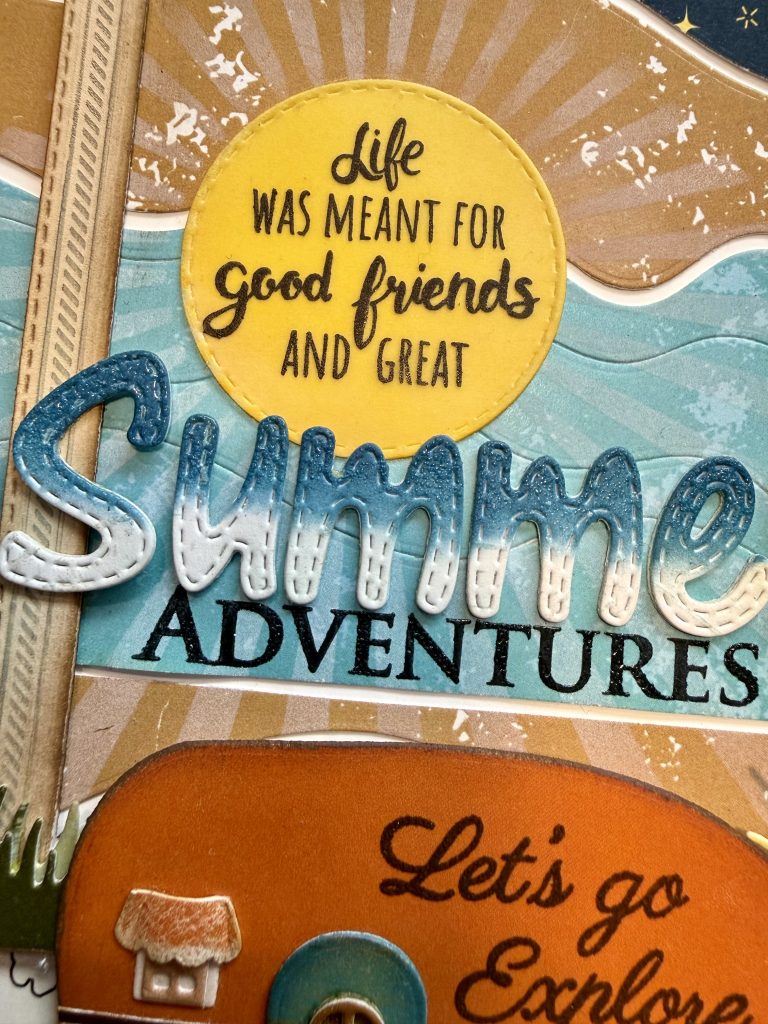
- Using 1-1/2” Nested Stitched circle die- die cut a vellum and a white “sun”. The vellum you will blend with Autumn color fuse ink on the front and allow to dry or heat set before stamping with Black Staz-on ink. The white you will brush fully with ink. You can either make a sticker with the vellum and place directly over the yellow circle or you can carefully glue using the thicker parts of the letters for the glue. This can now be glued to the background.
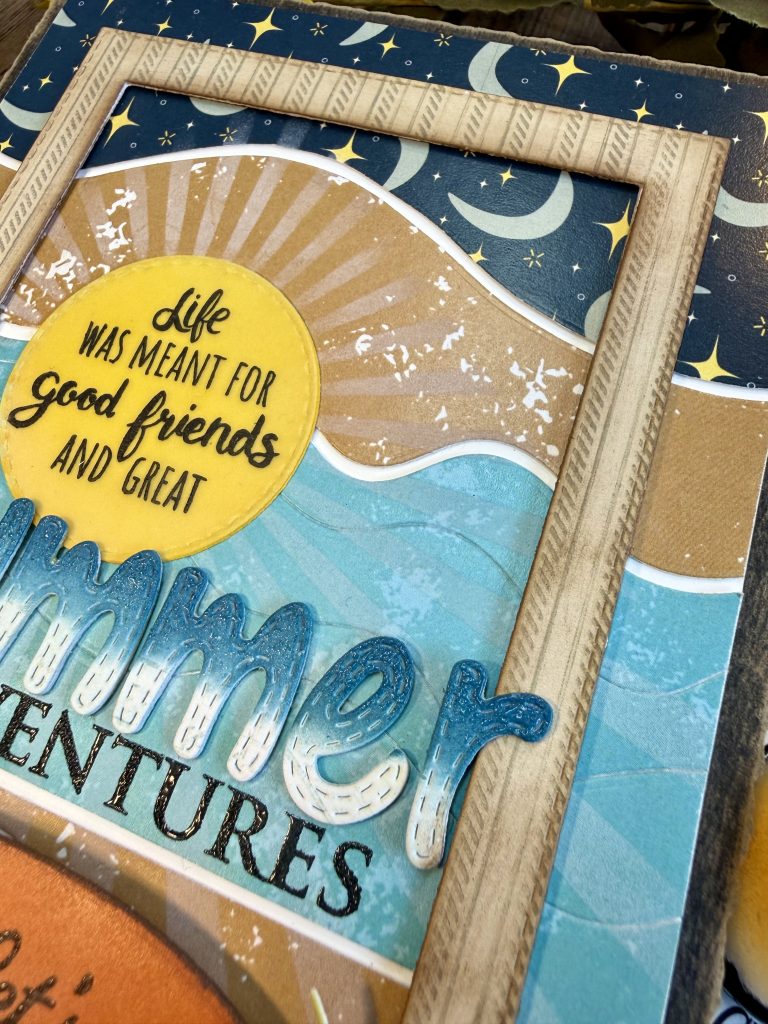
- Die cut 3x the letters S,u,m,m,e,r from both the upper and lower alpha w/stitch sets, using heavy weight white cs. Once glued together/stacked. Use a blue ink (I used Uncharted Mariner) to coat just the tops of the letters. I did one at a time to keep the ink wet long enough to emboss with clear gloss embossing powder.
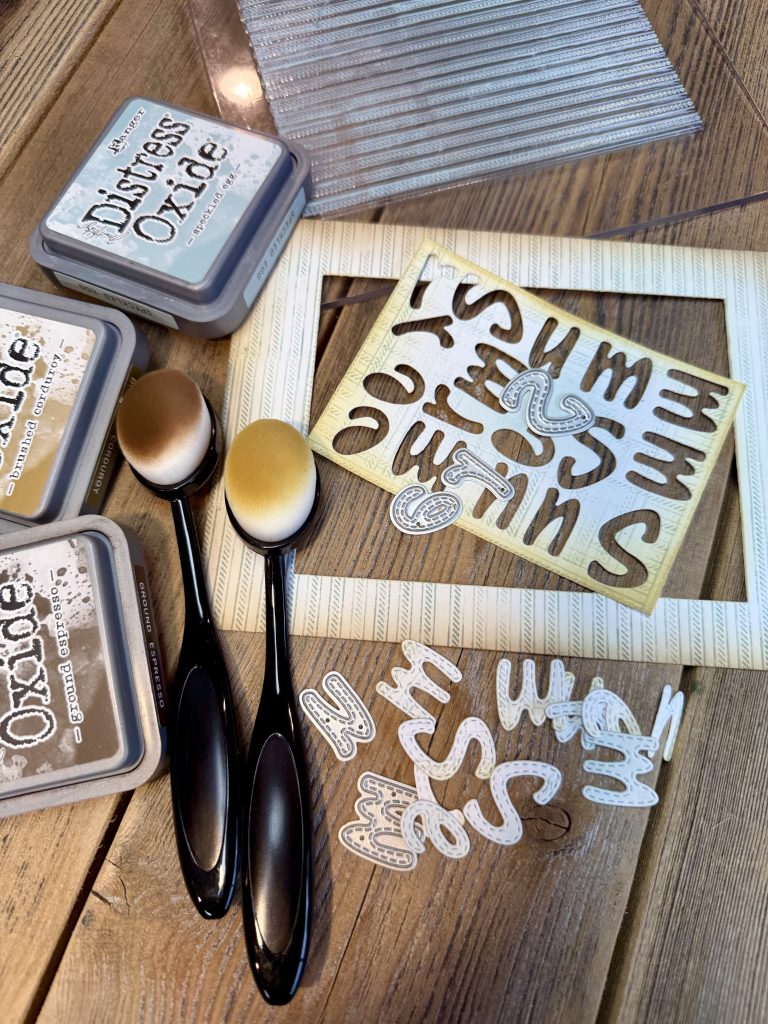
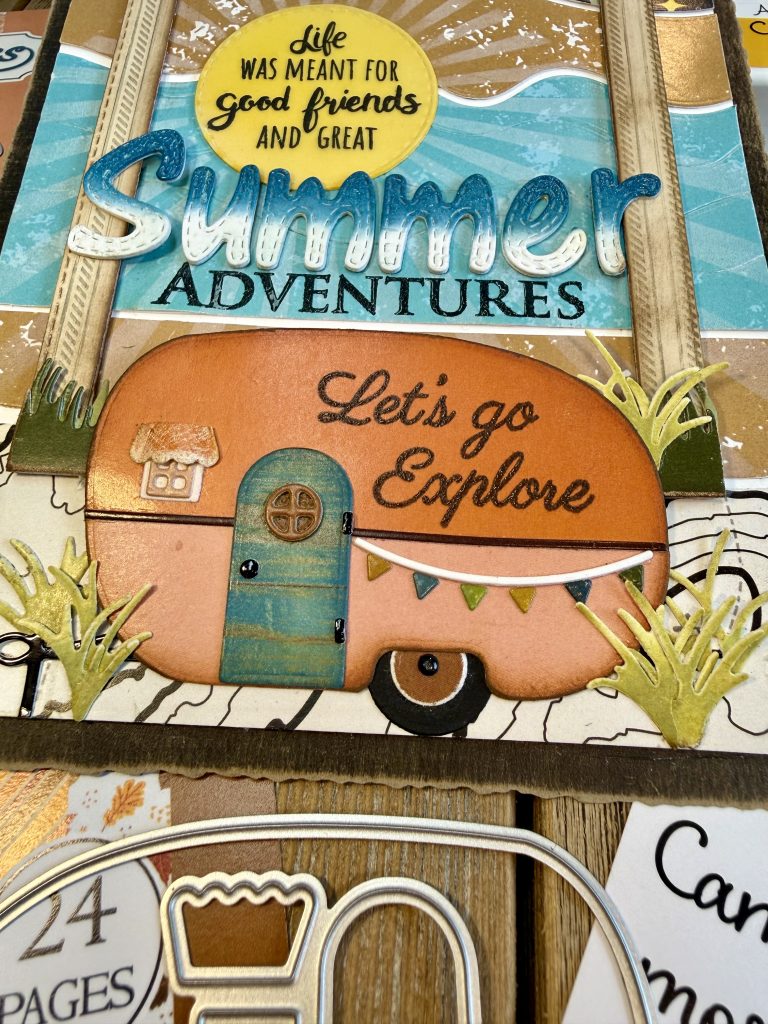
- Create a frame using the Nested Rectangle w/stitch die set. (I used the largest size 4”x5-1/4” and the 3-1/4”x4-1/2” sizes). Stamp the Vertical Ticking background stamp onto the frame using a soft blue-green ink (I used Speckled Egg). Ink all edges with a brown ink. Add thin foam adhesive to the backside. Die cut 2 grass borders using green paper from same paper pad and Classic grass edges die set. Sand edges gently with sanding block, if desired and add same brown ink. Glue to bottom of frame Set aside.
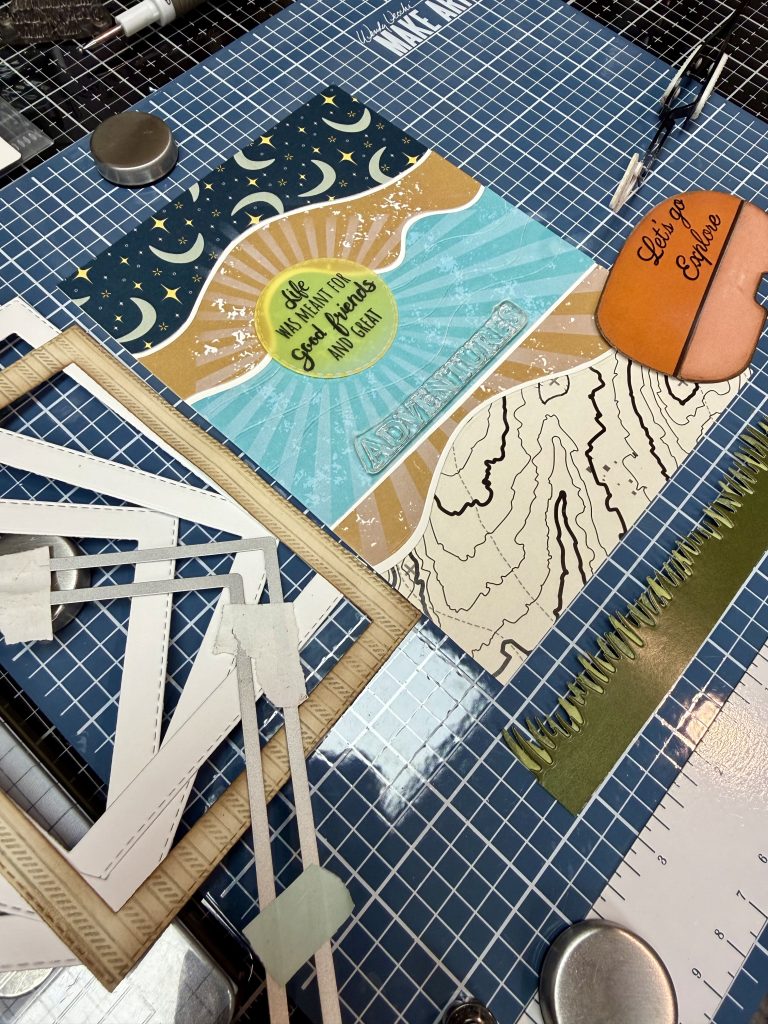
- Lay frame on top of background as a reference guide for the “ADVENTURES” sentiment. Carefully remove frame & stamp the sentiment using versafine and clear gloss embossing powder. Now the frame can be adhered to the background. Attach the letters to the frame and background as well, above the embossed sentiment and where desired below the sun. The S & r are glued directly. The u,m,m, & e are put up with thin foam adhesive.
- I cut a piece of black kraft stock to 5-1/2” x 7-1/2” before cutting roughly 1/8” off each side using the Deckle cutter by Tim Holtz. A 5×7 Deckle die set could do this, too. I also cut out the center of this cs using the largest Nested Rectangle w/stitch dies to keep and conserve the black kraft stock. After cutting the edges, sand with a sanding block to reveal the kraft underneath. Now you can glue this to the background piece or do this, as the last thing. Up to you. :)
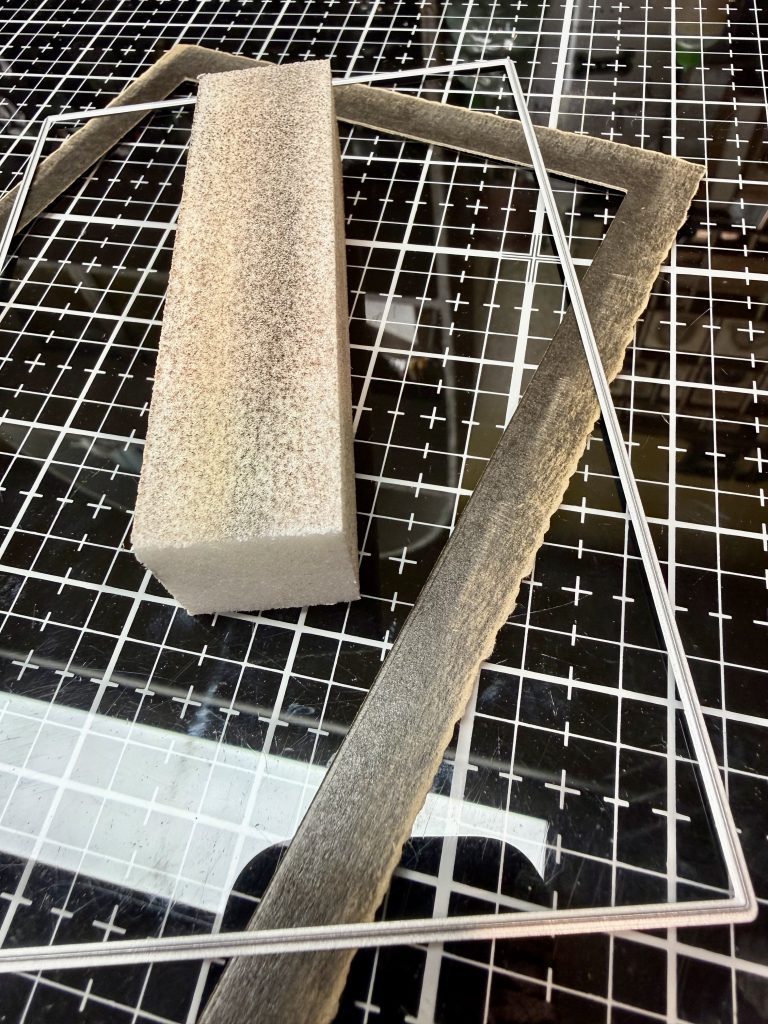
- Using one of the tree scene papers from Festival of Colors paper pad, die cut several (6 or 7) Grass #2 die clumps. You can do this with grass, flowers etc to get a variation in the image. Think tulip buds or leaves with color variation. Great way to extend the use of you paper pads, too. Ink them up with a green ink, if desired. Set aside.
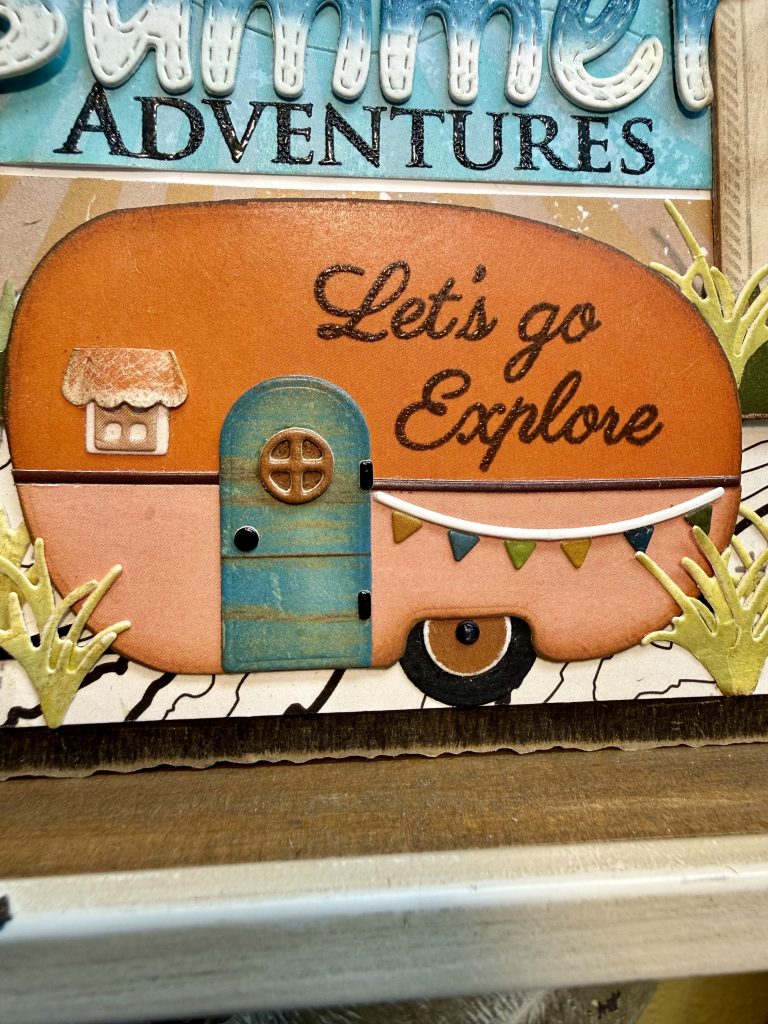
- Die cut all of the Retro Camper pieces from the various colors you desire. I used the Off the Grid (orange for the top) & Whispers of Fall 6×9 paper pad (coral). This camper is a blast to create and the sky is the limit! I cut all the things from even the covers of the paper pad for smaller scale patterns. The door window & side window are from the Fall Farm Scape die set, and I trimmed the Retro Camper awning down to fit the side window. Some tweaking and alterations can make die sets extend beyond, what they were purposed for or give many more options. Play with it! I sanded the edges of my altered camper and inked with brown ink. Once happy with your camper, add it to your scene using foam adhesive below what will hit the frame and liquid glue at the bottom to attach to the map paper and above the foam, that will hold to the frame. I also, did a bit of stamp surgery and cut apart the Let’s Explore sentiment to make it fit onto the camper, as I desired it to. This is embossed using a dk brown pigment ink and clear gloss embossing powder.
- Lastly, add your Classic Grass #2 die cuts, where desired and your Starry Night, Summer Camping 5×7 card is finished. Hope you enjoyed the adventure!
- The Great Outdoors 4×6 stamp set
- 2008 Off the Grid 6×6 paper pad
- 4108 Sun Burst Stencil 6×6
- 38025 Vertical Ticking Background 5×6 clear stamp
- 5140-01D Upper Case Alphabet with Stitch Die
- 5140-02D Lower Case Alphabet with Stitch Die
- 5615-06D Classic Tabbed Grass Die
- 5737-01D Wavy Lines Die
- 5013D Nested Rectangle Small Stitch Die set
- 5012D Nested Circle Small Stitch Die set
- 2306 Whispers of Fall 6×9 paper pad
- 5722-04D Farm Scape Die
- 5210-02 Grass #2 Die
- 2102 Festival of Colors 6×6 paper pad by Melinda Stearns
- CF-set1 Color Fuse Set 1