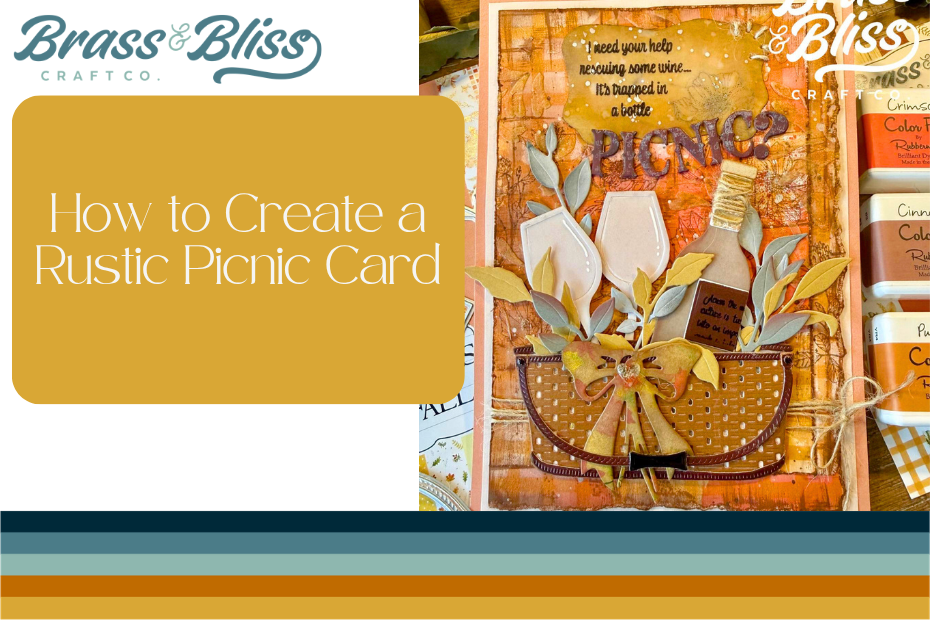
If you love layers, textures and rustic vibes, this picnic mixed media invitation is exactly what you’ve been looking for.
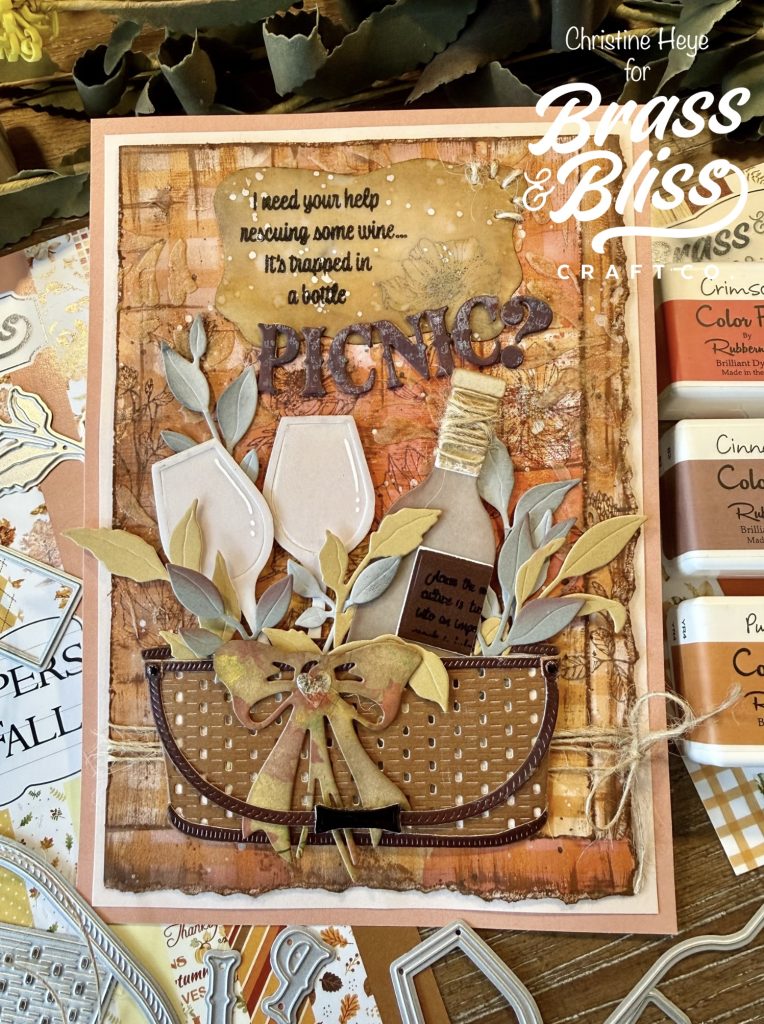
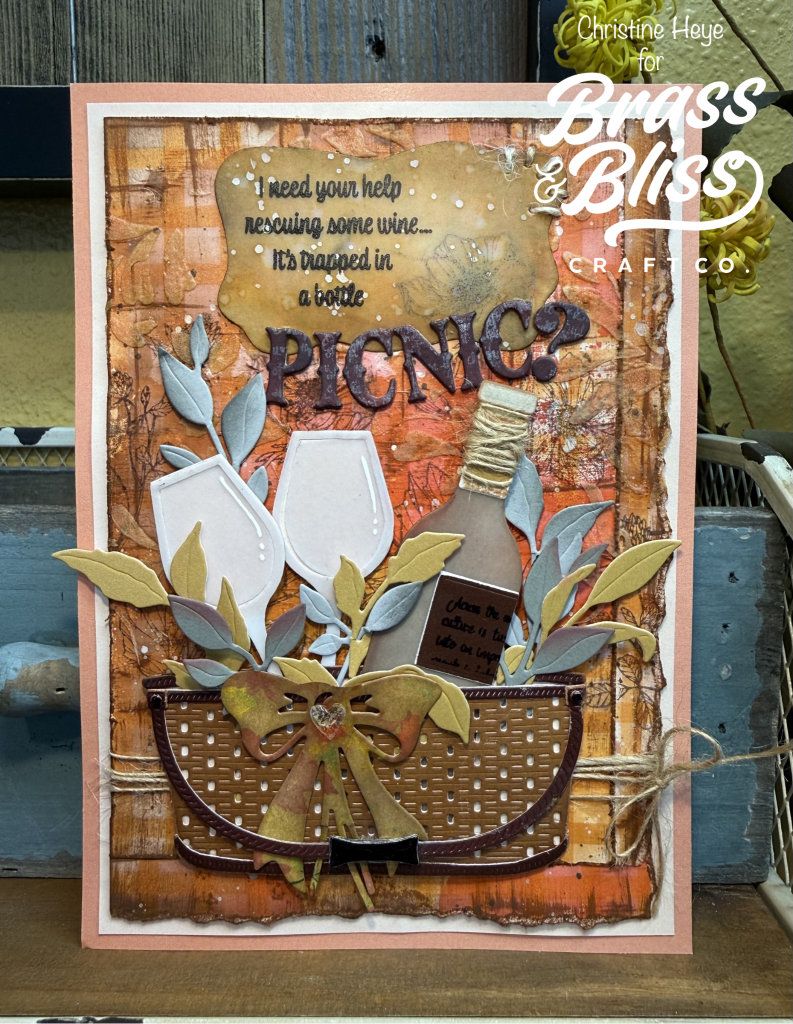
Today Christine is using her talent for textures and mixed media to bring us this romantic wine picnic party for two. This 5×7 card features the new and versatile Wicker Basket die, and Wild Leaves die, along with some older favorites to create a basket filled to the brim with goodness. Then sentiment is pure perfection, giving us a little humor to go with our design. This card has a mixed media-rustic charm type vibe that is much easier to create than it looks. What’s cool is that this card uses paper pads to maximize color coordination and tie everything together cohesively. Christine suggests adding a bit of ink, twine and background stamping to the mix and you will feel like a pro. Follow along as Christine shows us how to create a rustic picnic card that it sure to inspire.
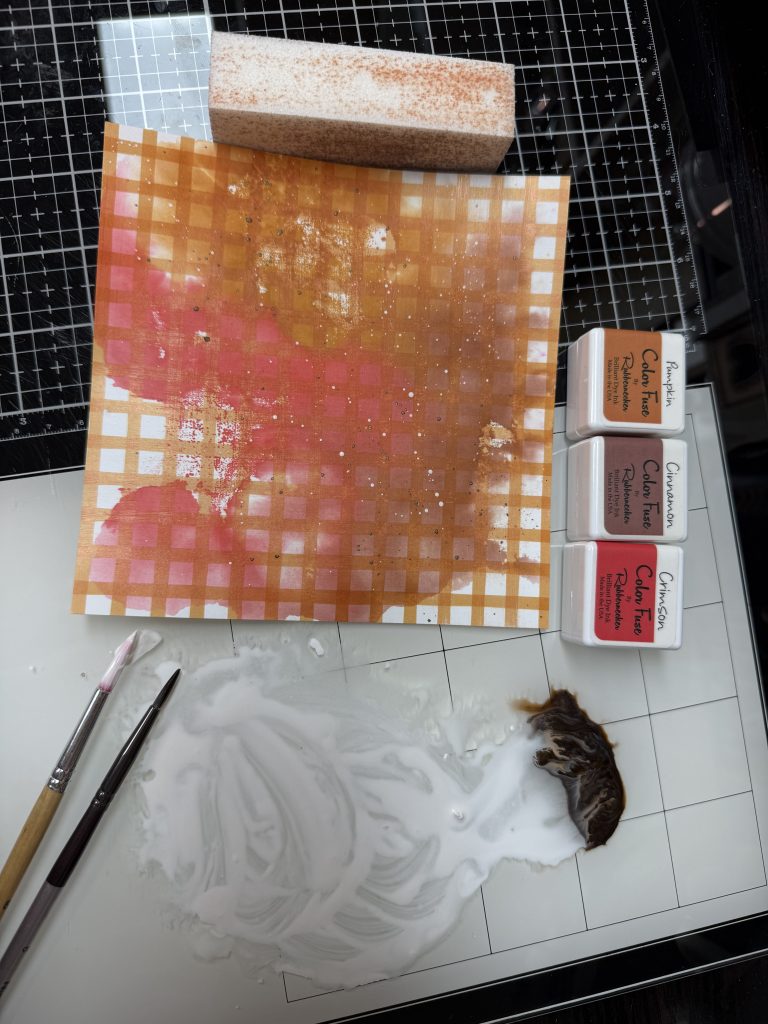
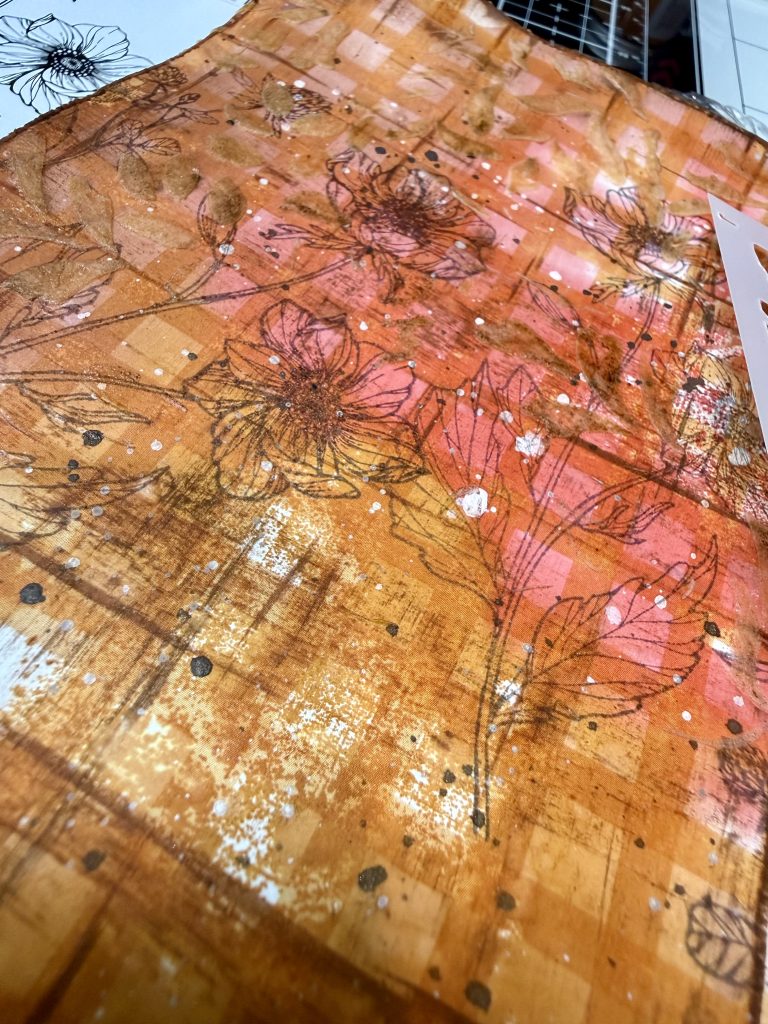
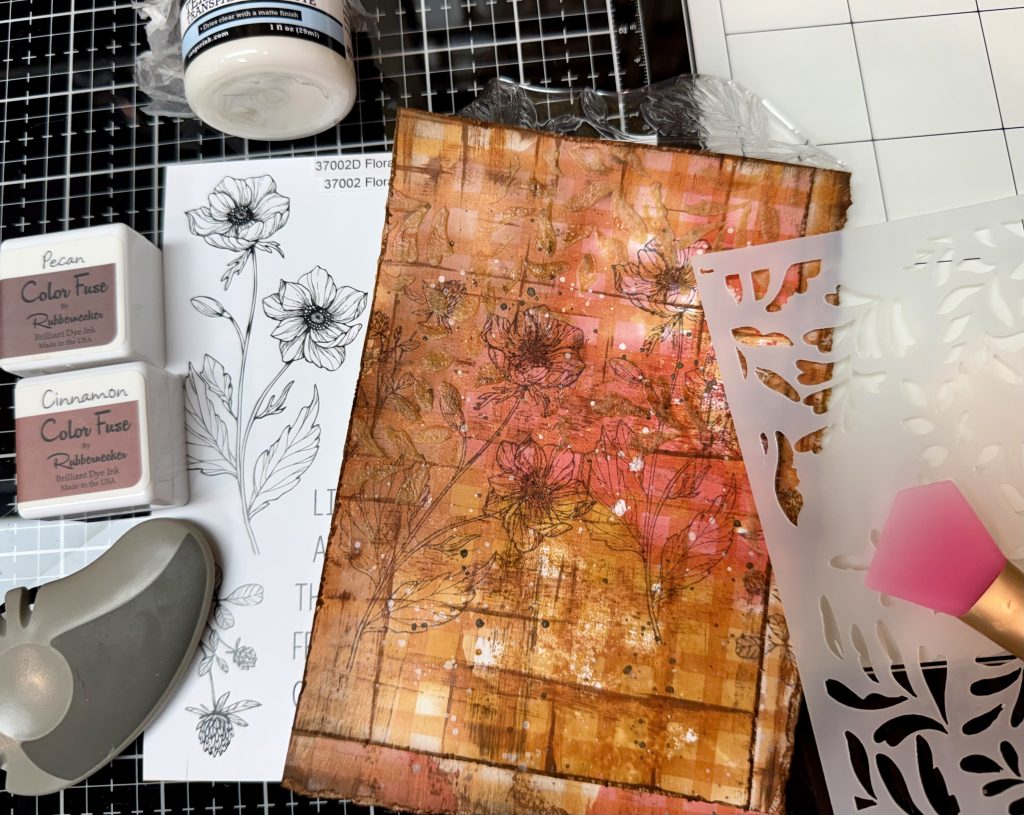
- Using the gingham print paper from Harvest Time 6×6 paper pad, start by laying down ink (crimson, cinnamon, & pumpkin) on a glass mat or media mat. Add water and drag your paper through the ink. You can do this multiple times to achieve the look you want. This is a 5×7 card, so to make a 6×6 paper work- You first cut this dried background down on one side to 4-1/8”. Sand the edges and add Pecan & Cinnamon ink to age it. I carefully tore the leftover paper to create an additional 6” edge piece and an additional 4-1/8” piece. Adhere these two pieces to the backside of the largest piece to extend it to roughly 6-1/2” x 4-1/2”. Sand or use a distressing tool, both of the glued on pieces and add same inks. Stamp floral image of choice from Floral Memories stamp set using Cinnamon and or Pecan ink. Heat set gently. Lastly, taking the darkest (Pecan) ink do a direct to paper swipe over the edges and onto the paper a bit. It’s supposed to look a bit random, yet uniform. Just play with this fun, inky part. :)
- Using paste of choice (I used transparent matte by Ranger) stencil leaf stencil of 3 part Fall Floral stencil set. Allow to dry, thoroughly. Splatter entire background with white acrylic paint and the two brown inks w/added water. Again, allow to dry.
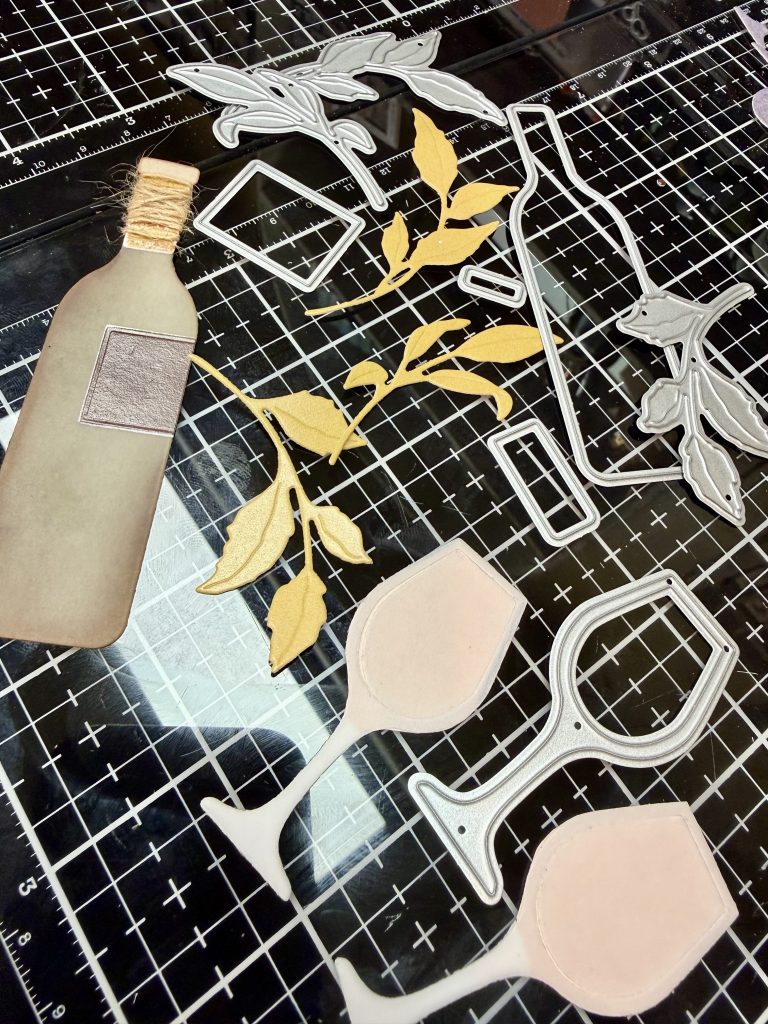
- Die cut wine glasses (save inner glass part) and bottle from thick vellum using Wine Glass and Bottle Die set. Also die cut again from light pink paper from Whispers of Fall 6×9 paper pad. Ink blend the vellum bottle with Vintage Photo distress oxide and light touches of Aged Mahogany inks. Die cut the bottle label from darkest chocolate paper in Java Good Time 6×6 paper pad. Sand the edges, lightly and stamp with a black archival ink- using Splatter Stains stamp set (fun tiny font). Die cut the neck & top of the bottle from paper of choice. Lightly sand and add touches of brown ink. Add generous amount of glue, to backside only of neck of bottle and twist a thin twine (kraft color) around neck and use reverse tweezers to secure in place until completely dry. Run the vellum wines glasses with insert through a sticker maker to allow the vellum to attach to the pink paper. Add a few white gel pen highlights, if desired.
- Die cut bow from Heirloom Blooms (bow section) die from paper of choice, from Autumn Leaves 6×6 paper pad. You will need to cut off bits of the florals, as this is one die- to get only the bow. Cover generously with brown ink to age it and make it vintage looking. Set aside, until basket assembly. Die cut the Wild leaves die from both a light gray cs, darker gray cs and dark mustard color paper from Harvest Time paper pad. To the light gray add a bit of a smoky gray ink. To the darker gray cs add aged mahogany distress oxide ink.
- Using same thick vellum diecut a sentiment box using the Wavy Nested die set (smallest or 2nd smallest). Ink blend Vintage Photo oxide onto the edges darker and getting softer towards the center. After thoroughly dry- stamp the funny “rescue wine” sentiment from the Sip Sip Hooray stamp set with Staz-on black ink. Heat set. Stamp the same floral image from the Floral Memories stamp set in same black ink (Stamped Off first- so subtle) next to the sentiment. Using a sticker maker or glue just under floral center and larger spots on letters adhere to top center of background. I added stitching with a thin twine to the top right, as an additional decorative option, that secures it more, too.
- Die cut the P, I, C, N, I, C from the Vintage Alphabet Die, using a magenta cardstock. Die cut same letters 2x more from kraft or black and glue layers together. Lightly stamp the same tiny words stamp (bottle label) using white pigment ink onto the letters. The exclamation mark is a Spellbinders die. Set these aside for now.
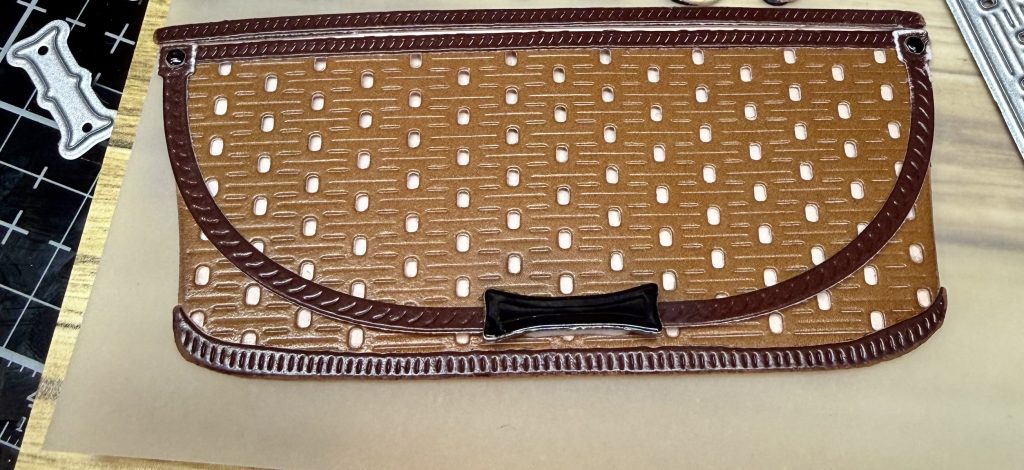
- Die cut the Wicker basket liner die (open piece that creates the back of the basket) from the same light pink as the wine items. This will show through. Die cut the basket handle and trim pieces from the burgundy color paper from the Harvest Time 6×6 paper pad. Die cut the basket body from the warm brown from Autumn Leaves 6×6 paper pad. And the handle die from a metallic/mirror black. CAREFUL to keep the tiny dots. I used these dots as attachments on the ends of the basket handle. Assemble the basket as shown on the packaging with the handle down, in this case. Secure the bow to the front of the basket, then attach the handle to the bow with a tiny piece of foam adhesive.
- Using same thin twine wrap it around the card front panel several times and tie into a bow on the right lower edge. Attach the basket to the card front using thin foam adhesive at top and liquid glue at bottom; making sure to keep the basket open for filling. I lined my basket up with the glued on strip of the background paper. Fill the basket as shown in photos or how you prefer it; securing with liquid glue inside the basket and foam adhesive at the tops of the items (bottle/glasses/ leaves). I did not attach everything at top, only the things that wanted to not lay as I wished them to. :) Add a clear heart or embellishment of choice to the center of the basket bow.
- Once basket is filled and contents secure- Add your “PICNIC & question mark to the top, as desired.
- Layer this card front onto the other sheet of light pink from the Whispers of Fall 6×9 paper and the final card backing layer is the more coral pink from the same paper pad. Now it’s time to have that glass of wine! You did it!
Supplies Used:
- 5916-01 Wicker Basket Die
- 5915-02D Wild Leaves Die
- 5603D Wine Glass and Bottle Die
- 37002 Floral Memories 5×6 Stamp set
- 36015 Sip Sip Hooray 4×8 Stamp set
- 3006 Splatter Stains 4×6 Stamp set
- 5742D Vintage Alphabet Die
- 5913-01D Heirloom Blooms Die
- 2206 Whispers of Fall 6×9 paper pad
- 2005 Harvest Time 6×6 paper pad
- 2001 Autumn Leaves 6×6 paper pad
- 5737-02D Wavy Nested Dies
- 2020 Java Good Time 6×6 paper pad
- 4306 Fall Floral 6×6 3 part stencil
- CF-Set2 Color Fuse Set #2
- CF-Set3 Color Fuse Set #3
- CF-Set4 Color Fuse Set #4
- 4PCLBB Large Blending Brushes 4 Pack