Wanting to create some beautiful forest scenes with watercolors but feel intimidated? Check out these three hacks to create beautiful scene cards with stamps.
Today our designer/watercolorist Kassi, has put together a stunning forest card and provided this wonderful in depth tutorial that you will for sure want to pin for later! Kassi shares, “I love painting cozy little watercolor forest scenes, but I know not everyone is comfortable free handing a forest, so today I want to share three watercolor hacks for painting pine forests with stamps- perfect for summer camping projects all the way through to winter wonderland cards!” WOW! What a treat. These are stunning trees from our 3460 Pine Tree Stamp Set and we love seeing them shine with different techniques. Follow along, you don’t want to miss this.
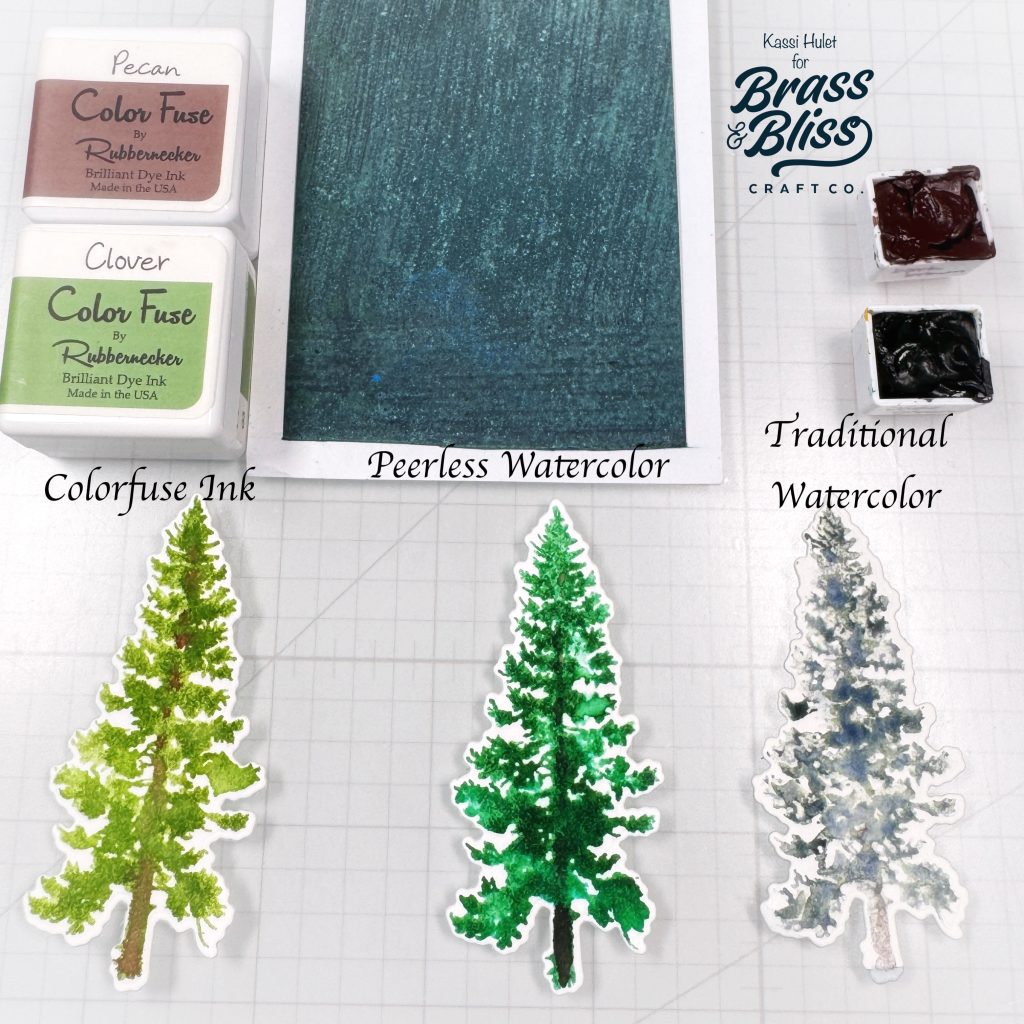
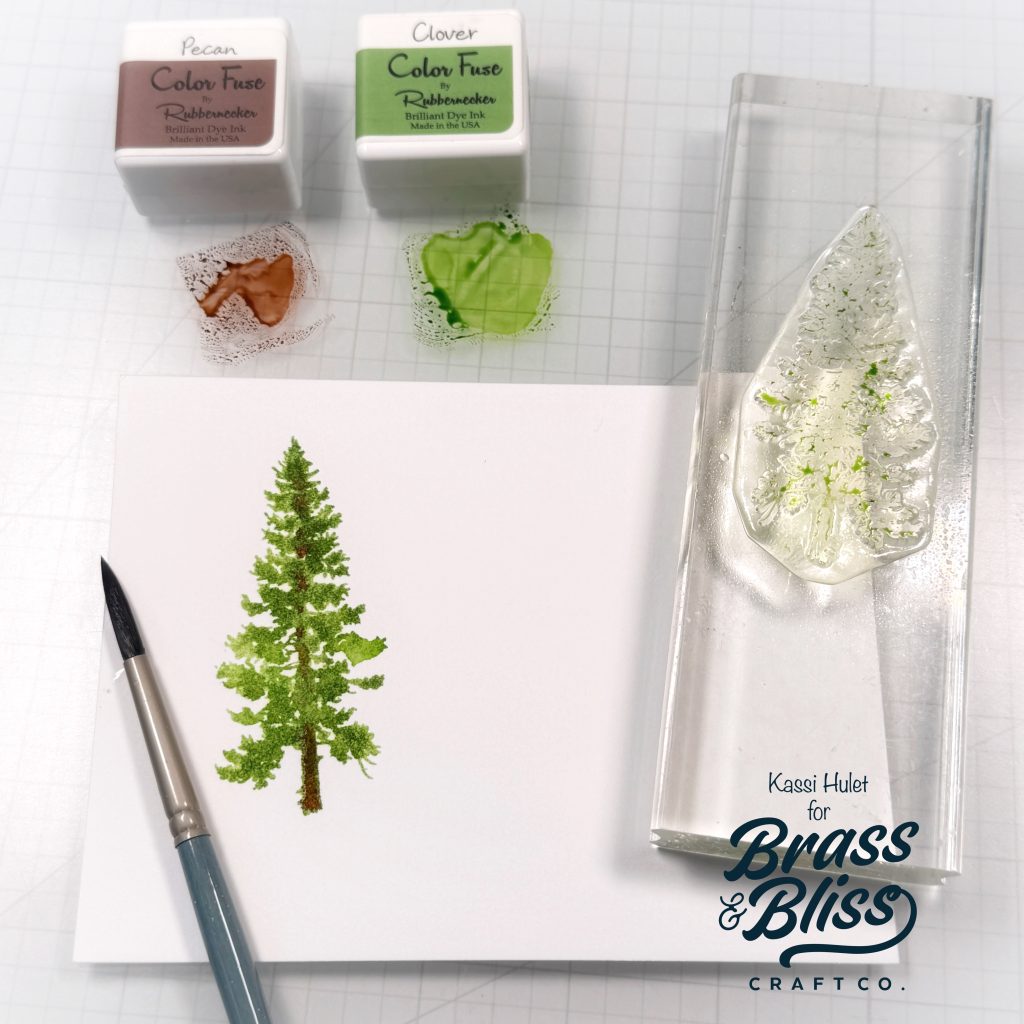
1st hack- using ColorFuse ink- ColorFuse inks are water based dye inks perfect for faux watercolor techniques!
- Ink up your chosen tree from 3460 Pine Tree stamp set with your chosen ink color (I’m using Clover from ColorFuse set #10)
- Mist your stamp with water using spray bottle- the more water you spray on, the less detailed your image and the “looser” the watercolor look will be. If you want a more controlled detailed look, just mist a little water on.
- Stamp your tree on watercolor paper
- Smoosh your green ink and a brown ink (I used Pecan from ColorFuse set #3) onto a non-porous surface. Add a bit of water to each ink smoosh, then using a paint brush, dab in some green onto the stamped image for color variation, and paint in your trunk with the brown. Keep in mind that the trunk should be partially hidden by branches, so do more of a dashed line than a solid line with the trunk being thicker at the bottom and very thin at the top.
- Repeat as desired
- As long as you don’t go too heavy on the water, you should still be able to cut the trees out using 3460D Pine Tree Dies without any problems!
2nd hack- using Peerless watercolor sheets– a new way to use paint!
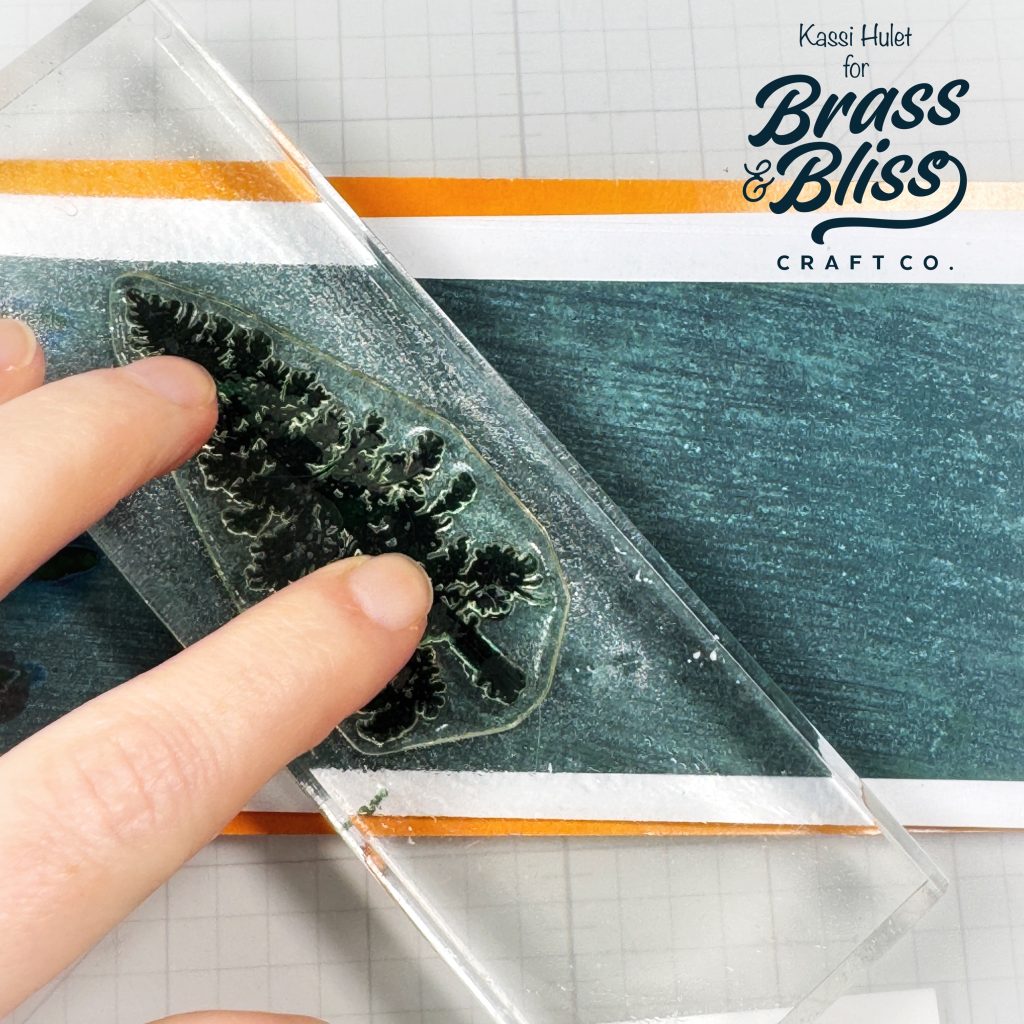
- Mist your chosen tree from the 3460 Pine Tree stamp set with water
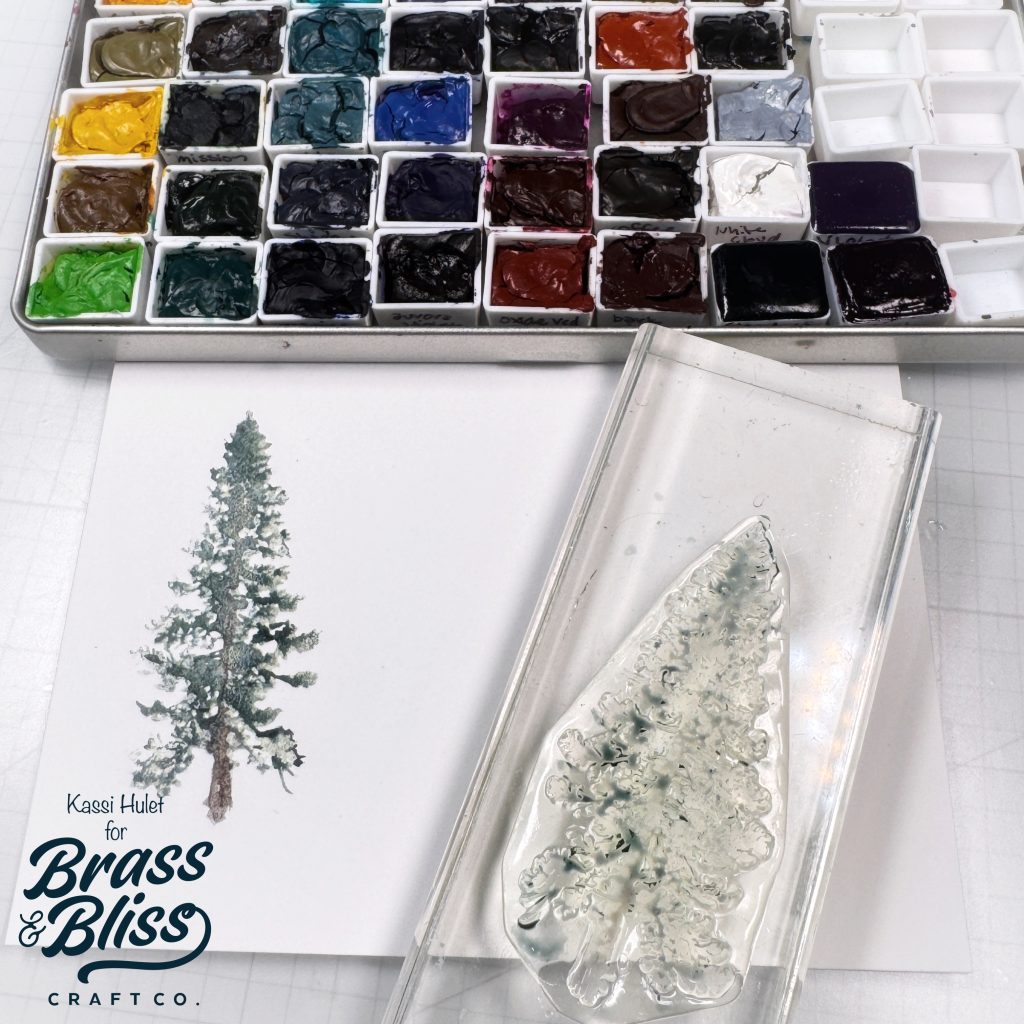
- Press the wet stamp onto a Peerless Watercolor sheet (I’m using Dark Green) and hold it there for a couple seconds
- Mist the stamp again (like the previous hack, you can vary the look by changing how much water you spray on at this point)
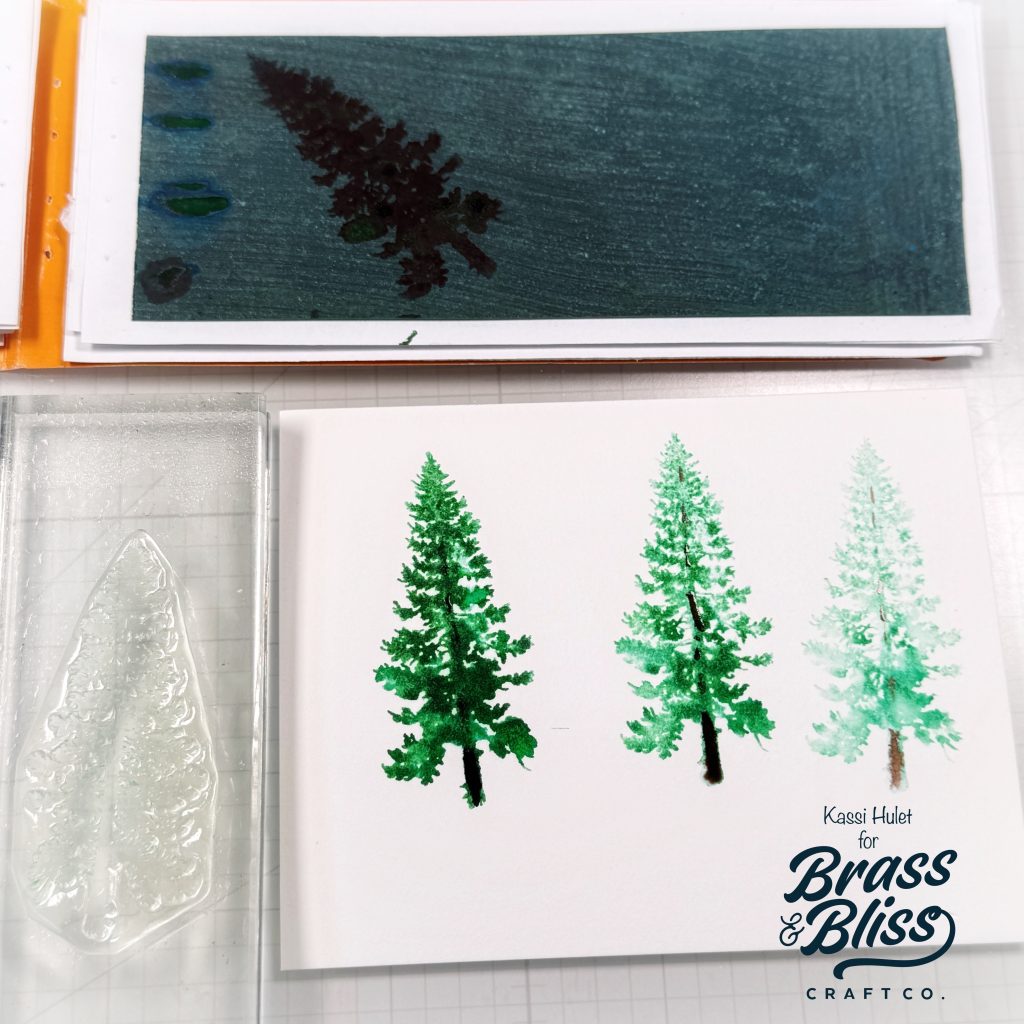
- Stamp on to watercolor paper
- OPTIONAL: without cleaning the stamp, mist again, then stamp. I was able to get at least 3 generations of stamping before needing to add more color!
- Use a brush to paint in the trunk and fix any branches. (I used Sepia Brown for my trunks)
- Repeat as desired
- As long as you don’t go too heavy on the water, you should still be able to cut the trees out using 3460D Pine Tree Dies without any problems!
3rd hack- watercolors- yes, you can stamp with traditional watercolors!
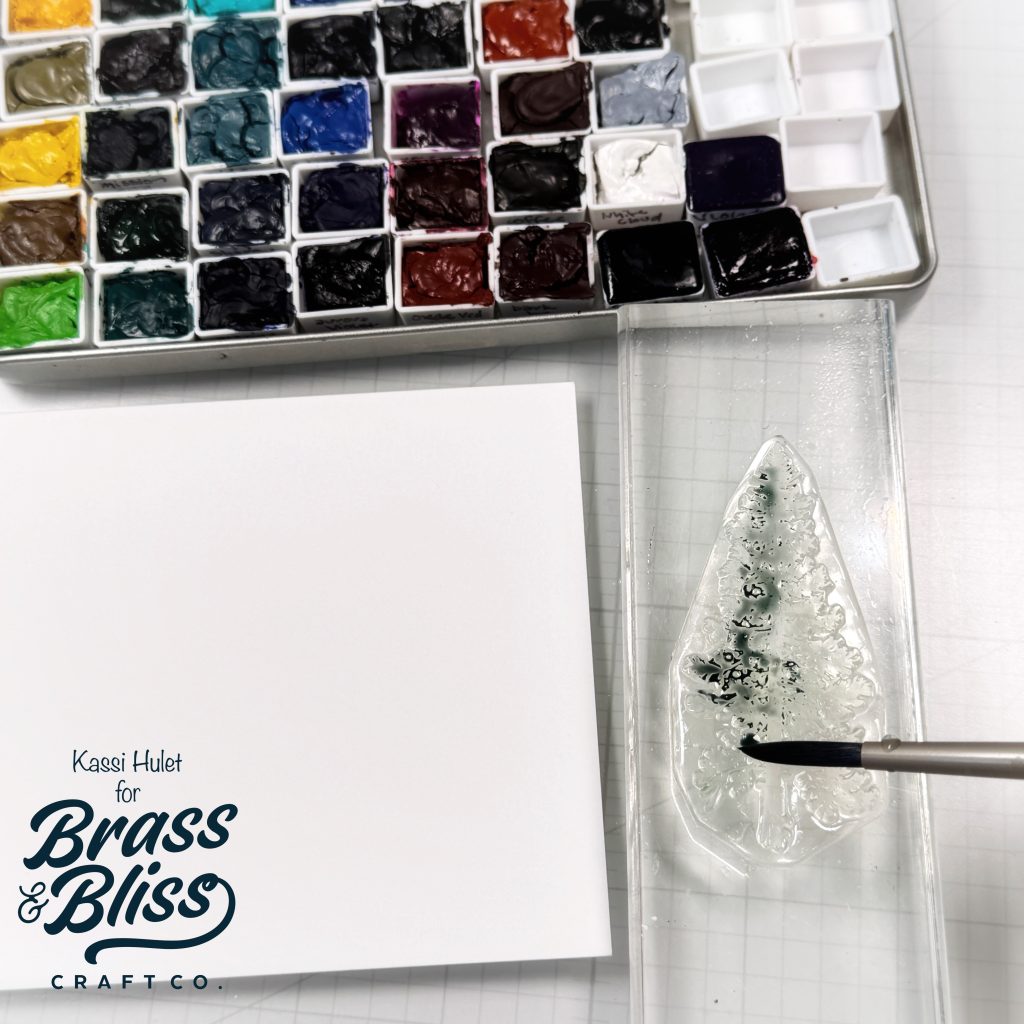
- Use a brush to apply paint onto your chosen tree from the 3460 Pine Tree stamp set. It will look messy and a bit crazy, but it does work. (how loose or detailed your tree is will be determined by how much water is in the paint you are using. Less water for a more detailed look, juicer paint for a loose look)
- Stamp onto watercolor paper
- Use a brush to fix any branches and add in a trunk
- Note: I like using granulating paint for this (especially the kind that color separates). It adds a lot of extra visual interest without any effort on your part. However, granulating paints work best when there’s enough water for them to move, so you can’t go super stingy on the water if you want the colors to separate! I used Mission Gold Tourmaline watercolors for this sample, but there are number of brands that make color separating watercolors now!
- Repeat as desired
- As long as you don’t go too heavy on the water, you should still be able to cut the trees out using 3460D Pine Tree Dies without any problems!
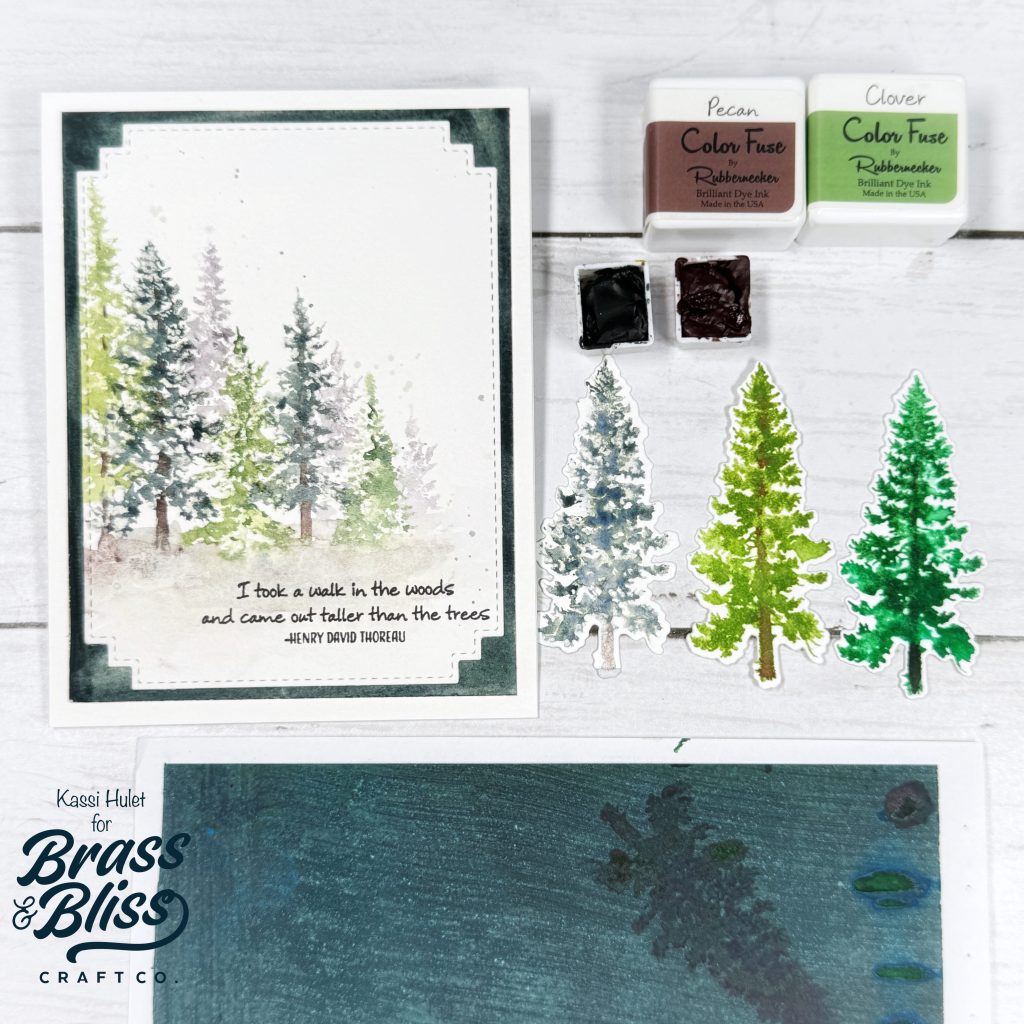
You can create easy watercolor forests using the various trees from the 3460 Pine Tree set using any of these techniques! Each tree will be unique!
Pro tips:
- Using a variety of size and shaped trees creates a more natural looking forest. Also try varying how far apart they are, maybe stamp some overlapping… all this gives it a natural look rather than a stiff stamped look.
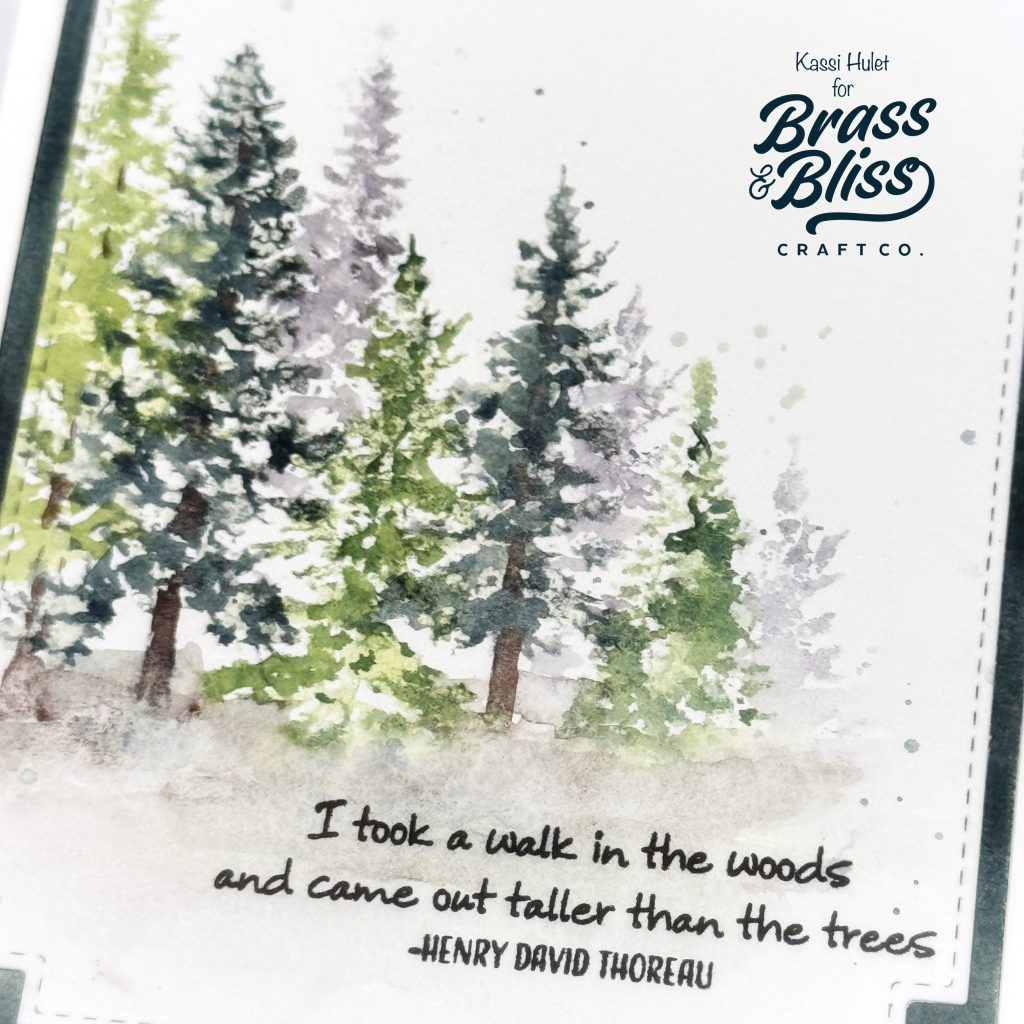
- Adding a ground line in is as simple as dragging some color and water across the base of the trees. Use water to fade out to white.
- Don’t get hung up on perfection. This style of watercolor doesn’t need to be perfect. The imperfections add character, interest, and give it the hand painted look. Just relax and have fun!
- You don’t have to use just one green- using a variety of greens gives a more natural look
- You don’t have to make green trees at all! I’ve done a fantasy forest with pink, purple, and blue trees that turned out amazing! In the card I made today, I used a dark blue-green, a lighter yellow-green, and a light grey-violet.