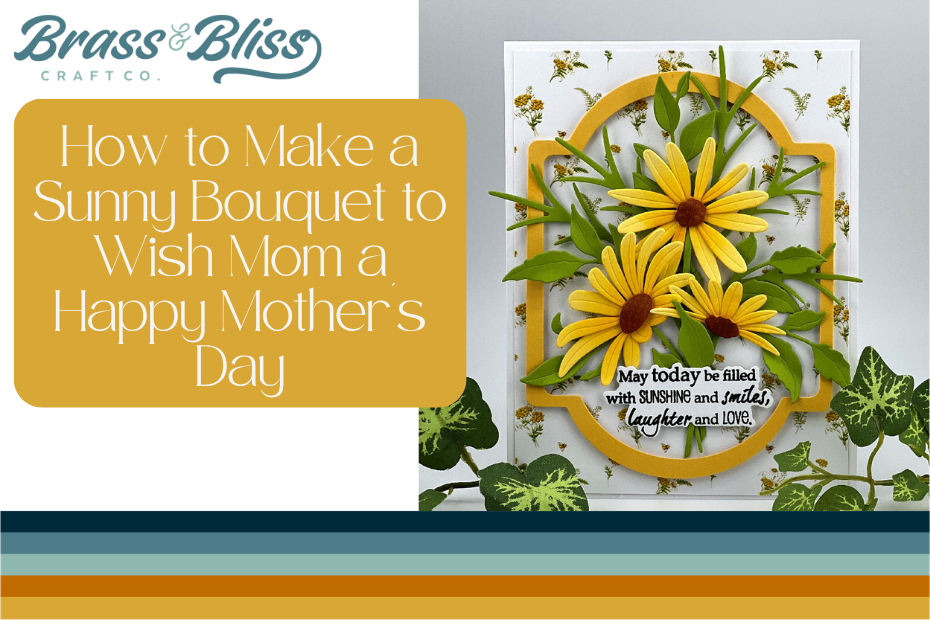
May today be filled with sunshine and smiles, laughter and love…. and a beautiful bouquet of sunshine florals to show you how much you are cherished!
Today we have a stunning design from our beloved Kittie, who works magic with paper and makes each card a genuine treasure. Today she has created this sunny floral card that is absolutely perfect for Mother’s Day, though it can be used to send encouragement out to many people throughout the year. Kittie said, “I love using frames to highlight the focal images on my card fronts. This card was made using all brand new products from the April “Petals and Promises” release. I used the Build a Bloom Chamomile, Wild Leaves, Rounded Marquee Nested, A Day Full of Blooms, A Day Full of Blooms Coordinating Die and Botanical Daydreams 6×9 Paper Pad.” We love this card creation and hope you find it inspiring and can recreate this beauty to encourage someone special.
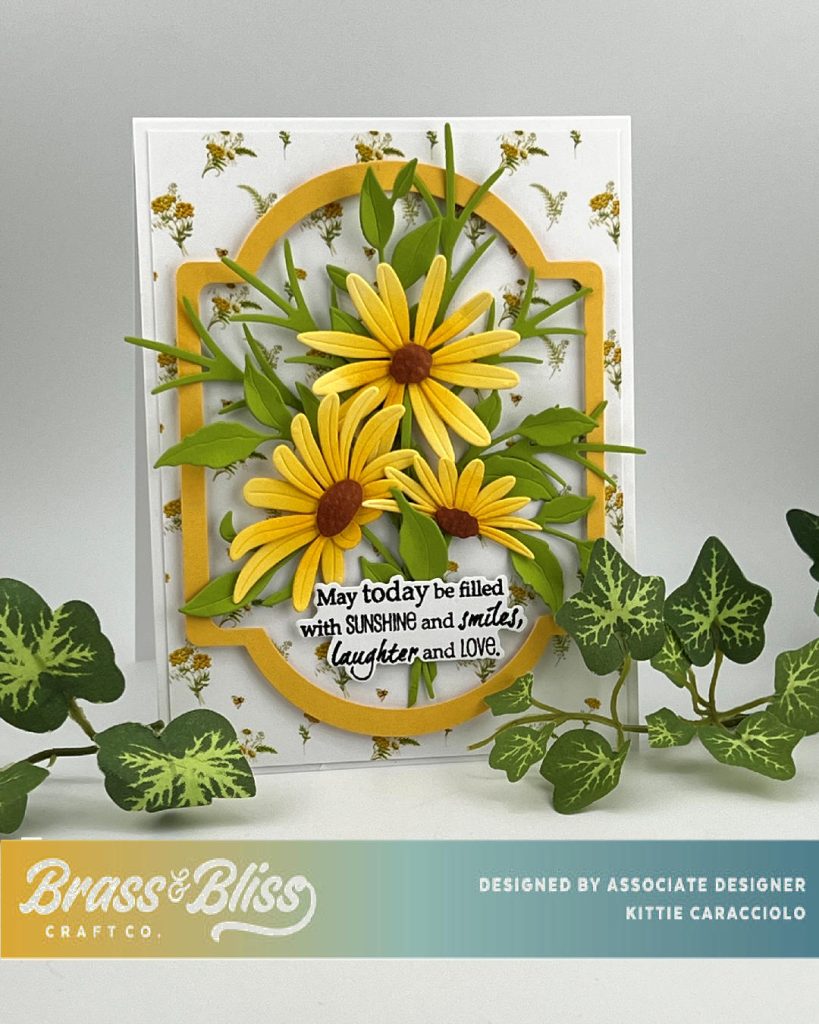
Card Base and Frame
- Cut an A2 sized card base and a 5.25″ x 4.00″ piece of designer paper from the Botanical Daydreams 6×9 paper pad.
- Attach the paper to the card base using double stick tape.
- Cut the main base layer using the largest die in the Rounded Marquee Nested set using mustard cardstock.
- Place the layer back on the cutting platform, line up and secure the smaller die on the layer and cut.
- Apply thin strips of mounting tape to the back of the frame and attach it to the card base.
Framed Flower Bouquet and Sentiment
- Cut the three flowers and foliage from the Build a Chamomile set using yellow and green cardstock.
- Cut foliage from the Wild Leaves set using green cardstock.
- Apply Citrus ink to the flowers using a blending brush and Pecan ink to the flower centers.
- Turn the flowers face down and and use a round stylus to form each petal.
- Attach the brown centers to the flowers using Nuvo glue.
- Use Nuvo glue to attach the flower stems to the back of the flowers and attach the the flowers to the card base using pieces of mounting tape.
- Tuck the foliage sections under and around the flowers and attach using Nuvo glue to complete the bouquet.
- Stamp the sentiment from the Day Full of Blooms set and cut it out using the coordinating die.
- Attach it to the card base using mounting tape to complete the framed flower bouquet project.
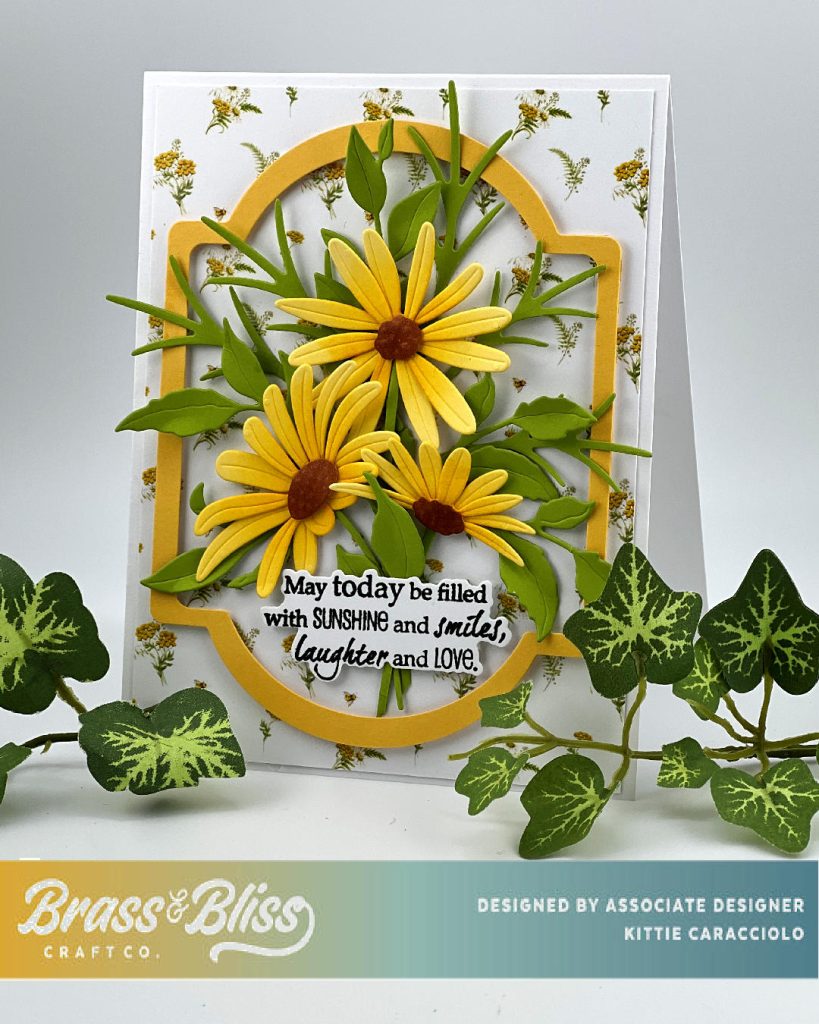
We just love how this card turned out and hope you feel inspired to recreate this dazzling card for someone special!