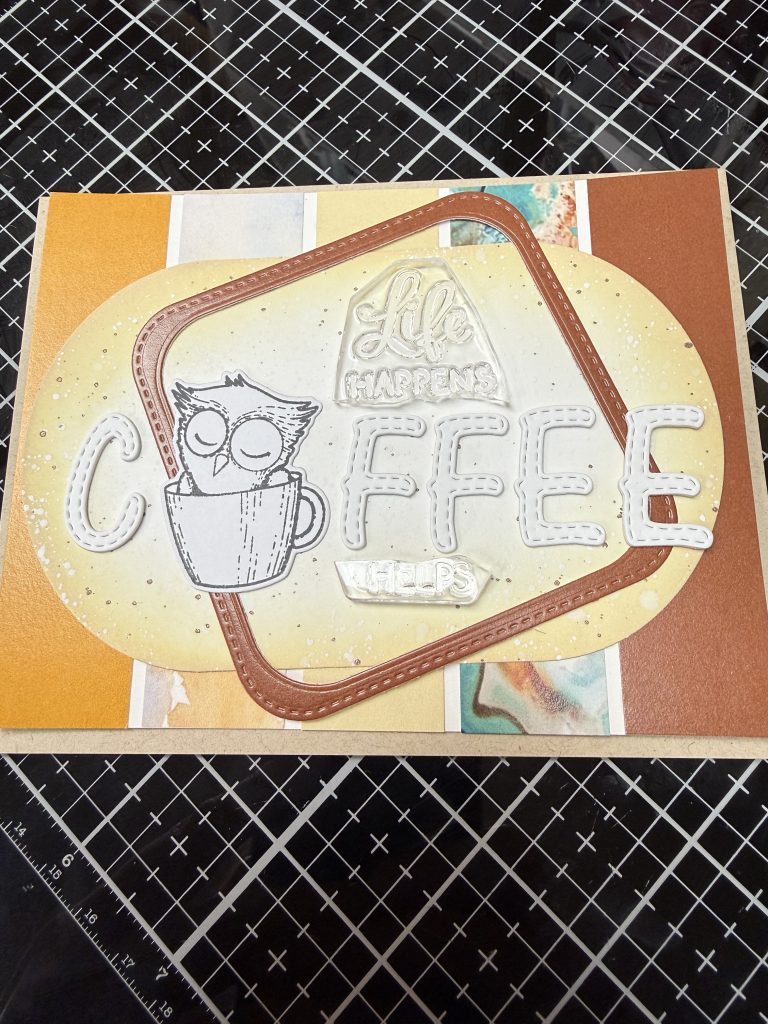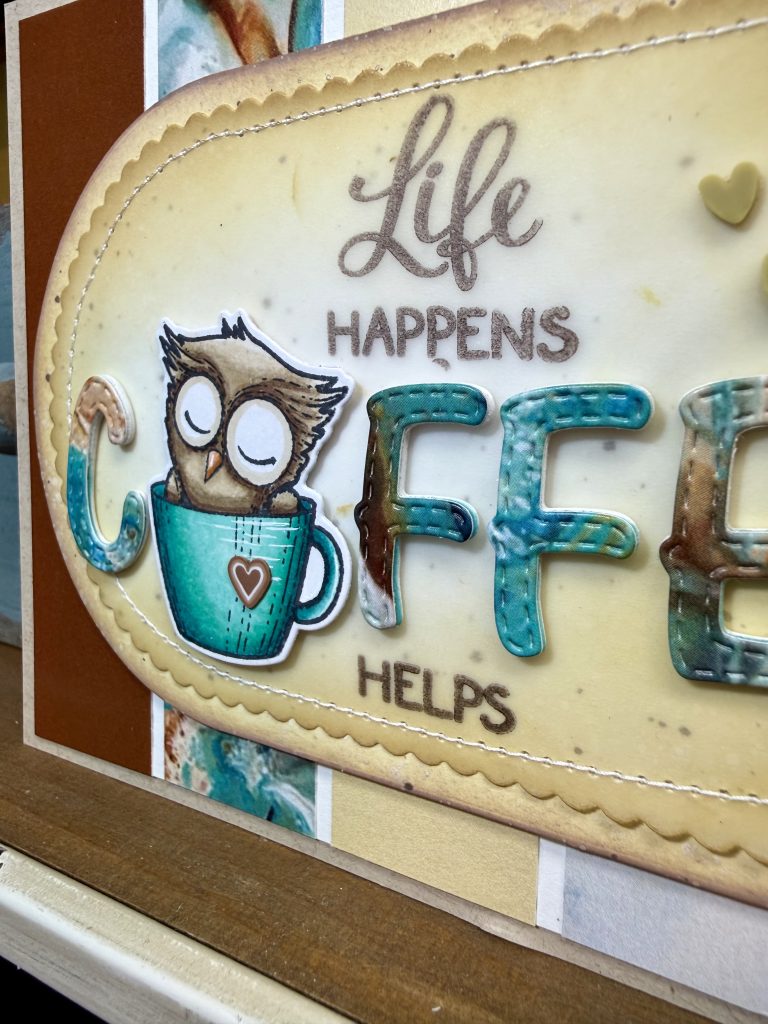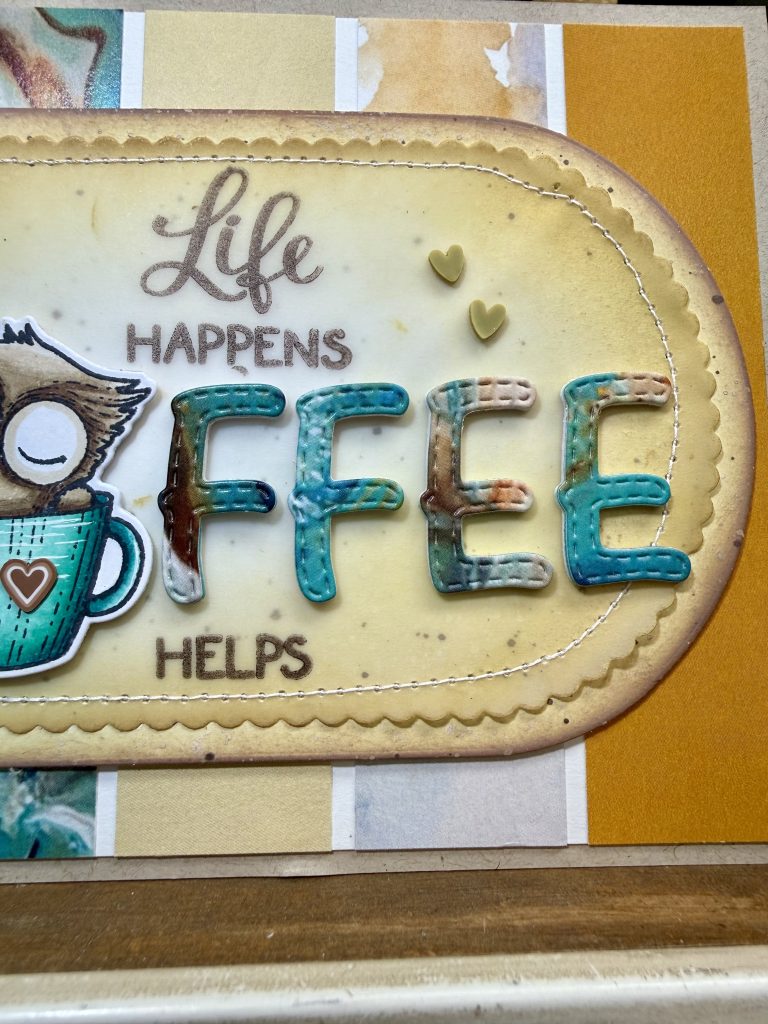
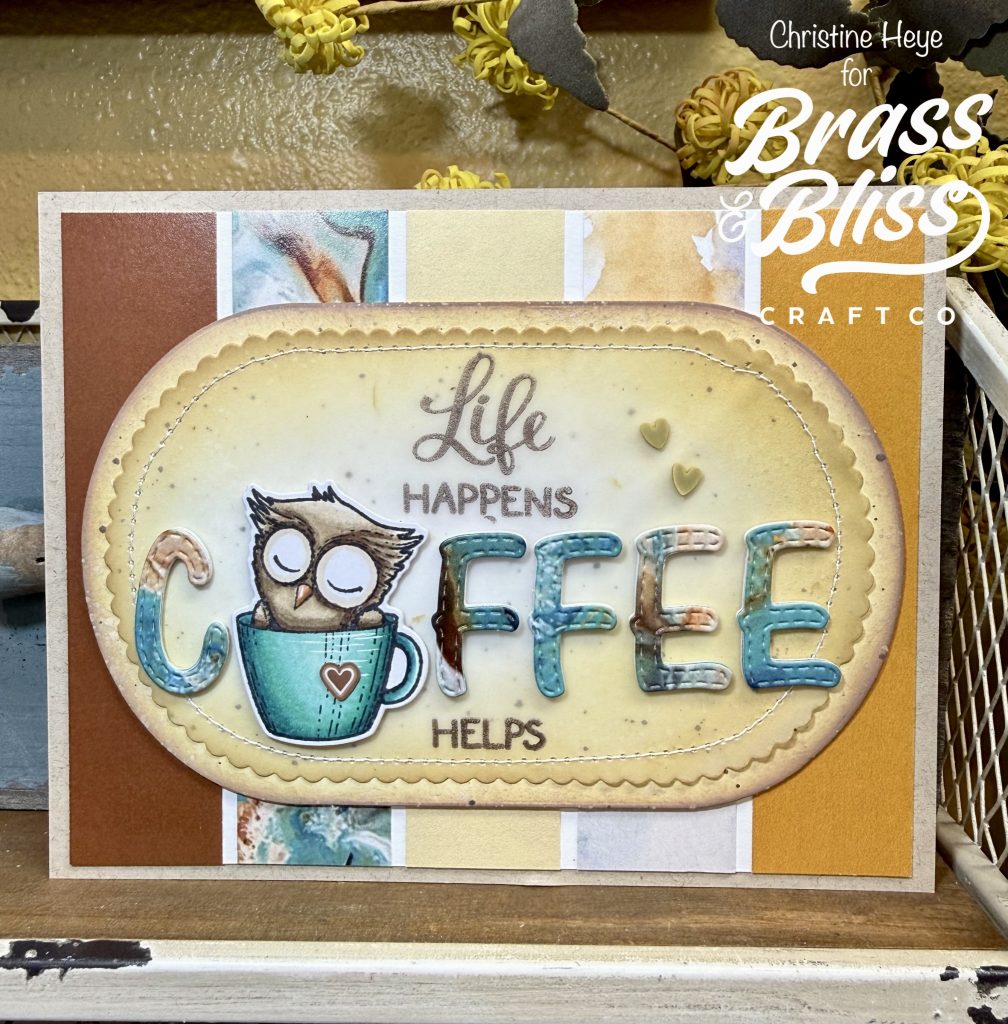
Make a java-tastic card design and take it one step further by replacing the “O” in Coffee, with the most adorable Owl in a coffee mug- what a hoot!
Is coffee your morning perk-up? Does it help you get outta bed and face the day? Today our designer Christine has created the perfect “pick-me-up” with this java-tastic owl coffee card. Christine said, “I think this sweet owl didn’t pour the hot coffee quick enough and fell back to sleep in his favorite mug! Possibly he is tired from the things life has thrown at him and he just needs a few more zzzz’s?” We love a card that tells a little story!
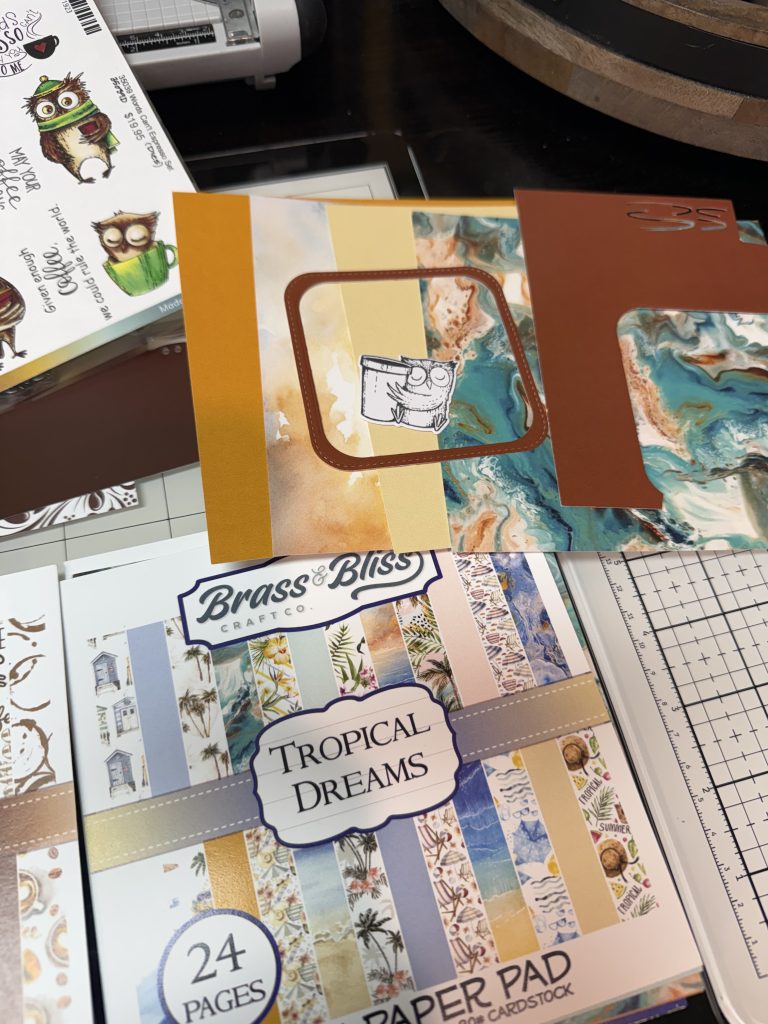
This quick card utilizes a tropical beach paper pad, a coffee-themed owl stamp set, coffee-themed sentiment set and some fun oval dies to create a “Life Happens….Coffee Helps” encouragement card, that would put a smile on anyones face… even if they haven’t had their morning cup, yet! Also, there is something fun about this layout and the ease in with which it can be recreated in any style, colors, or theme you can dream up! Follow along as Christine shows us how to make a coffee card with an extra “shot” of creativity!
- Key: cs = card stock pp = paper pad DO= Distress Oxide ink
- Select your paper pad (I used Java Good Time and Tropical Dreams)-and cut 5 strips measuring 1×4-1/4. Cut a piece of white cs to A2 size (4-1/4x 5-1/2). Starting with the center and two ends adhere down. Then center the last two evenly between the end and center strip. Cut a piece of Kraft cs to 5-3/4×4-1/2. Adhere these layers together.
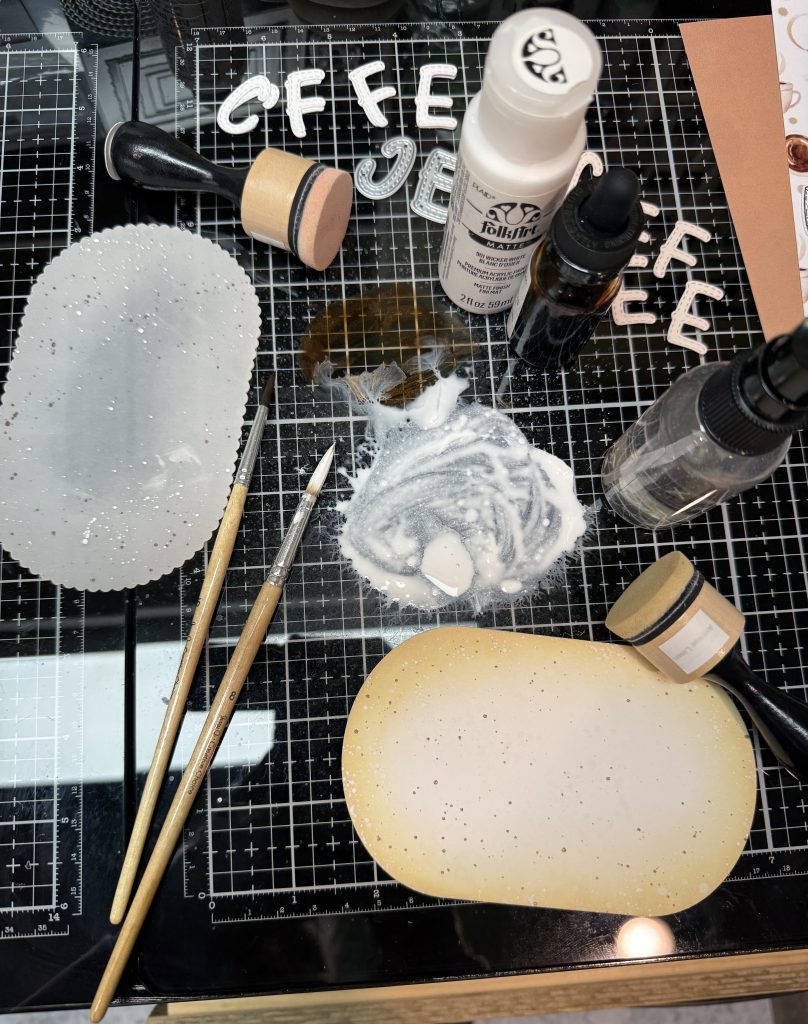
- Die cut 2 ovals (1 swanky/white cs & 1 swanky scallop/vellum)-using sizes you prefer, to layer. Sizes shown are: 5-1/4 x 3-1/4 and scallop 4-7/8×2-7/8. Both ovals are sponged with Antique linen DO first and then Gathered Twigs DO more softly. Both are splattered with white acrylic matte paint and same brown with a bit of water added. Set aside to dry. Once dry- sew together using a sewing machine or simply draw gel pen stitching. If not stitching, you will adhere the ovals after adhering the letters and main image- because you will place the glue behind these items, so it doesn’t show through the vellum.
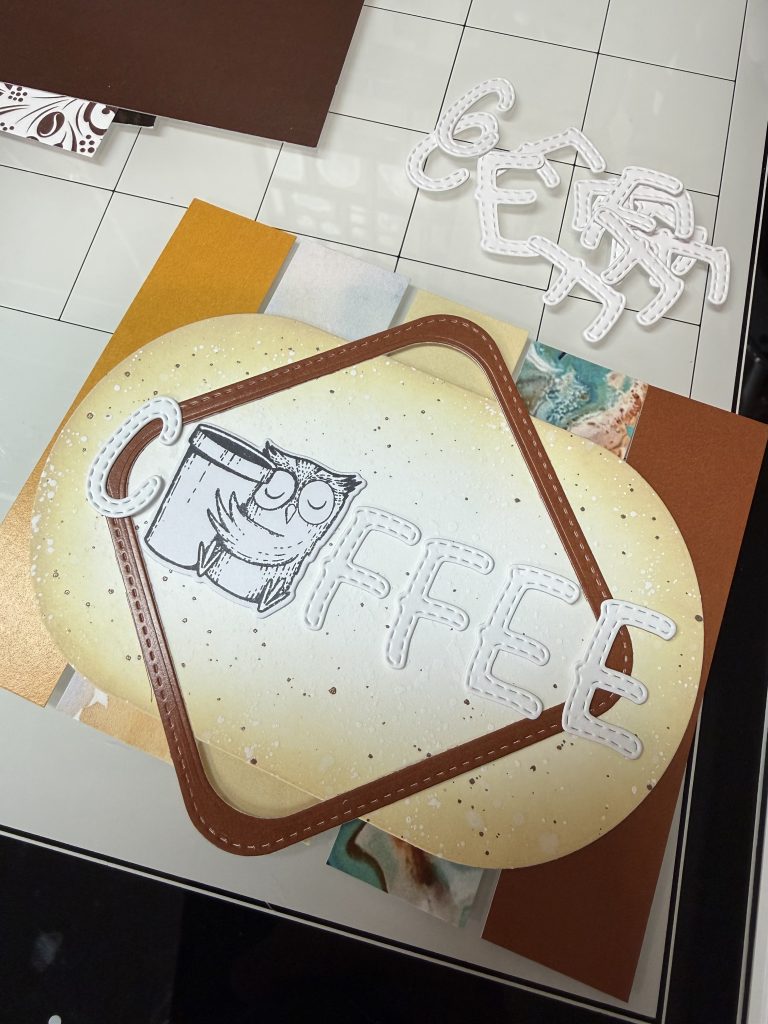
- Die cut the alphabet letters 3x from white cs (110#) and 1X from paper pad of choice (matching one of the strips). Glue all layers together.
- Stamp sweet owl or stamp image of choice with alcohol friendly ink. I diecut image out first then color. Color with coordinating colors. Add any white pencil or gel pen highlights. In a stamp positioner lay the letters and stamped image onto the vellum oval for sentiment placement guidance. Stamp using a STAZ-ON (for best results on vellum)- I used a brown for a softer, more subtle sentiment. You will notice the sentiment is masked to allow the COFFEE word to be omitted from the stamp image and the diecut COFFEE to take its place. The last part of the sentiment is underneath the diecut letters.
- Adhere the letters and stamped image, replacing the O onto the vellum, using liquid glue (letters) and thin foam for the image. If ovals not sewn, now is the time to layer the vellum layer onto the largest oval using glue under the letters and main image.
- Glue on any hearts or embellishments of choice. And Done!