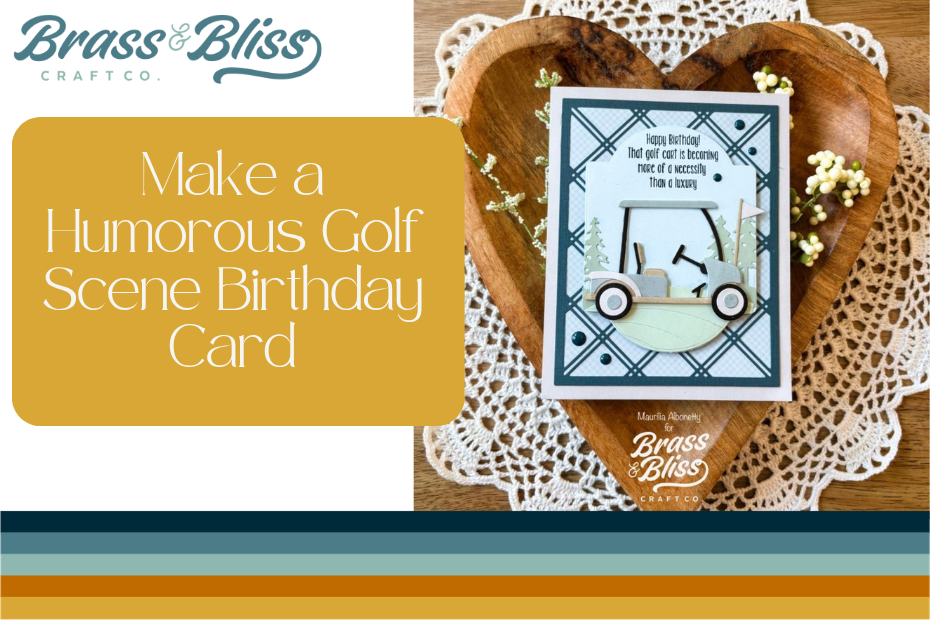
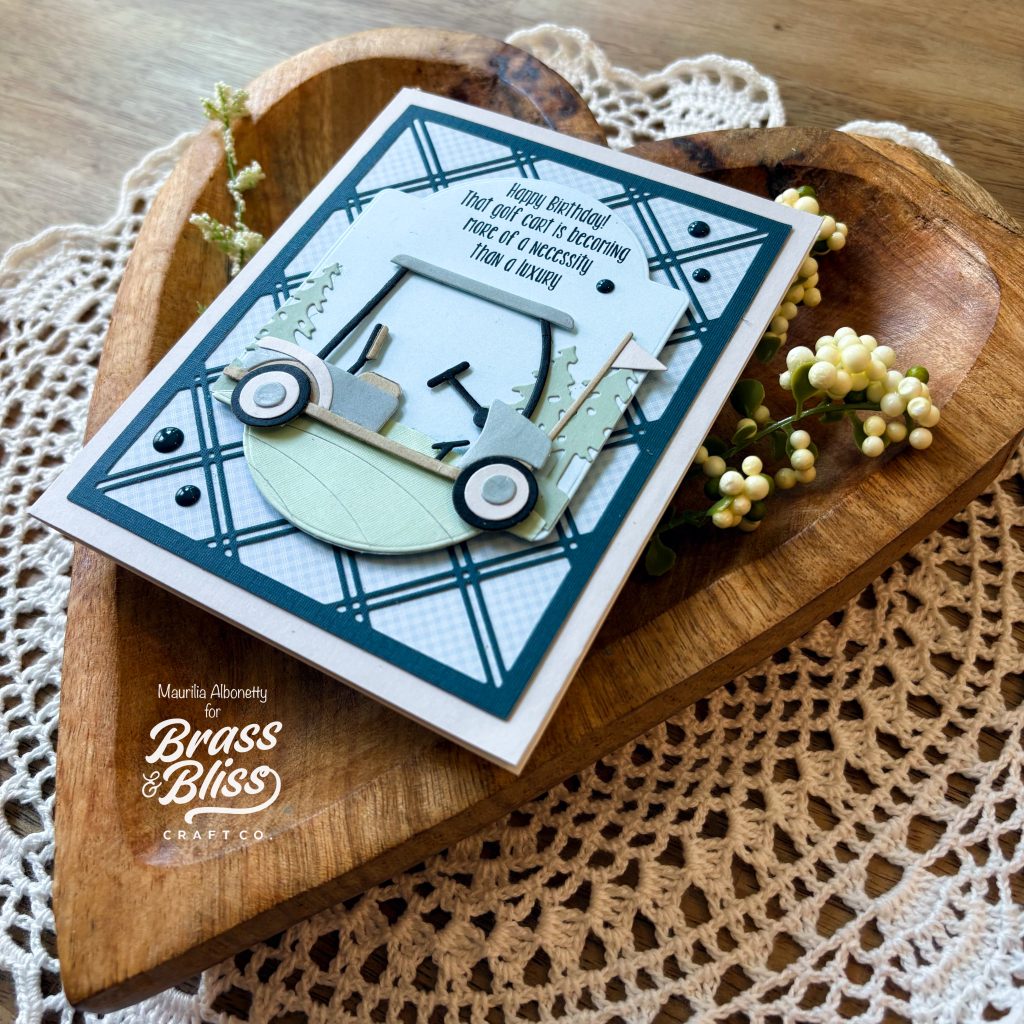
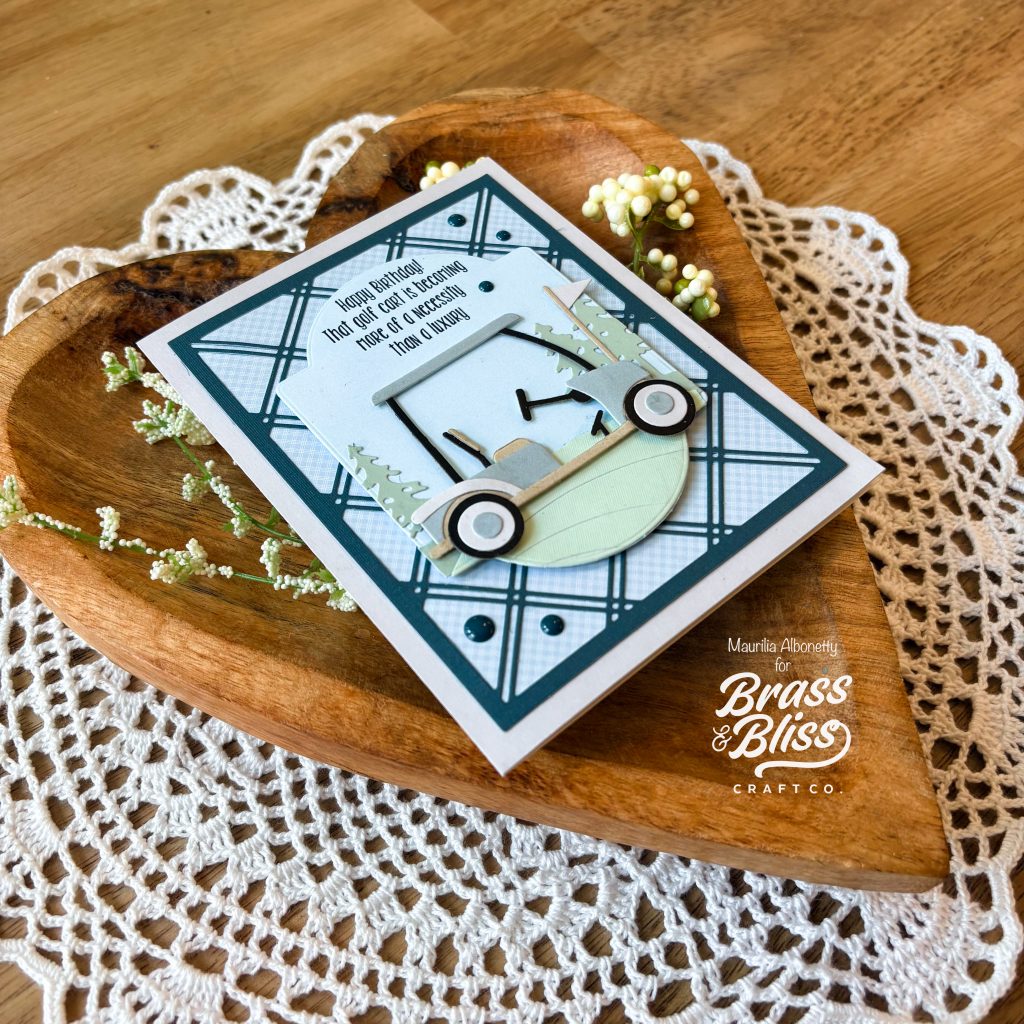
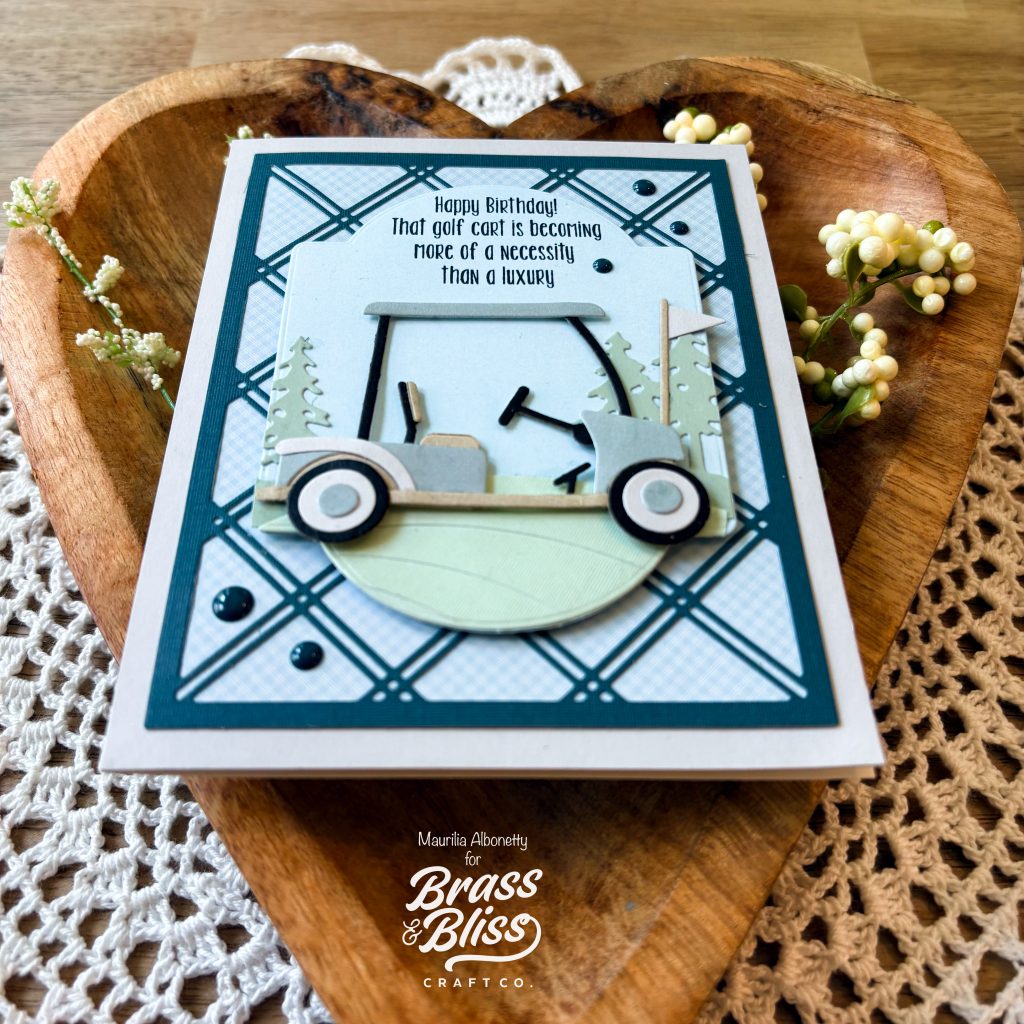
Make them laugh with this humorous golf inspired birthday card in muted blues and greens and give the perfect masculine card to a golf enthusiast.
Do you know anyone who enjoys playing golf? Today Maurilia has created a humorous golf scene birthday card, and we adore how it turned out. Maurilia said, “Each year my husband’s company hosts an annual golf outing for their employees. I absolutely LOVE all the golf stamps and dies Brass and Bliss offers. Why not give the golfer in your life a chuckle with these fun and snarky golf phrases.” We love how this turned out, and the colors she chose feel like a crisp morning and early tee time with those pale blues and greens. Perfection!
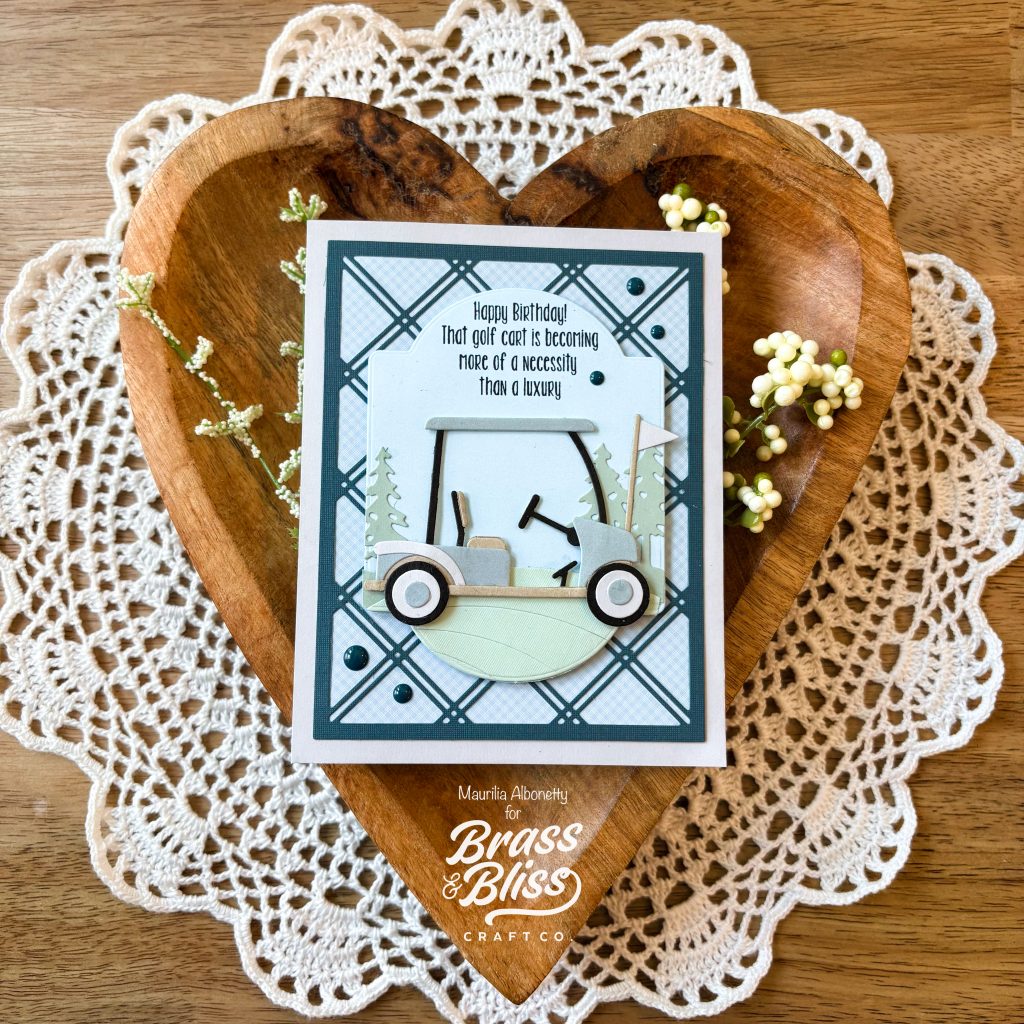
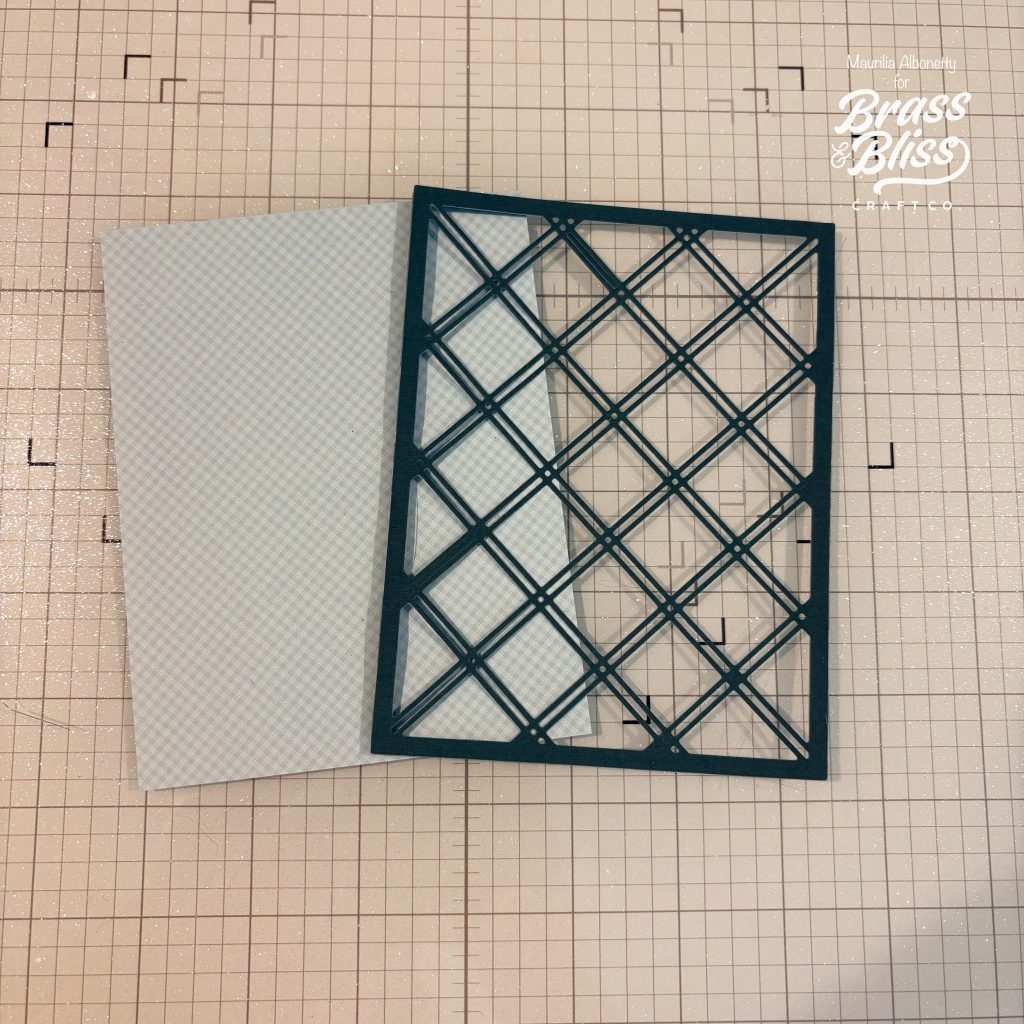
- Die cut a navy blue card stock using 5820D Crosshatch Cover Die. Adhere a light blue gingham paper behind this for a nice pop of color and contrast.
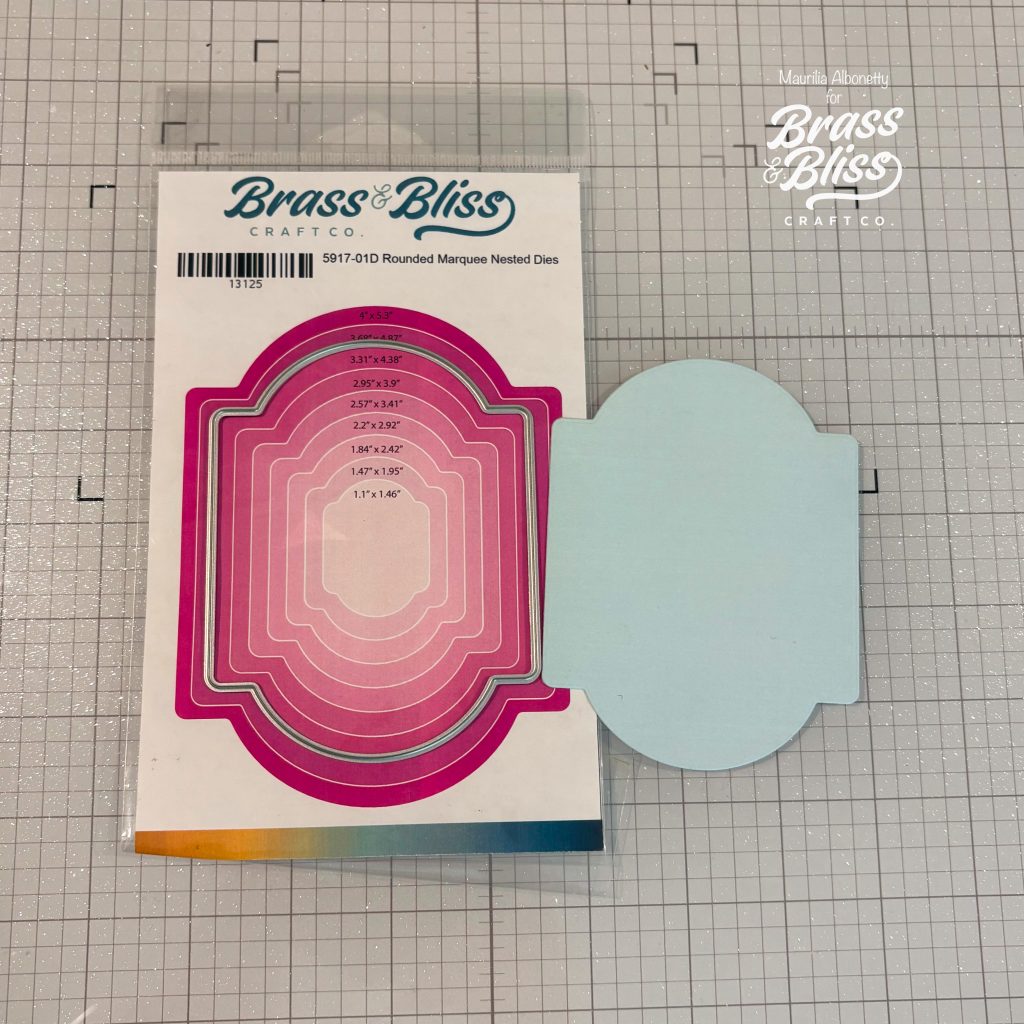
- Select the light blue paper from 2208 Life Upon the Sea Paper Pad and die cut using the 3rd largest die from 5917-01D Rounded Marquee Nested Dies.
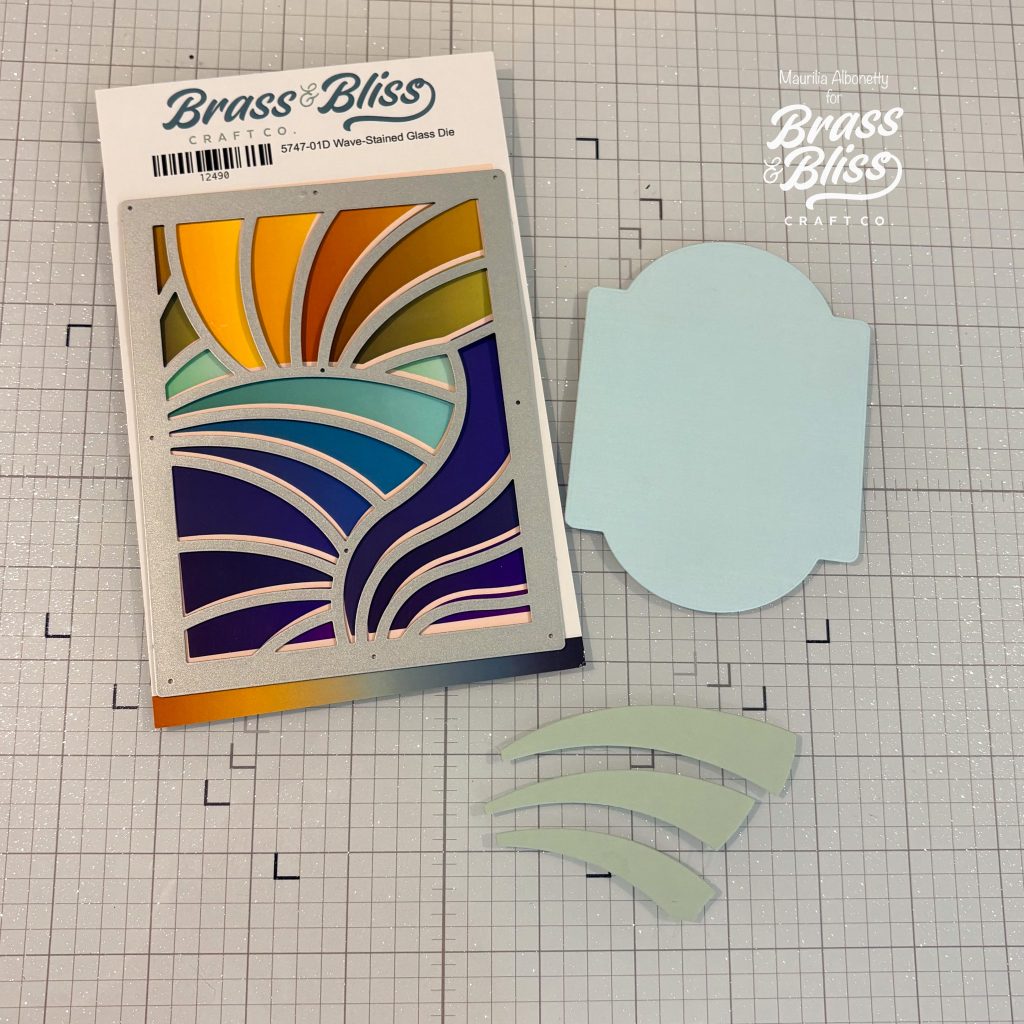
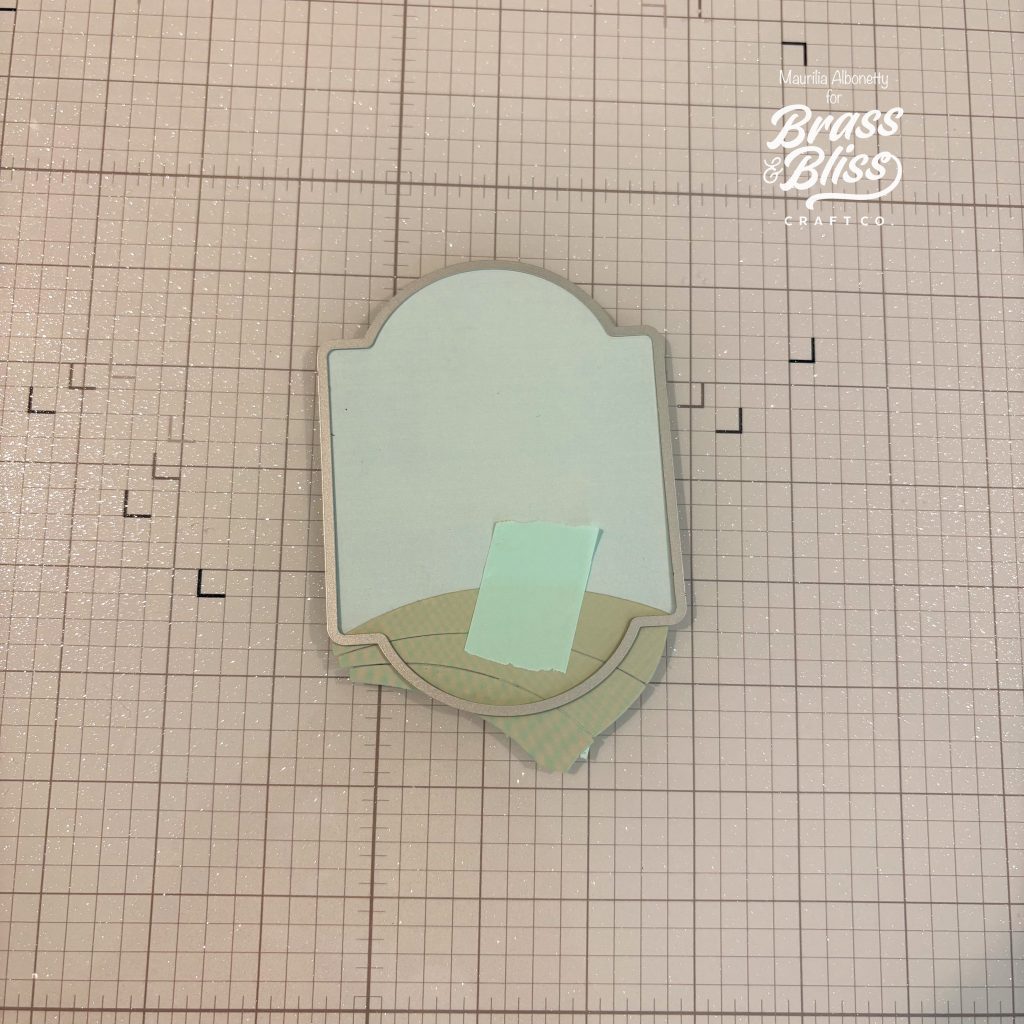
- Die cut light green using 5747-01D Wave Stained Glass Die. Here you will focus on a creating a hill. I used four strips and adhere them to the light blue marquee panel. For a clean look, I taped the marquee die to the panel again in order to give the grass a marquee shape at the bottom. See photo below.
- Die cut trees using 5164-01D Three Pine Tree Forest Die in a darker green then the grass hill. I used the trio and the trees. Adhere onto your marquee panel and trim any off the sides.
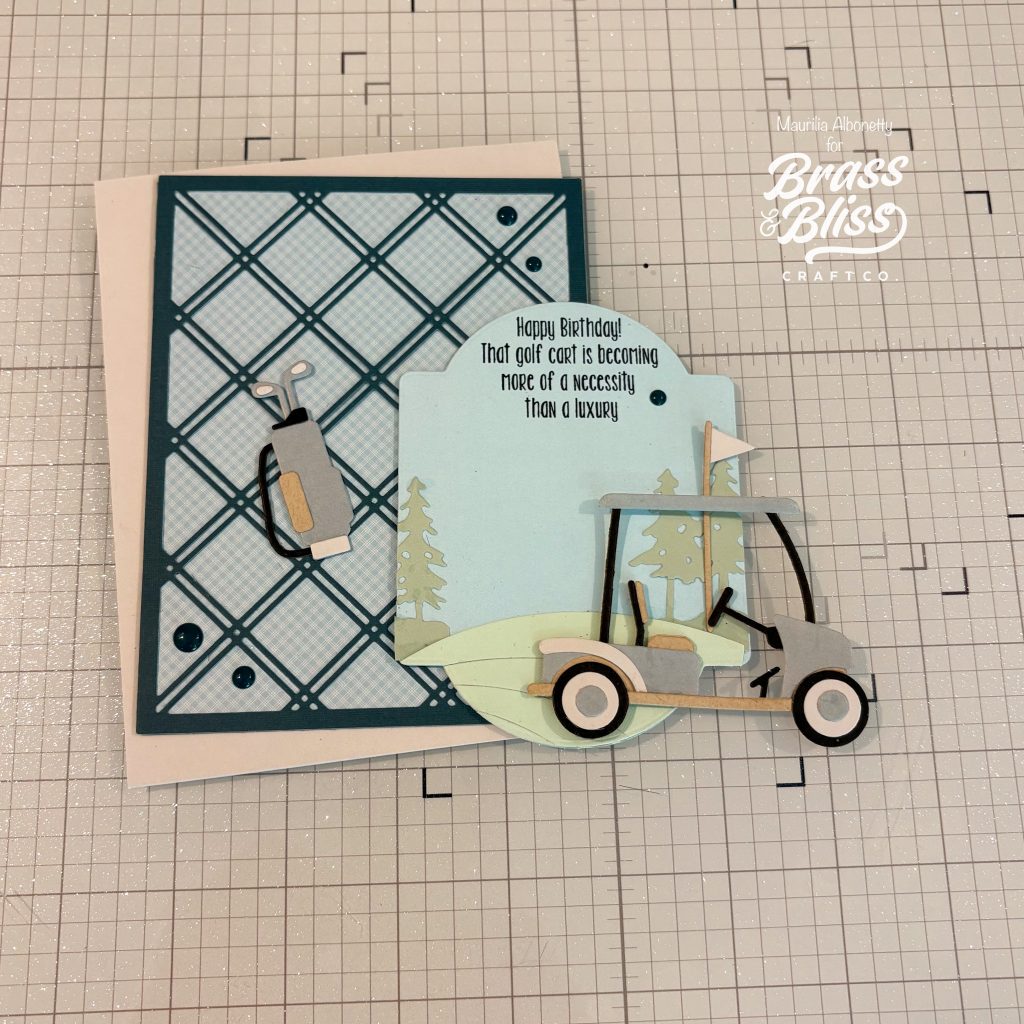
- Die cut the golf cart and gold bag from 5313-02D Golf Cart Die and 5313-01D Golf Bag and Flag Stick Die in a blue gray paper from 2208 Life Upon the Sea Paper Pad, light gray, black and light kraft card stock. Assemble your cart, bag and flagpole with these pieces. Once done apply foam to the back of the cart for dimension. Adhere the cart onto your scenic panel. Add a sentiment using black ink to the top of the marque panel.
- Using a folded card base adhere a light gray panel onto your card base. Next adhere the crosshatch and gingham paper. Add your stamped marquee using foam tape. Add enamel gems for some bling.
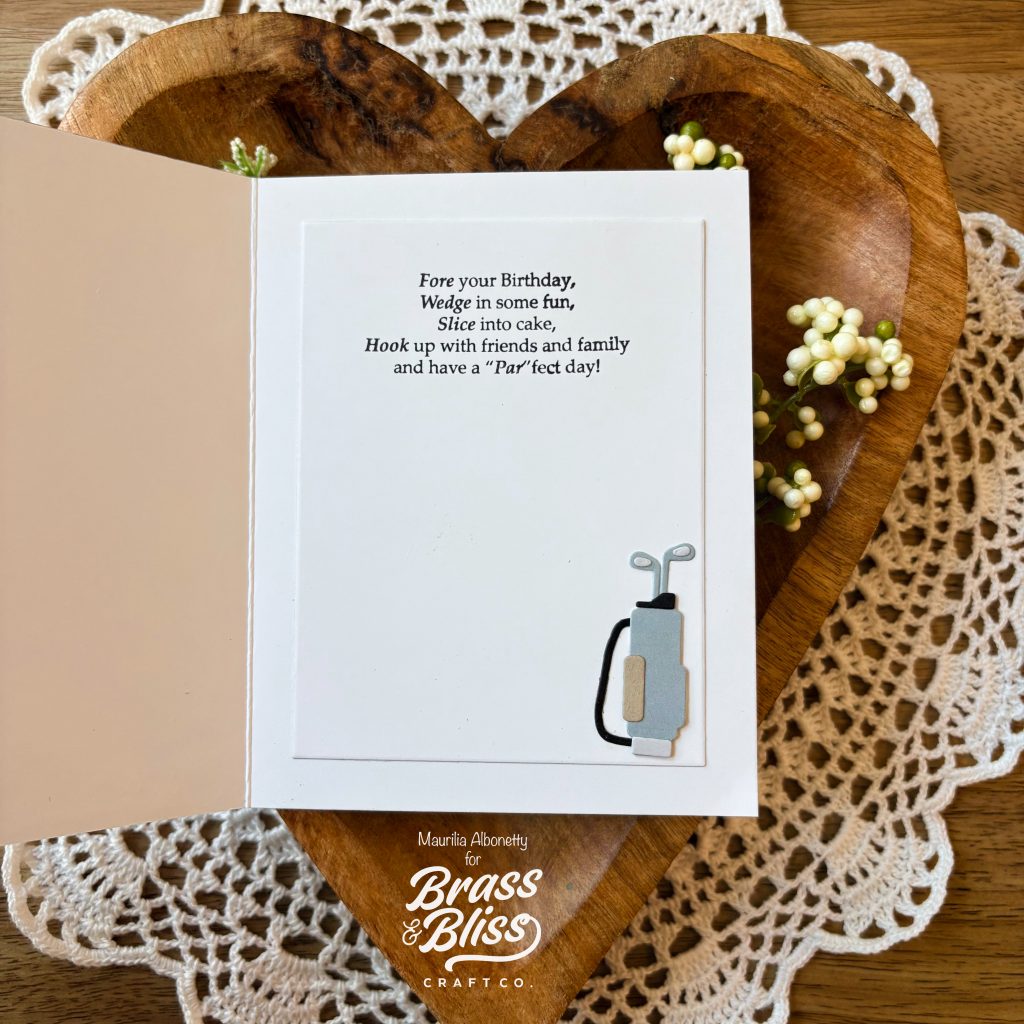
- Lastly I like to include a decorative element on the inside of my cards. Die cut a white panel using 5003D Nested Rectangle Dies and stamp a sentiment of your choice. Add the golf bag to the lower right hand corner to complete the card.
Supplies Used: