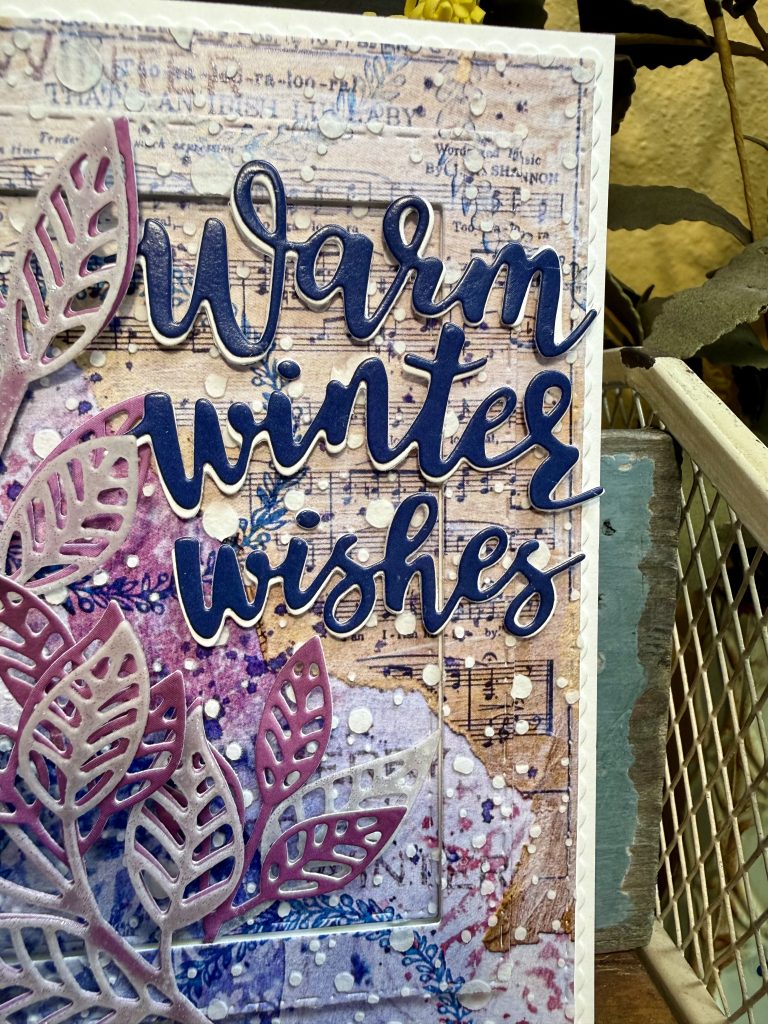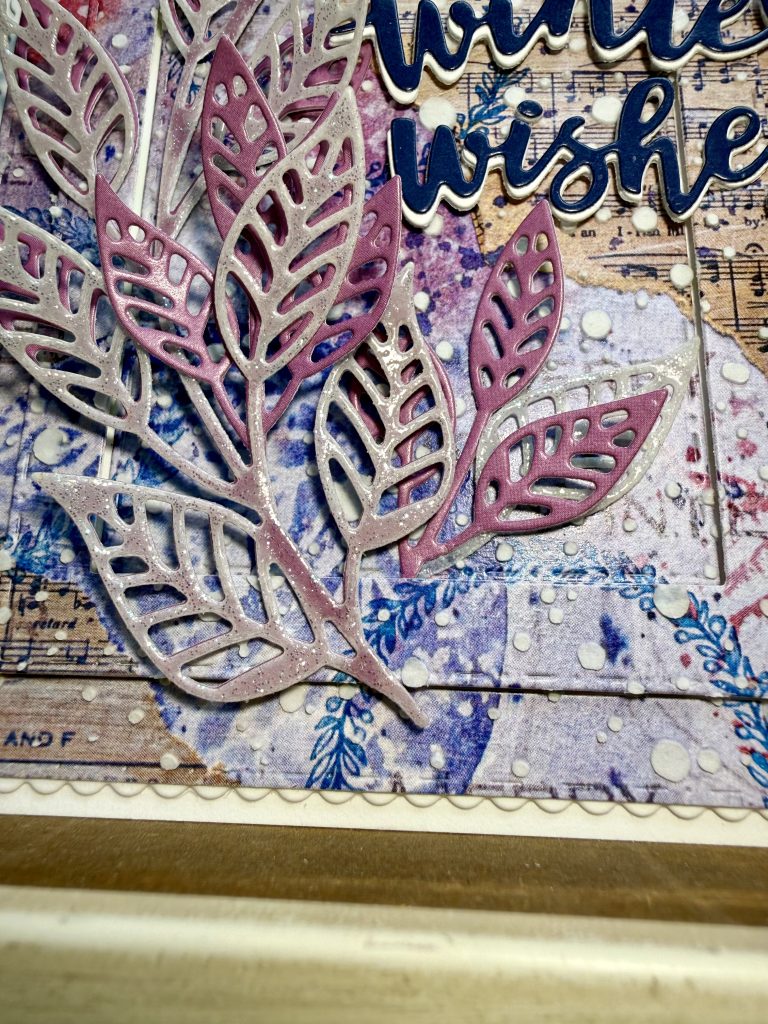
Looking to take your winter cards to the next level? Check out these hues of purple, mixed patterns and textures that feel like a winter hug.
Today we have an absolutely stunning design for you from our talented designer, Christine Heye. Today she is giving us tips on making the paper pad work for you! This quick and glittery, warm wishes greeting card is created using a few fun techniques and utilizing a paper pad to the fullest extent. If you enjoy vellum for its delicate beauty, a sentiment die cut that has a powerful punch and some dimension, this card tutorial is for you! You can choose to use any themed paper pad and sentiment, as this is an all-year card to share a handmade warm wish! For today’s tutorial, Christine will show us how to use the Frosty Adventures Paper Pad to create winter bliss. Follow along and be inspired.
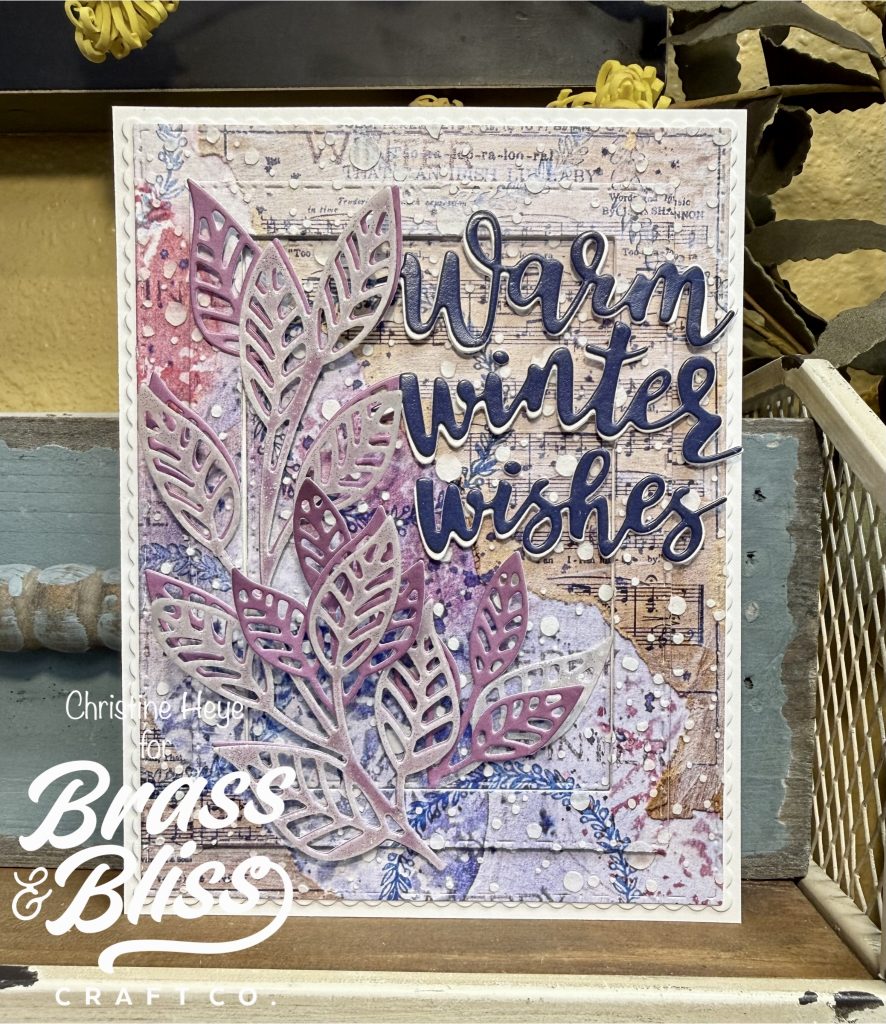
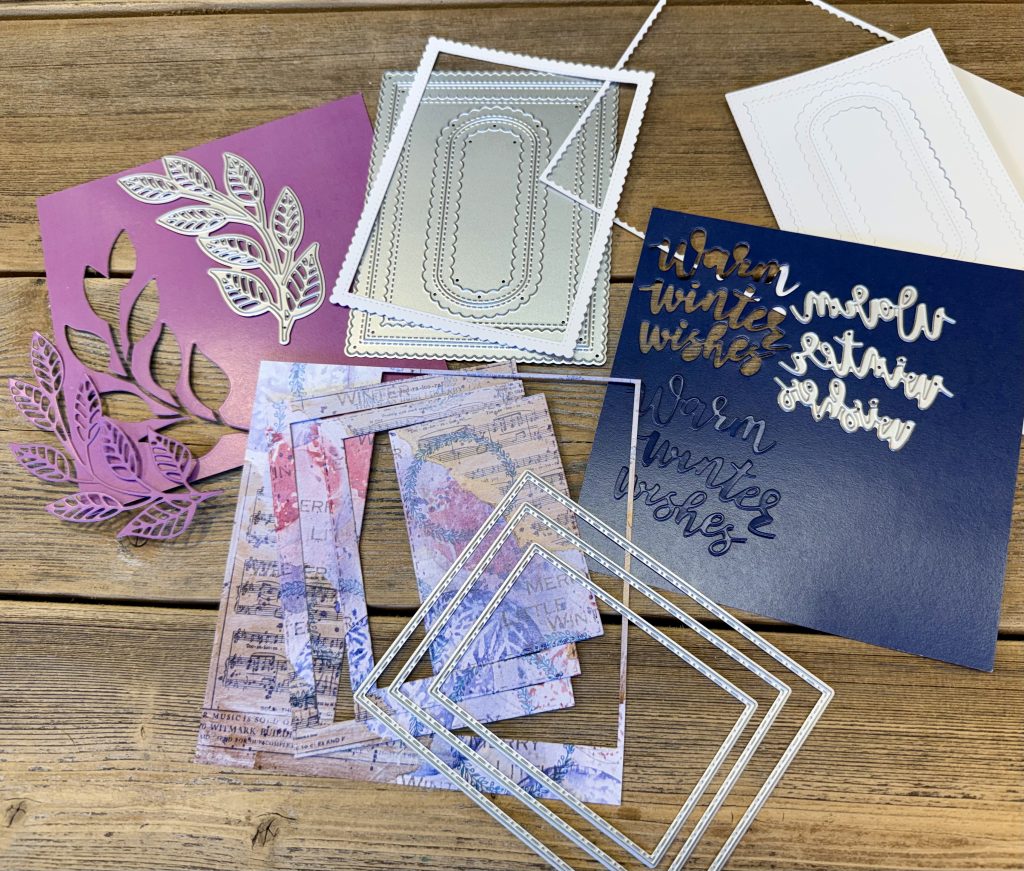
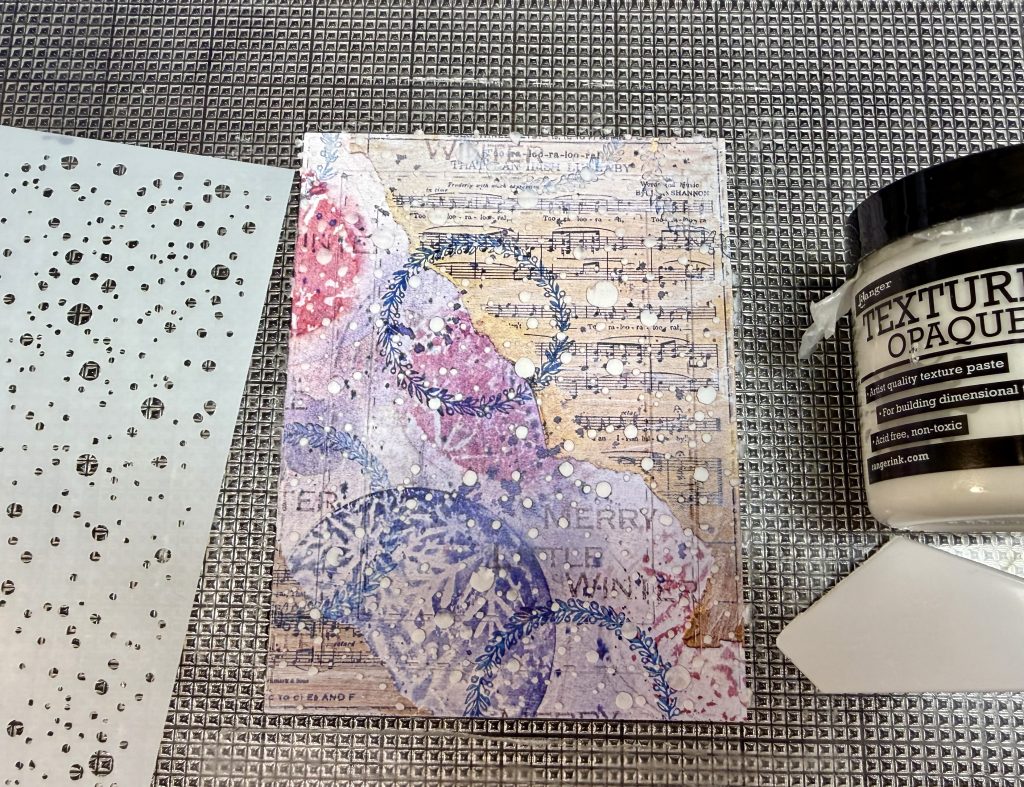
- From the Frosty Adventures 6×6 paper pad die cut the warm, winter, and wishes from the navy blue paper. Die cut the leaves dies from the lilac paper. Using the Stitch Dot Nested Rectangle dies (largest/skip one then next size/skip one then next size) die cut the music notes paper- to form frames. (See photos) Realign these 3 pieces onto a light tack sticky mat and secure the Falling Snow stencil over top. Apply paste of choice over stencil. Remove stencil and set paper aside to dry, thoroughly.
- From Heavy weight white card stock die cut the warm, winter, and wishes (2x) and the Rectangle Combo 6 OPC die. You will be able to save all but the outside frame piece. This will be your last layer, before your card base. Layer the white words together, then off setting the navy words, adhere together. I use liquid glue.
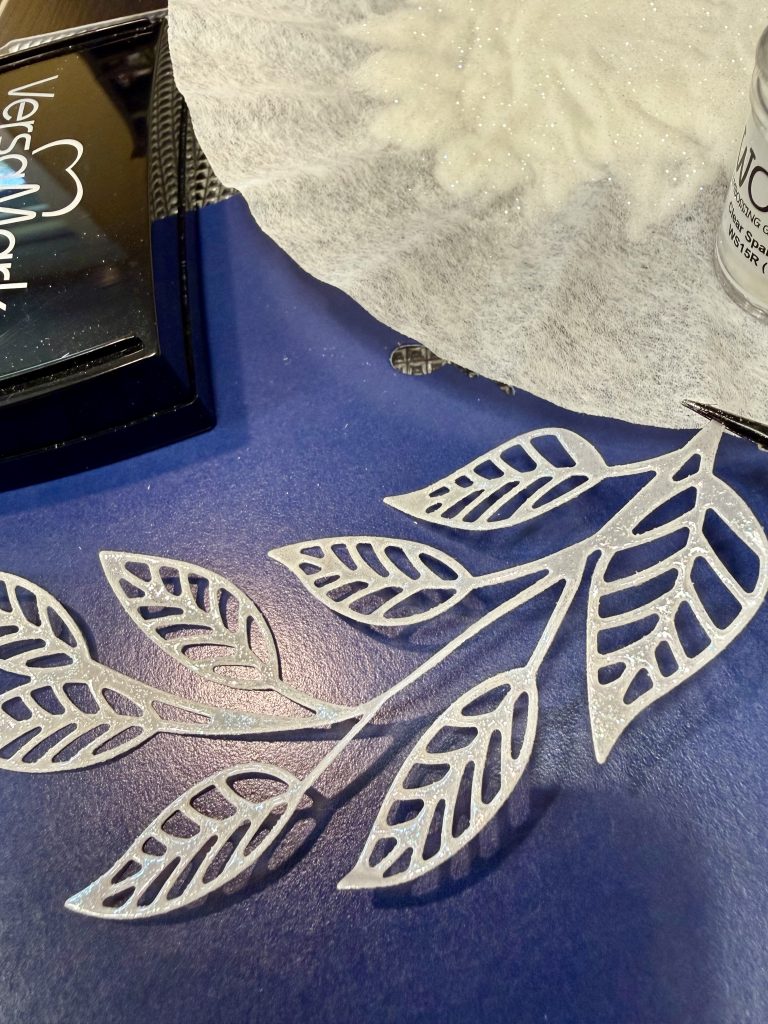
- Die cut the same Open Greenery leaves from vellum. Apply versamark or clear embossing ink of choice. Apply clear sparkle embossing powder and heat set.
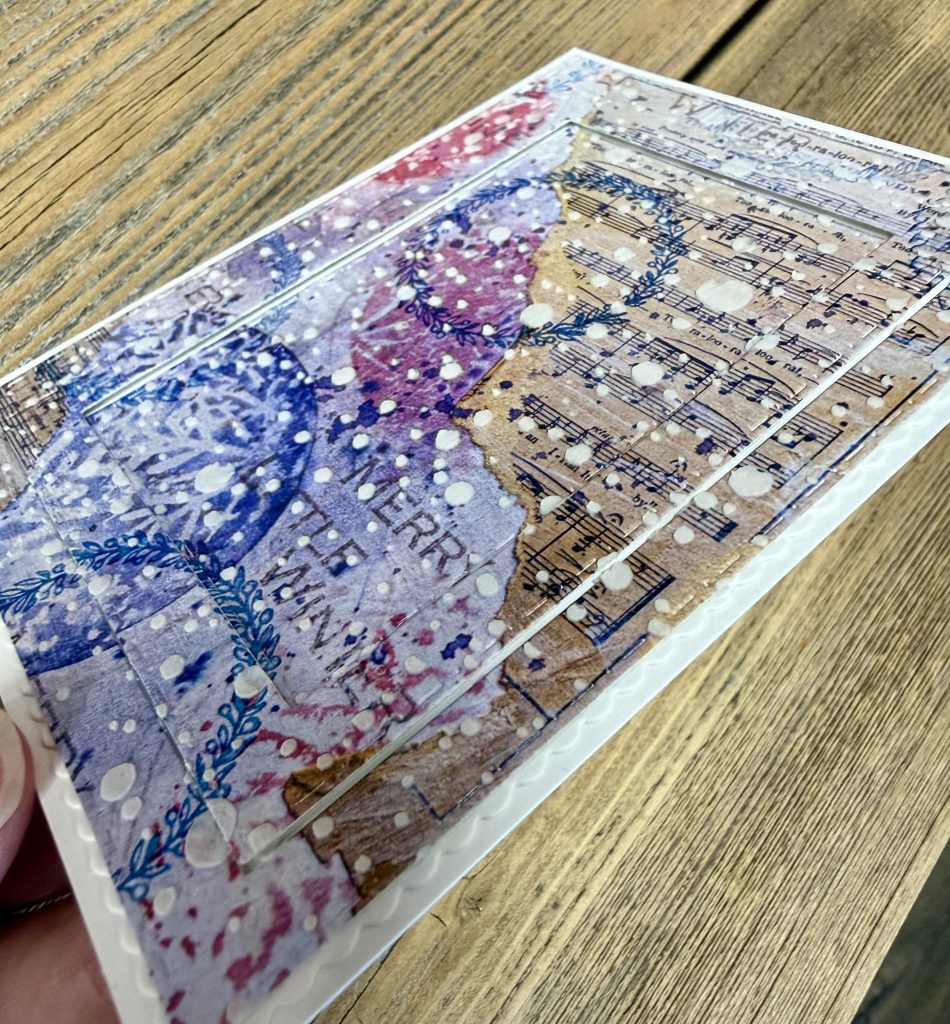
- Once frame pieces and paste are completely dry, add foam adhesive strips to backside of center frame, only. The center piece and the outer edge piece will be glued directly to the white OPC 6 scalloped die cut. I find it easiest to lay all pieces onto the white before glueing, then adhere them, one by one.
- Add a thin bead of glue to the embossed vellum leaf piece and attach to the lilac leaf piece. I glued this directly to the music notes papers. Using both thin foam and liquid glue adhere the sentiment/words onto the card front where desired. Keeping in mind, what area is raised won’t need foam, areas lower will.
- Attach this entire finished piece onto a white card base. All done!