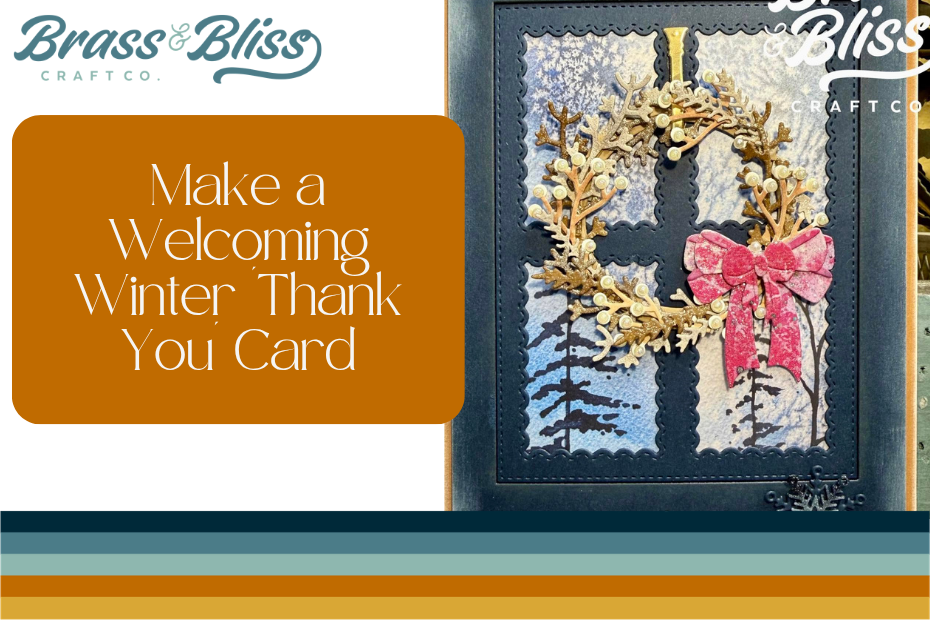
Find a fresh new way to use existing dies and create this fabulous front door design that is bringing all the winter vibes. This Winter Wreath is such a delightful way to say ‘Thanks’.
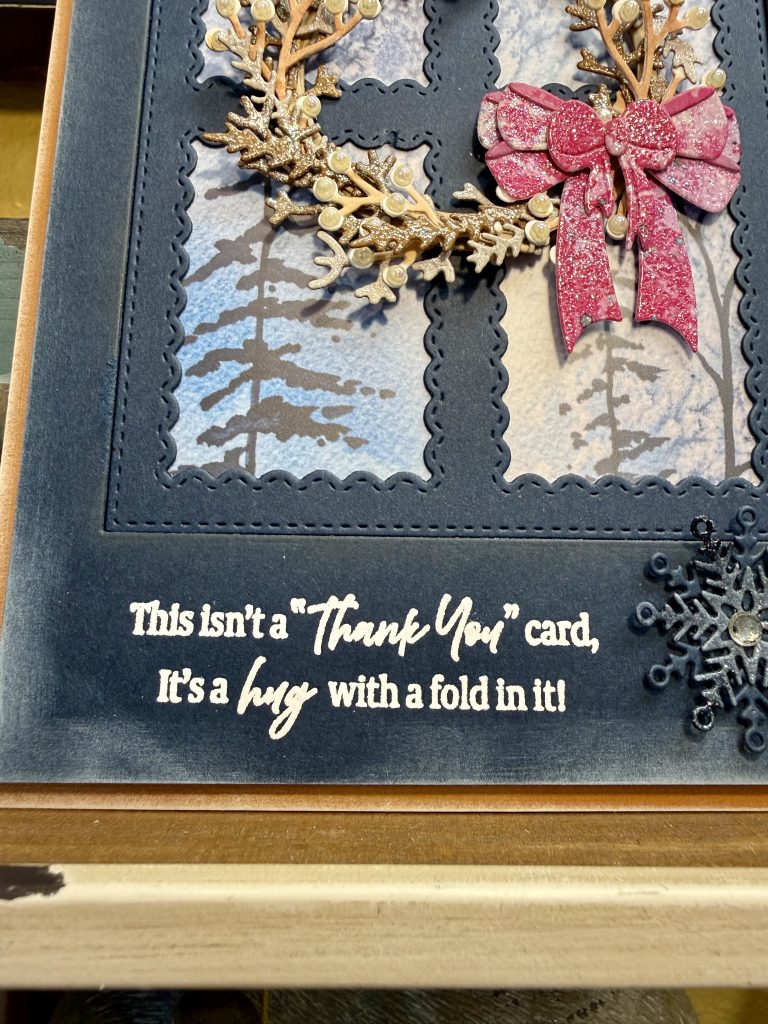
Today’s winter card design is from Christine, who shared that, “One of the most wonderful things about cardmaking is the ability to get creative with your supplies. One of my favorite things to do is utilize a die for something completely different than it was originally designed for.” With today’s card, Christine used a 4 opening rectangle die to create the appearance of a front door window. She also used a light post die to create this adorable wreath holder. It is so fun to make something out of something else and call it your own masterpiece! Great job Christine!! This 5×7 winter thank you card is rather quick, but very very fun! Wreaths are such an enjoyable thing to create- as they can be anything you wish. From traditional to crazy fun! Card making allows your imagination to play….follow along and see how to create a fun house warming or anytime “just because” thank you card!
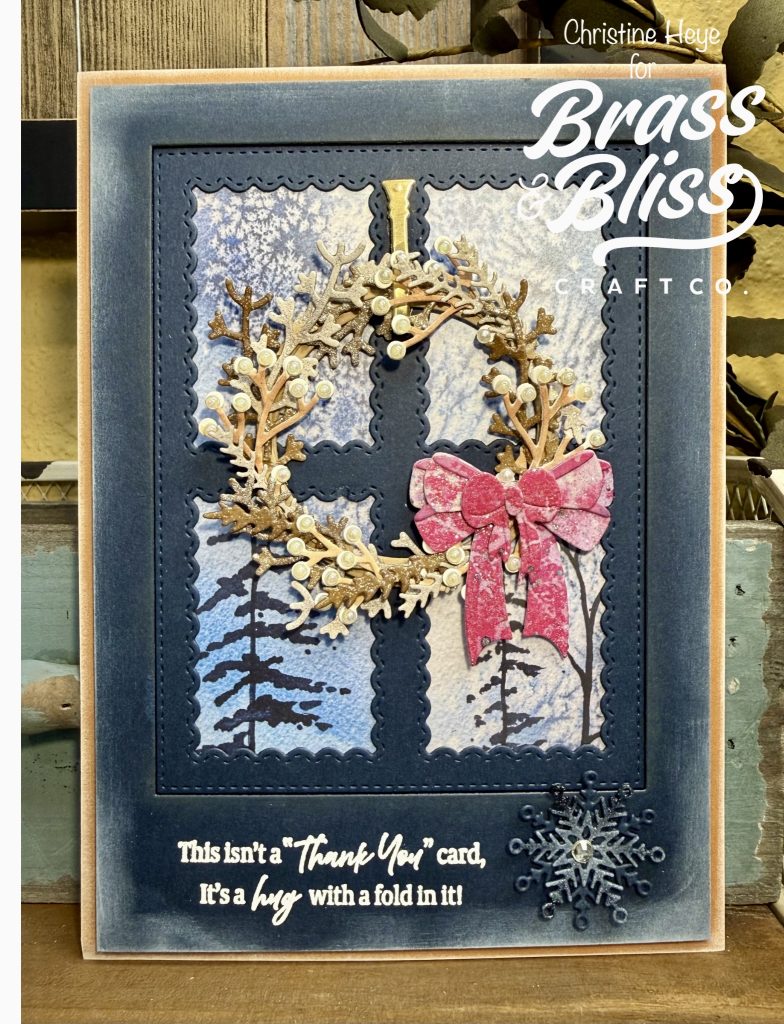
- Taking a navy card stock die cut the Window w/Reverse Scallop from the upper portion center of a 5×7. (See photo). Taking one of the scene papers from the Frosty Adventures 6×6 paper pad cut it to fit behind the window, where the cut line is behind the “door” center seam. (I did this to have a tree in both of the lower windows.) Using a very strong double sided tape, adhere a piece of acetate to the backside of the door (optional). This can be made into a shaker, very easily if desired, by adding foam to the acetate piece before attached to the patterned paper.
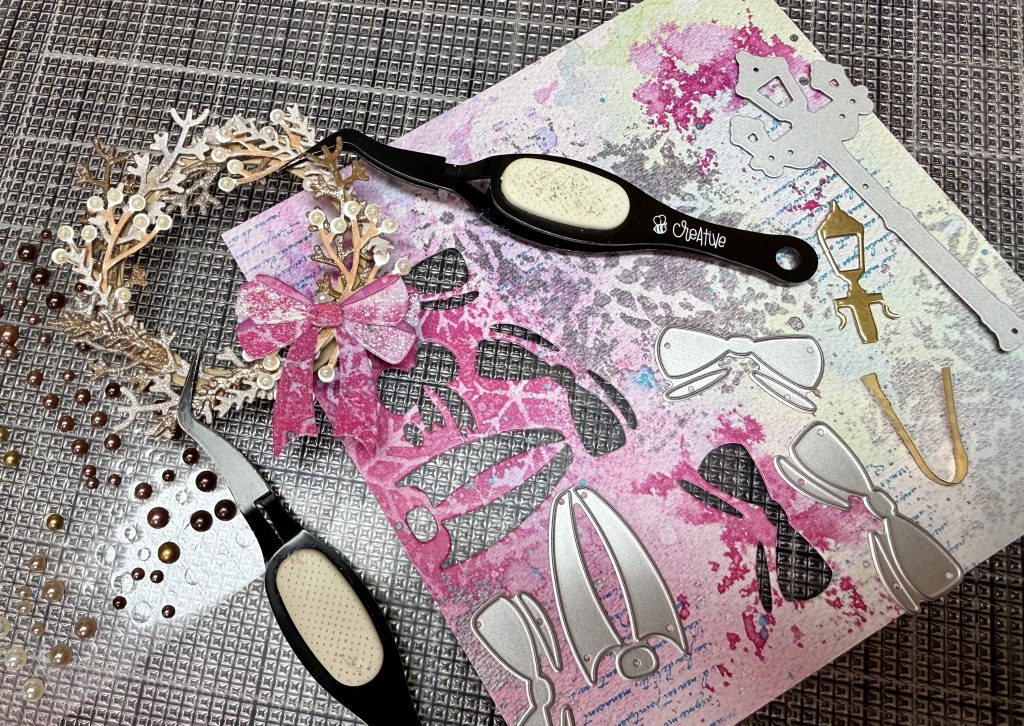
- Using same paper pad diecut the two different bows from a magenta paper. I embossed my bow pieces with clear embossing ink and clear glitter embossing powder- before assembling them. Set aside.
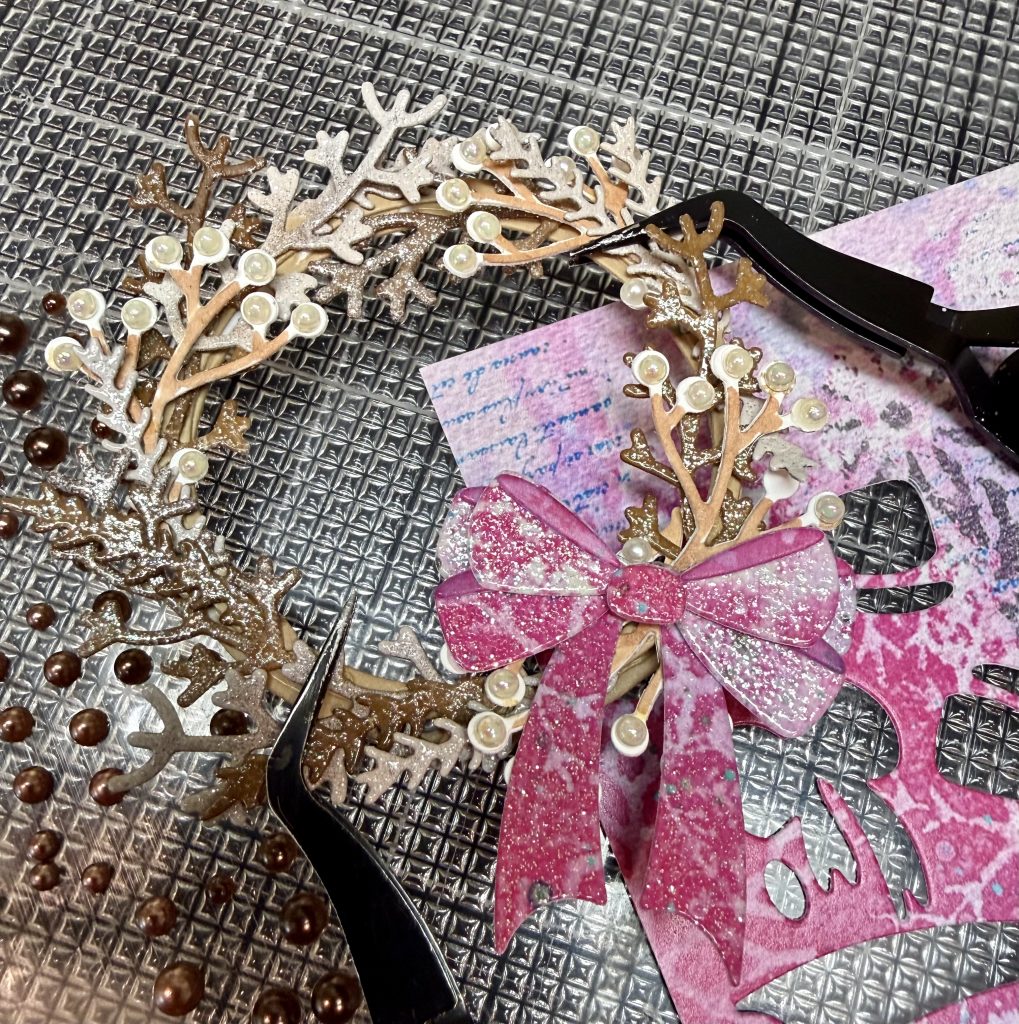
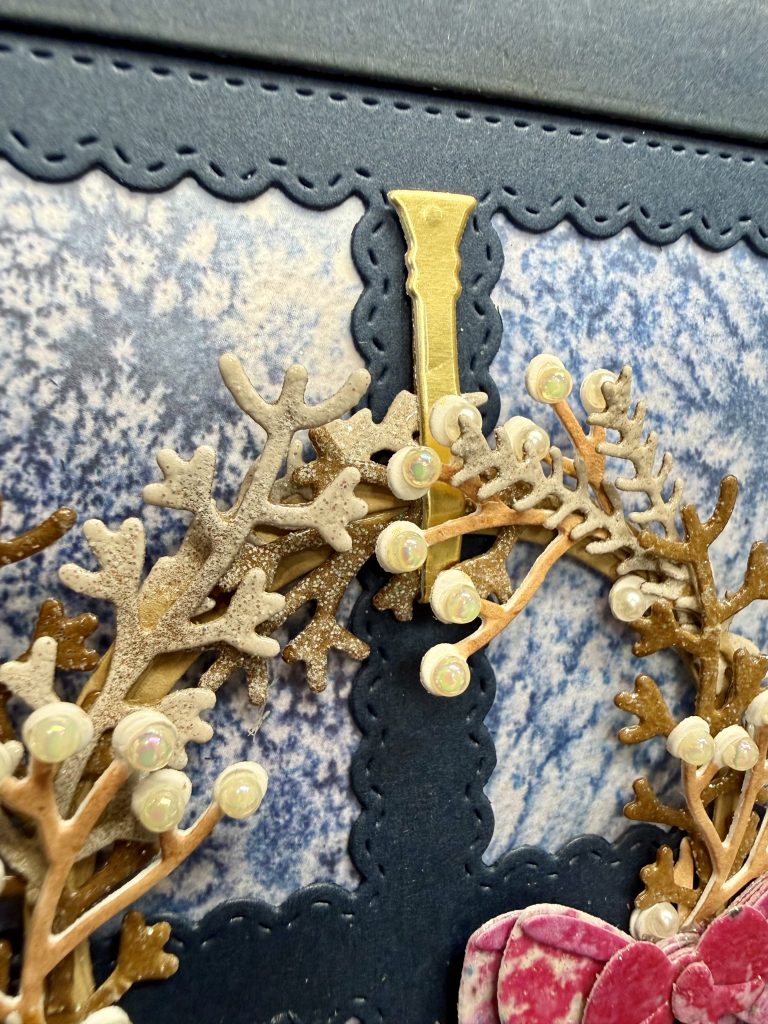
- Die cut all of your wreath (2x)and wreath pieces from varying ivory, kraft and brown cardstocks. Again, I embossed for lots of sparkle. The “berry” die cuts I colored (from ivory to brown using Olo markers) and added self-adhesive pearl gems to them. I created the wreath by first glueing the two wreath pieces together, for stability. Then taking the wreath foliage, leaves and berry pieces and glueing them onto the wreath circle. Then I added the bow and the pearls. Here is the point that you will die cut the wreath holder/hook from the Light Post using gold metallic card stock. A thick card stock is best and folds beautifully to support the wreath. Glue the top back of the hook to the folded over piece of the hook to secure them to the wreath. Lastly adding it to the “front door” with thin foam and some liquid glue. Set aside.
- Taking the navy 5×7 piece, apply anti static powder and emboss the sentiment of choice, using versamark or white and a white embossing powder. Brush the edges of this piece gently with a quality white pigment ink.
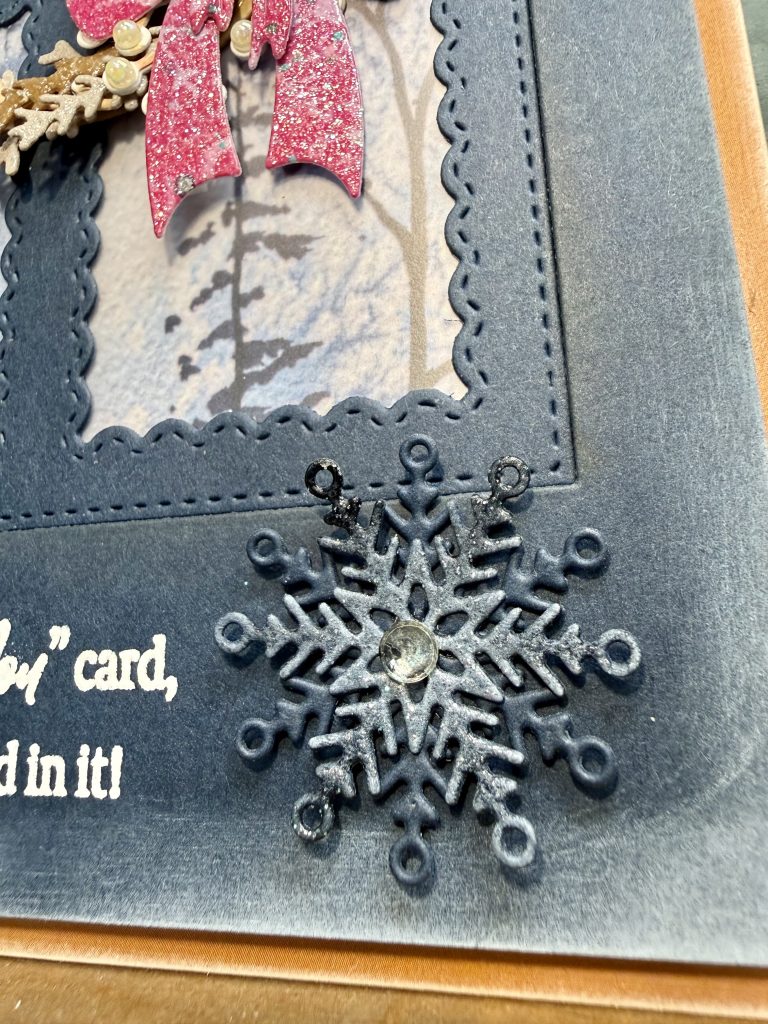
- Die cut the large snowflake from the Large Mittens die set out of the same navy card stock 2x. Using a finger dauber brush some white ink into the center of one of the snowflakes. And emboss with a clear sparkle embossing powder. Layer the two snowflakes together using liquid glue.
- Cut the brownish/rust colored paper from the Frosted Keepsakes 6×9 paper pad to 5-5/8” X 7-5/8”. Lightly sand the edges with a sanding block. Adhere the embossed piece to this sanded card base with foam adhesive. Now adhere the “door” window piece flat into the center. Adhere the snowflake next to the sentiment and you are all done!
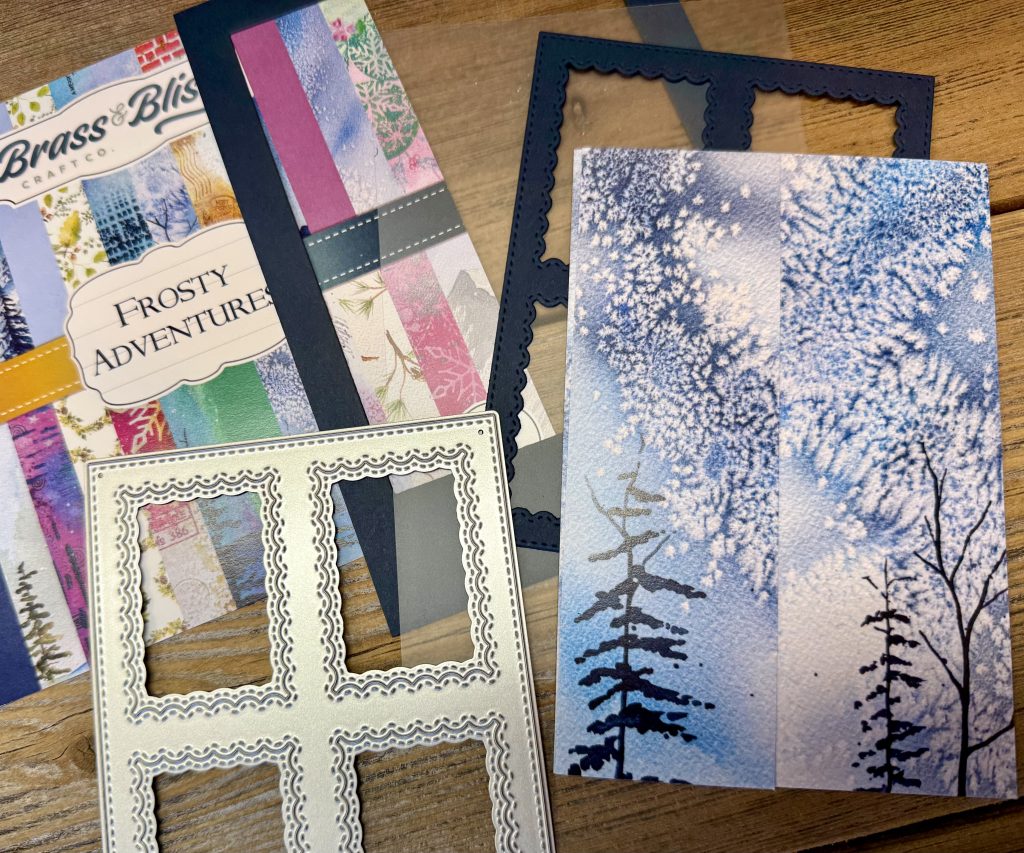
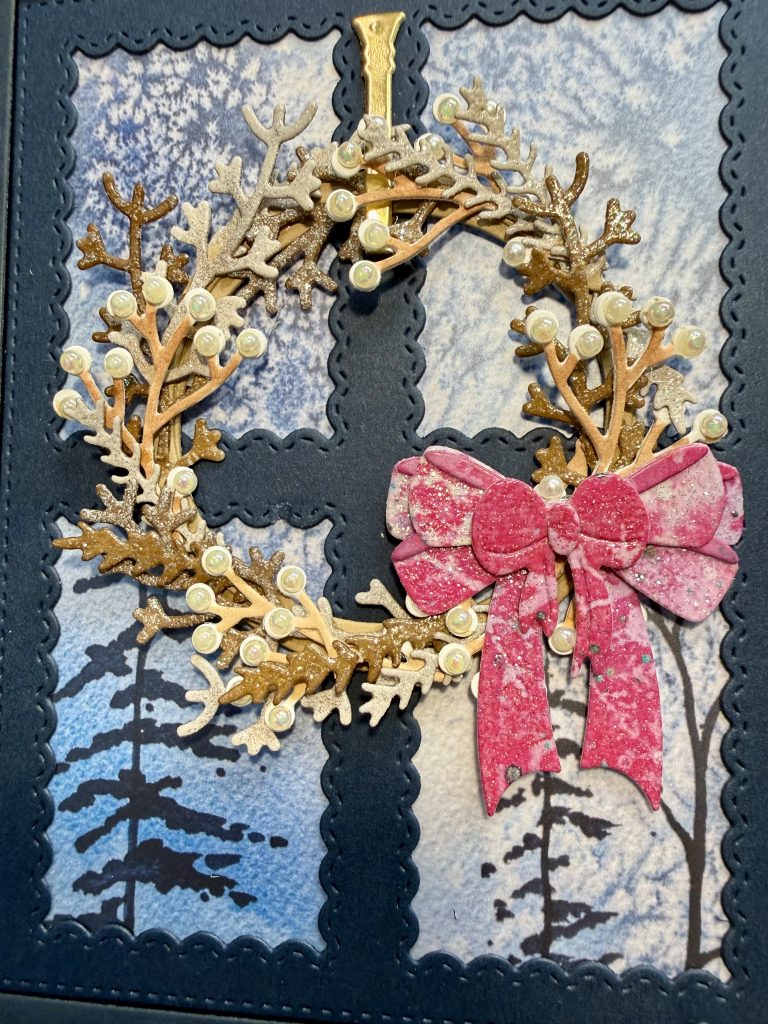
- 5621D Window w/Reverse Scallop
- 5217-03D Wreath Set die
- 2103 Frosty Adventures 6×6 paper pad by Melinda Stearns
- 5813-05D Farmers Market Winter Add on die
- 5217-10D Bench and Light Post die
- 36057 Thank You 4×6 stamp set
- 5912-02D Elegant Bows die
- 5936-04D Large Mittens die (Coming 7/22)
- 2405 Frosted Keepsakes 6×9 paper pad (Coming 7/22)