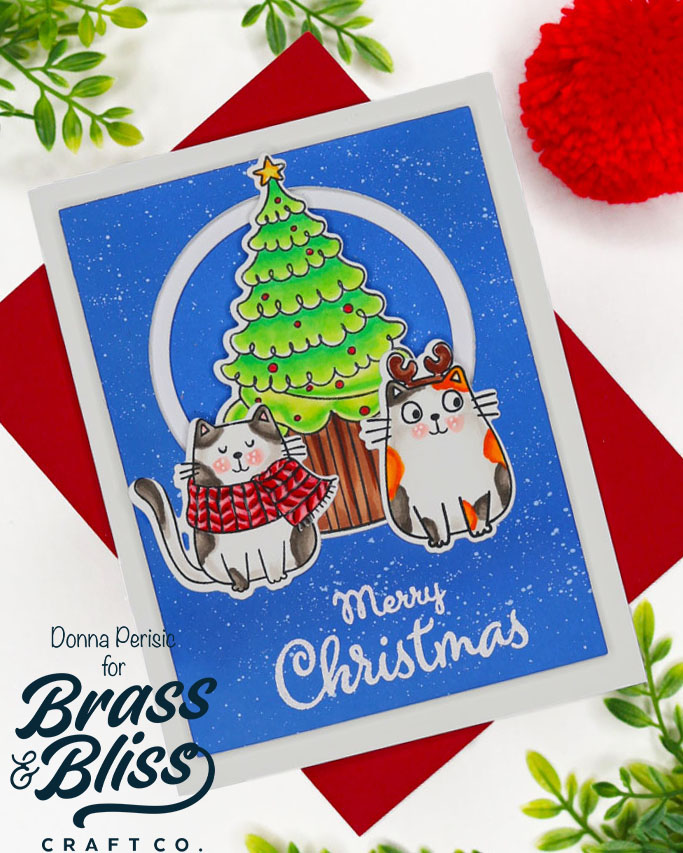
Christmas cats and a giant Christmas tree cupcake? Yes, please! Make a Holiday card that feels Puuurfect!
Today’s fun and festive holiday card is from our designer Donna, who said, “I couldn’t resist creating a Christmas card with adorable kitties and Christmas sweetness.” We love this cupcake with piles of green Christmas tree frosting- sweet indeed!
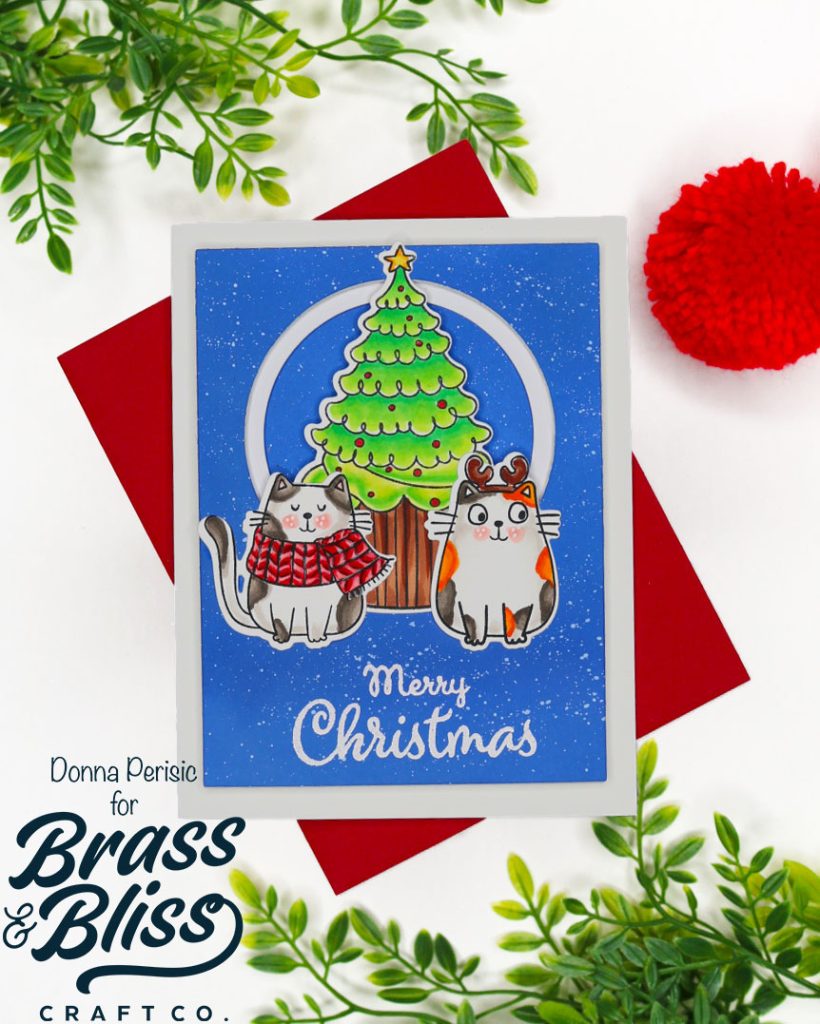
- To begin this card, I ink-blended a piece of white cardstock using Distress Oxide Ink. Then, I added white acrylic paint splatters to create a snowy background.
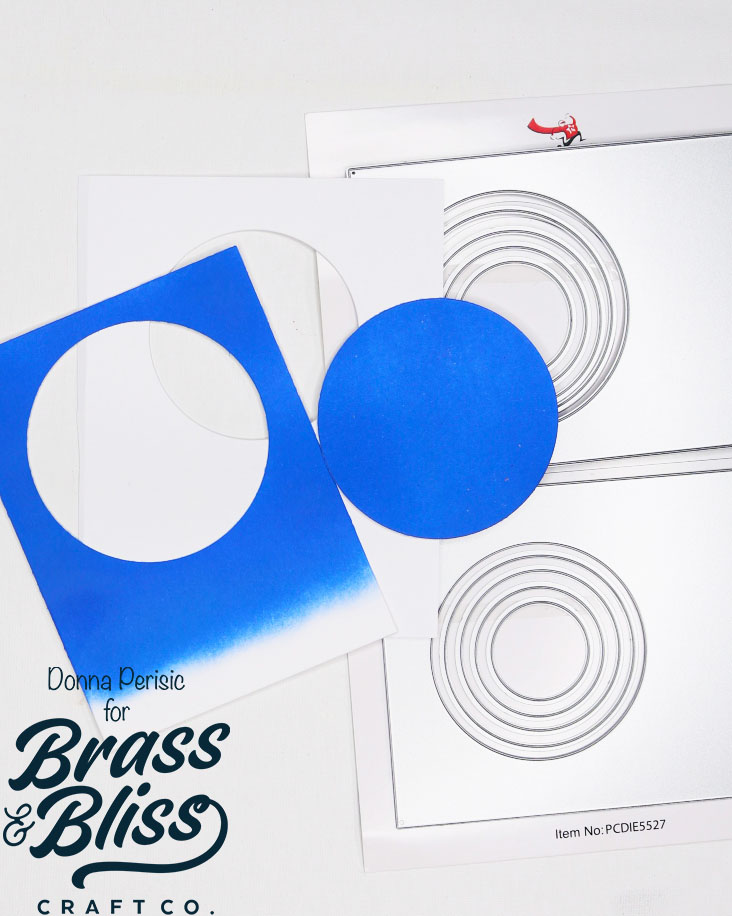
- Next, I die-cut the ink-blended panel using the smaller layer PCDIE5527D Peek-a-Boo Triple Cover Die with the largest circle opening. I saved the circle cutout to use as the background piece inside the window.
- I die-cut a second panel from white cardstock using the second-largest circle from the smaller layer cover die to create a layered-circle window panel.
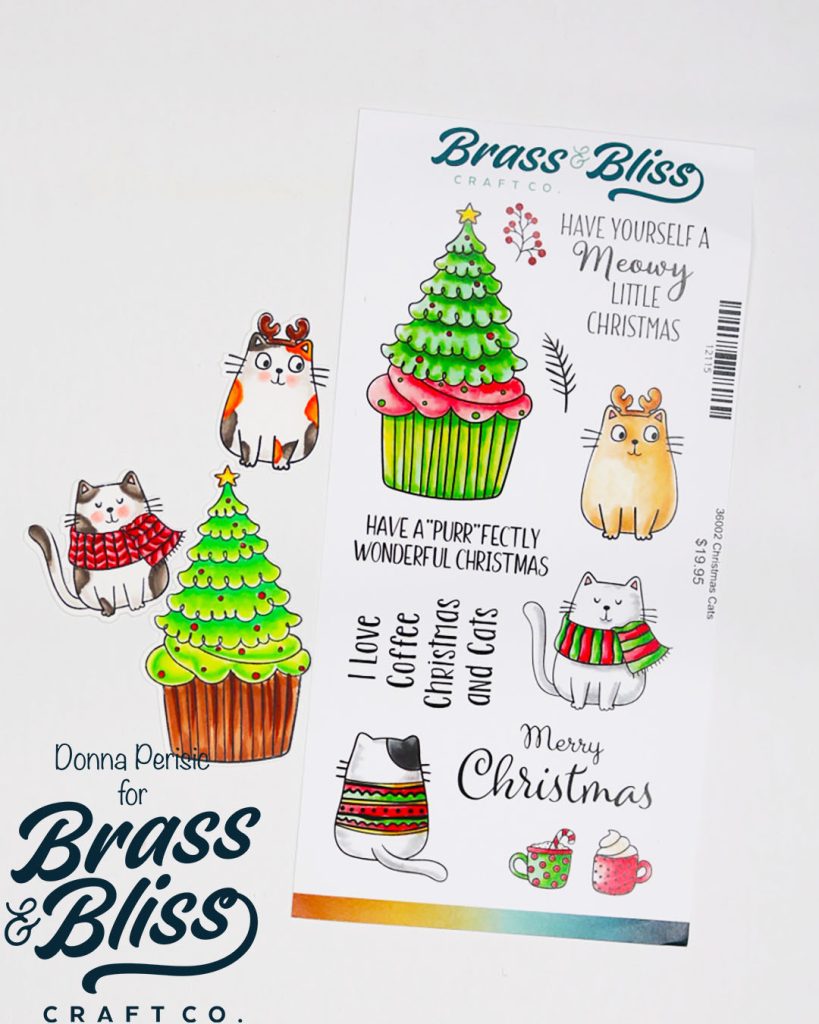
- Next, I stamped the images from the 36002 Christmas Cats Stamp Set and colored them using Copic markers.
- Copic Markers Used
- Tree: YG09, YG07, YG05, YG01, R27
- Cupcake: E29, E25, E23
- Piebald Cat: W7, W5, W3, W2, W1, W00
- Calico Cat: W7, W5, W3, W2, W1, W00, YR07, YR04, Y17
- Red Scarf: R27, R24, R22
- Antlers: E29, E25
- Copic Markers Used
- After coloring, I die-cut the images using the coordinating 36002D Christmas Cats Dies.
- For the sentiment, I white-heat-embossed it onto the front ink-blended panel.
- To assemble the card, I adhered the ink-blended circle to the white card base first. Then, I layered the white circle window panel on top, followed by the front ink-blended panel, adding dimension between each layer. Finally, I added the colored Christmas Cats images to complete the card.