
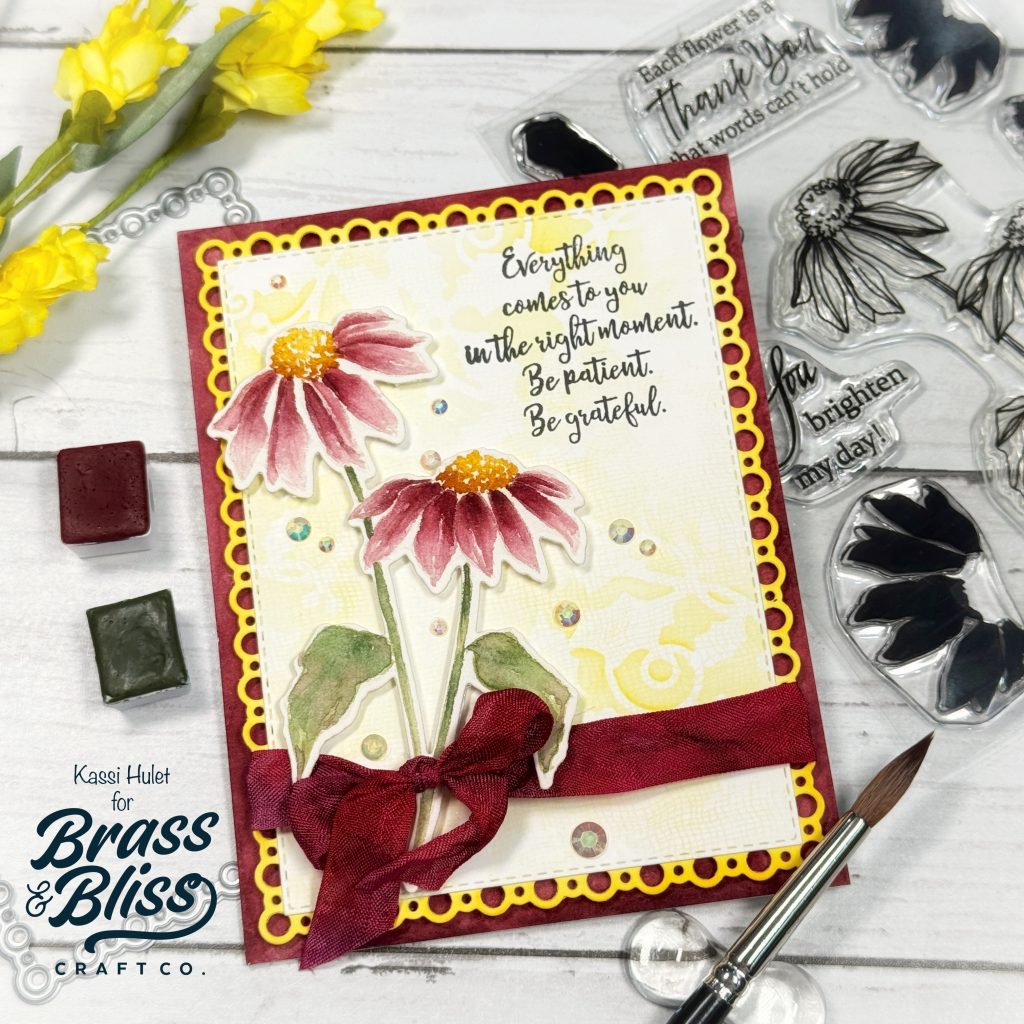
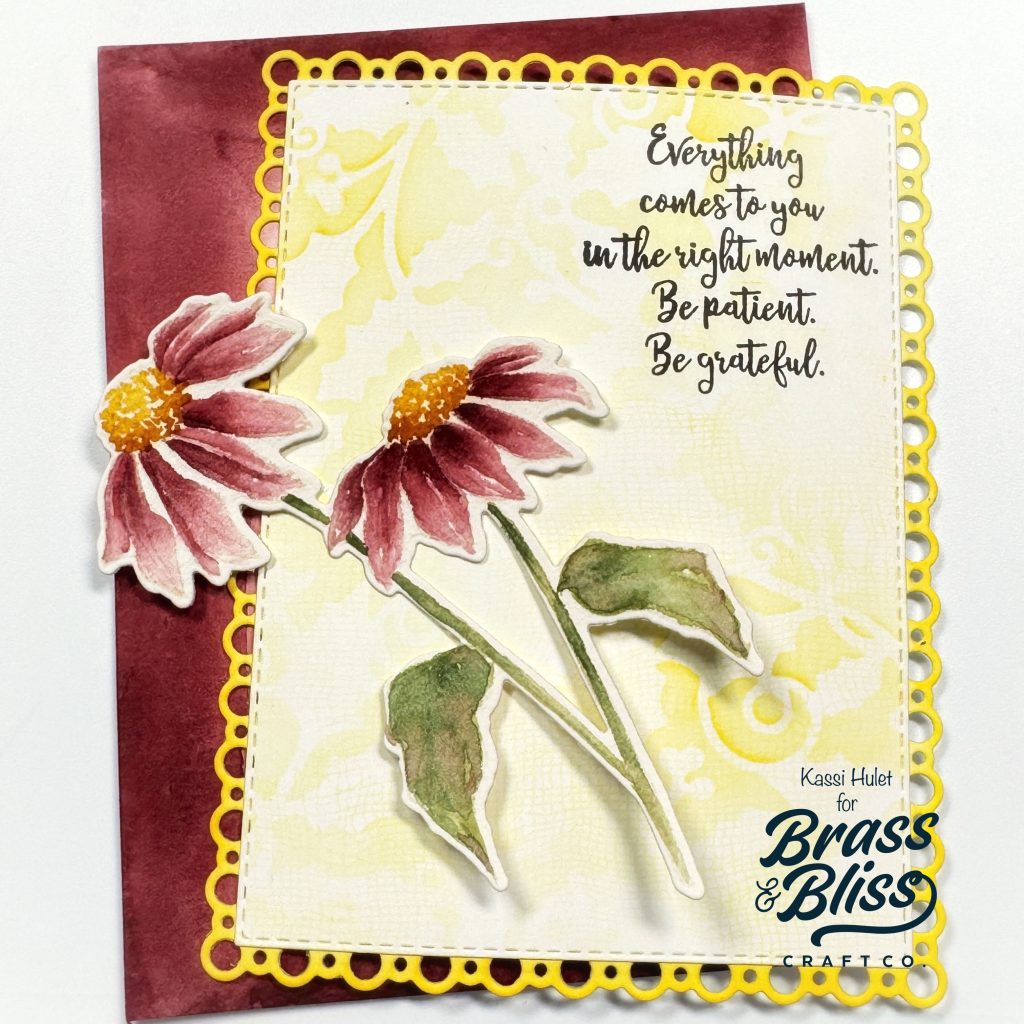
Check out this beautiful floral card creation using a fun background technique that adds a little something extra to your designs!
Hello Hello crafty friends! We hope you are loving our month of Autumn-inspired cards all throughout August. Today’s beautiful watercolor floral creation is bringing the fall vibes with its deep color palette. Lucky for us, florals are great all-year-long! This month’s card tutorials have been so inspiring, we particularly love when we can learn a new technique or something outside the norm, to help us add a little pep to our designs. Today our designer, Kassi, said, “I like interesting backgrounds- ones that create visual interest without being distracting. Combining a textured background stamp with stencils is a fun and easy way to build visual interest and create unique backgrounds!” We love the way this card came out and can’t wait to create unique backgrounds of our own with textured stamps and stencils!
- Die cut 5935-02D Holly & Berries Layer die from Yupo paper to create a reusable stencil
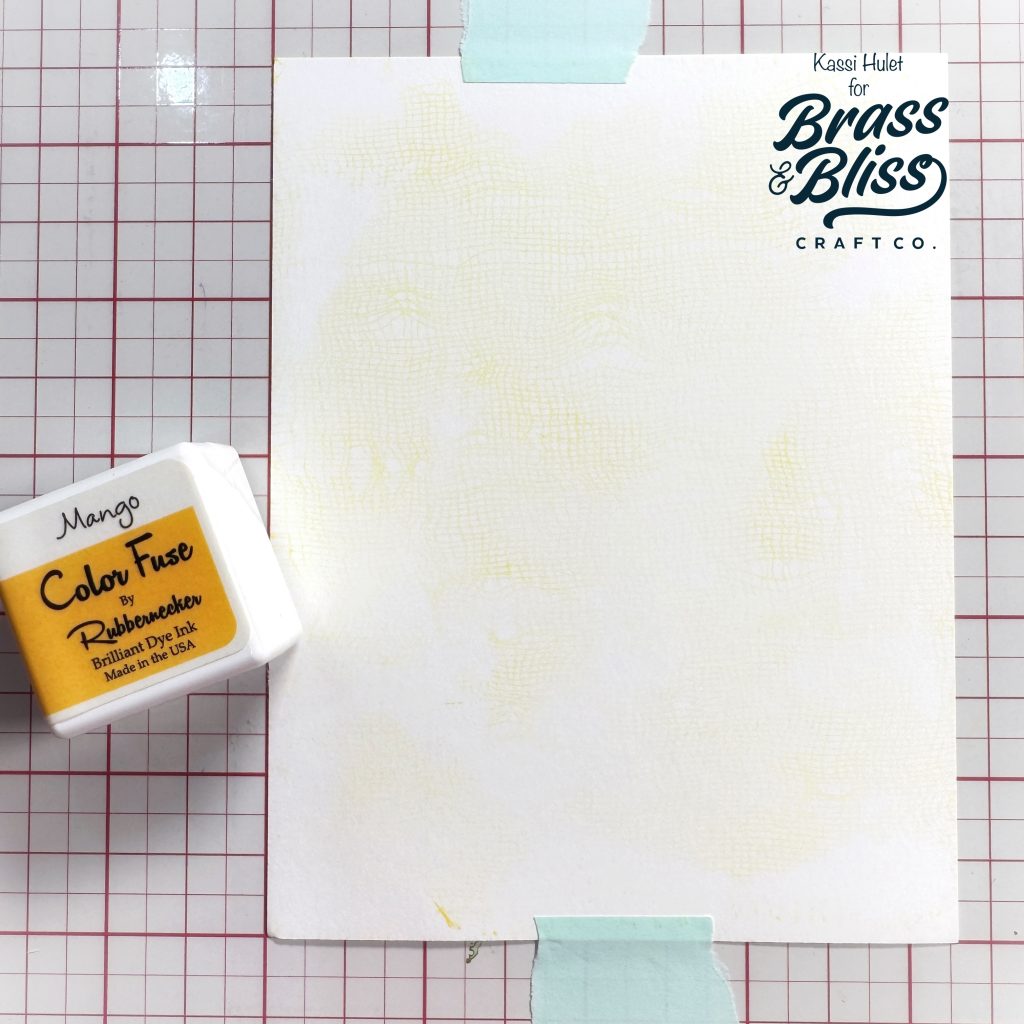
- Stamp 3487-07 Cheesecloth BG on white cardstock using Mango ink from Color Fuse set #2. For a soft, worn look, ink the stamp randomly then gently blend the ink on the stamp with an ink blending brush before stamping.
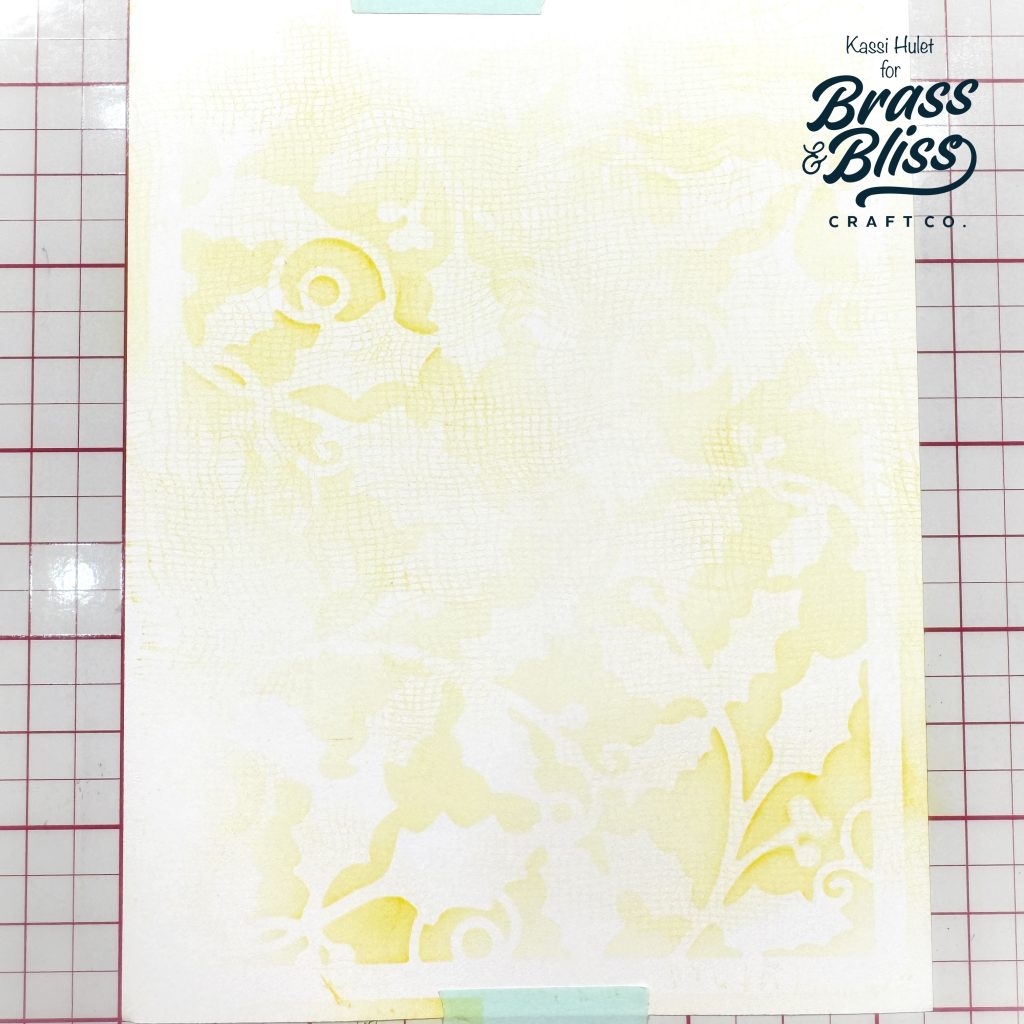
- Randomly ink blend Mango ink through the Holly & Berries stencil you made over the background you just stamped. This creates an interesting background that almost looks like a tattered lace
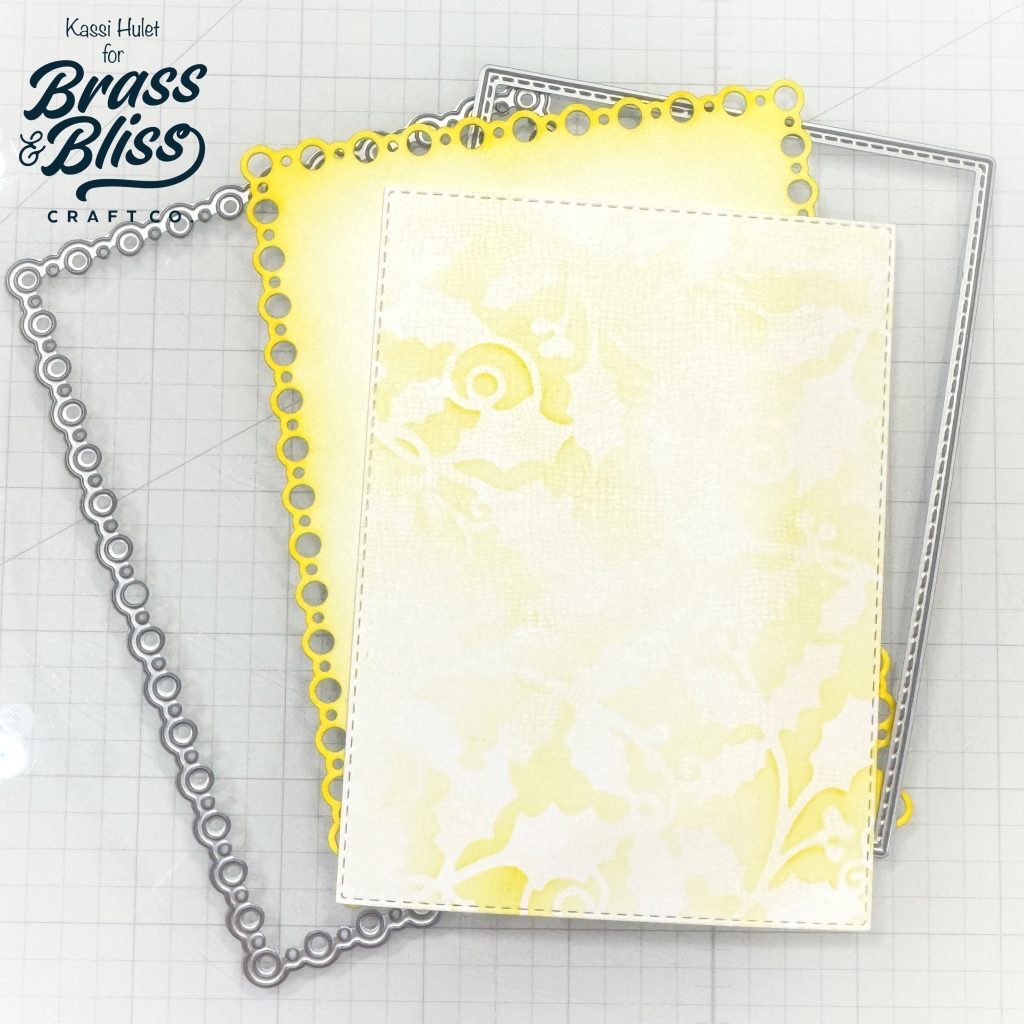
- Die cut the background using the 2nd largest die from 5013D Nested Rectangle Sm Stitch die
- Die cut yellow cardstock using the largest rectangle from 5624D Nested Rectangle with Sm/Lg Holes. (alternatively you can die cut white cardstock and ink blend the edges using Mango ink
- Layer the rectangles and adhere together
- Stamp 38023 Layered Echinacea on watercolor paper using a light, waterproof ink
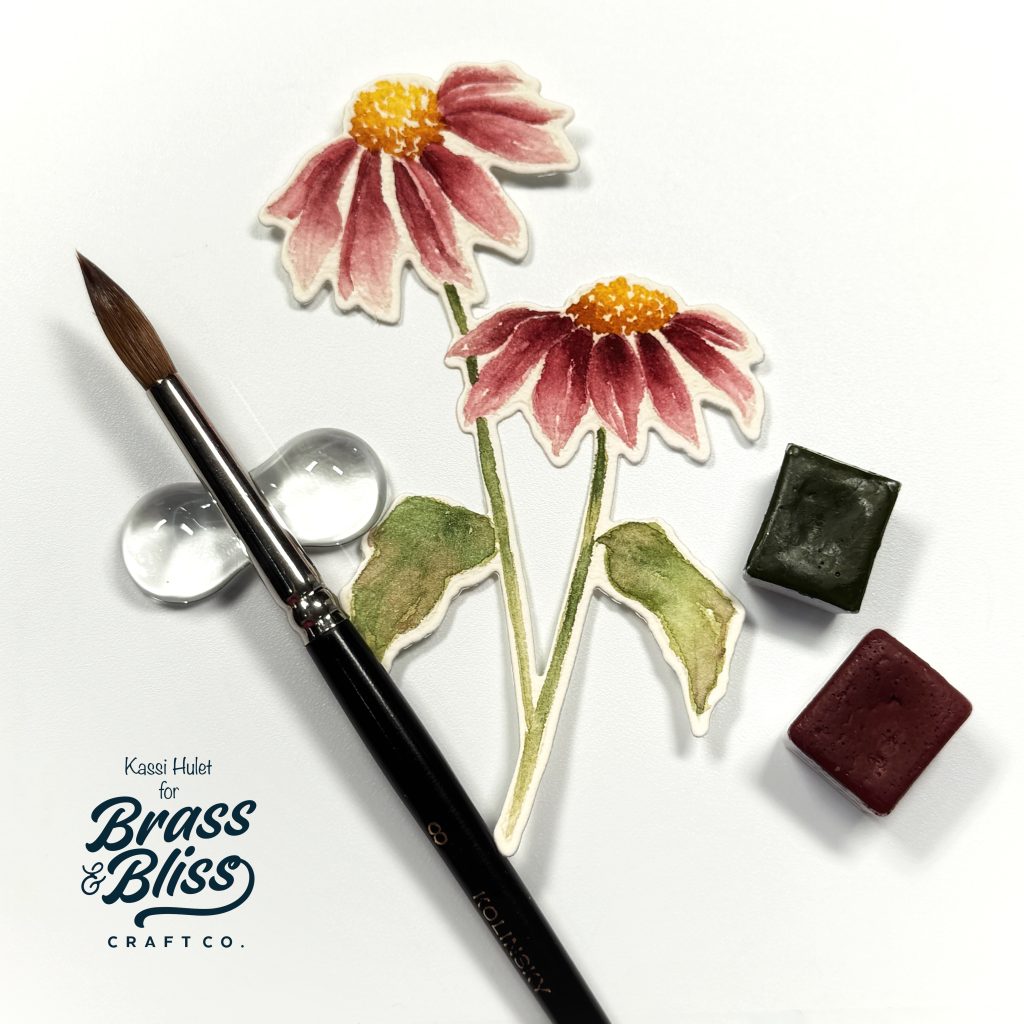
- Paint the flower
- Die cut the flower using the 38023 Layered Echinacea die
- Cut a dark red cardstock to 4.25″ x 5.5″
- Adhere the red cardstock to an A2 card base
- Stamp sentiment from 38003 Fluttery Wishes onto the background panel using Versafine Claire Nocturne ink
- Adhere the flowers to background panel using foam tape
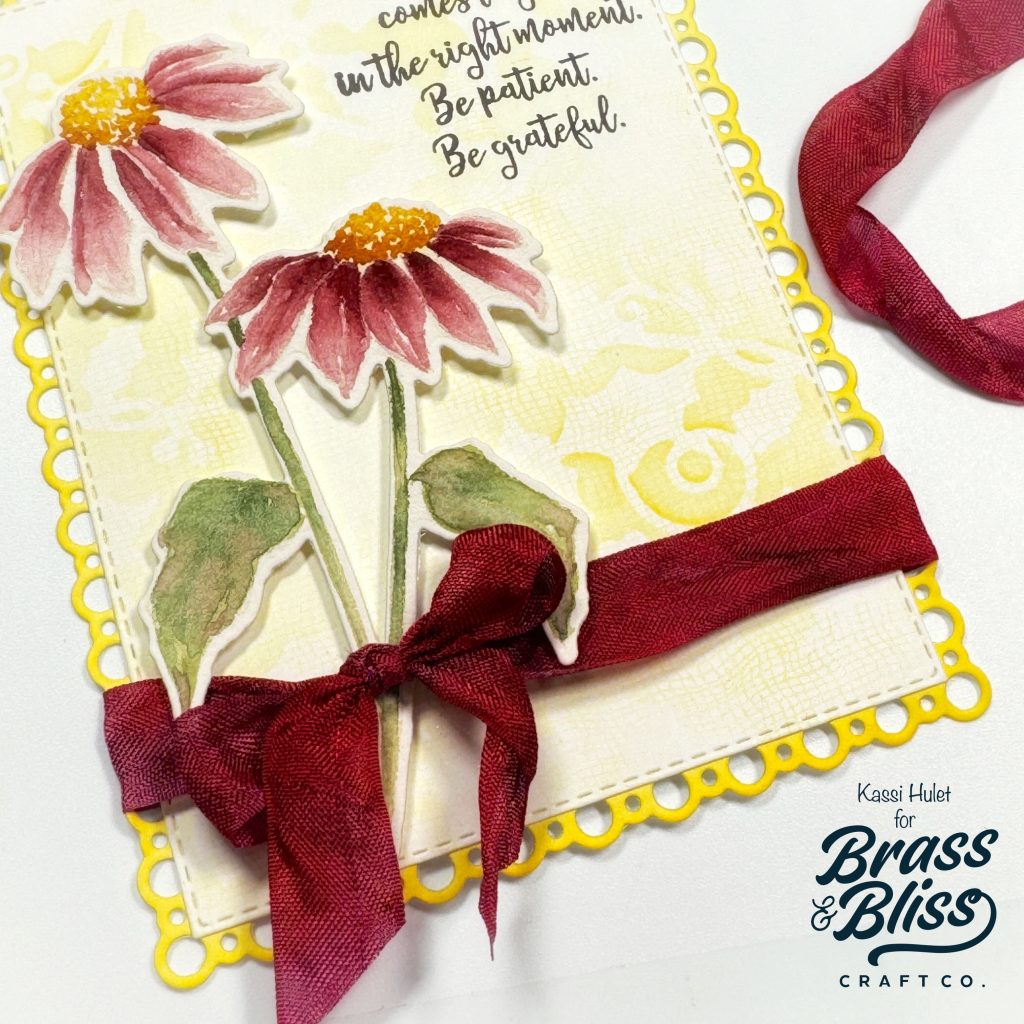
- Tie a ribbon around the flower and background panel
- Adhere the background panel to the card base using foam tape
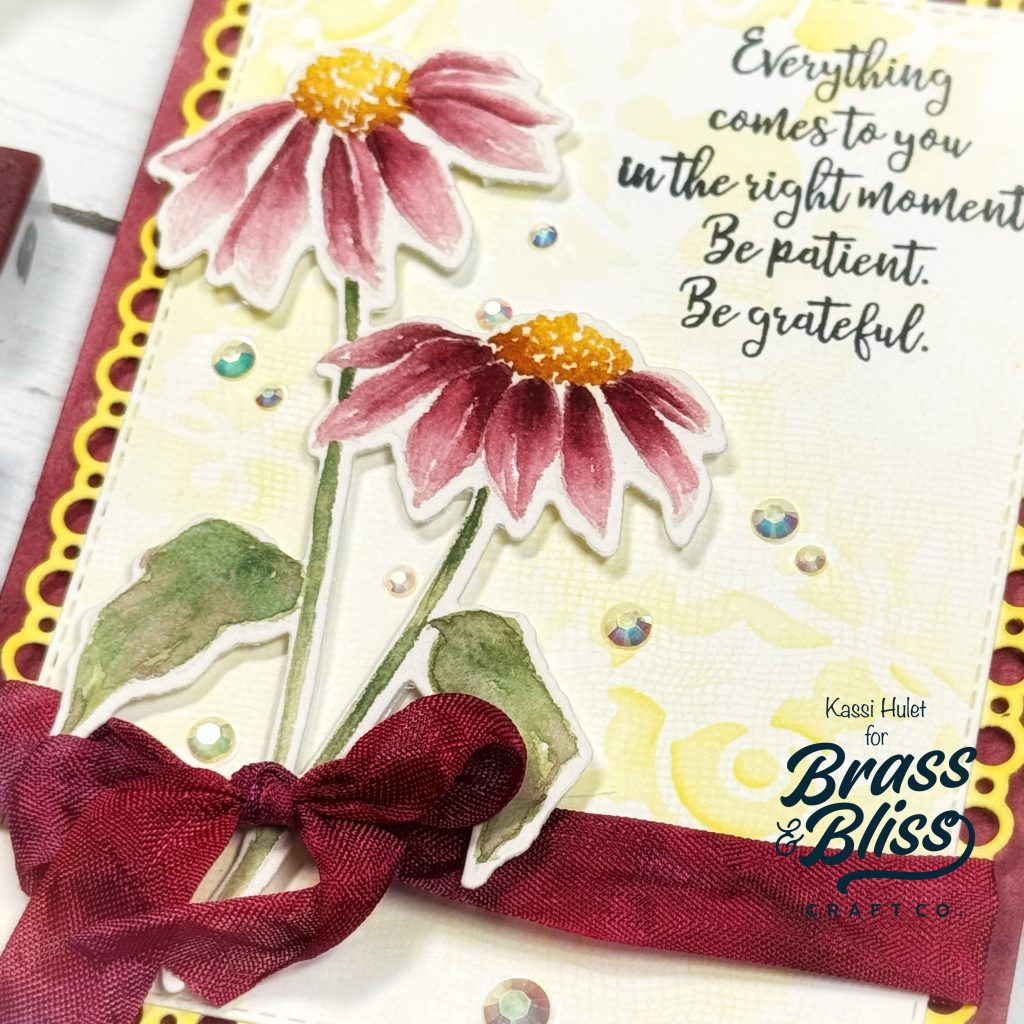
- Add gems for a bit of sparkle
Products Used: