
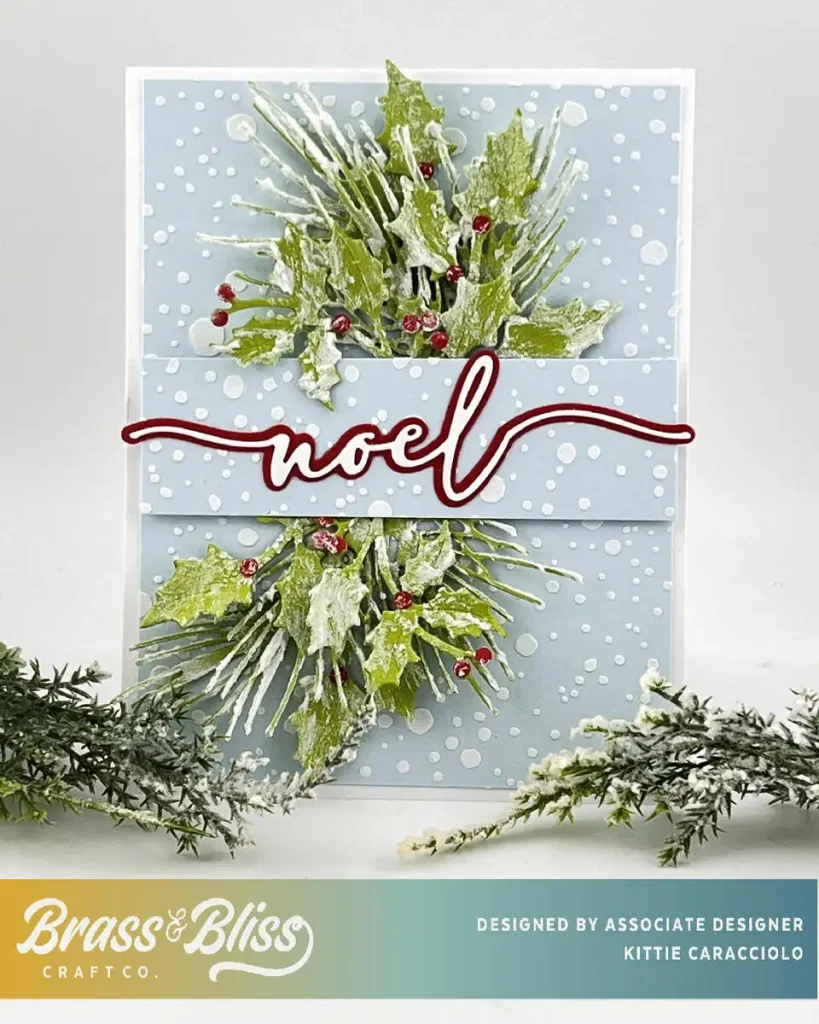
Come see how to create a snowy holiday greeting card to send to family and friends using white embossing paste and the Brass and Bliss Falling Snow Stencil.
Today’s card creation is from Kittie, who shared, “I love making snowy holiday greeting cards. For this card I used the Brass and Bliss Falling Snow Stencil and white embossing paste to create the snowy background and touches of paste on the foliage arrangement. To complete the project I used the Noel Script, Holly #1 and Pine Bough.” We love this festive winter look and this stencil really does shine when paired with paste. Follow along with the simple steps below to recreate this snowy holiday card with embossing paste.
Falling Snow Background
- Secure the light blue cardstock and stencil in place and apply white embossing paste using a palette.
- Attach the snowy layer to the card base using double stick tape.
Holly and Pine Boughs
- Use green cardstock to cut the holly and pine bough sections and red cardstock to cut the berries.
- Attach the red berries to the holly branches using Nuvo glue.
- Use a palette to apply embossing paste to each individual section and apply clear glitter while the paste is still wet. Note: The sparkle doesn’t show in the pictures but is really beautiful in person.
- Use glossy accents to attach the holly sections to the card base.
- Tuck the pine boughs in between the holly branches and attach using glossy accents.
- Finish the Snowy Holiday Greeting
- Attach the noel sentiment to the raised layer using Nuvo glue.
- Attach a rectangle section of the snowy background to the card base using strips of mounting tape.
- Use red and white cardstock to cut out the noel sentiment sections and attach them together using Nuvo glue.
