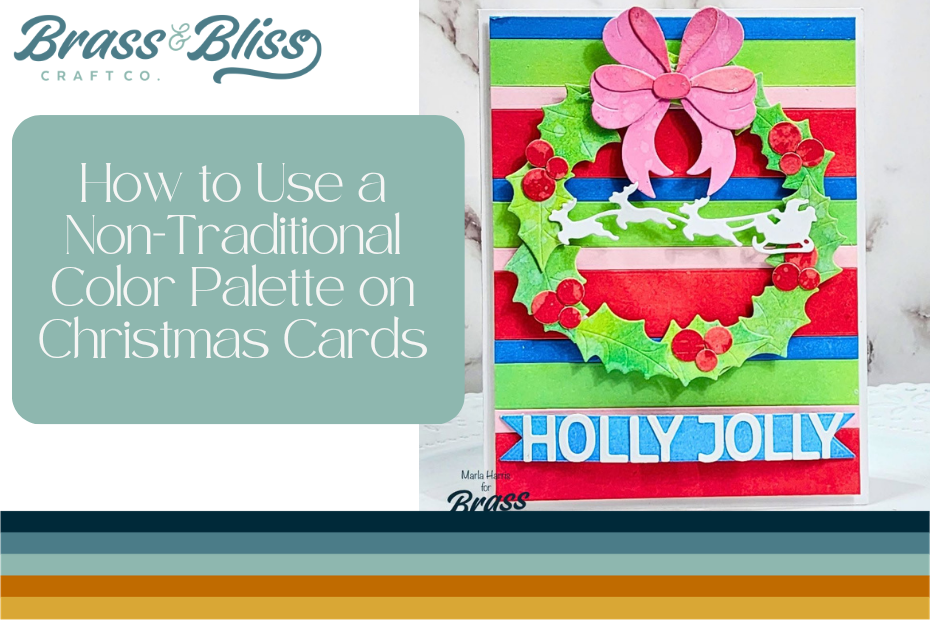
Add some playful and vibrant colors to your next holiday card, and embrace a fresh non-traditional color palette.
It’s Christmas in July, and we’re celebrating with a month full of festive inspiration to help you get a head start on your holiday card making! Whether your style is contemporary or classic, our talented designers are sure to inspire your creativity with beautiful ideas you’ll want to recreate.
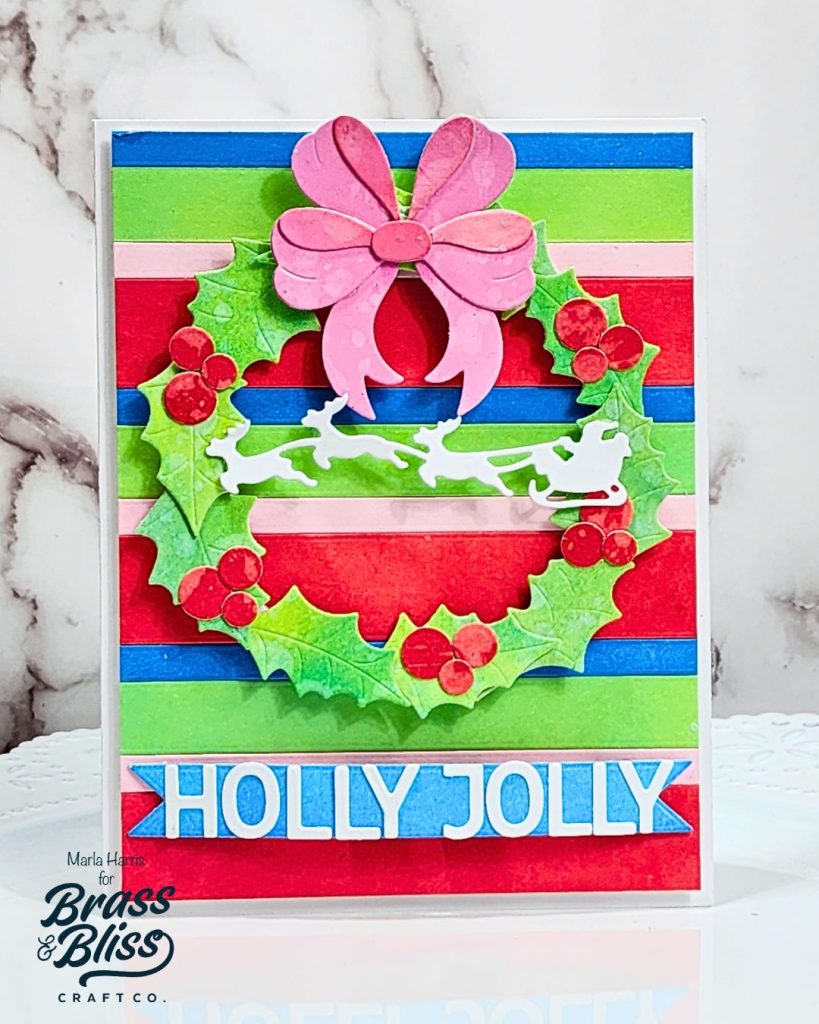
Today’s featured card embraces a fresh, non-traditional color palette. Classic Christmas reds and greens are paired with cheerful touches of blue and pink, creating a modern twist on a timeless holiday look. The result is a fun, vibrant design that’s perfect for adding a unique touch to your Christmas card collection this season.
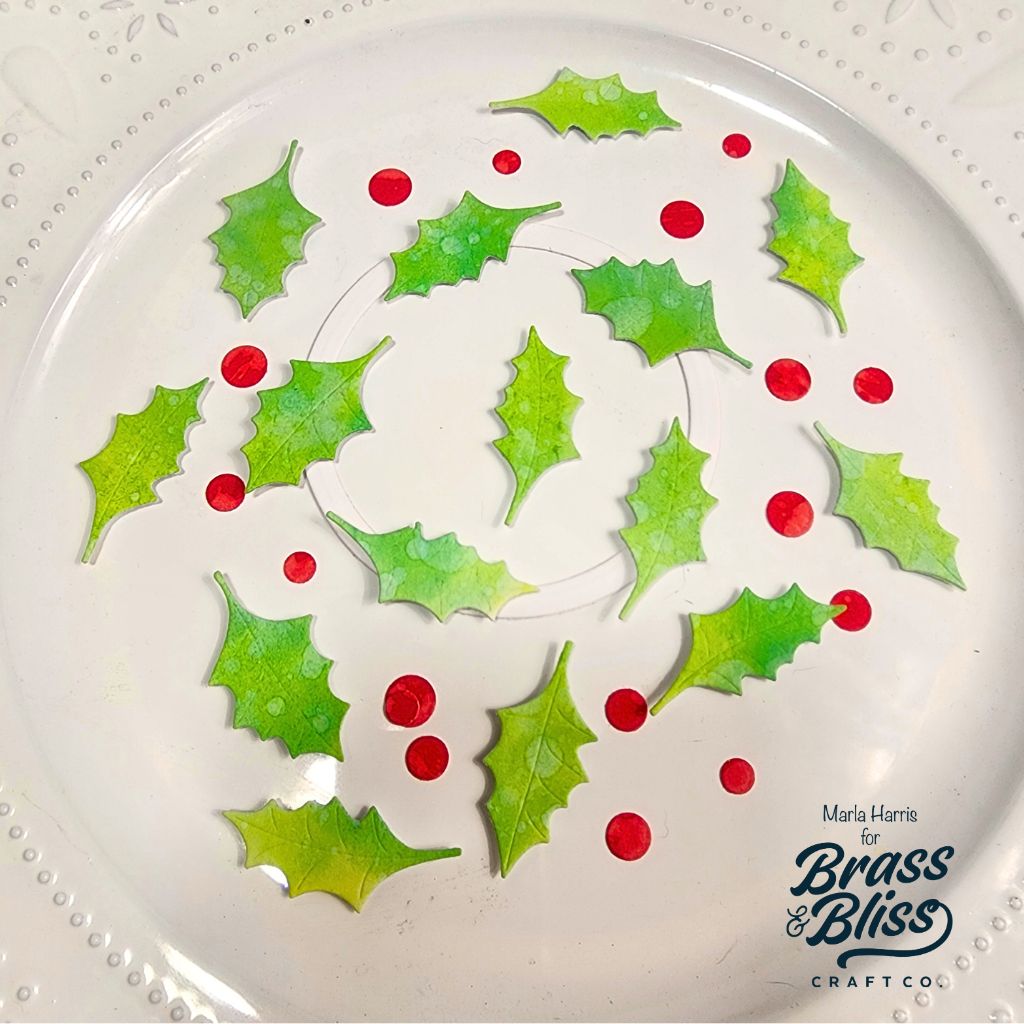
- Ink a piece of white cardstock with Distress Oxide Twisted Citron and Mowed Lawn ink.
- Ink a second smaller piece of white cardstock using Distress Oxide Festive Berries ink.
- Splatter both pieces of cardstock with water.
- Cut several holly and berries from the inked cardstock using our 5416-06 Holly #2 Die.
- Cut a circle frame using two of our 5002D Nested Circles Dies.
- Add foam tape to the reverse side of the holly leaves and create your wreath.
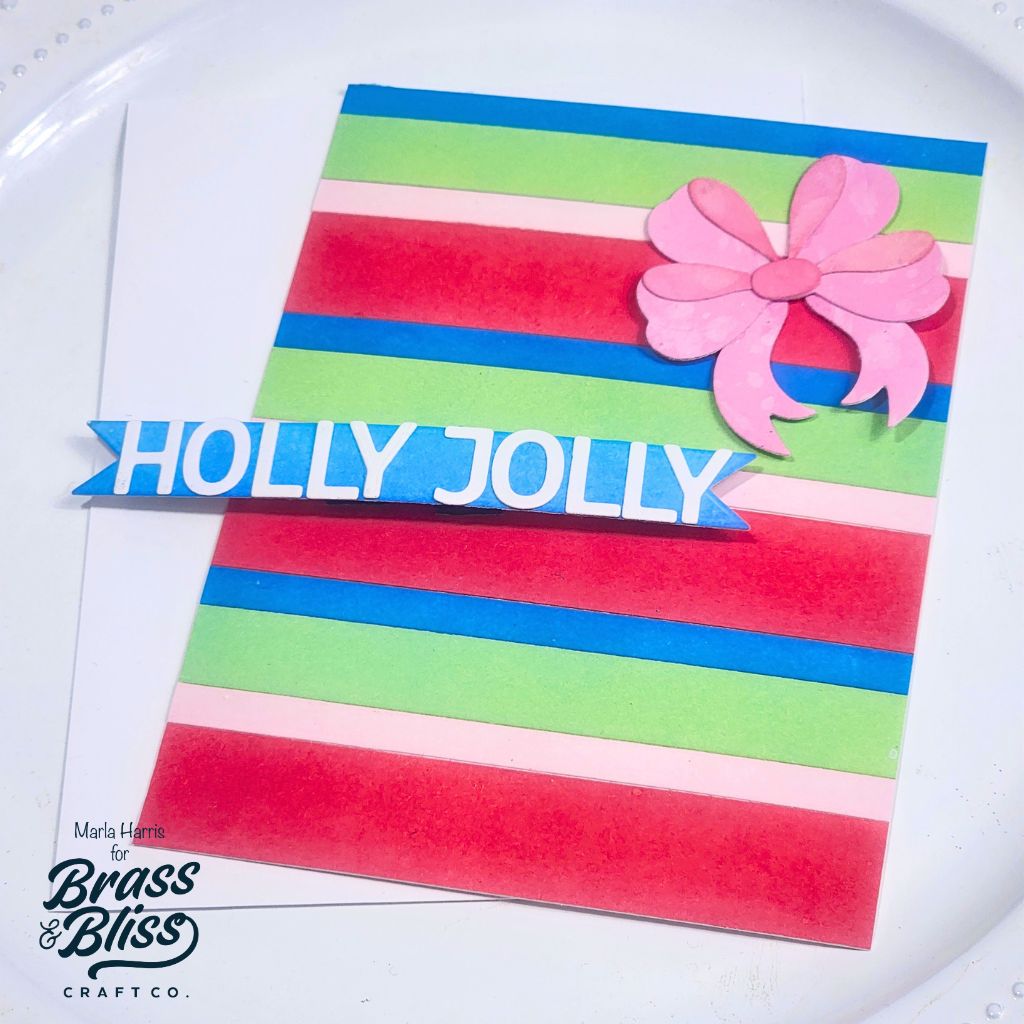
- Cut several pieces of white cardstock using our 5937D Skinny Strips Dies.
- Ink the thicker strip with Distress Oxide ink in Festive Berries, the medium strip with a combination of Distress Cracked Pistachio and a light touch of Twisted Citron ink.
- Ink the two thin layers using Distress Oxide Salty Ocean and Spun Sugar.
- Assemble the strips onto a piece of white cardstock and trip down to 4″ x 5.25″.
- Add dimensional foam tape to the reverse side of the panel.
- Cut out your words of choice using white cardstock and our 5618D Small Classic Alphabet Die.
- Cut the largest banner using our 5908D Flag Banner Dies and ink with the leftover ink on the Salty Ocean brush.
- Use a pencil to curve the sentiment banner.
- Adhere the sentiment letters to the banner and add dimensional foam to the reverse side. Adding two layers to the center where the sentiment is raised.
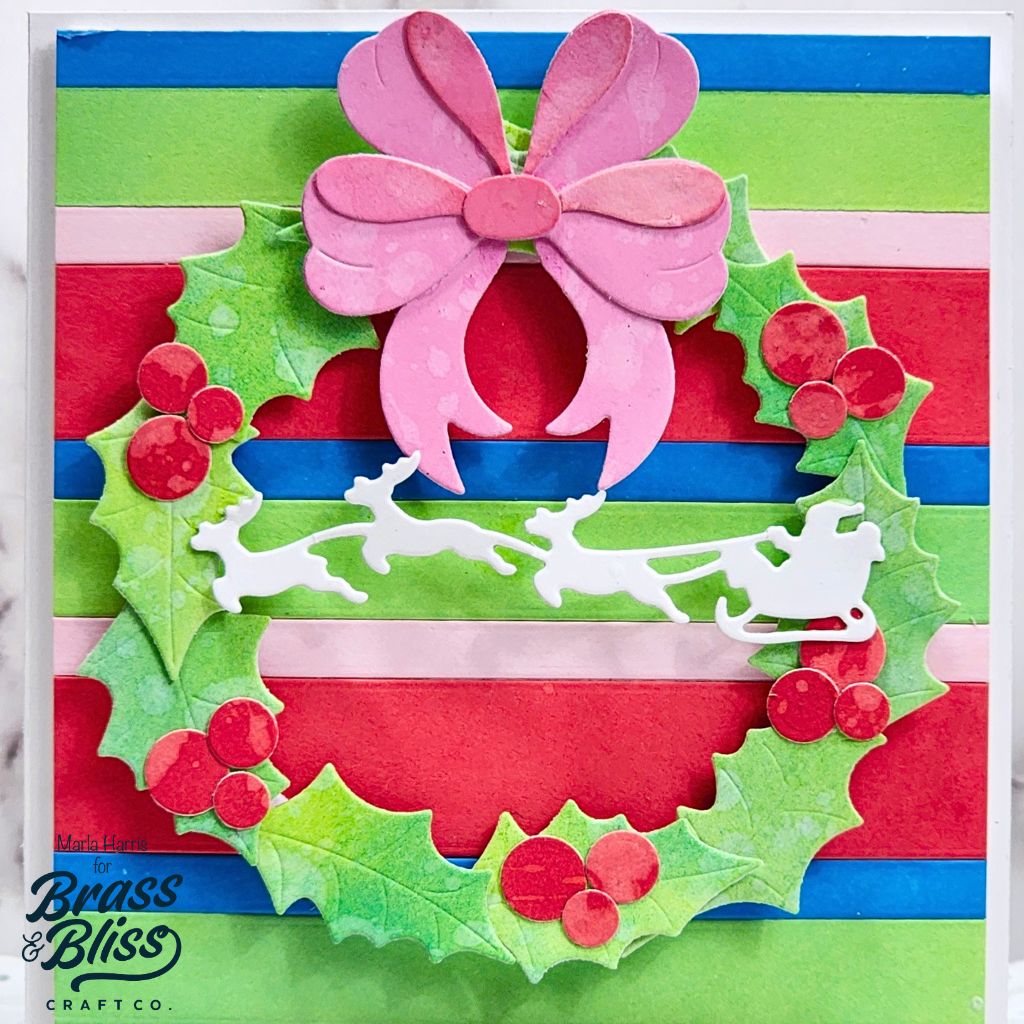
- Ink two small pieces of white cardstock using Distress Oxide Ink in Kitch Flamingo and the second with Picked Raspberry.
- Splatter both inked pieces with water.
- Using our 5912-02D Elegant Bows Die cut the bow and tails from the Kitch Flamingo cardstock and the inside ribbon pieces from the Picked Raspberry cardstock.
- Cut the Santa and reindeer from white cardstock using our 5722-02D Winter Town Accessories Die.
- Assemble the card, adding the berries to the wreath before attaching the Santa and reindeer.
We’d love to know if you have started creating your own Christmas cards or do you wait until later in the year? If you’ve never started your Christmas card making early, we challenge you to get out your favorite Brass and Bliss stamps and dies to get a head start on your Christmas cards.
Supplies Used:
5416-06 Holly #2 Die
5002D Nested Circles Dies
5937D Skinny Strips Dies
5722-02D Winter Town Accessories Die
5618D Small Classic Alphabet Die
5908D Flag Banner Dies
5912-02D Elegant Bows Die