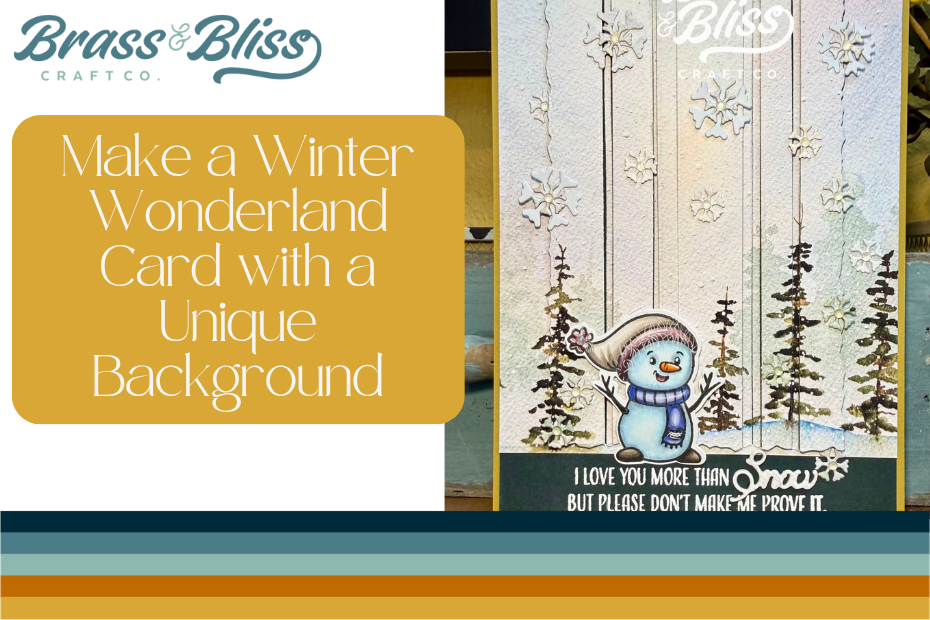
This quick winter wonderland card really wows. Spruce up your backgrounds with this neat die cutting trick.
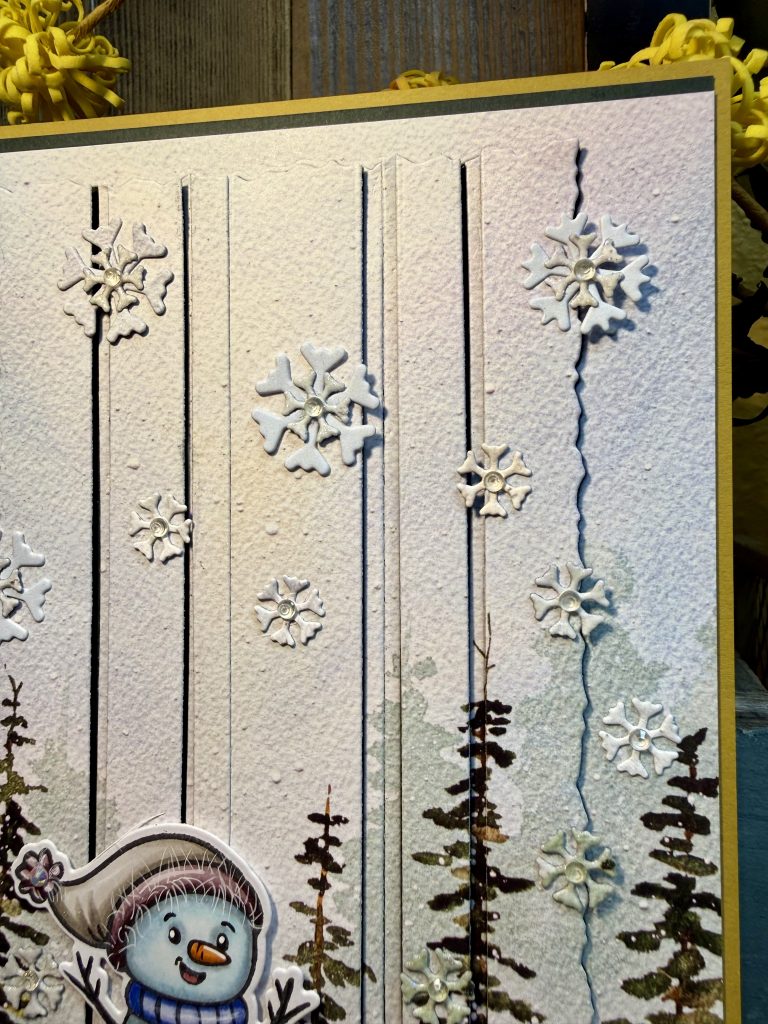
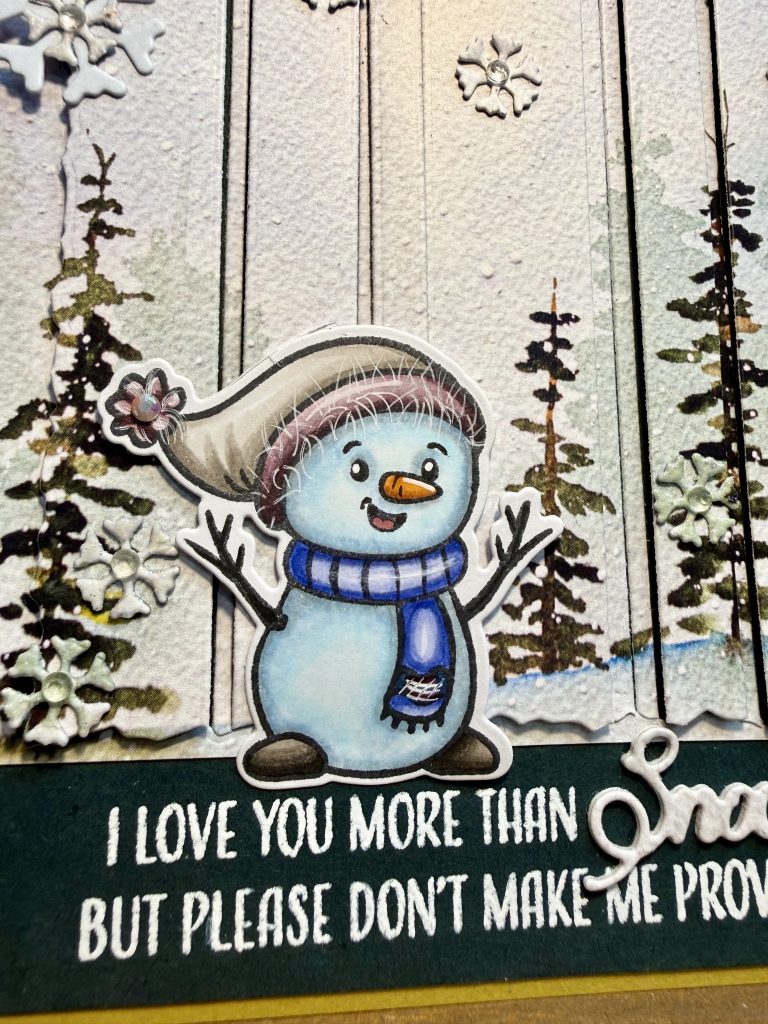
Today’s amazing card design has us walking in a winter wonderland….well, a paper one, at least. This 5×7 card by Christine Heye features a sweet snowman, varying background stripes with alternating dimension, and a fun sentiment with a bit of snowy sparkle to add bling. We hope you will follow along and create this quick & simple card with us.
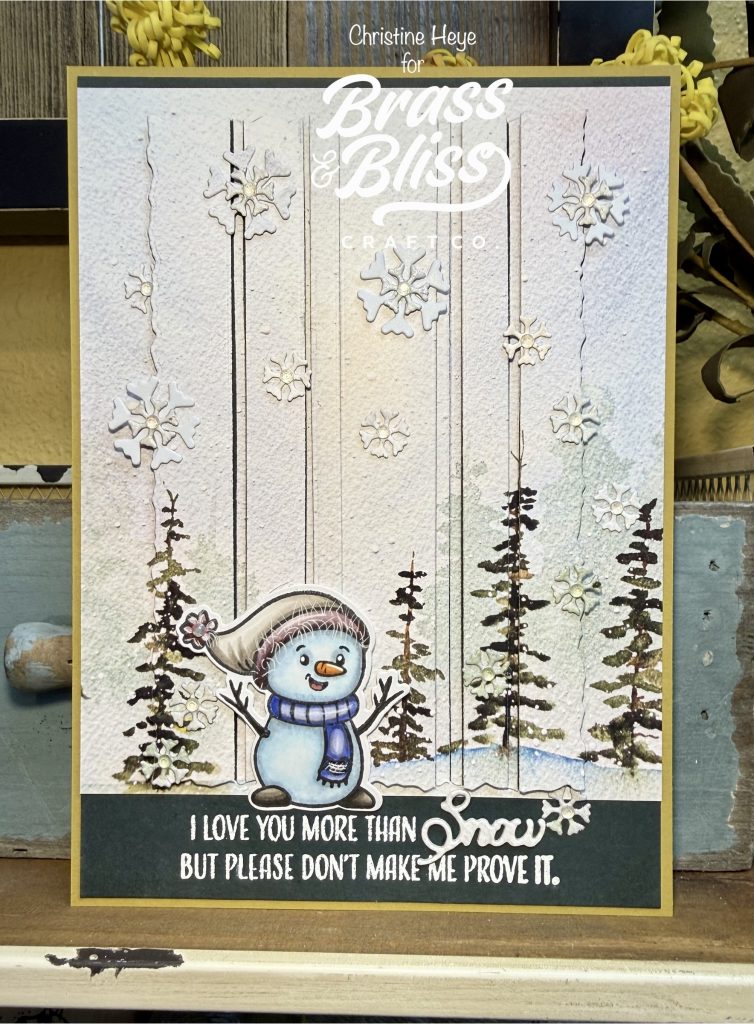
- Start by stamping the snowman of choice with an alcohol friendly, black ink, die cut and color, as you wish. (If you thought of Princess Bride, just then- you rock! :O) Set aside
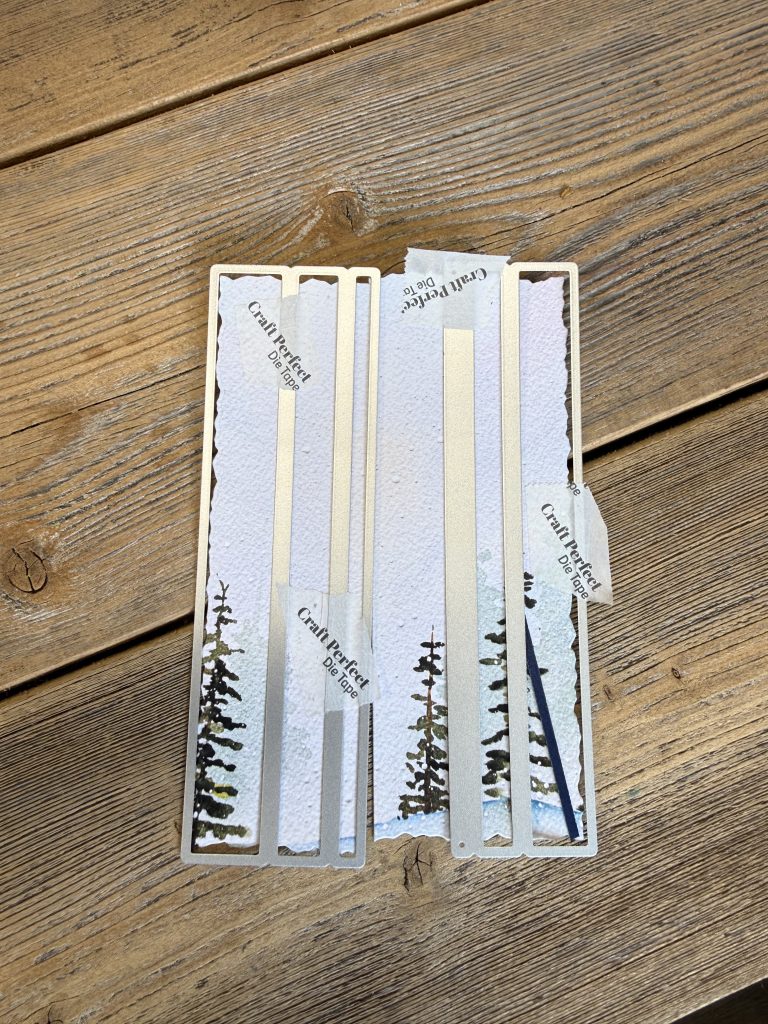
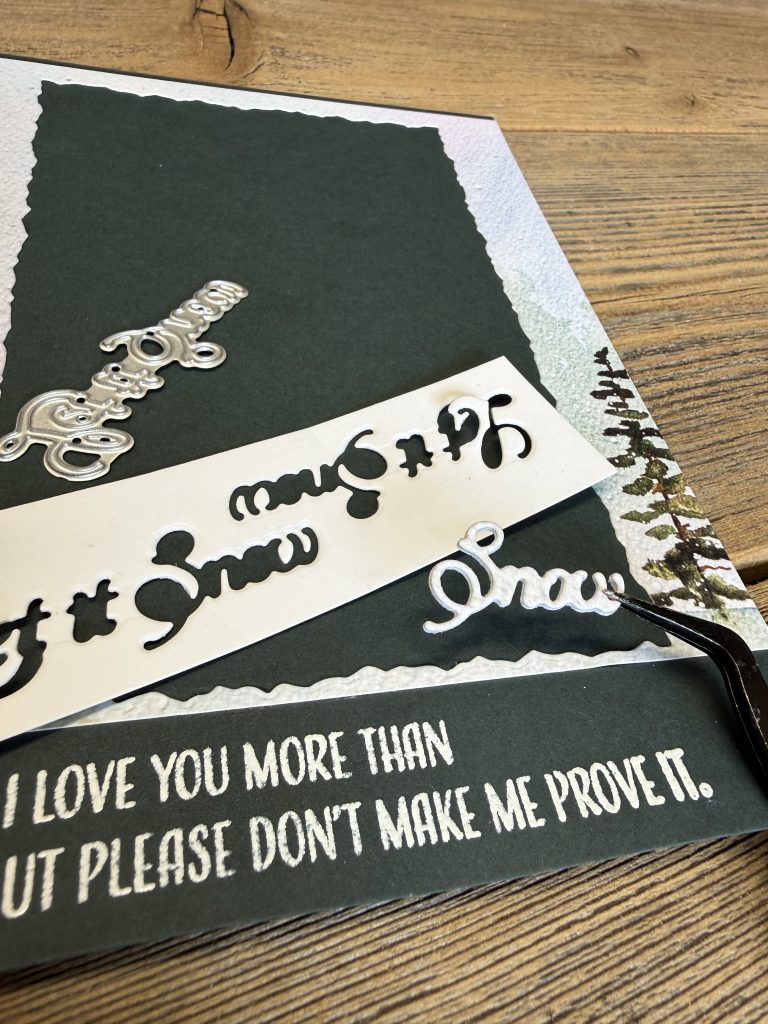
- Cut tree paper from Frosty Adventures 6×6 paper down to 5×6. Leaving even spacing on both sides, take the 3rd largest 5×7 Nested Deckle Rectangle die and diecut out the center. Glue the remaining “frame” piece to a piece of 5×7 deep green cardstock (cs- going forward). Emboss sentiment from Let’s Meet for Coffee sentiment set, onto the bottom of the green cs using versamark (clear) embossing ink and white detail embossing powder. Take the center piece, cut out of the 6×6 paper and lay both of the Skinny Strips dies on each end (avoiding the Deckle edge at top, side, and bottom). This will leave a nice size solid strip for the center (see photo). Add thin foam adhesive strips to all of the (6) wider strips. The very thin will be glued in, lastly, after adhering the wider ones, into the frame.
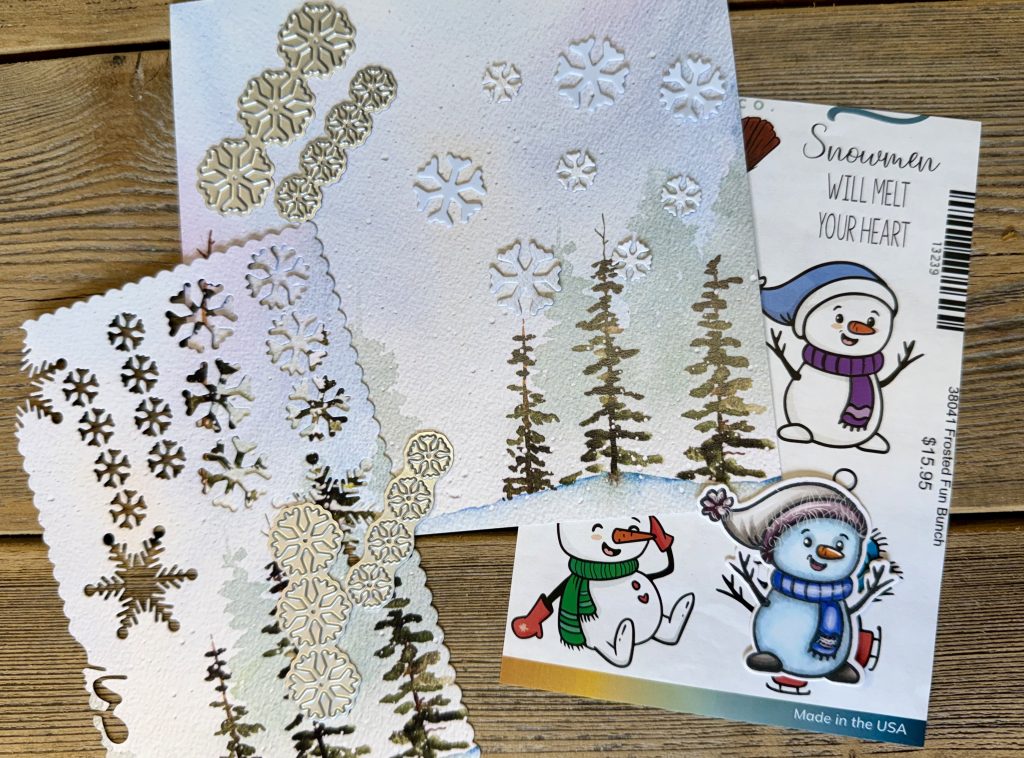
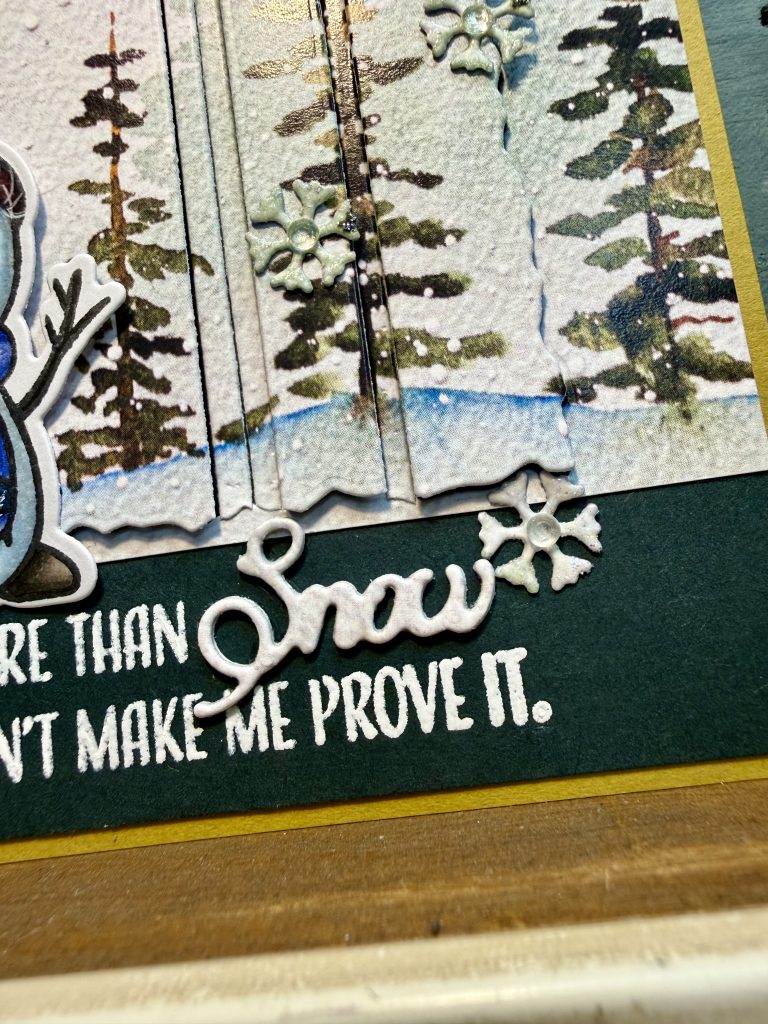
- Die cut the word “snow” from the Festive scripts dies 3x. Once from the same 6×6 paper and 2x from 110# white. Adhere together with liquid glue. Glue onto the end of line one of the sentiment.
- Die cut the Mini Snowflakes dies out of the same pattern of paper, in all sizes. I layered the larger ones with small ones. Those small ones, I added versamark ink and a clear sparkle embossing powder for a bit of bling. Adhere the mini snowflakes onto the card in desired spots. Add a gem to the center of each one.
- Add thin foam to the head/shoulders area of the snowman and liquid glue to the remainder and adhere to the front of the card above the sentiment.
- Cut a piece of very green/yellow card stock to 5-3/16 x 7-3/16 and adhere card front to it. All done!
- 2103 Frosty Adventures 6×6 paper pad by Melinda Stearns
- 5937D Skinny Stripes dies
- 38041 Frosted Fun Bunch 4×6 stamp set
- 38041D Frosted Fun Bunch coordinating dies
- 5933-04D Mini Snowflakes dies
- 5941-01D 5×7 Nested Deckle Rectangle Dies
- 5938-01D Festive Scripts w/Shadow Die
- 36036 Let’s Meet for Coffee 4×8 Stamp set