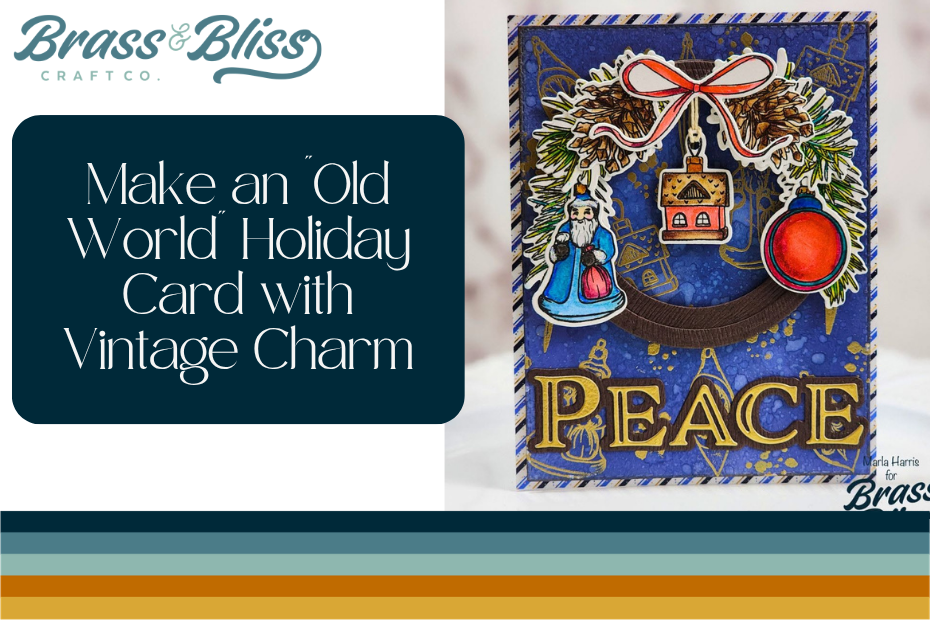
Add a bit of nostalgia to your next holiday card, and color up these new ornaments that are sure to give your project that vintage look that warms the heart!
Capture the timeless beauty of a Christmas gone by with our new 38040 Pine Bough and Ornaments Stamp and coordinating dies from the new “Evergreen Wishes” Release. Inspired by the warmth and elegance of old-world holidays, this enchanting stamp set brings a touch of vintage charm to every handmade card. Join Marla as she shares her techniques to elevate her beautiful Christmas card design that celebrates the magic, wonder, and enduring spirit of the season.
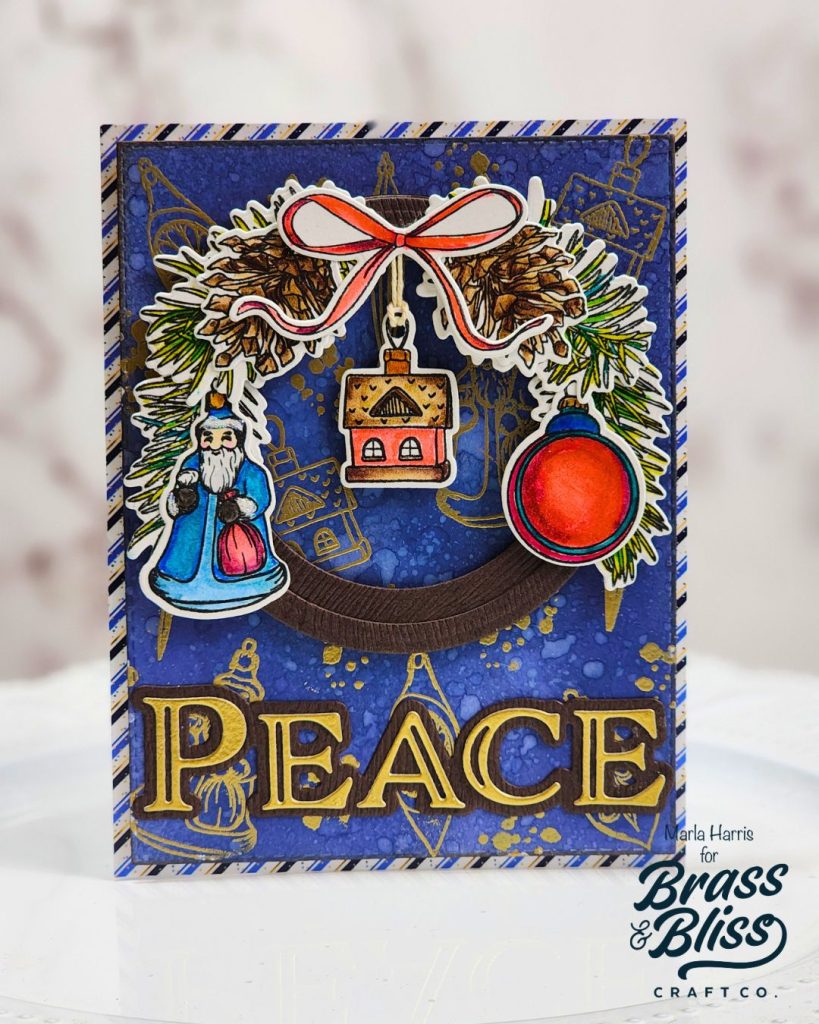
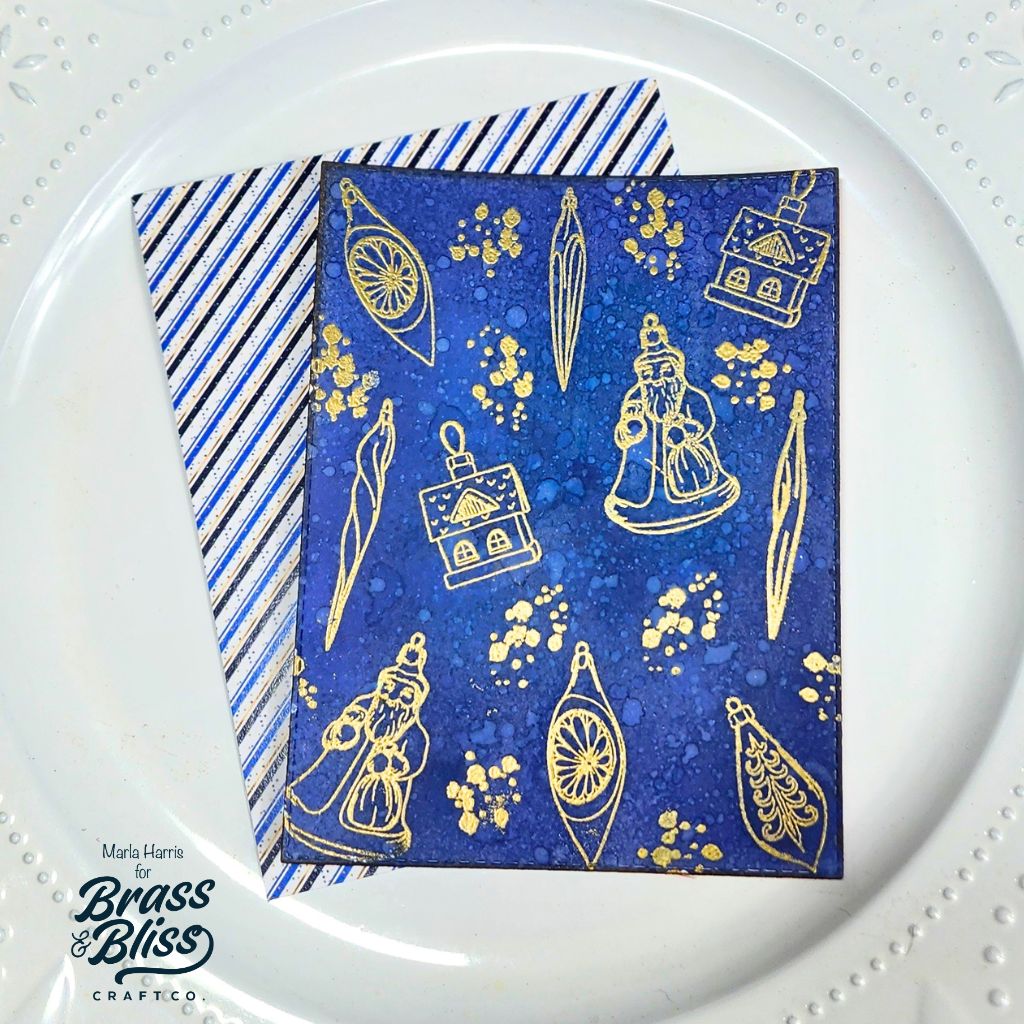
How to make this card:
- Cut the 4.25″ x 5.5″ base layer using our new Frosted Keepsakes paper pad.
- Cut a piece of white cardstock to 4″ x 5.25″.
- Ink the cardstock using Distress Ink in Chipped Sapphire and Unchartered Mariner.
- Ink the outside edge using Distress in Ground Espresso ink.
- Make sure the inked background is dry before swiping anti-static powder over the background.
- Using Versamark ink stamp the background images using a combination of the 38040 Pine Bough and Ornaments and 38008 Spring Greenery Stamp.
- Add gold embossing powder over the top of the stamped images and melt using a heat tool.
- Splatter the background with water and let dry completely before adding dimensional foam tape to the back of the panel.
- Attach to the base layer.

- Stamp the images using our 38040 Pine Bough and Ornaments Stamp onto Bristol Smooth cardstock using Versafine Claire ink.
- Color the images using watercolor pens. *Optional add glitter to the hat and cuffs of Santa.
- Use the coordinating die to cut out the images.
- Using two of our 5013D Nested Rectangle Sm Stitch Die and woodgrain cardstock create a faux wreath.
- Cut a second ring, to fit on the edge of the faux wreath, using two more of the 5013D Nested Rectangle Sm Stitch Dies and the woodgrain paper.
- Attach the two rings together before adding dimensional foam tape to the back.
- Adhere the faux wreath to the background.
- Arrange the pine boughs, pinecones and ornaments around ornaments onto the wreath adding foam tape where applicable for stability.
- Punch a small hole into the ornament hanger and add a piece of string or twine before adhering the wreath.
- Attach the bow.
- On a piece of scrap paper, swipe Verafine Ink over the paper and add gold embossing powder. Heat set the powder.
- Cut the Peace sentiment using our 5938-04D Peace Vertical & Horizontal Die.
- Cut the shadow using the woodgrain cardstock.
- Assemble the two sentiment layers before attaching them to the card.
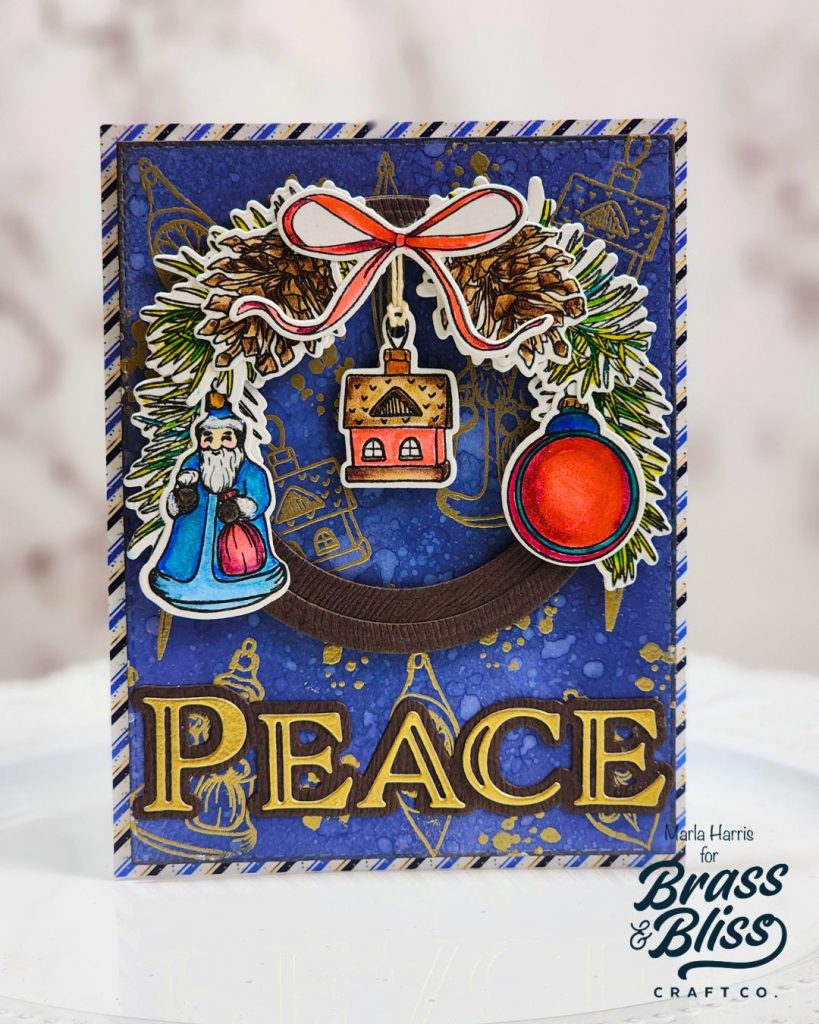
We hope this beautiful Christmas release brings you as much joy as it has brought us. If you enjoyed this card, Marla has once again created another truly exquisite card featuring the 5938-04D Peace Vertical & Horizontal Die, showcasing its timeless beauty with her signature artistry. If you would like to view her 2nd card, you can find it here.
We invite you to discover for yourself the beauty of the entire Evergreen Wishes Collection. For a limited time, enjoy 20% savings on the collection, along with our exquisite selection of holiday designs, through July 31. It’s the perfect opportunity to gather timeless pieces that will bring beauty and elegance to your holiday creations for seasons to come.
If you missed yesterday’s Evergreen Wishes Inspiration Hop, there’s still time to join the fun! Follow along for a chance to win a gift card to our store—simply start the hop here.
Supplies Used:
38040 Pine Bough and Ornaments Stamp
38040D Pine Bough and Ornaments Die
5938-04D Peace Vertical & Horizontal Die
Frosted Keepsakes Paper Pad
38008 Spring Greenery
5013D Nested Rectangle Sm Stitch Die
5002D Nested Classic Circles Die