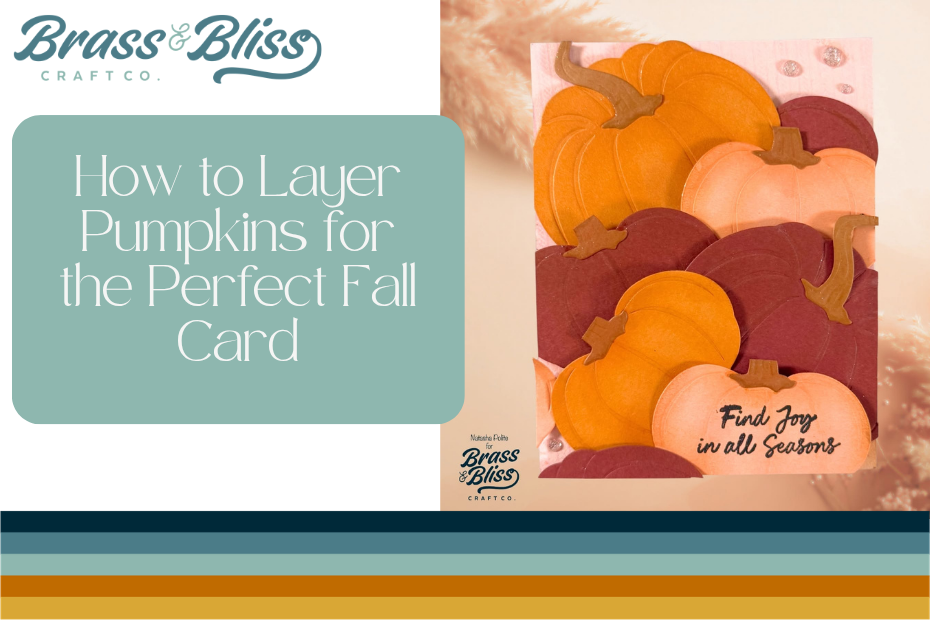
Make a GOURD-geous fall card by layering different shades of pumpkins.
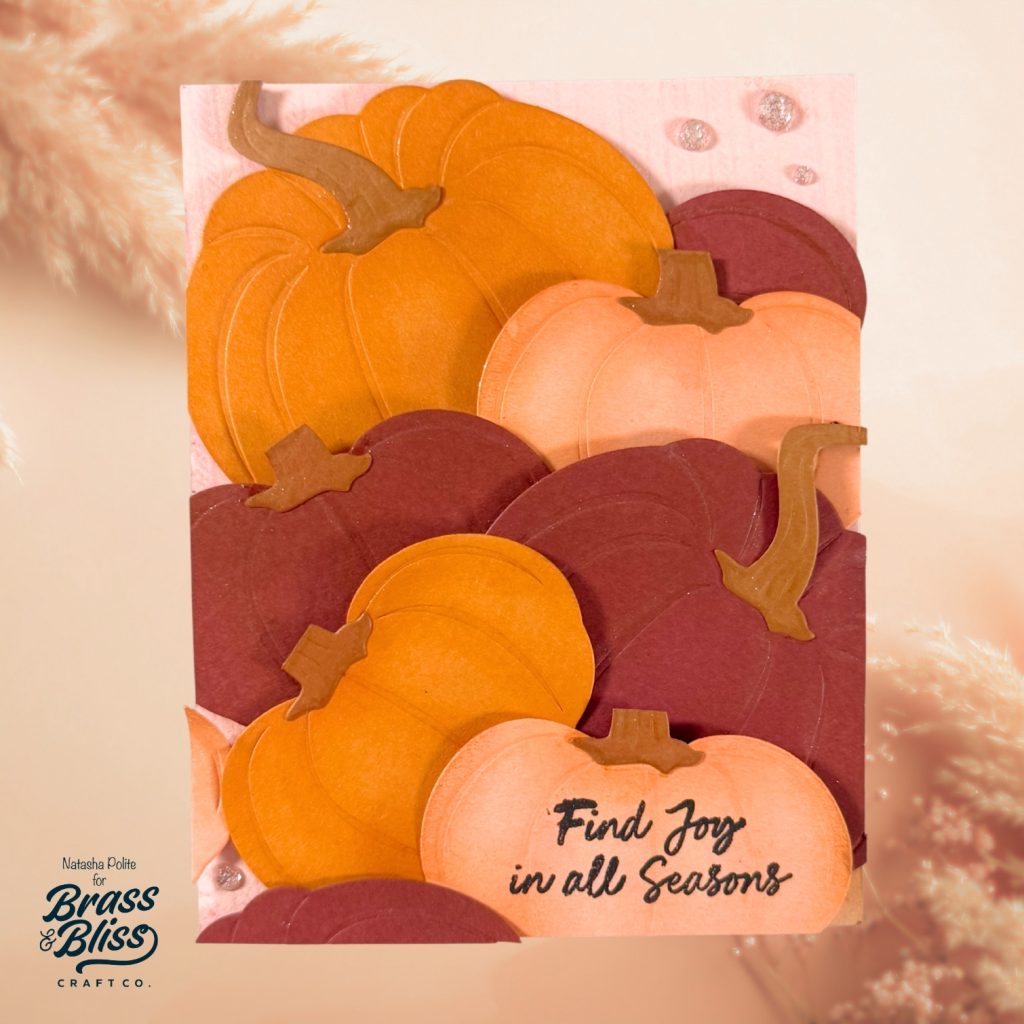
Today’s Autumn card creation is from Natasha, who took us to the pumpkin patch with this design. Her layers of pumpkins in different shades of fall really created a simple yet impactful background for this card. Finished off with a simple sentiment, this card is a quick make and a true fall delight. Check out these steps to see how to layer pumpkins for the perfect fall card!
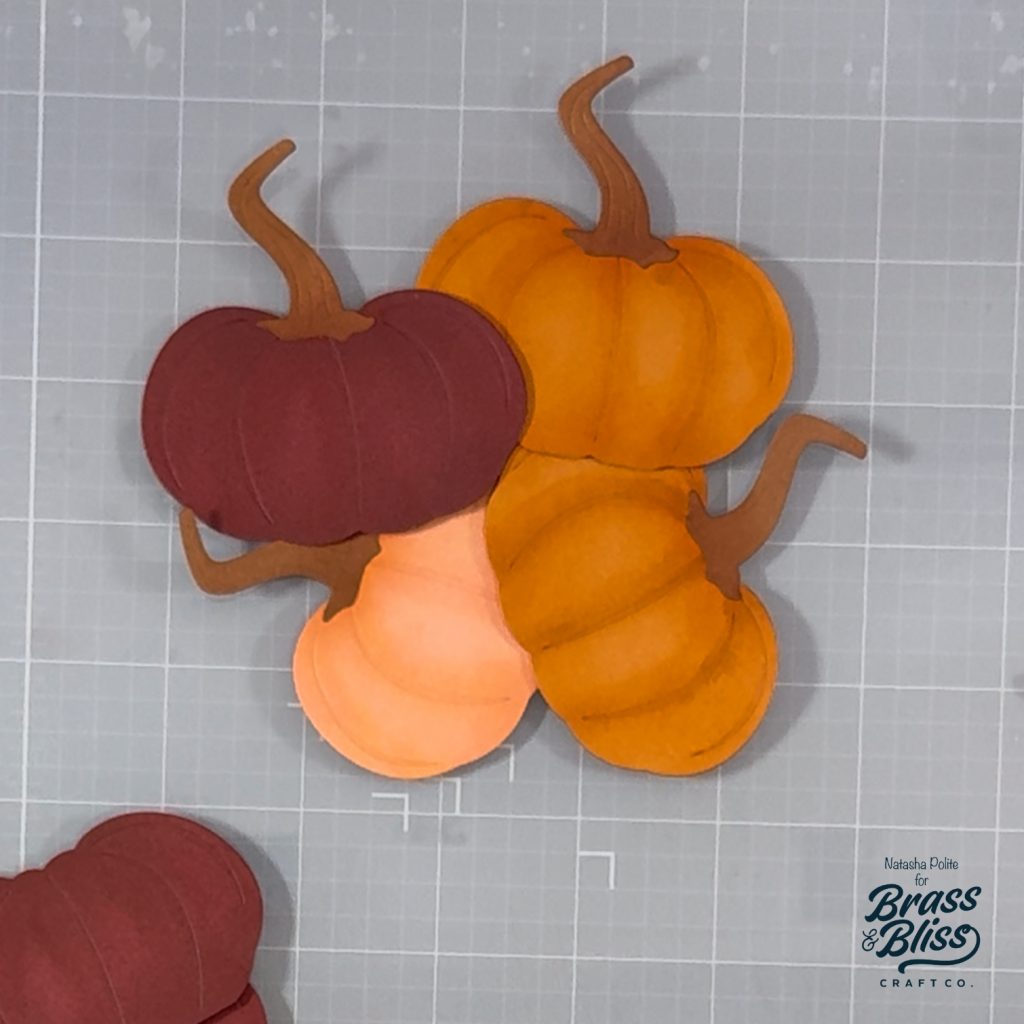
- Die cut a mix of small and large pumpkins and stems from 5832-03D Large Pumpkins Die. I used three shades of cardstock, so I die cut two small pumpkins and one large in each color. Please note that I do not use all of those die cuts on this card.
- Ink along the embossed lines. I used Pumpkin, Crimson, and Posey to add shading to my pumpkins. I then used alcohol markers to add more depth.
- Repeat step two for the stems using Pecan ink. Adhere them to the pumpkins.
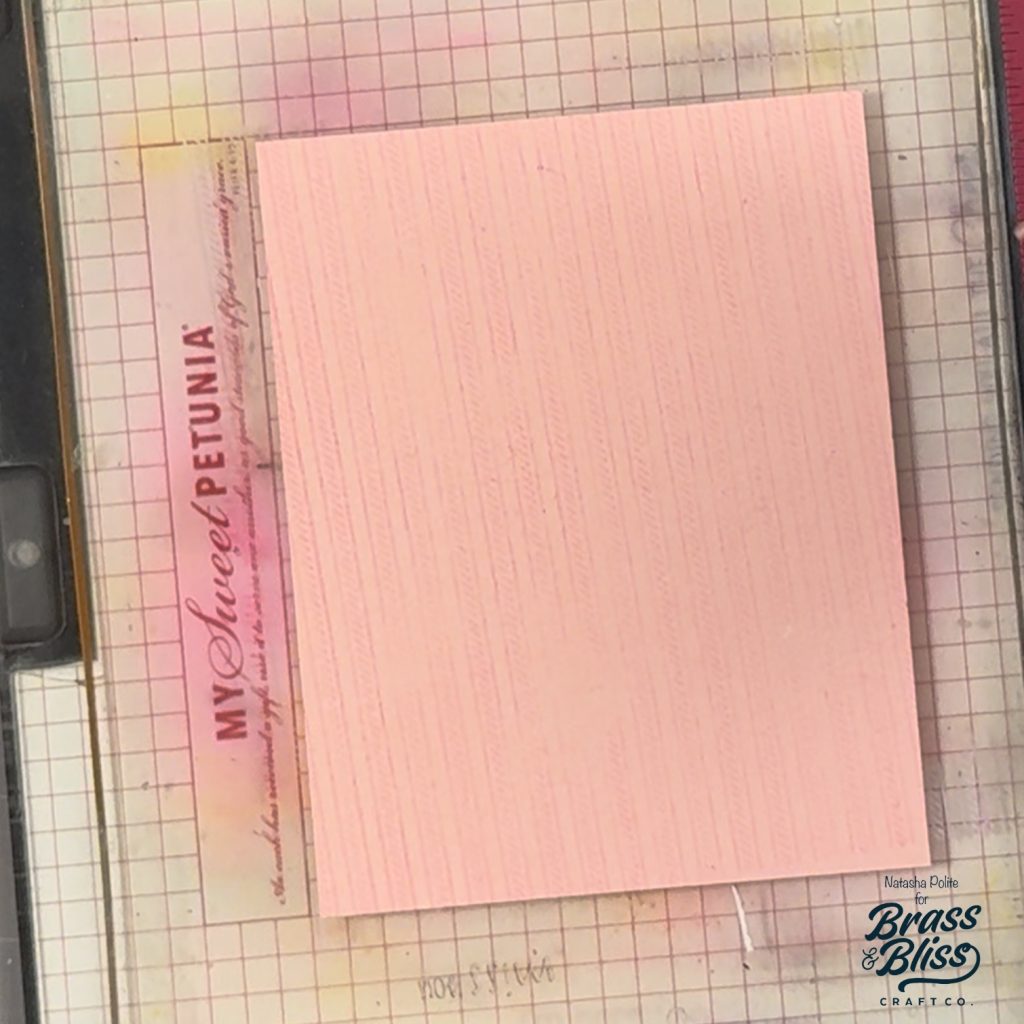
- Stamp 38025 Vertical Ticking Background stamp onto an A2 panel of pink cardstock using Blush ink. Stamp over that impression with white ink to make the lines more subtle.
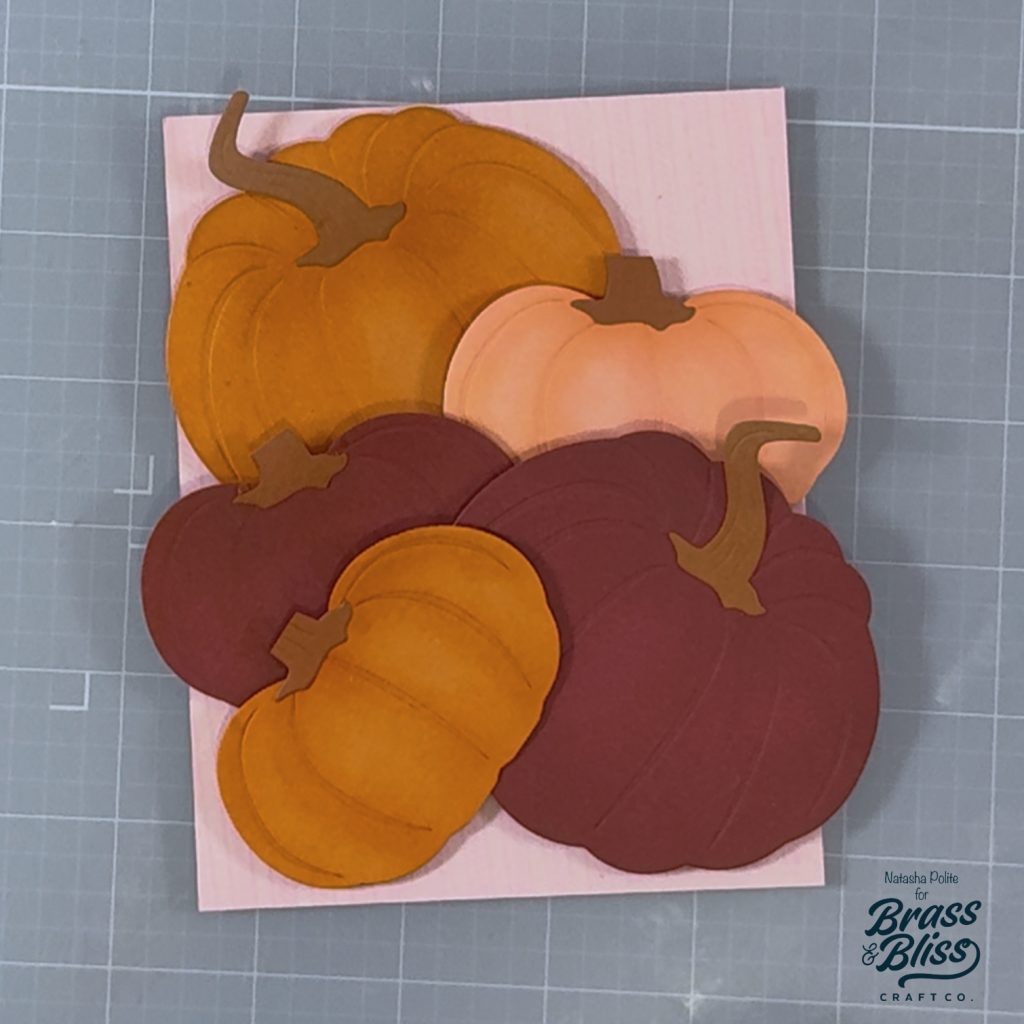
- Arrange the pumpkins onto the A2 panel and adhere into place. Cut off any overhang and fill in gaps along the panel’s edge.
- Carefully stamp a sentiment from 36054 Sweater Weather stamp set using black ink.
- Add a few gems around to add a little sparkle to the panel.
Supplies
Because of your card, I bought these dies. Loved the card…love the dies!