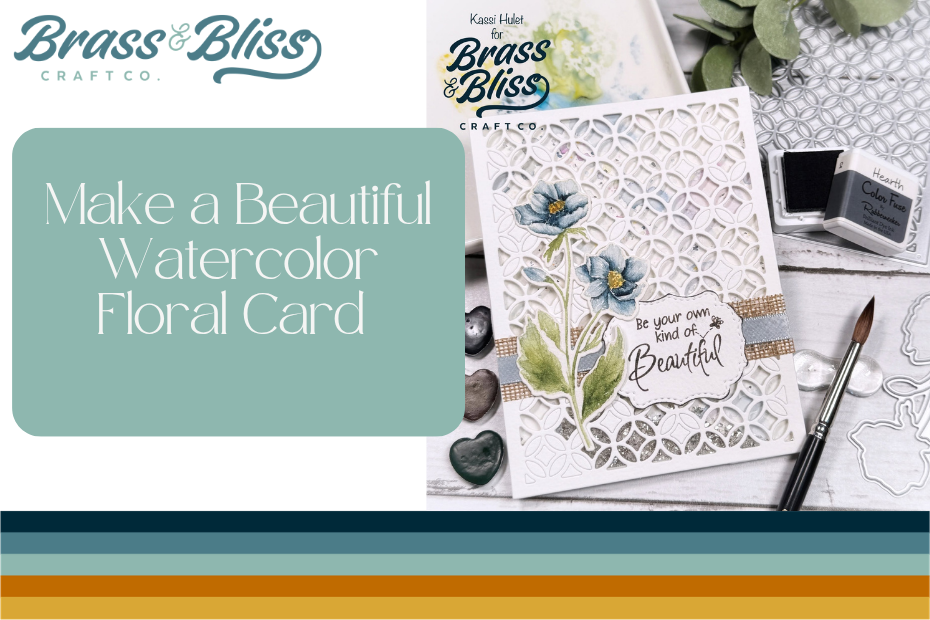
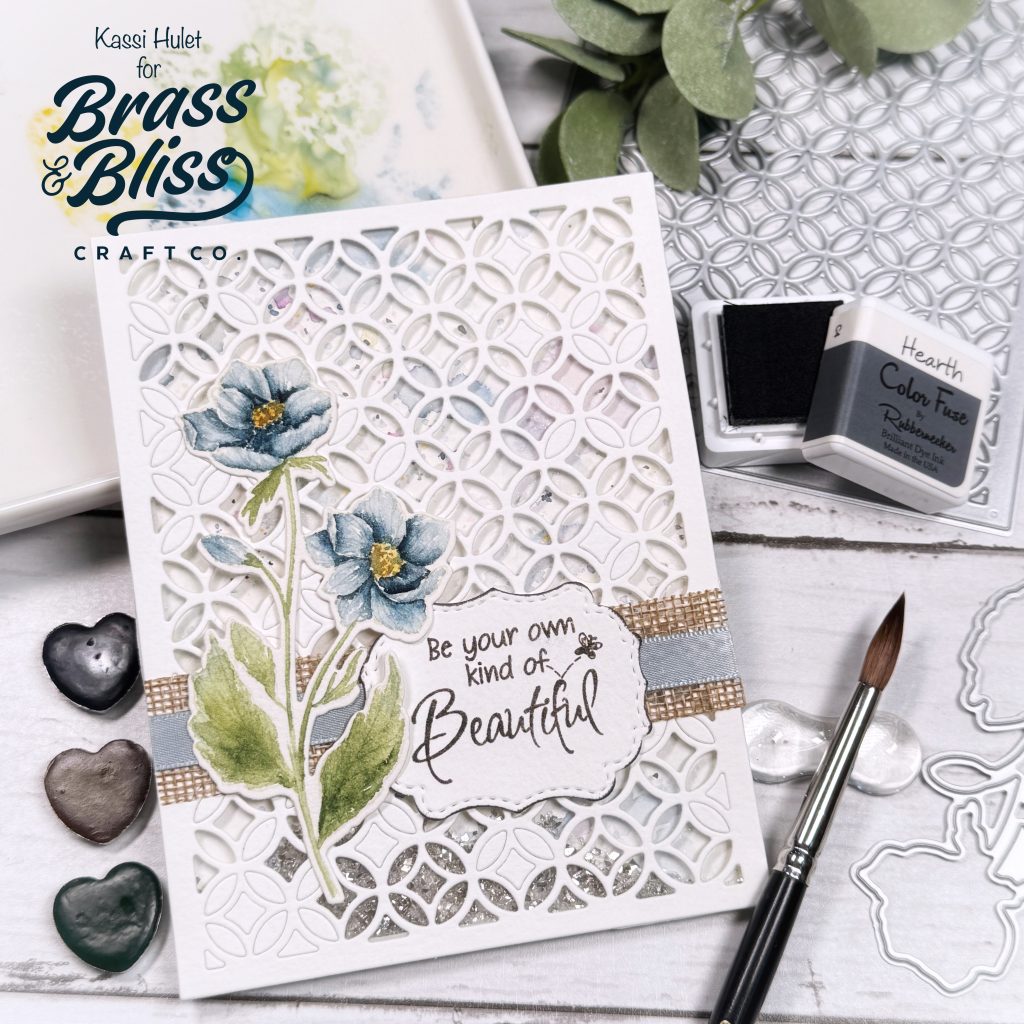
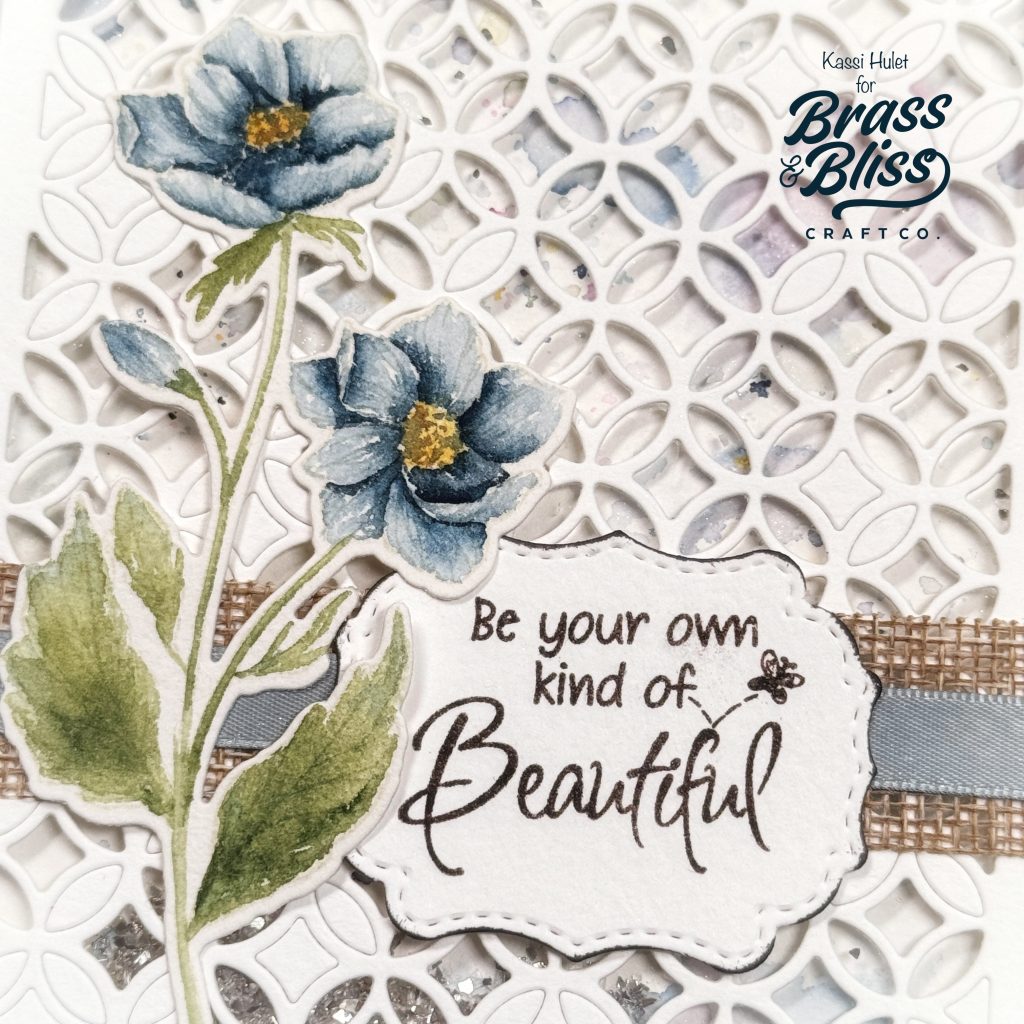
Check out this fabulous watercolor floral design and see some tips for pre-making backgrounds to use on any card!
Todays watercolor card creation comes from our designer, Kassi, who shared, “If you are anything like me, you might just have a drawer (or box) with a bunch of backgrounds you have made over the years. I start having so much fun making them that I find it hard to stop, then I end up with lots more than I need, and I just end up collecting them. I decided I need to start using them!” We love this idea of pre-making backgrounds and then utilizing them when the mood strikes to help add some pizzaz to your next card project. So, grab an old background (or make a new one) and let’s turn it into a card today!
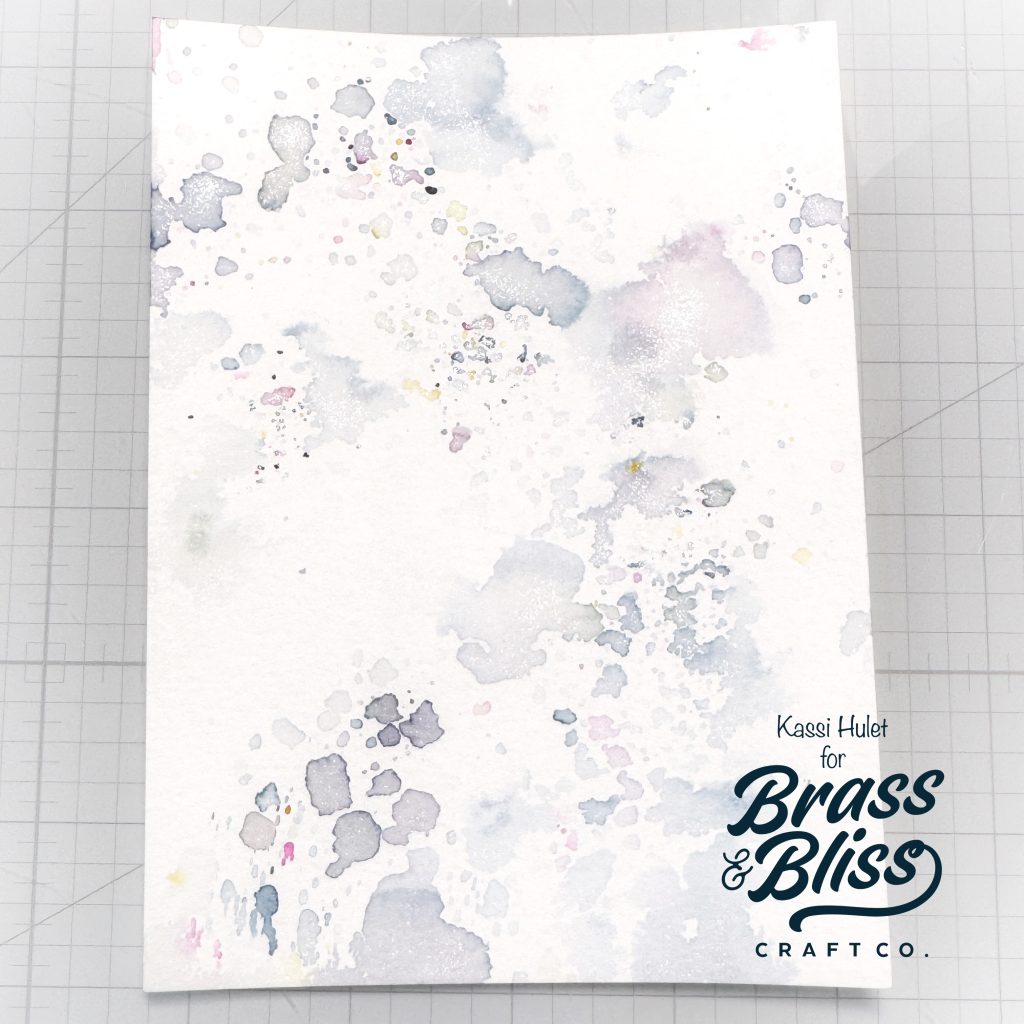
- Create a watercolor background using your favorite technique (or grab an old on you made ages ago and just stuck in a drawer)
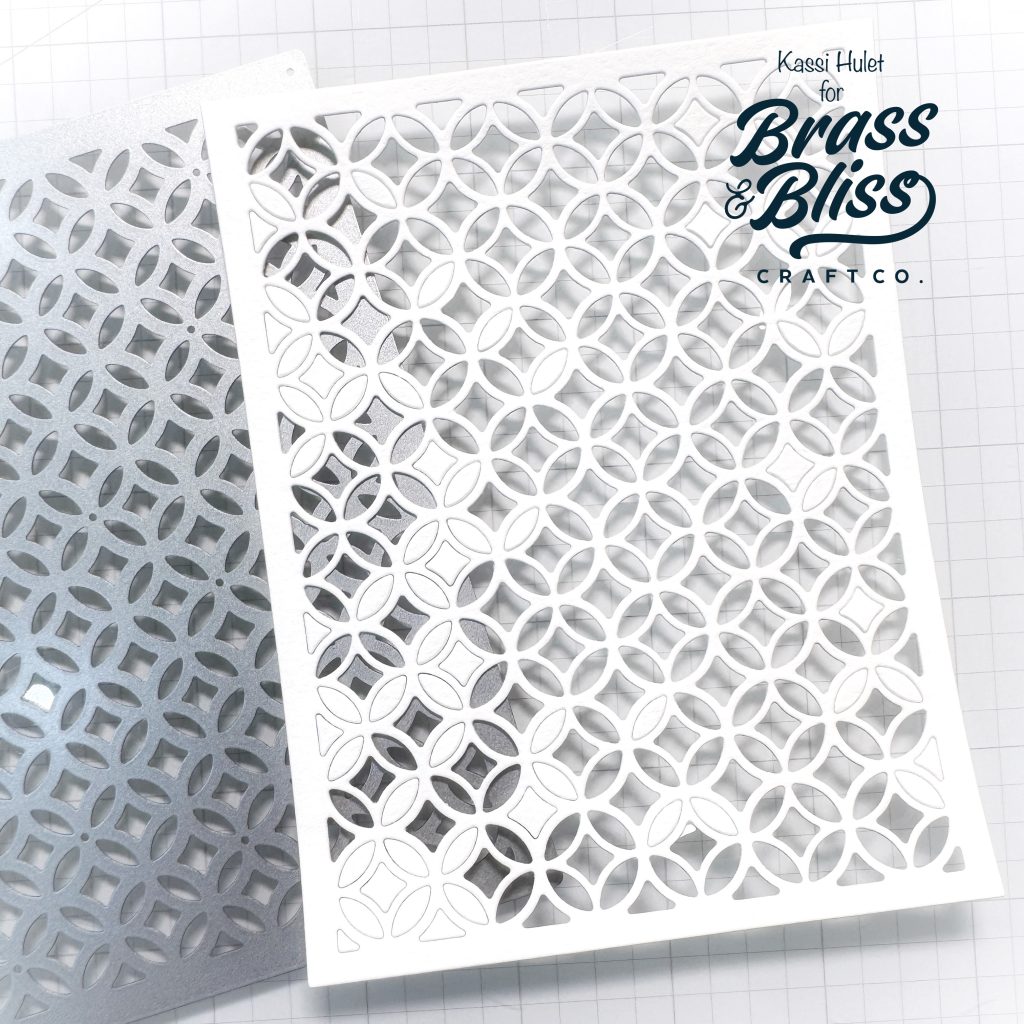
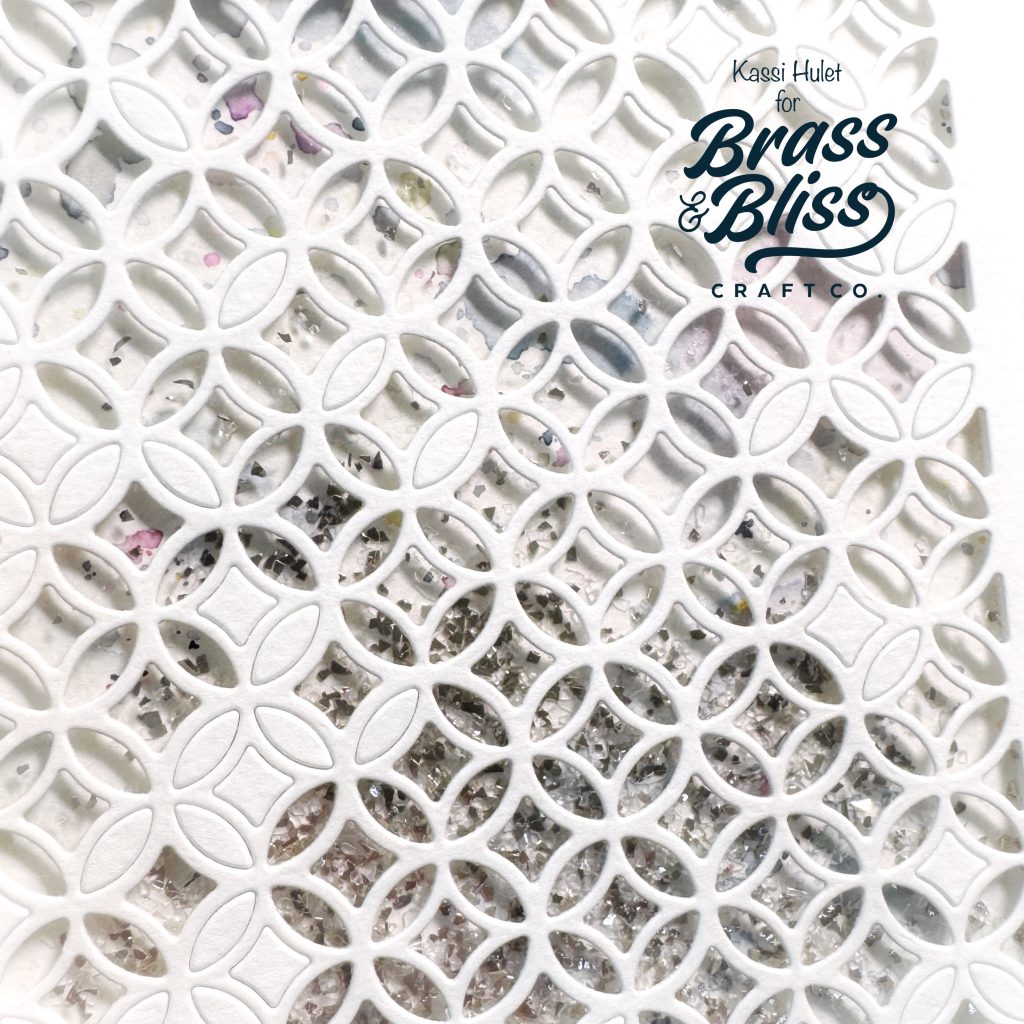
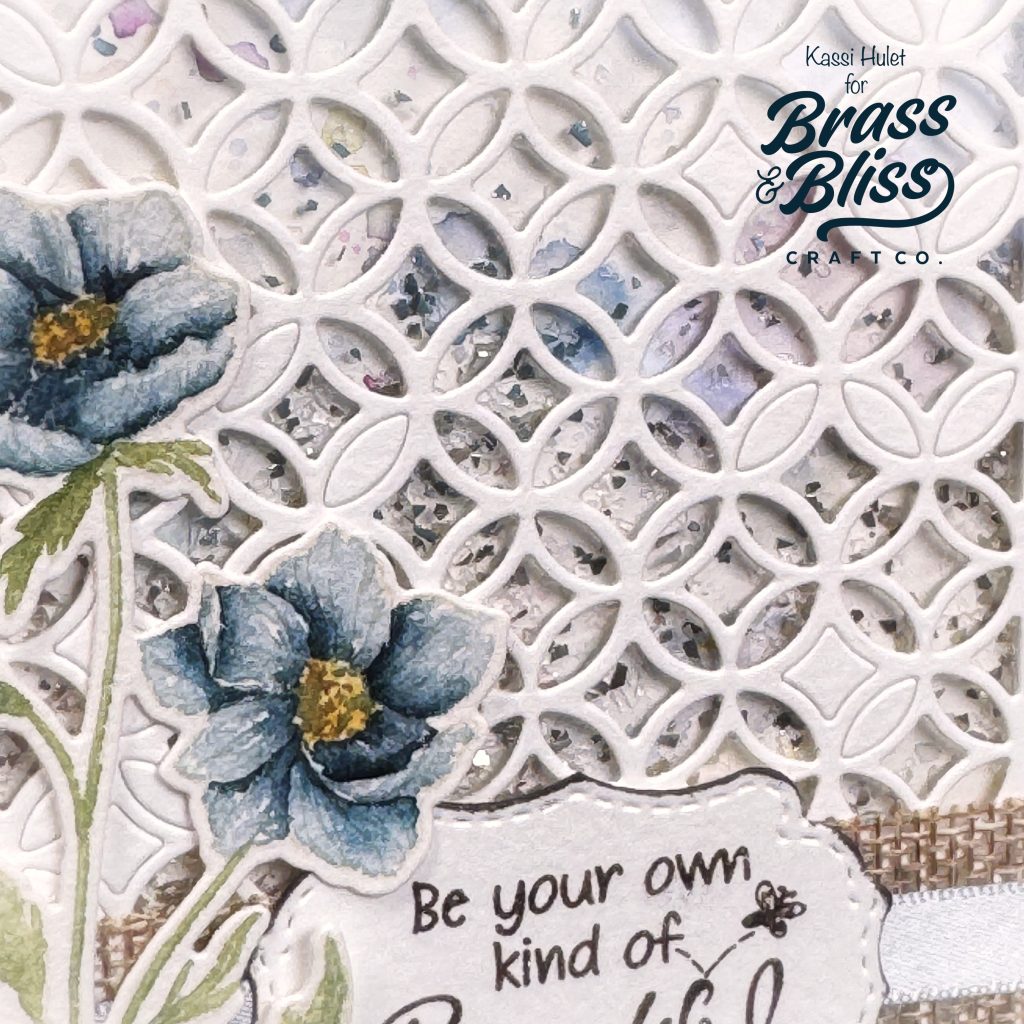
- Die cut white cardstock using 5735 Lattice Cover die. For a distressed look, don’t remove all the inner pieces. I flicked mine a few times with my finger, and anything that stayed in, I left
- Cut acetate to 4.25″x5.5″
- Adhere the acetate behind the lattice
- Adhere the background panel to an A2 card base
- Add a thin line of foam tape along the back edge of the lattice piece
- Place a pile of glitter, and shaker bits on the background, then adhere the lattice piece using the foam tape
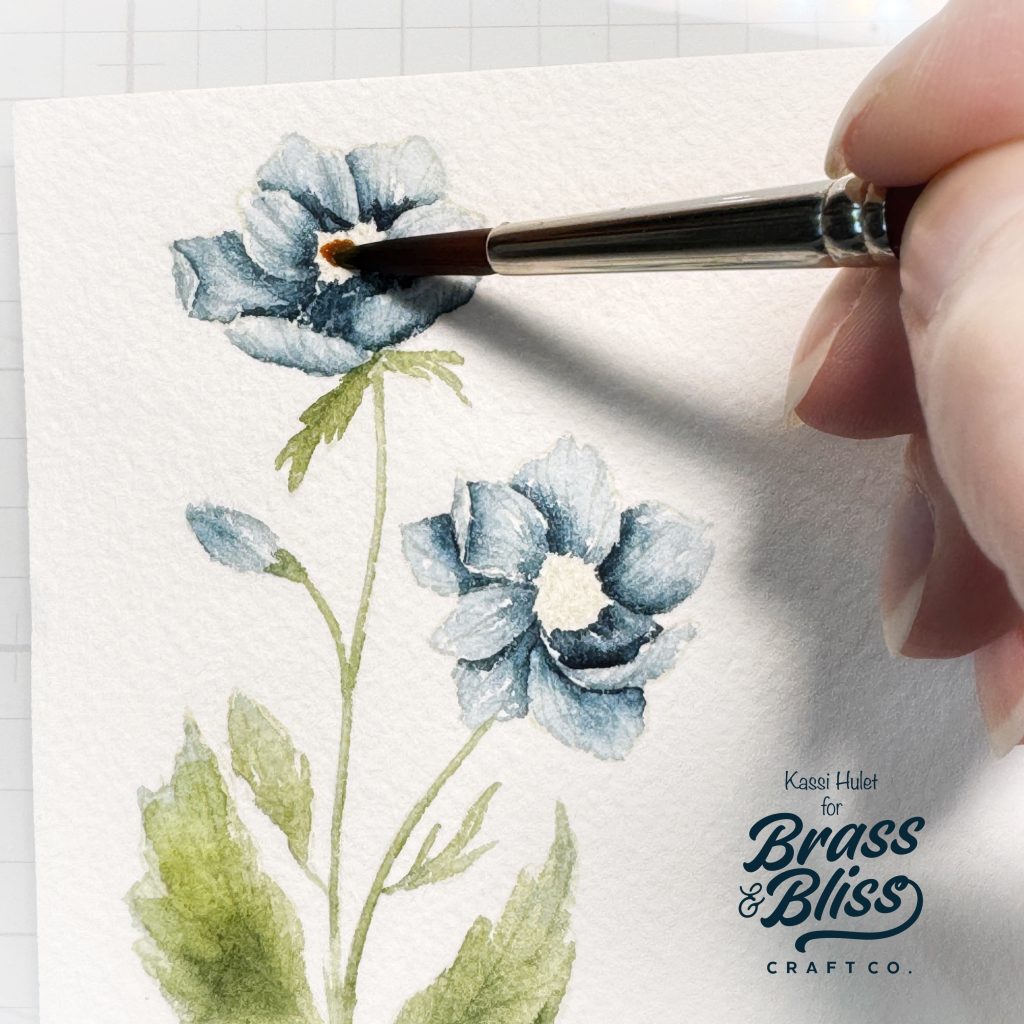
- Stamp the flower from 37002 Floral Memories in waterproof ink and watercolor it
- Cut out the flower using 37002D Floral Memories die
- Stamp the sentiment from 3432 Uplifting Phrases using Hearth ink from Color Fuse set #12
- Die cut the sentiment using 5903D Victorian Label Nested die, and ink around the edges with Hearth ink
- Adhere burlap ribbon to card front
- Adhere a ribbon that coordinates with your flower over the burlap ribbon
- Adhere the sentiment and flower
Products Used: