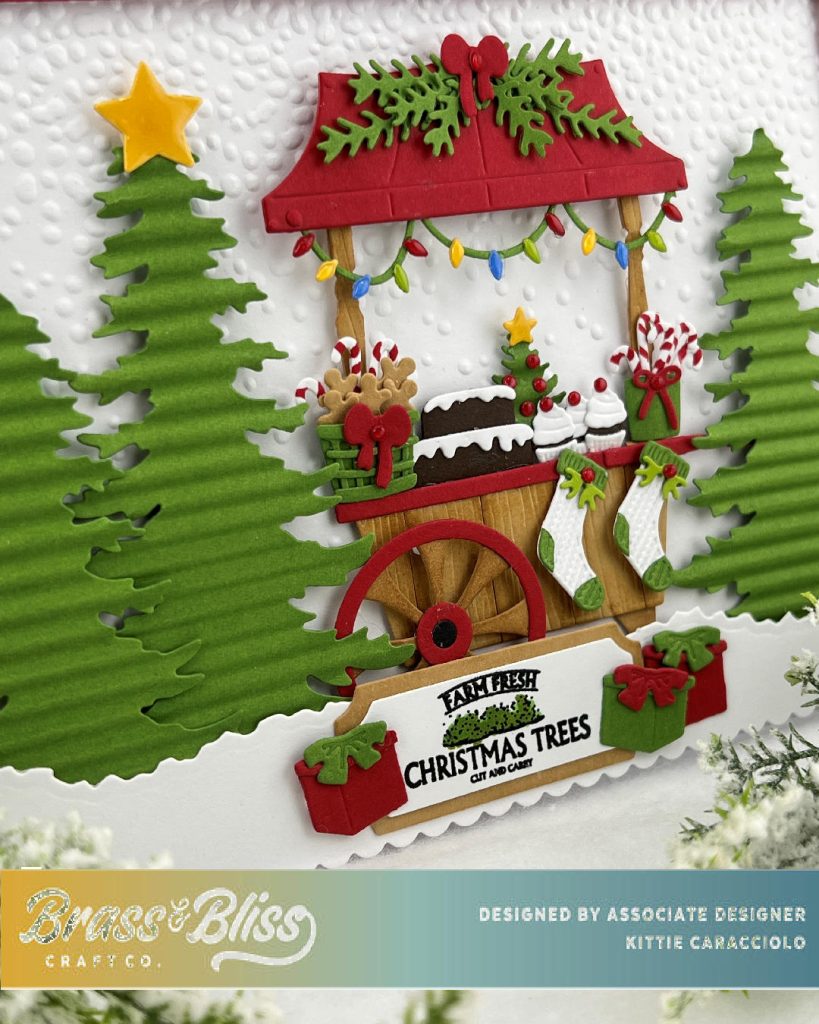
The holidays are full of festivities and fun, and especially seasonal treats! This card is full of sweet goodies you have to see to believe.
Yesterday we shared a brilliant Donut Cart design using our new Winter Cart die. Today, our designer Kittie has added even more sweet treats to the mix with this dessert cart full of the most amazing holiday goodies. To make this Christmas cart card Kittie used several new dies from the “Evergreen Wishes” release and dies from prior collections including the 5×7 Nested Scallop Rectangle, 5×7 Nested Class Stitch Rectangle, Winter Cart, Winter Fir Trees, Winter Fence Sign Sayings, Winter Fence With Sign, Wood Planks, Deckle Hills, Tree Frame With Lights, Fireplace Christmas Add On, Farmers Market Winter Add On, Birthday Market Add On, Winter Truck Add On. Follow along as Kittie gives us the steps to make a winter card full of sweet holiday treats.
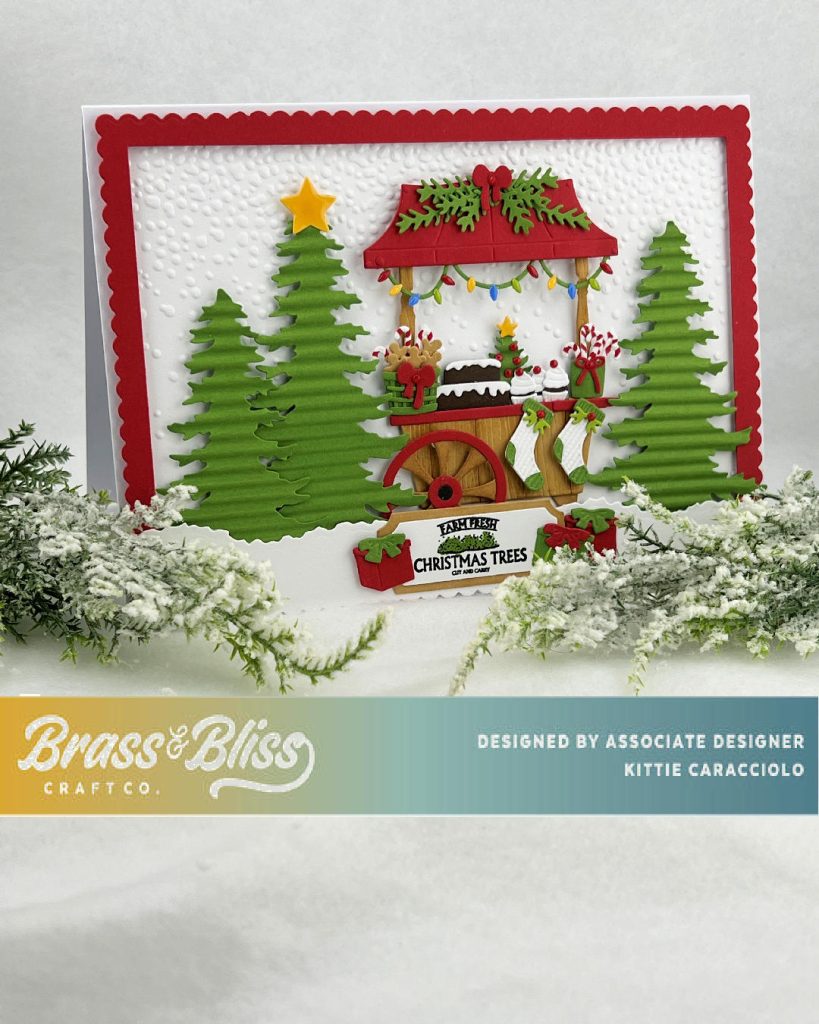
Card Base, Frame and Snow Layer
I love the new 5 x7 nested dies from the release. The larger card base provides lots more space to create a dimensional scene.
- Cut a white 5×7 card base.
- Use red cardstock to cut the 5 x 7 scallop rectangle, place it back on the cutting platform and line up the 5 x 7 stitch rectangle and cut the frame.
- Apply thin strips of mounting tape to the back of the frame and attach it to the card base.
- Use white cardstock to cut a snow deckle layer, place the layer back on the platform and line up the top of the deckle die to the end of the original cut and run through the machine again to create the 7″ layer.
- Apply a strip of mounting tape to the back of the snow layer and attach to the frame.
Christmas Cart and Accessories
- Cut all the cart sections using red and Kraft cardstock.
- Use Kraft cardstock to cut wood planks and attach them to the base of the cart.
- Use light brown ink and a blending brush to apply color over the cart base and wheel.
- Attach the wheel sections together using Nuvo glue and attach it to the cart base with a small piece of mounting tape.
- Tuck the cart base in behind the snow layer and attach it to the base using mounting tape.
- Attach the cart top to the base and attach using mounting tape.