Looking for a floral die cut project? Check out this stunning basket of wildflowers and send a smile someone’s way.
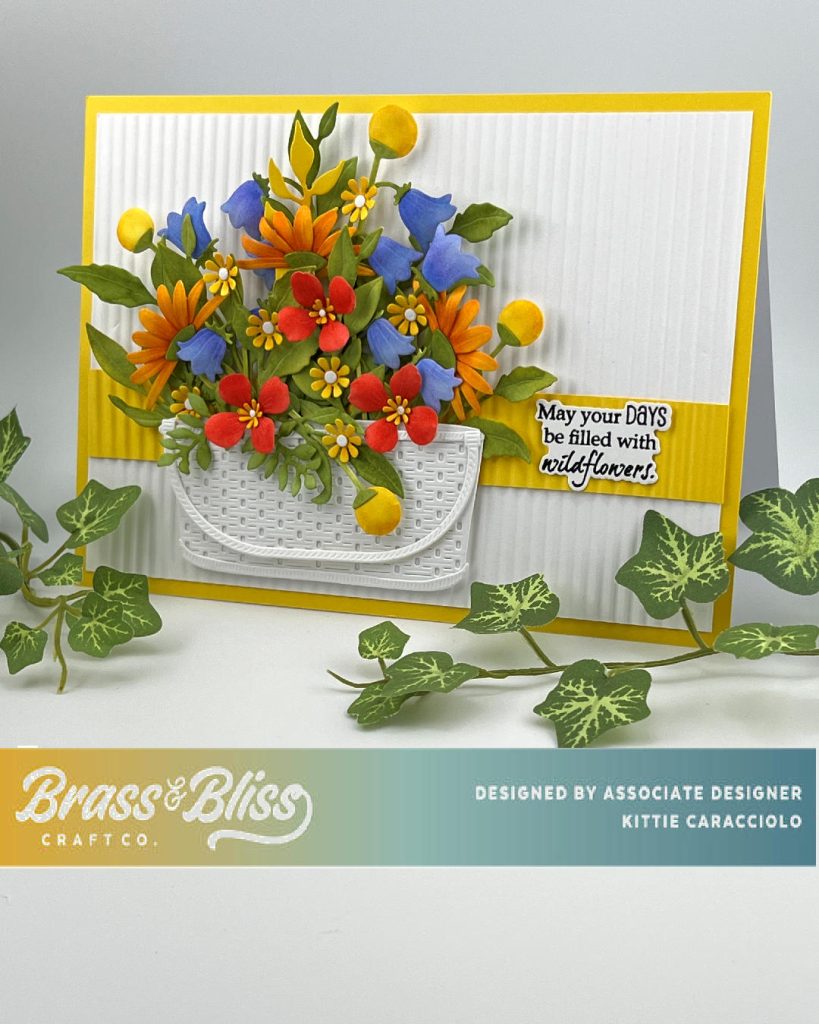
Today’s stunning card creation is from the fabulous Kittie, who is putting a smile on our face with these bold florals. Here quick steps will help you make a pretty basket full of flowers with fall colors. Kittie shared, “I made this with a 5.00″ x 7.00″ card base so I could make a larger arrangement”, and we are so happy she did, because WOW!
Card Base
I love adding dimension to my card backgrounds so I ran the white layer and yellow trim layer through my crimper. Do you still have a crimper floating around collection dust? Even though it is thought to be an out of date tool I still use mine regularly to add interest to die cuts.
- Yellow card base is 5 x 7 and the white layer is is 4.75 x 6.75″. Pro Tip: You will always need to start with a little bit larger piece of cardstock when crimping as it reduces the size. I started with the full 5 x 7 piece and then used my fingers to spread it out a little.
- Attach the white and yellow crimped layers to the card base using double stick tape.
Fall Flowers and Sentiment
- Cut the wicker basket sections and assemble them together using Nuvo glue.
- Cut several sections of the green foliage and begin attaching them to the back of the basket to create a base for the flowers.
- Cut and color the different flower sections, assemble them and attach them to the foliage base using Nuvo glue.
- Fill in the bouquet with additional foliage and tiny flowers.
- Attach the basket and flowers to the base using Nuvo flue and mounting tape.
- Stamp and die cut the sentiment and attach it to the yellow layer using a thin strip of mounting tape.
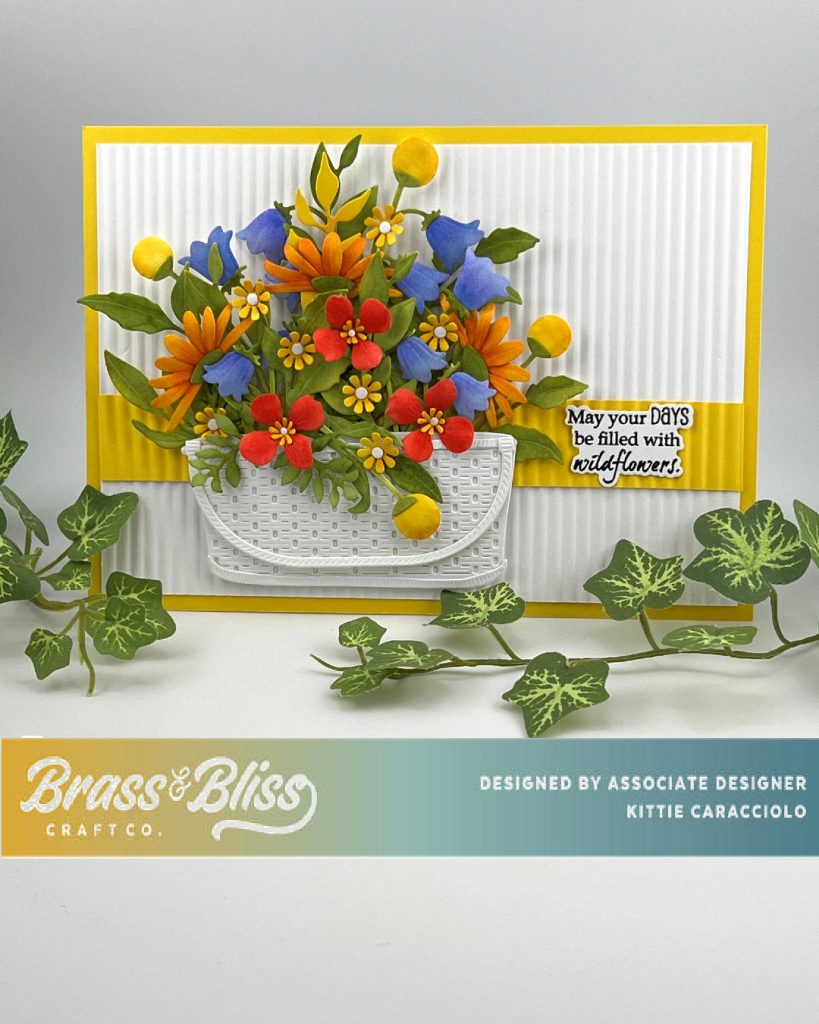
Build a Bloom Chamomile, Build a Bloom Bell Flowers, Wicker Basket, Fall Florals, Wild Leaves, Branches and Leaves, Small Flowers #4, A Day Full of Blooms, A Day Full of Blooms Coordinating Die
Absolutely Beautiful.
Thank you so much, Donna!