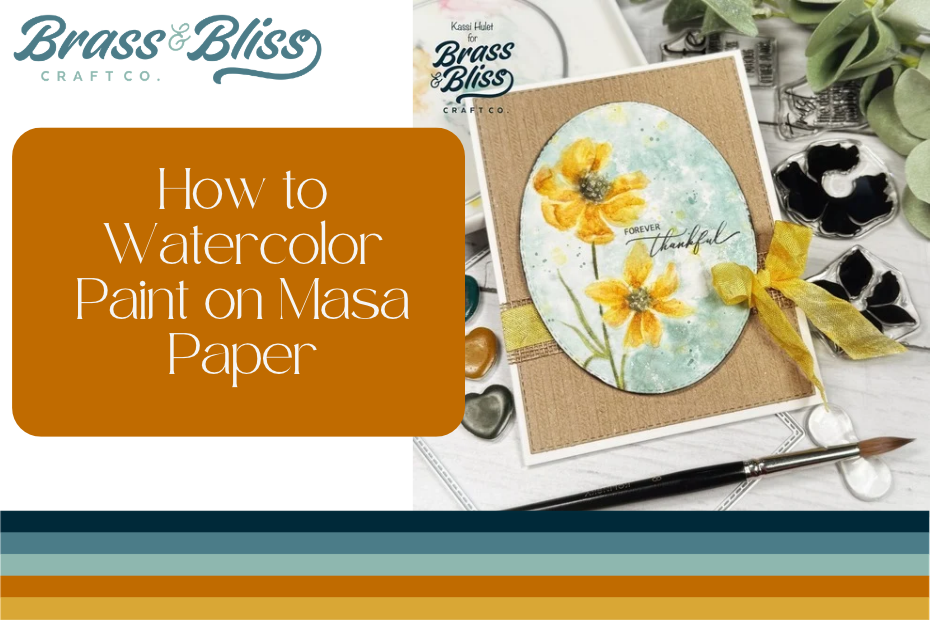
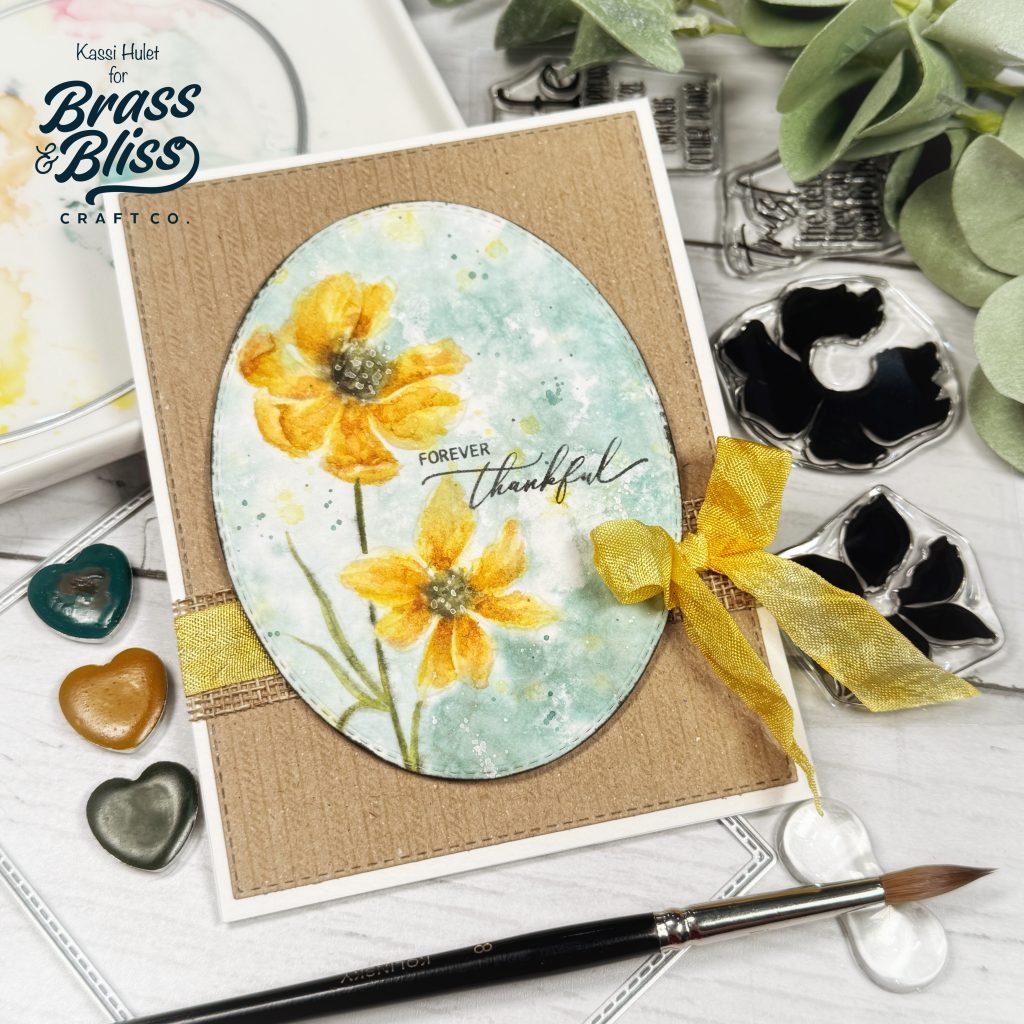
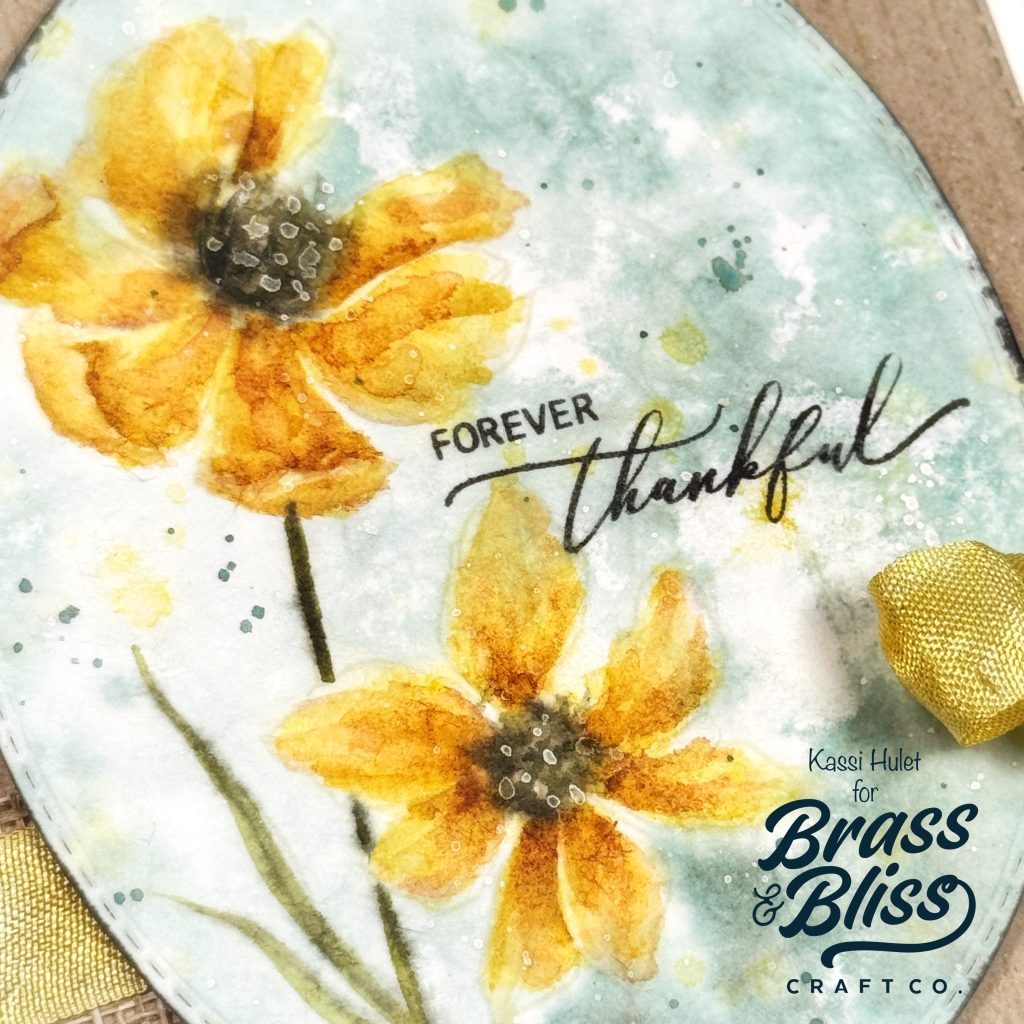
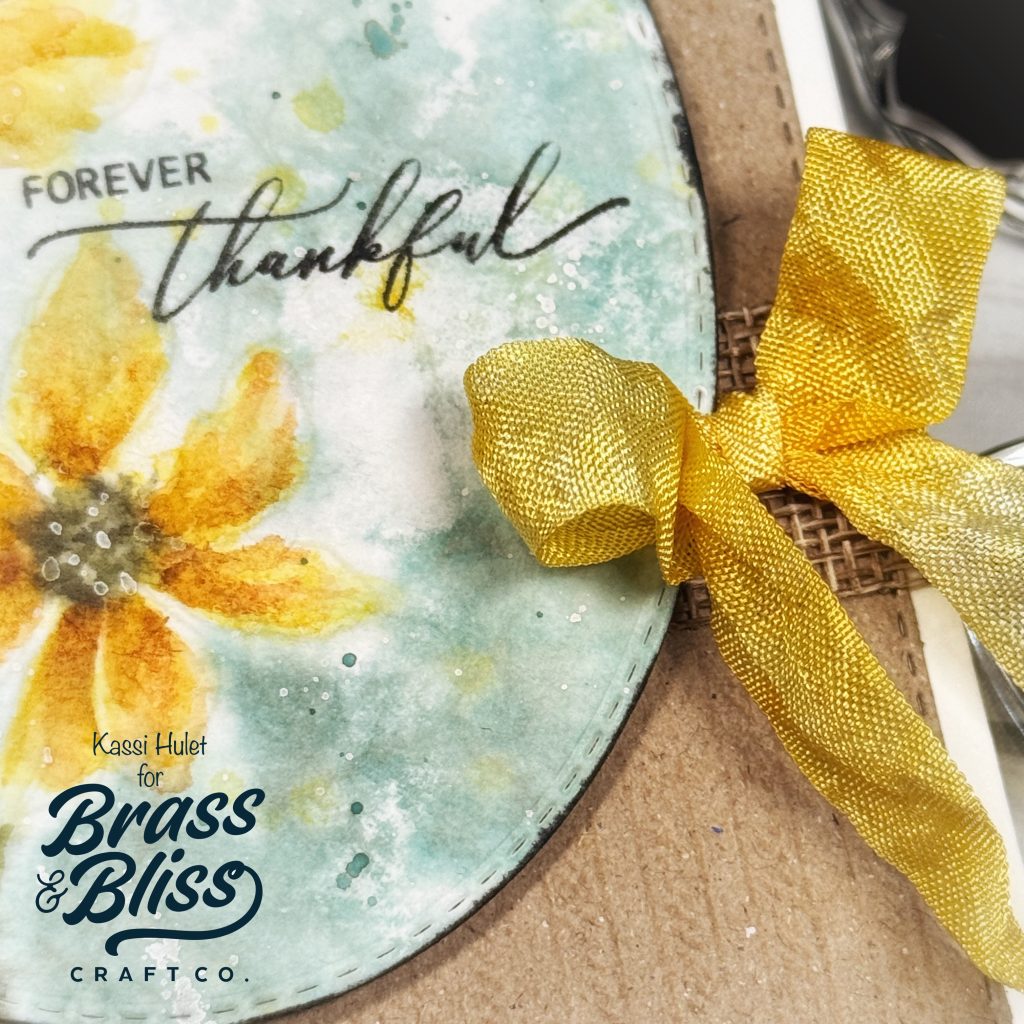
Create a soft weathered look to your watercolor projects by using Masa Paper. Check out this stunning floral Thank You card and be inspired.
Today’s stunning floral card creation is from our designer, Kassi, who is showing of some beautiful Masa paper with her paints. Kassi shared, “I love brining fine art techniques into my card making. Lately I have been really enjoying painting on Masa paper (a Japanese paper traditionally used print making or ink and wash style painting). In some ways it is similar to painting on regular watercolor paper, but in other ways it is very different. I really love the soft weathered results though!” We think this is so lovely and adore the overall look of it. Have you tried working with masa paper yet?
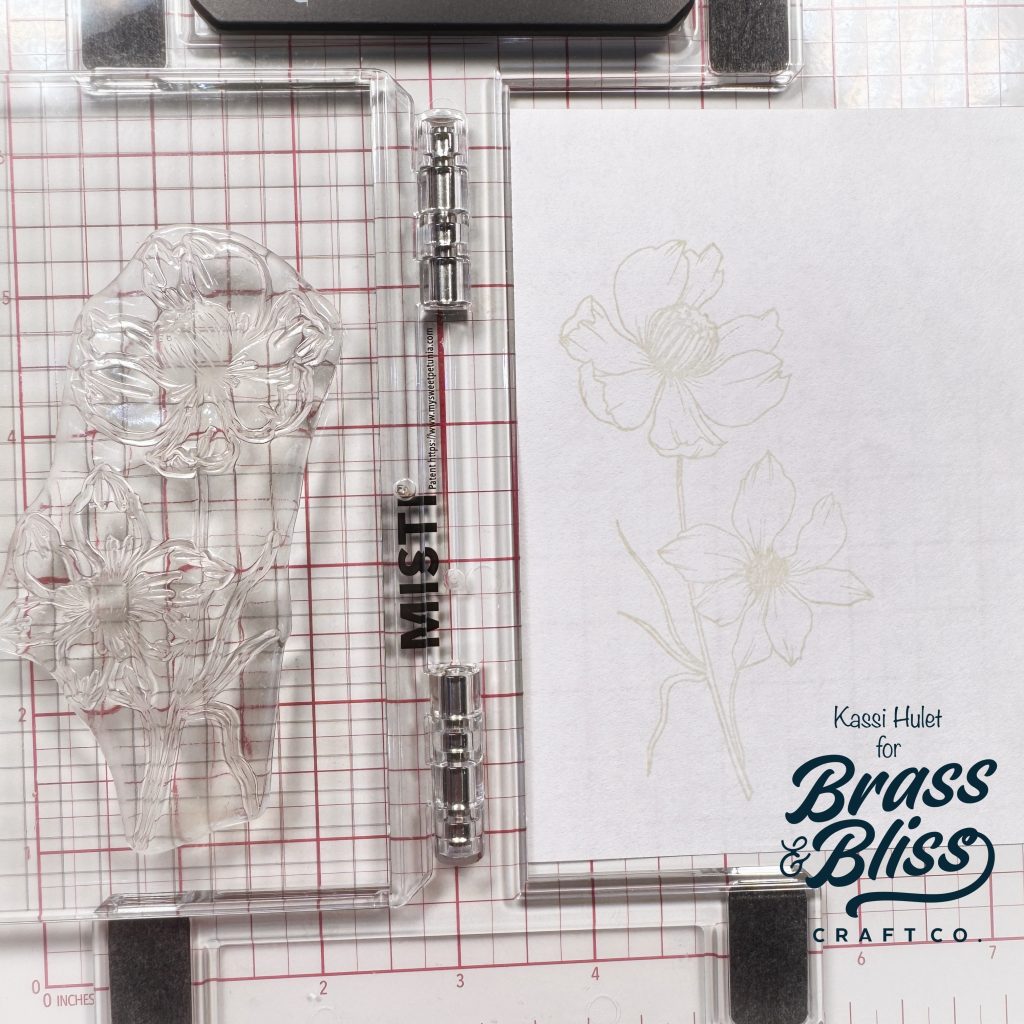
- Stamp 38024 Layered Cosmos on the SMOOTH side of Masa Paper. You can used a waterproof dark ink if you want to see the lines, or a waterproof light ink if you want a no line look. I also suggest marking the back of the paper lightly with a pencil- write your name in the corner or something. When the paper is wet, you can’t tell which side is the smooth side and you can see the image through the paper, by writing something with numbers or letters, you can tell which side is the back so you don’t glue it down wrong
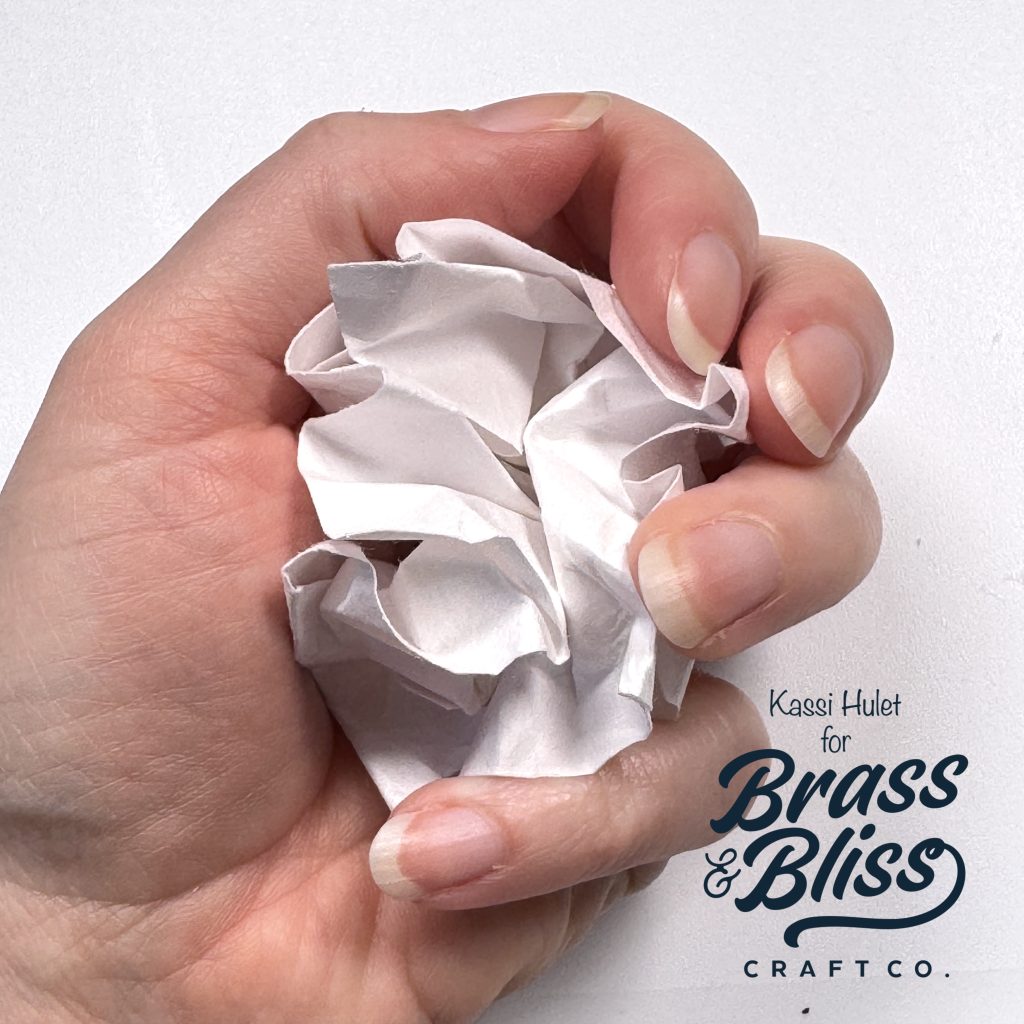
- Crumple the paper. I know it’s scary, but trust the process. It doesn’t need to be in a TIGHT wad, but you don’t need to be afraid of it either. The sizing in the paper will weaken in the creases, and it will let the paint sink in more there- this creates the weathered lines in the final painting. The more creases, the more visual texture the final piece will have
- Wet the paper while it is still crumpled- You can dip it in a dish of water for 30 seconds, or just spray plenty of water on it with a spray bottle. You want the paper soaking wet
- While the paper is still wet, carefully uncrumple it
- Spread a slightly watered down liquid glue over a piece of cheap watercolor paper (don’t skimp- you need full coverage). Lay the Masa paper over the glue and use a rubber brayer to press the Masa paper onto the glue. Start at the center of your paper and roll out towards the edges to push the excess glue out the edges. Don’t forget to wipe off the brayer between rolls. I prefer Gina K. Designs Connect glue for this with about 10% water added. It just works better with the watercolors, but I know another artist who prefers Elmer’s glue, so try different glues to find what you like best.
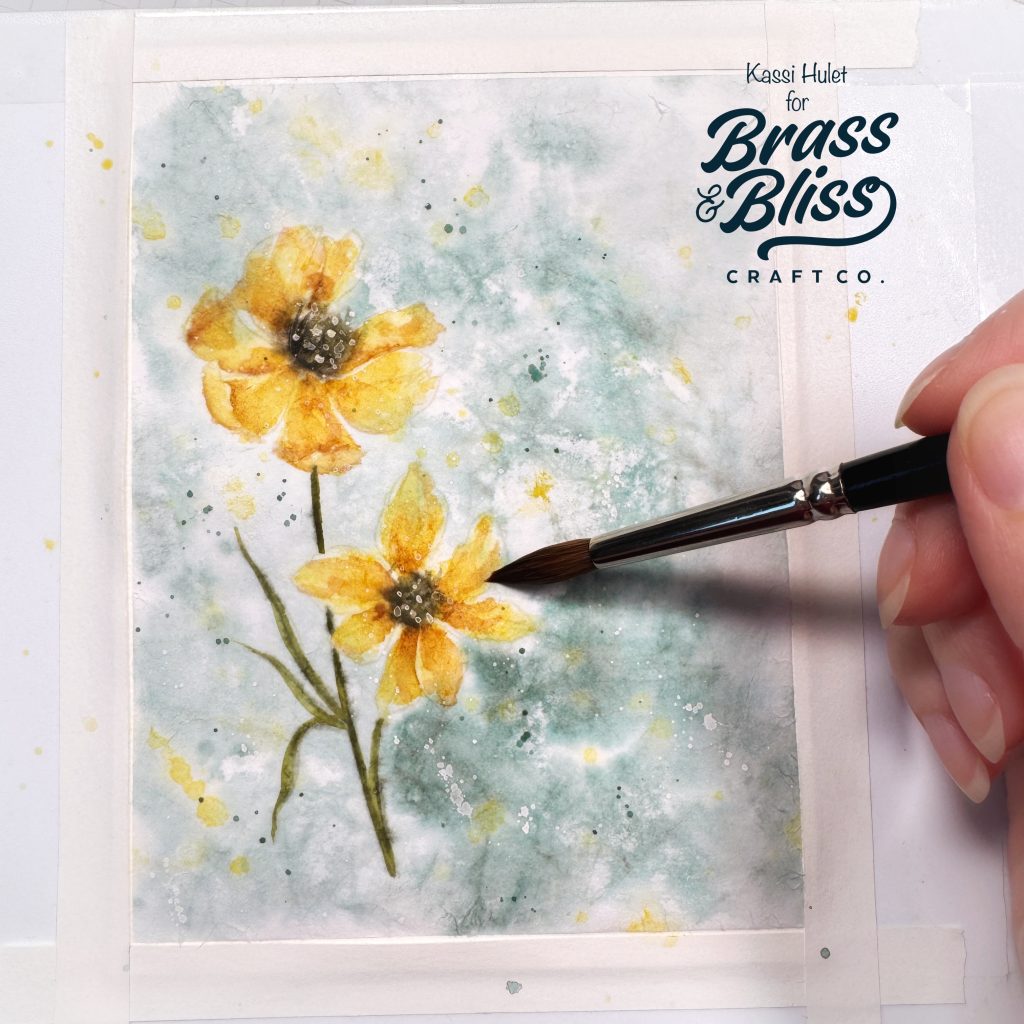
- While the paper and glue are still wet, add your first layer of watercolors. This layer should be light and loose. You can’t get details with wet paper, you just want to establish base colors
- Set aside to dry. This can be slow, depending on the temperature and humidity levels.
- Once dry, you start adding more layers of paint to get your details. I approach this part the same way I usually paint, though depending on the glue you used, the paint might behave differently. With Elmer’s glue, the paint seems to sink immediately through the paper and it is hard to blend so you need to be confident in your brush strokes. With Connect glue, you can move and manipulate the paint for a bit longer on the surface of the paper (more like traditional watercolor paper). Let dry
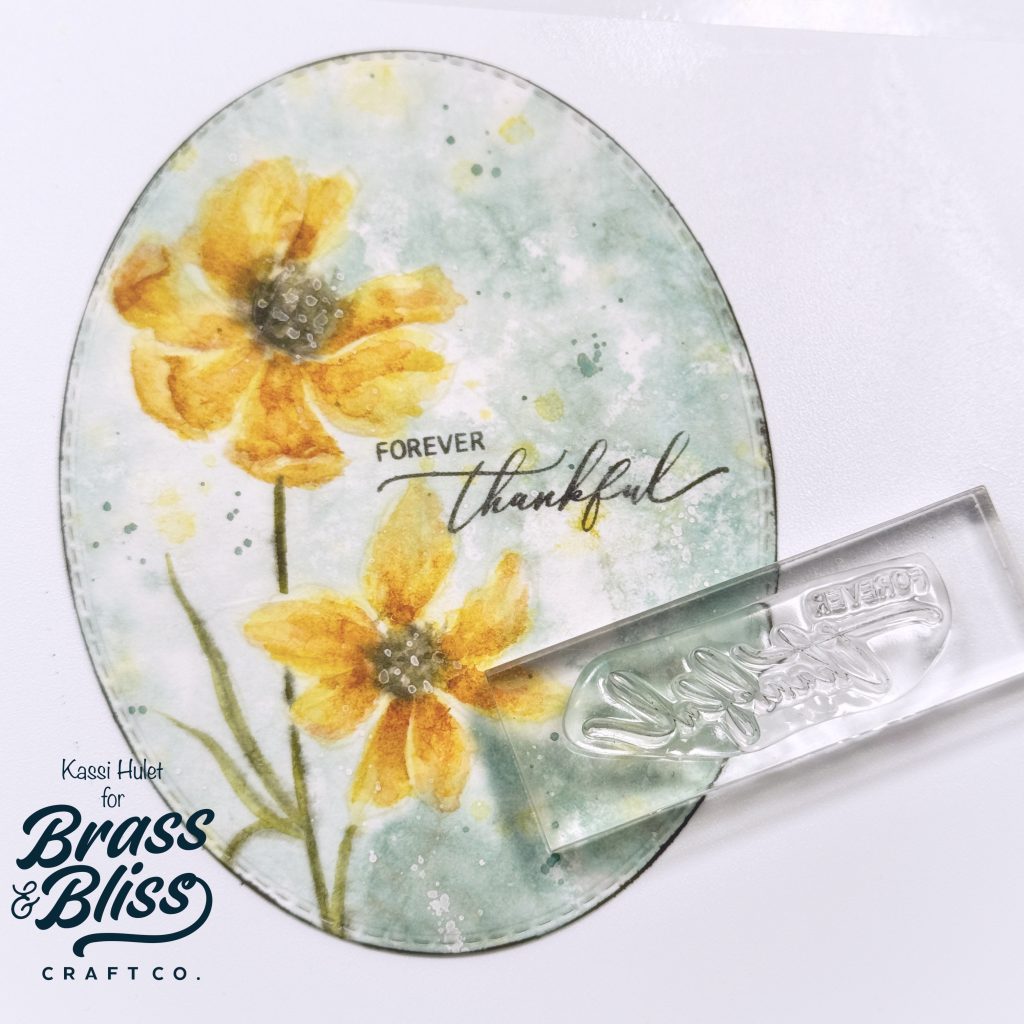
- Die cut the painted panel using the 2nd largest oval from 5014D Nested Oval Sm Stitch
- Stamp The sentiment from 37043 Hello Fall Sign Sayings using VersaFine Clair Nocturne ink
- Drag the edge of the oval die cut through the black ink pad to give slight definition to the edges
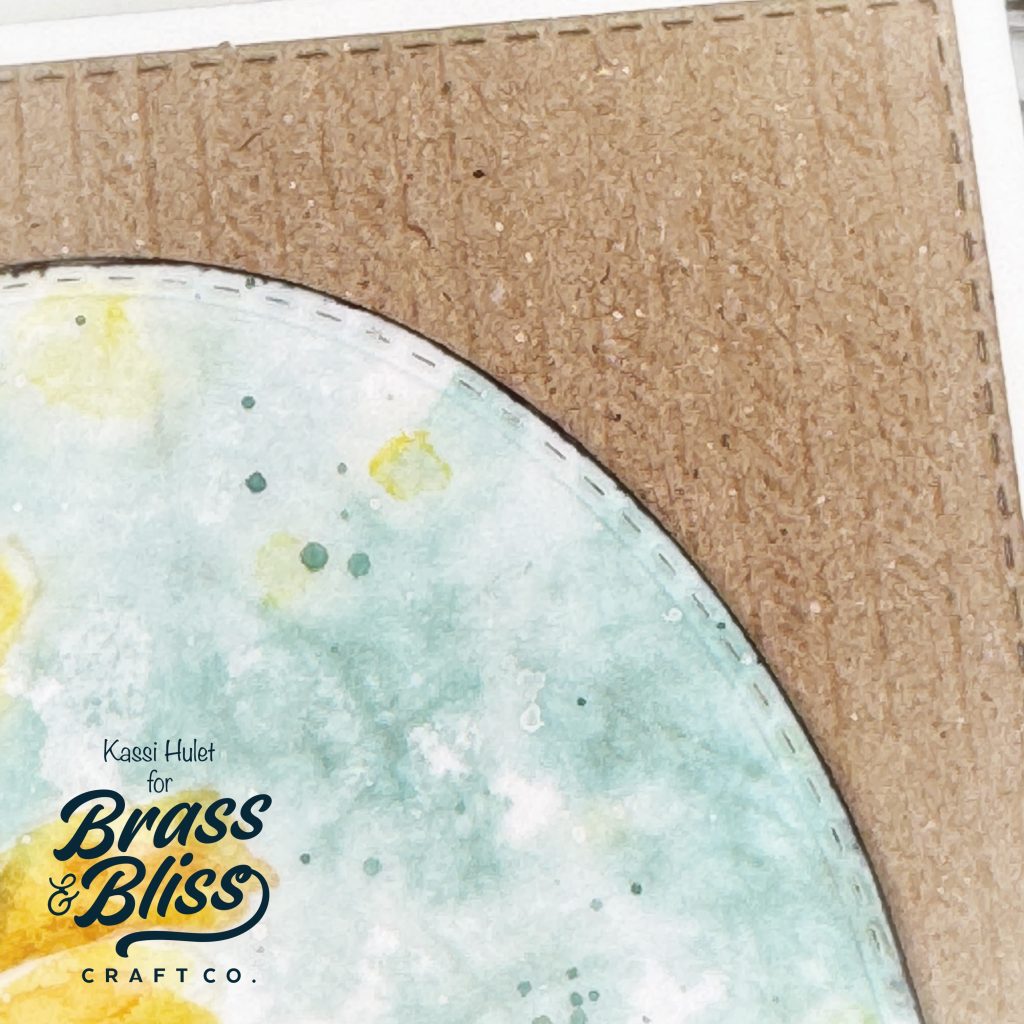
- Stamp 38025 Vertical Ticking Background using Color Fuse #3 Mocha ink on a piece of kraft paper
- Die cut the kraft panel using the larges die from 5013D Nested Rectangle Sm Stitch
- Cut a 4.25″ x 5.5″ panel from white cardstock
- Adhere the kraft panel to the white panel
- Tie a ribbon around the stacked panels
- Adhere the panels to an A2 card base
- Adhere your painted oval over the ribbon
Supplies used: