Snag your favorite cover die and let’s inlay colored pieces back into it for a look that stuns every time!
For today’s cards, our fabulous designer Donna is sharing two Christmas cards featuring the die-cut inlay technique. This technique involves fitting die-cut pieces back into a frame, almost like putting together a puzzle. She ended up with enough pieces to make several cards, but chose to create two similar designs to show how changing just a few elements can give each card a completely different look. These cards are absolutely stunning and this technique is a fun way to jazz up those designs and make them fresh and unique. You don’t want to miss this.
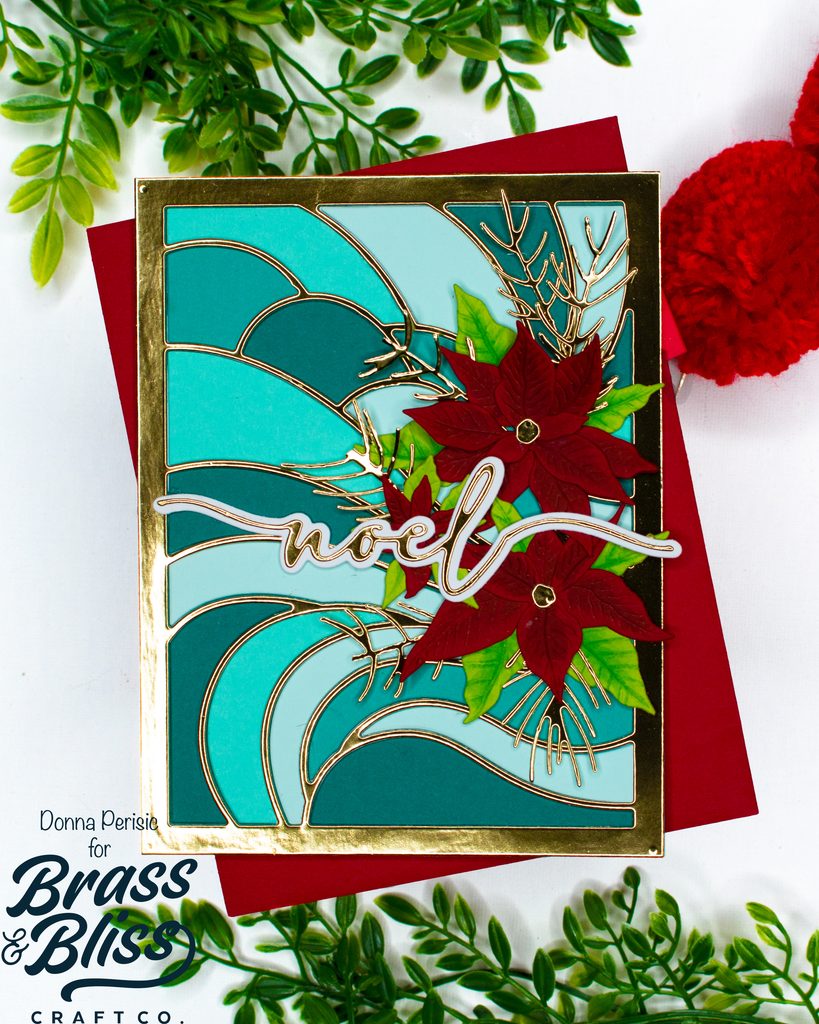
- I started by die-cutting several shades of teal cardstock using the 5747-02D Clouds Stained Glass Die.
- Next, I adhered the die-cut frame to a white cardstock panel. Then, I began inlaying the different shades of teal, arranging the pieces until I was happy with the color combination.
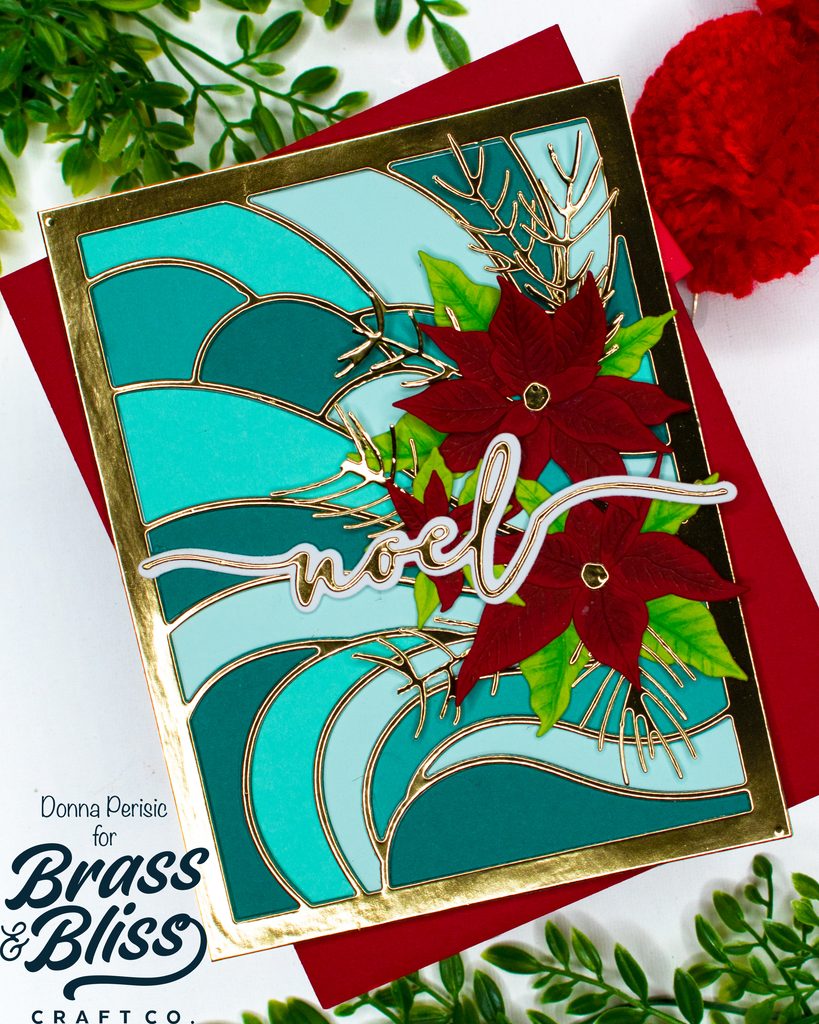
- Once the background was finished, I felt the background needed a little more definition. To help each section stand out, I die-cut another frame from gold cardstock and layered it directly over the inlaid panel.
- For this card, I chose a portrait orientation and created poinsettias using the 5822D Build A Bloom Poinsettia #4 Die. I arranged the flowers along the right side of the card.
- I die-cut several gold branches using the 5823-03D Pine Bough Set and tucked them behind the poinsettias.
- Finally, I added the sentiment using the 5829-02D Noel Script Die, cut from gold and white cardstock.
Watch this video on the magic of die cut Inlays:
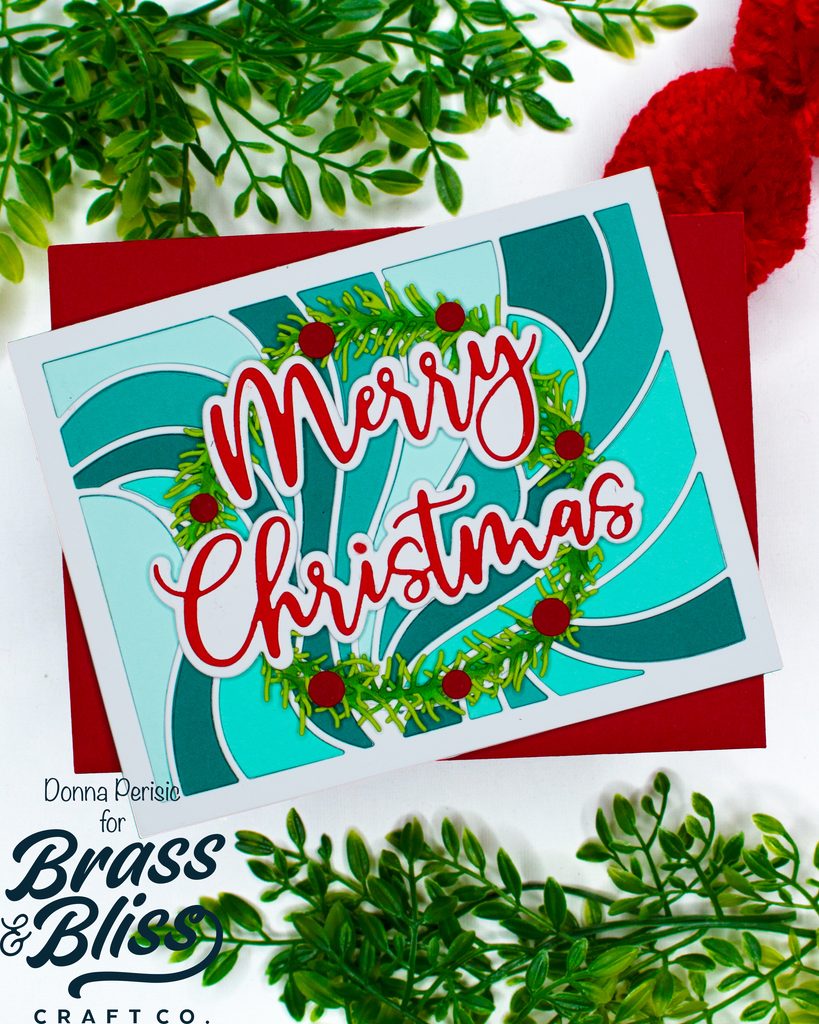
For my second card, I switched to a landscape orientation and used the same die-cut inlay technique with the leftover teal pieces.
- I added a white die-cut frame over the background. The white really makes those beautiful teal shades pop.
- Next, I created a wreath by creating a frame using the 5012D Nested Circle Small Stitch Die.
- I die-cut several greenery pieces from green cardstock using the 5514-04D Greenery #3 Die and layered them around the circle frame until the entire wreath was covered.
- For the sentiment, I used the 5515-12D Merry Christmas with Shadow Die, die-cutting the words from red cardstock and the shadow from white cardstock.
- Lastly, I added a few bright red berries using the 5416-06D Holly #2 Die to finish off the wreath.