
If your idea of fun is sipping espresso while surrounded by water or setting sail with a warm beverage in hand, then today’s project is for you. Create a fun coffee themed masculine card with dies, patterned paper, and a stencil set.
Today’s beautiful card by our designer, Carol, is the perfect caffeinated blend of summer and masculine adventure! We love Carols use of the sailing stencil and love how she created texture on the coffee sleeve (I bet you have this tool and don’t even remember purchasing it haha). Follow along as she shows us how to make a masculine coffee card.

How to make this card:
- First die cut a piece of blue paper from the Life Upon The Sea paper pad with the largest Nested Rectangle with Square Holes die.
- Place the waves stencil from the Boats and Waves Two-part Stencil Set over the blue paper. Tape down with temporary tape, if needed.
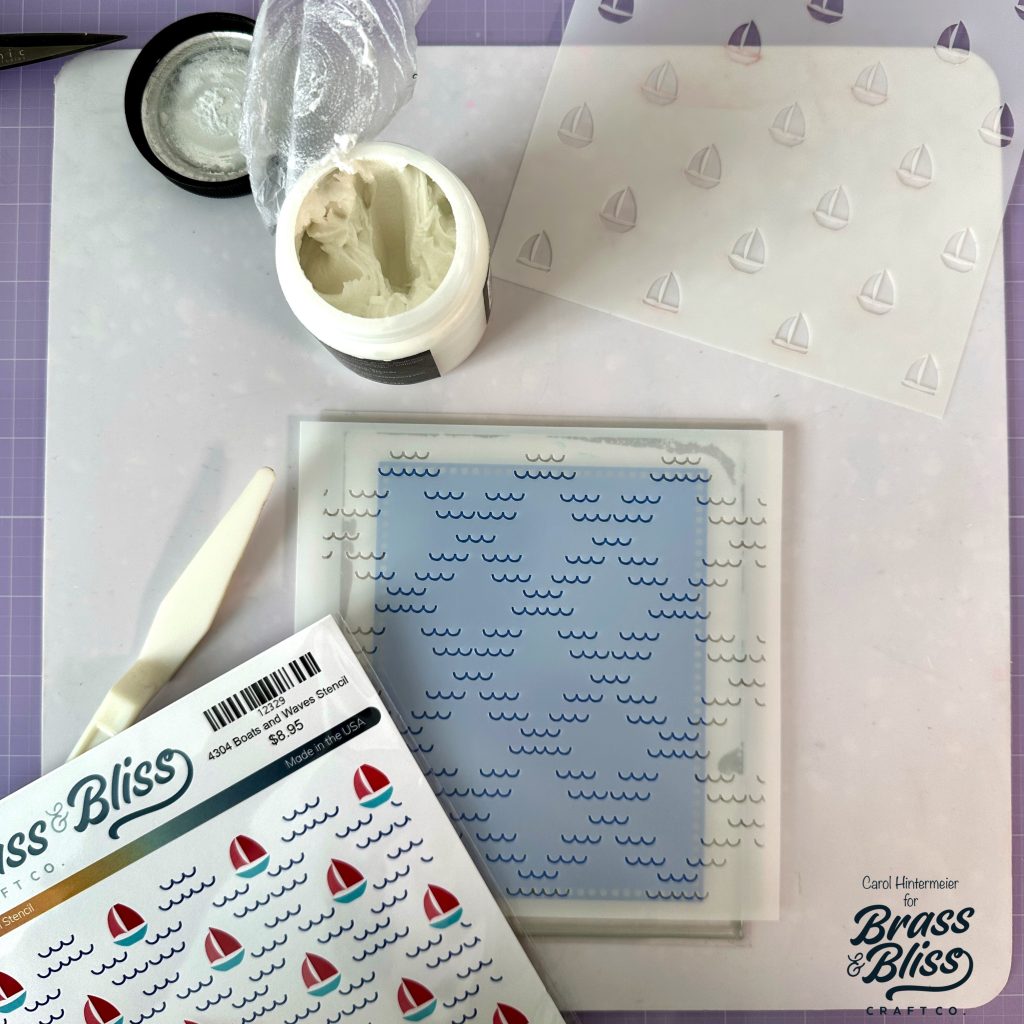
- Using a palette knife, spread white texture paste through the Waves stencil.
- Remove the stencil and set the piece aside to dry. Wash the stencil and tools immediately.
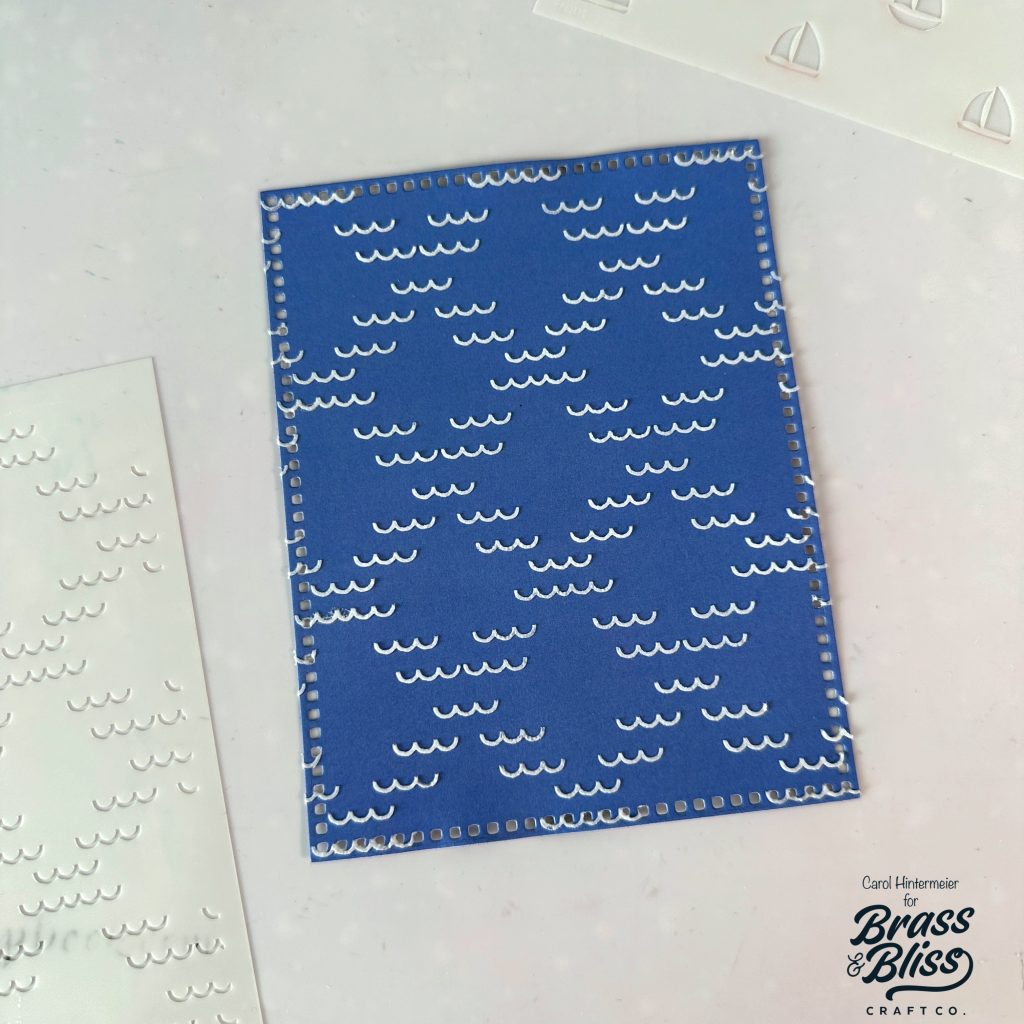
- While this dries, we will die cut our coffee cup with dies from the Mix and Match Coffee Cups Dies.
- Choose a coordinating pattern paper from the Life Upon The Sea paper pad.
- Die cut the main portion of the coffee cup from this paper.
- Die cut the coffee cup sleeve and coffee cup lid from light brown cardstock.
- Use a Blender Brush and ink on a bit of Caramel Color Fuse ink at the edges of the sleeve and coffee lid.
- Go find that unused paper crimper that we all have stuck in a drawer! Haha! You know you saved it for a reason!
- Feed the coffee cup sleeve through the paper crimper. How cute is that?!
- Die cut blue paper with the circle die in the Mix and Match Coffee Cups Dies.
- Use the Blender Brush and ink on a patch of Cinnamon ink onto a scrap of the light brown cardstock.

- Die cut the coffee bean from the inked paper.
- Use liquid glue to assemble the coffee cup.
- Check the blue paper with the texture paste stenciled waves to make sure it is dry.
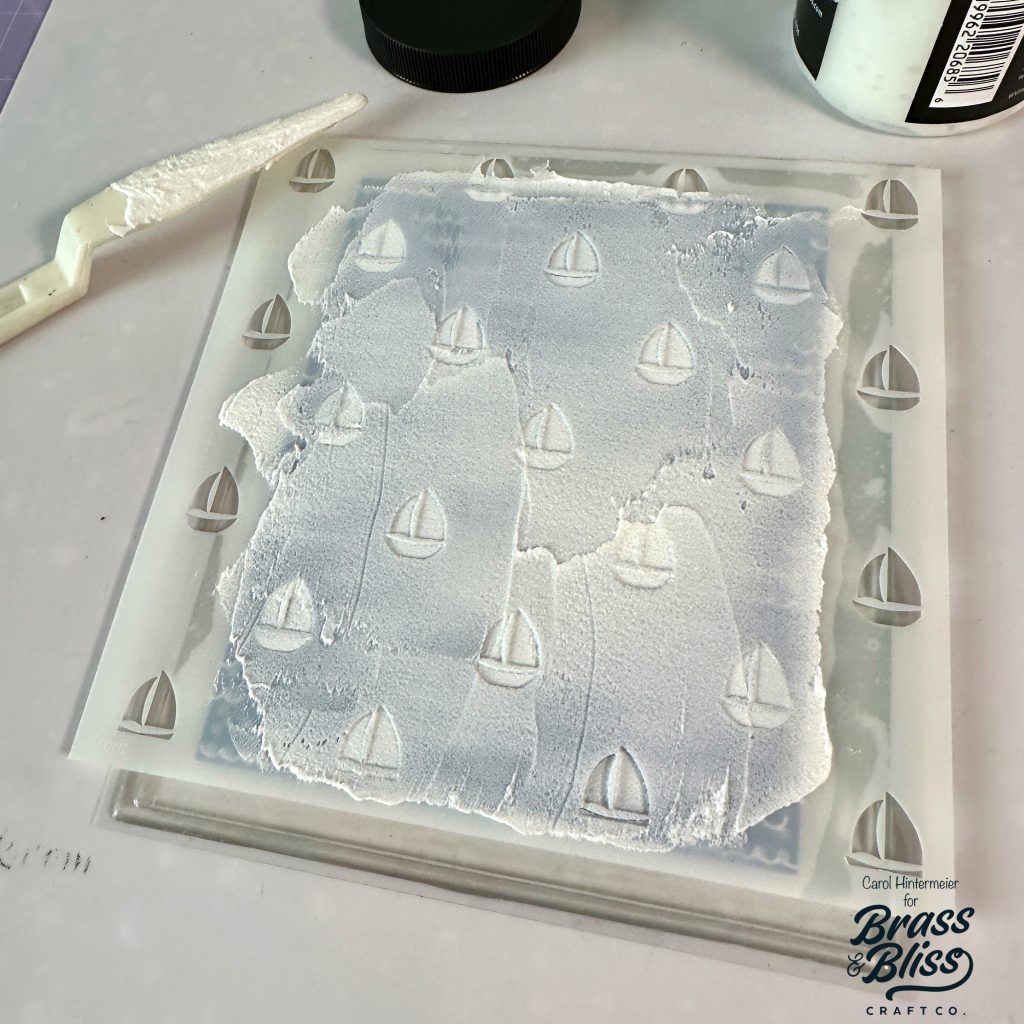
- If it is dry, go ahead and place the boats stencil from the Boats and Waves stencil set over the piece.
- Spread more texture paste through the boats stencil. Wash the stencil and tools and set the piece aside to dry.
- Die cut white cardstock with the third largest Nested Rectangle with Square Holes die.
- Trim more blue paper from the Life Upon The Sea paper pad to 3-1/8″ x 4-¼”.
- Adhere the two layers together with glue.
- Stamp a sentiment from the Let’s Meet For Coffee stamp set with Cinnamon ink. Note: I used my MISTI to be able to stamp multiple times for an even coverage and to darken the ink.
- Trim the sentiment into a rectangle with your paper trimmer.
Card assembly:
- Adhere the Boats and Waves stencil layer to an A2 card base.
- Adhere the blue and white layer to the card with double sided tape.
- Add some foam tape to the back of the coffee cup to adhere to the center of the layered piece.
- Add some foam tape to the right back side of the sentiment and glue to the left to adhere to the card.
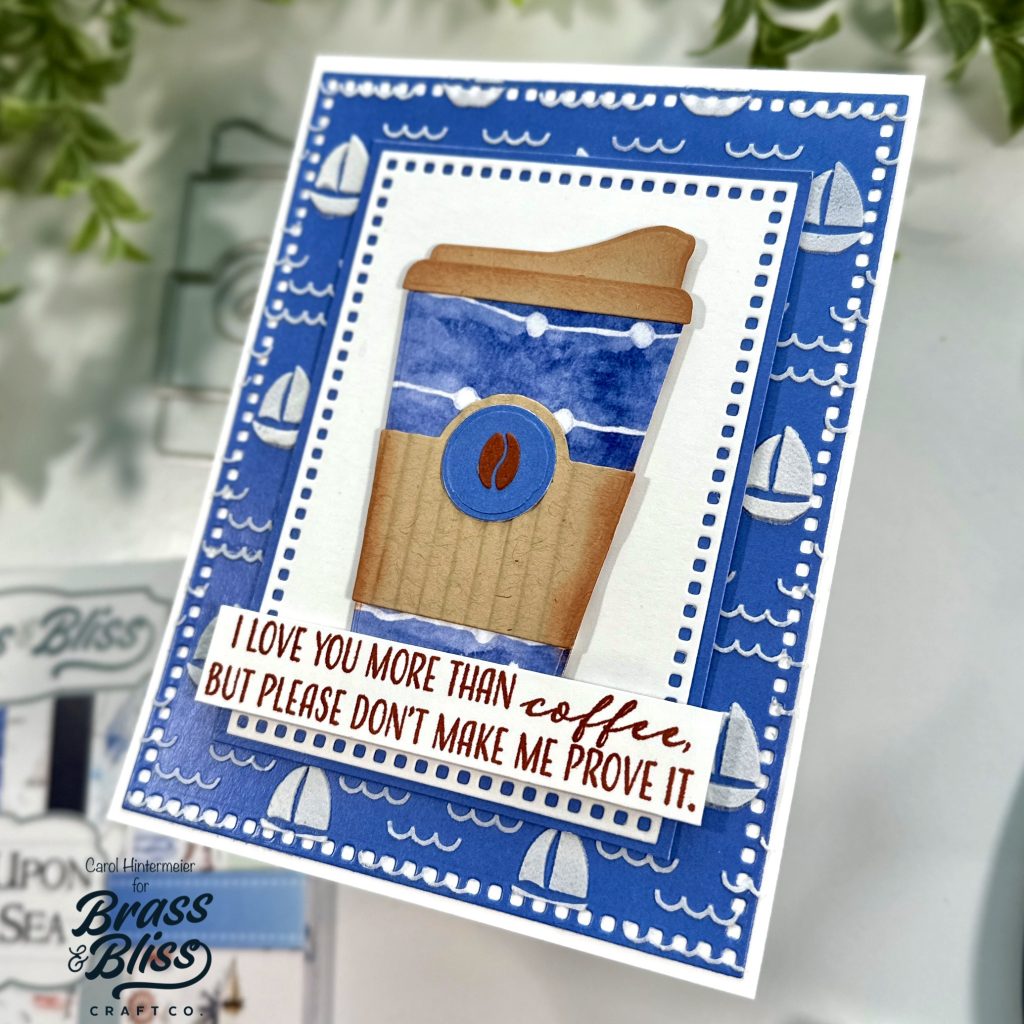
This sentiment is a favorite. I feel like my husband would laugh so hard if I gave this to him. We are both coffee addicts and we often joke about it. Carols card is such a great nod to the masculine side of card making and we adore this caffeinated creation. Great job Carol.
[linkdeli uuid=”a23bd750-3e12-48a0-be32-9925765fed09″]