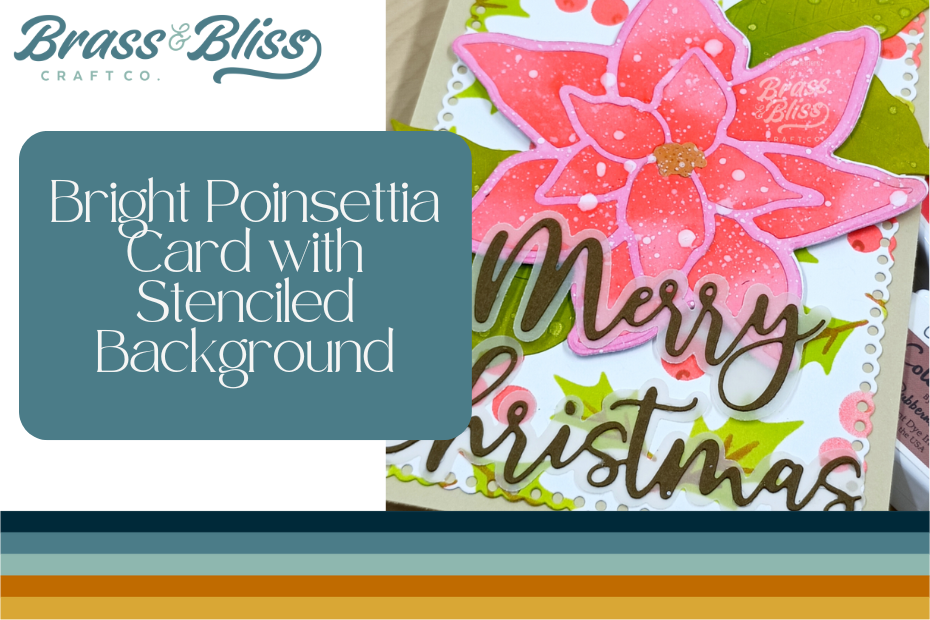
This Poinsettia Die is a fun holiday staple that makes statement focal piece to your handmade Christmas Cards.
Welcome to August! How is it already this far into 2024? Last month we focused on “Christmas in July” as we all started preparing for our next few months of holiday craft preparations. We also had an amazing “Holly Jolly” release that was packed full of holiday goodies. During the month of August, we are playing around with Stencils and focusing on fun ways to incorporate stencils into your upcoming projects. If you haven’t tried stenciling yet, we highly recommend coming back to the blog daily for inspiration.
Today’s project is from our designer Tracy, who says, “I love the changing of the seasons, when hot and sweaty palms turn into chilly hands covered in mittens. I love the cheerfulness in the air and the feeling of family all around you. This poinsettia card reminds me of this feeling. I created it using the new die called Poinsettia Outline. It is large enough to provide a focal point but leaves the creator with various ways to present it. I love this on a card but it would also be beautiful on tags for mass production. This is a bit more detailed than most of my cards but I think, in the end, it was worth the work.” We agree, it truly is a beautiful card. Follow along with the steps below to see how to recreate this bright poinsettia card with a stenciled background.
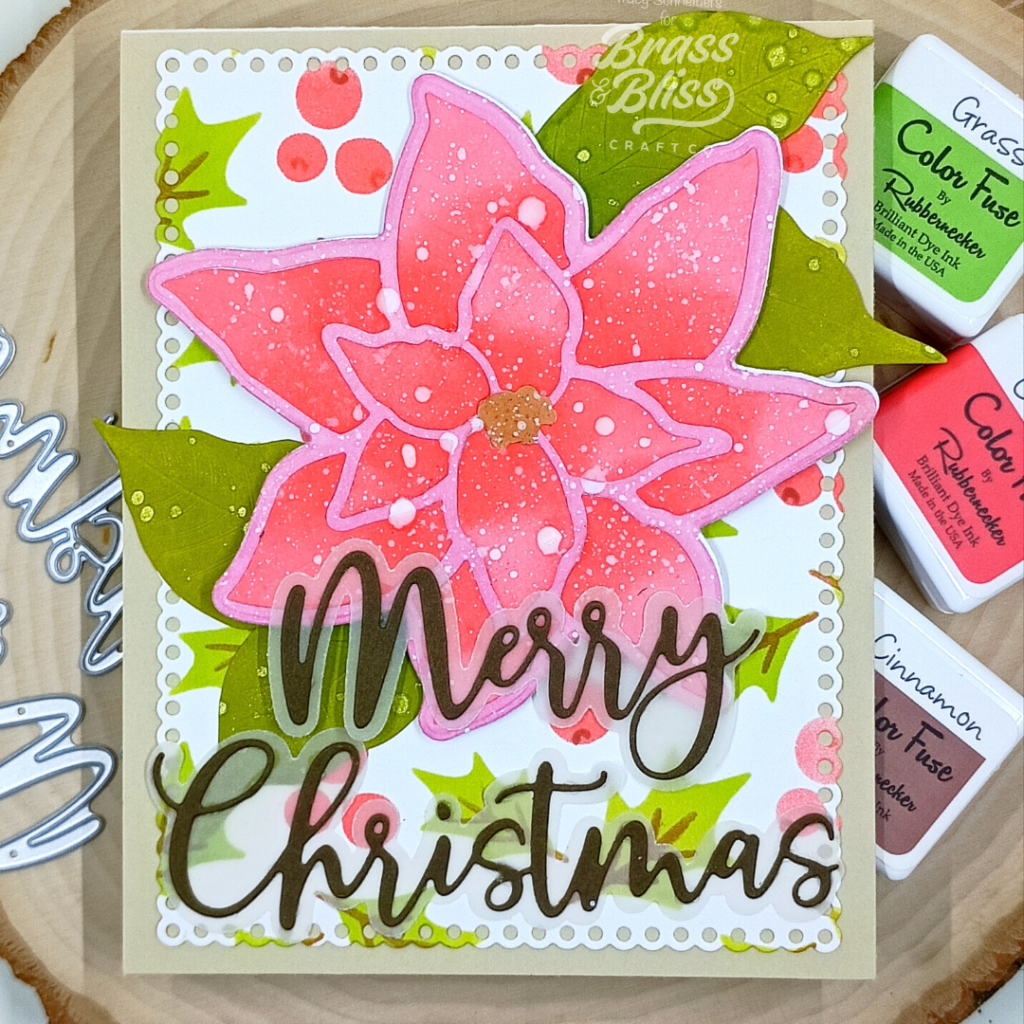
How to make this card:
- First, lets die cut the large solid die onto some white cardstock.
- Then, using the more detailed die, place that onto that and cut, using a die cutting machine. You will see an outline of the 5716-01D Poinsettia Outline Die. Make sure to keep those pieces that were cut out.
- Set the outline aside. Bringing those small pieces back into the project, ink blend them with Brass and Bliss ink blocks (ink colors below)
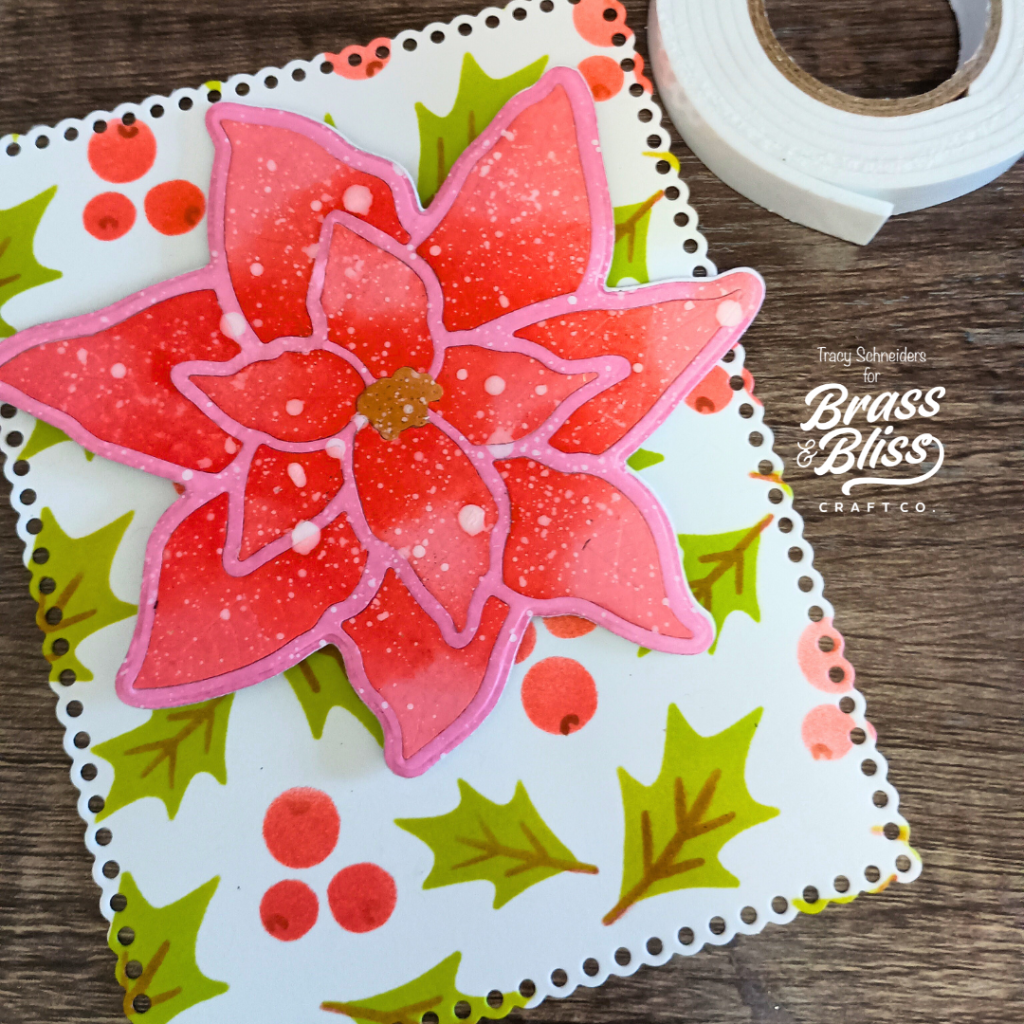
- Then ink blend the outline of the poinsettia, previously cut. Paper piece everything together to complete your poinsettia. ( I also splattered white paint onto the poinsettia to create texture but that is optional)
- I then cut several leaves with the die cutting machine and ink blended them with ink cubes (listed below). I also used a bit of distress sprays for added texture as well. I set all of that aside to dry.
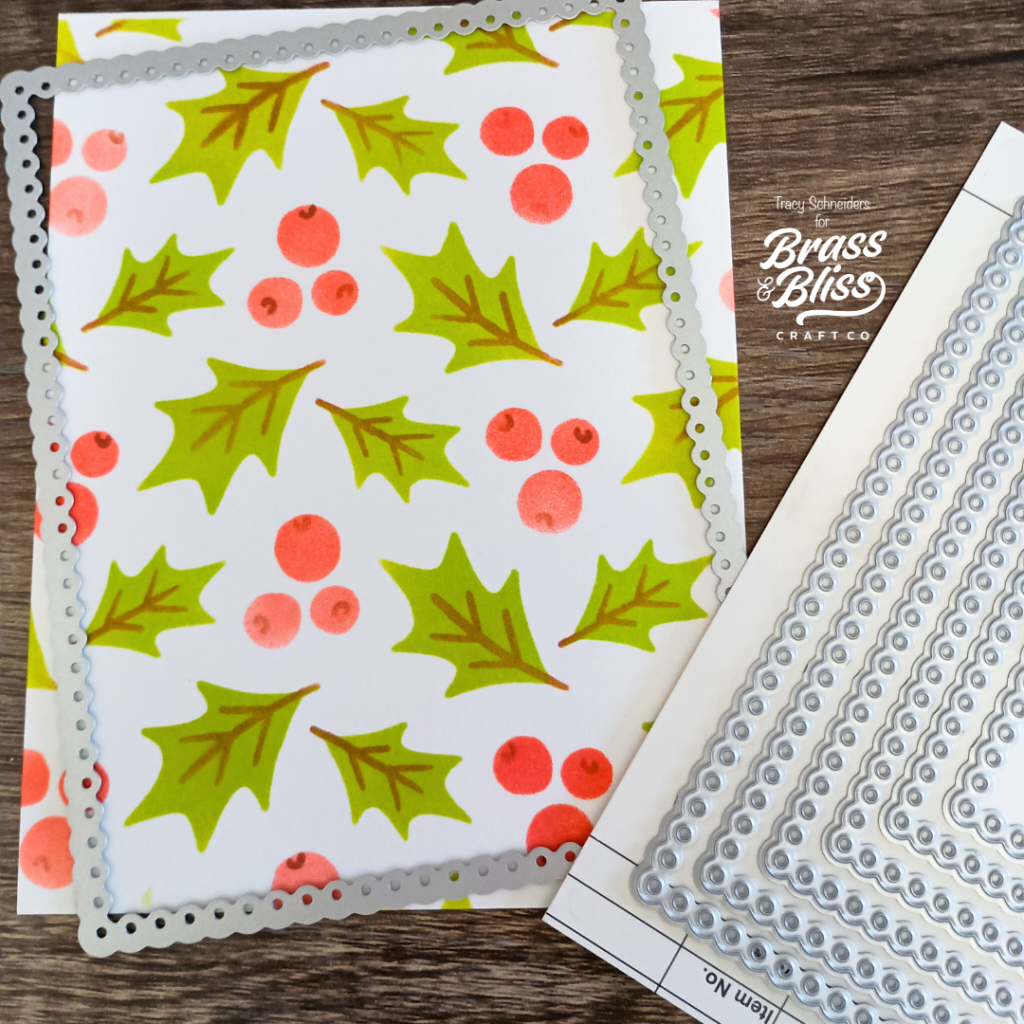
- Using the new 4213 Holly and Berries Stencil, I created a background for our card.
- Using the new layering die set 5719D Small Scallop with Holes, I cut the stenciled background out and glued it to a beige colored cardstock.
- For my sentiment I used the 5515-12D Merry Christmas w/shadow die.
- Using foam tape for dimension, I placed the poinsettia on the center of the panel, then glued the leaves down around the flower. I then, glued the “Merry Christmas” to the bottom of the card panel before gluing it to a A2 size card base.

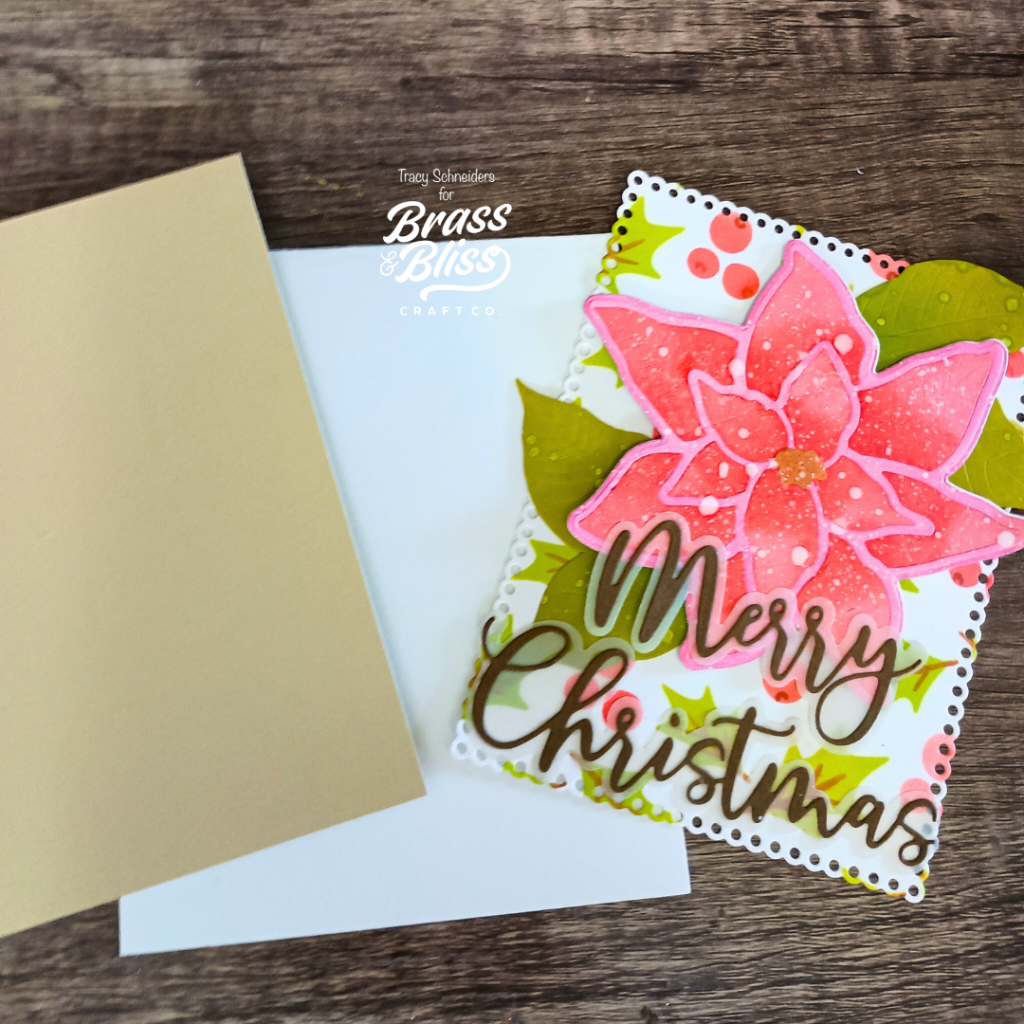
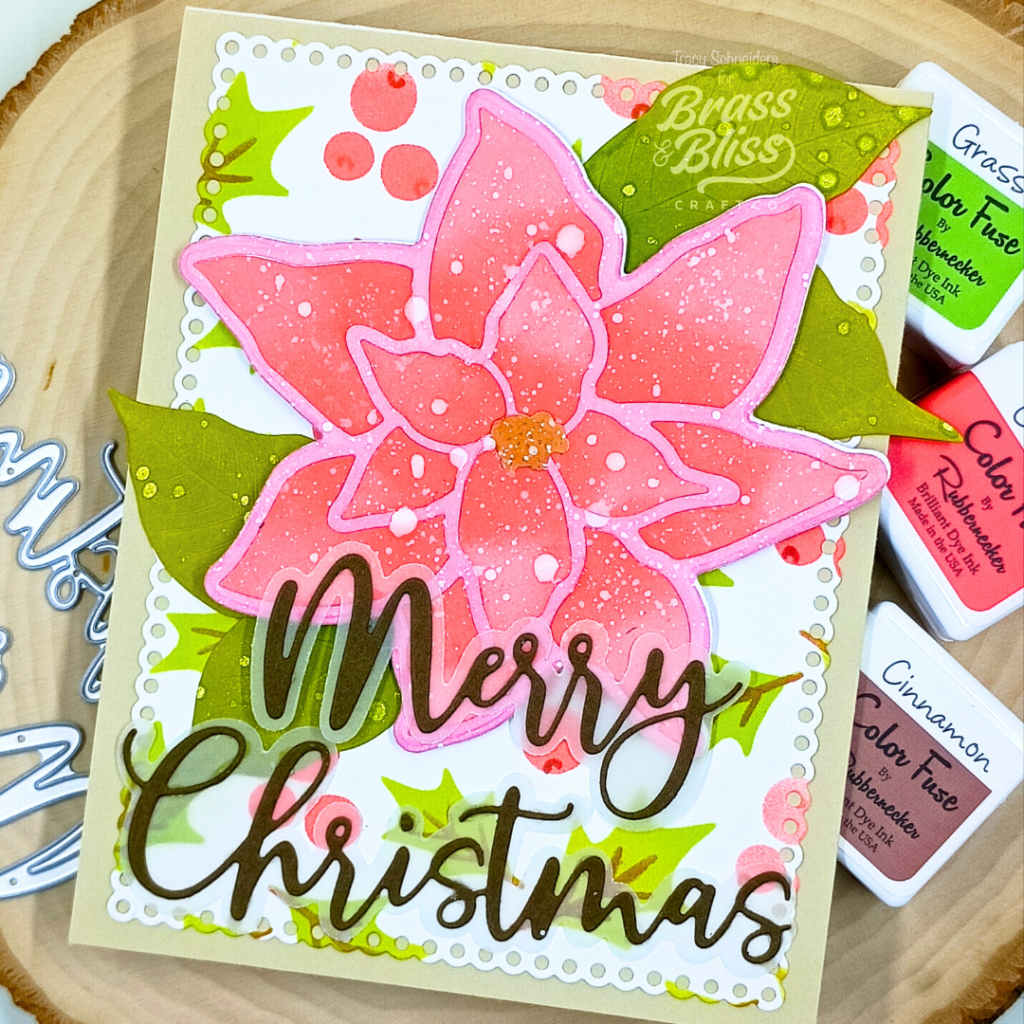
Color Fuse Listed Below:
This is a fun card that really makes a statement. The stenciled background looks so good popping out behind that bright poinsettia. We hope you loved this project as much as we did. Stay tuned all month for other stencil creations!