
If you are in search of an easy Christmas Card design that can be mass produced, then this project is for you. It’s a great project for beginner card makers as well.
Today’s sparkly project is a simple card that uses very few products and can be made quickly and beautifully by any level of crafter. Today our designer, Carol, is showing off this easy Christmas card design for beginners.

How to make this card:
- Carol started by choosing a dark blue cardstock, but any color that you like for the holidays will be beautiful.
- Trim the blue cardstock to 4-¼” x 5-½”.
- Place the cardstock in a stamp positioning tool, such as the MISTI.
- Place the 3465 Snowflake Frame stamp over the piece and pick up the stamp with the MISTI door.
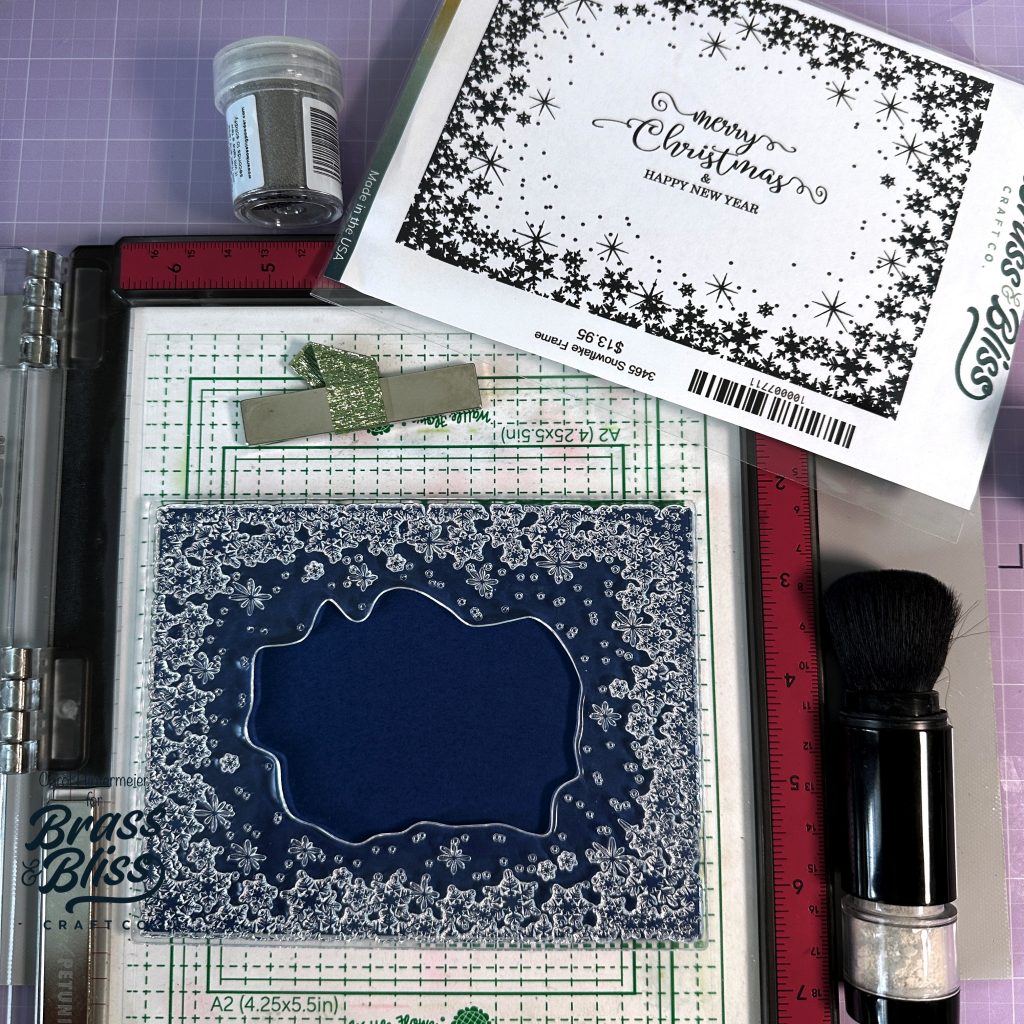
- Rub anti-static powder over the panel.
- Ink up the 3465 Snowflake Frame stamp with VersaMark clear embossing ink.
- Stamp onto the blue cardstock. Repeat, if necessary.
- Add silver embossing powder over the stamped image.
- Use a heat tool to set the embossing powder.
- Next, stamp the sentiment included with the 3465 Snowflake Frame stamp set with VersaMark ink onto white cardstock.
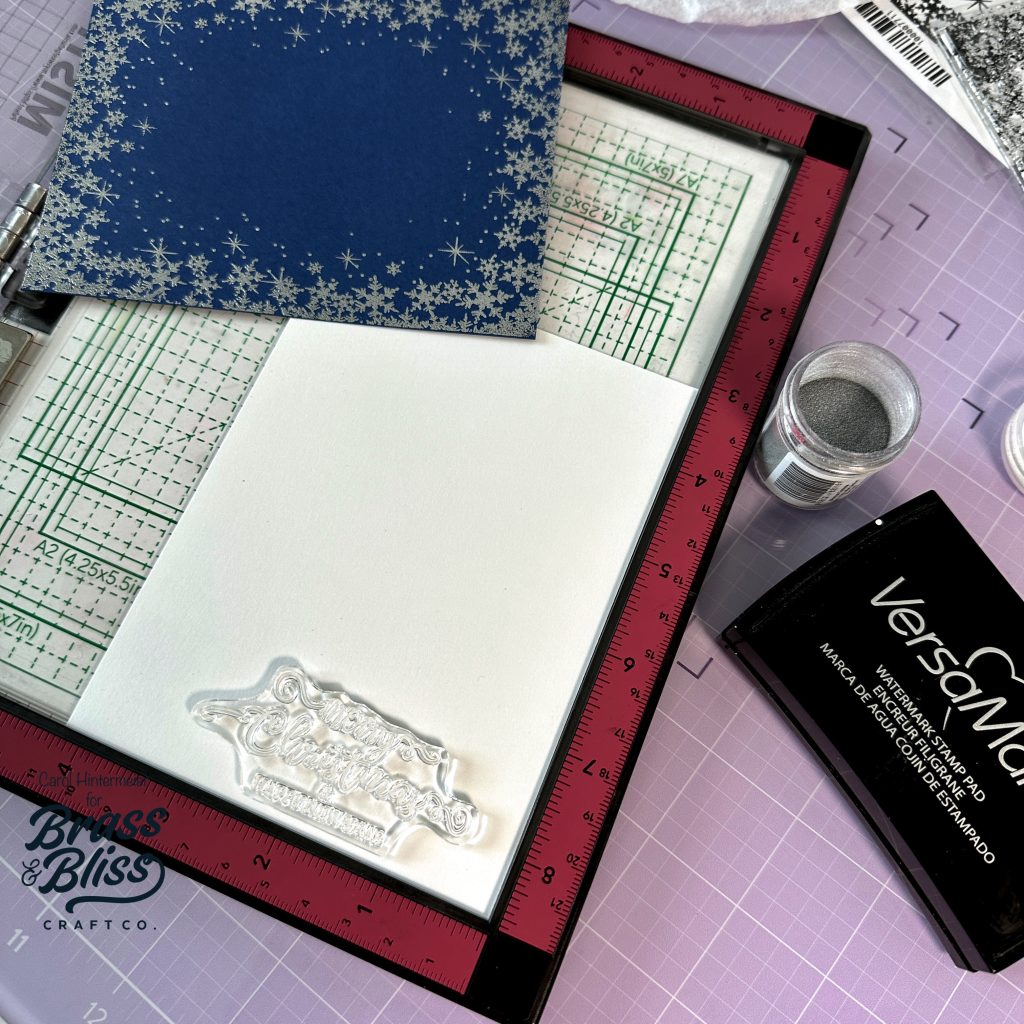
- Add silver embossing powder to the stamped sentiment and heat set.
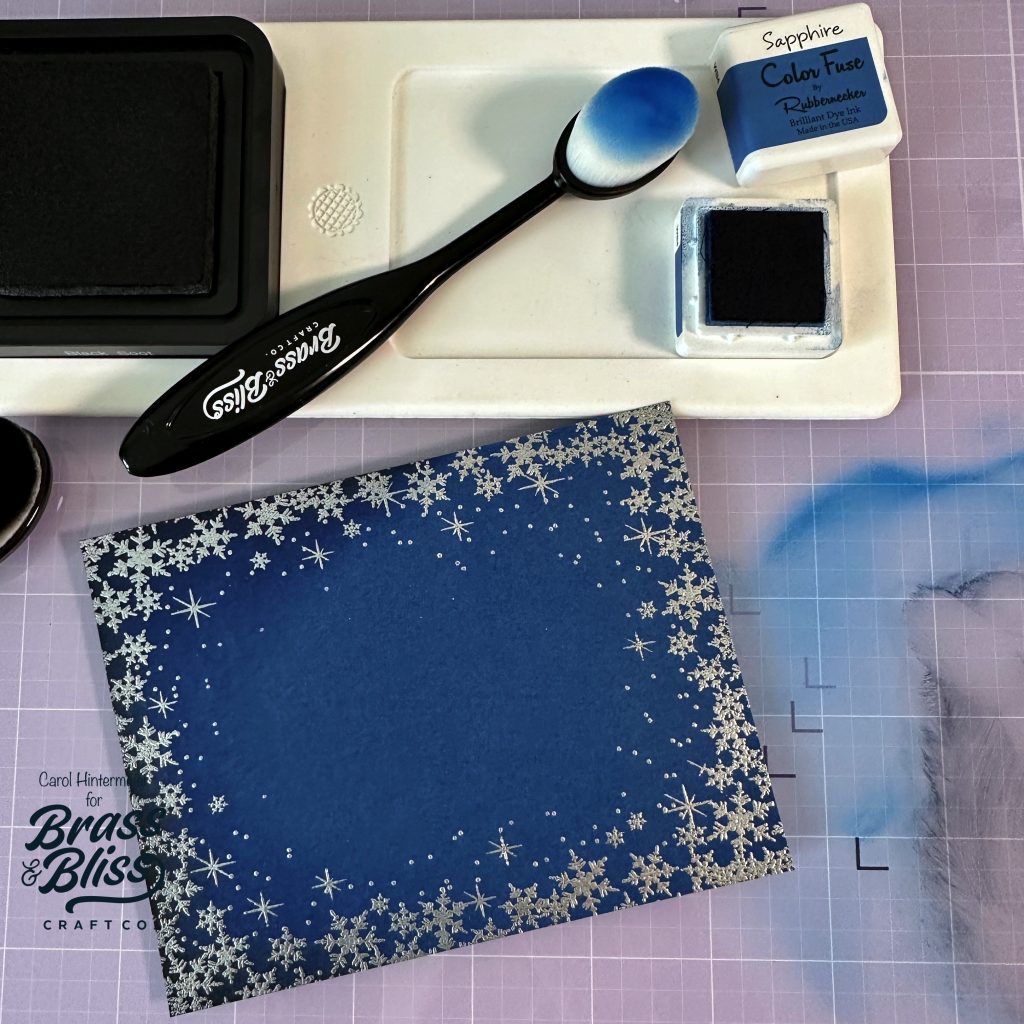
- Next we are going to add a bit of dimension to the blue embossed panel.
- Use a Blending Brush to add Sapphire ink (Color Fuse #8) around the edges extending just beyond the heat embossing.
- Use another Blending Brush to add black dye ink, very lightly, just at the very edges of the panel.
- If needed, repeat the inking with the Sapphire ink to blend it with the black ink.
- Use a clean, dry paper towel to wipe over the embossing to remove any excess ink.
- NOTE: If you used a different color of cardstock, you can still do this technique of adding dimension. Choose an ink that is slightly darker than your cardstock color to ink over the embossing. And then very lightly add the black ink.
- Here is a photo with about half of the panel inked to show the difference.
- If desired, use detail scissors to trim around the heat embossed sentiment. Alternatively, it could be trimmed into a rectangle, or cut out with a rectangle die.
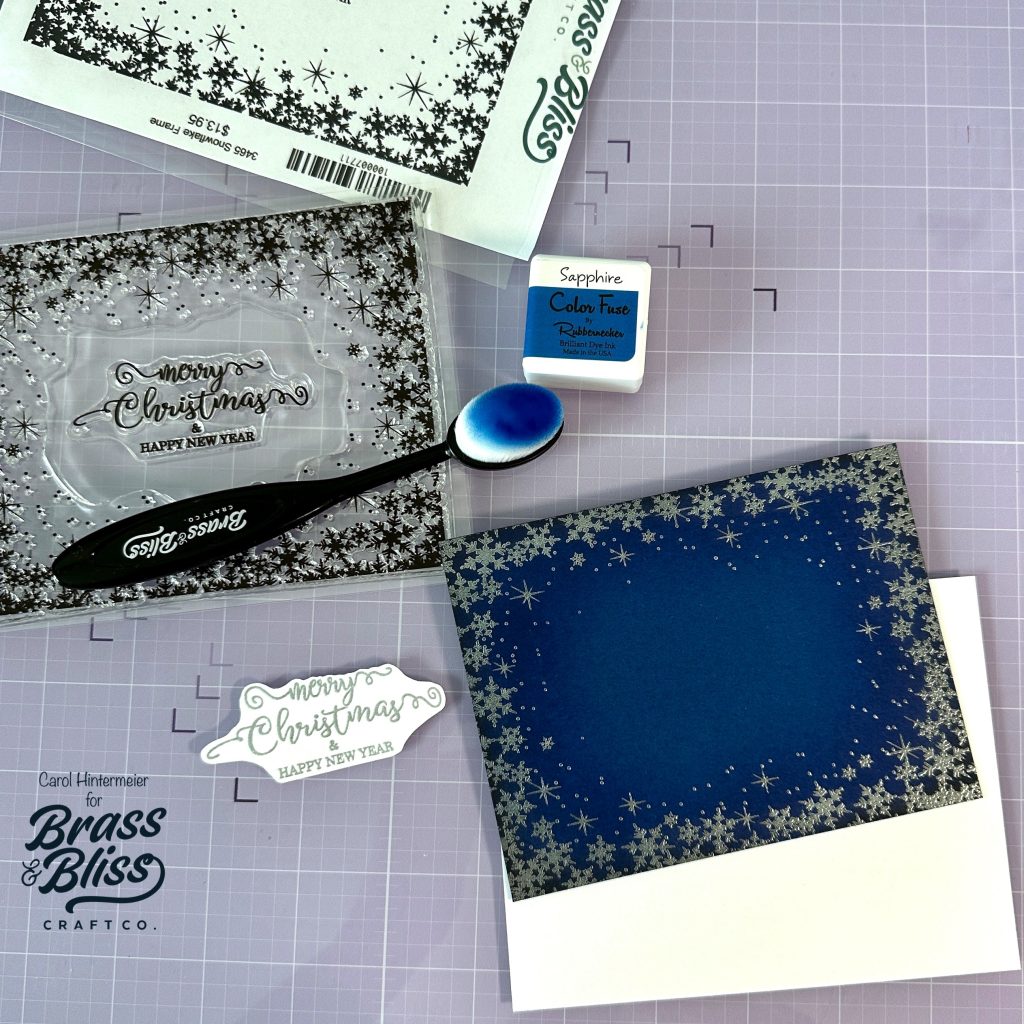
- Trim the 3465 Snowflake Frame panel to 4″ x 5-¼”.
- Use glue to adhere the layer to an A2 white card base.
- Add foam tape to the back of the sentiment to adhere it to the card.
- A bit more pretty shine was added by adhering silver metallic pearls around the sentiment.
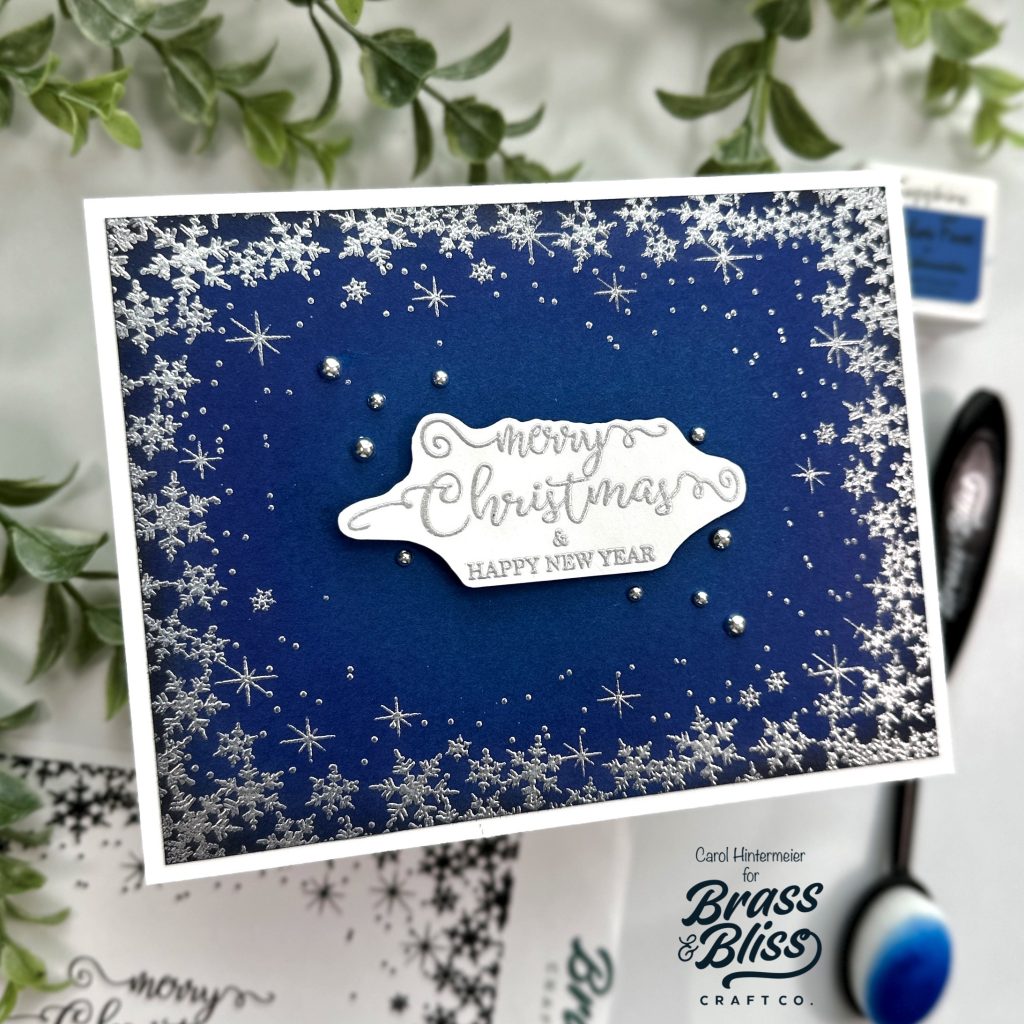
Wow! What a simple card that really sparkles and shines for the holiday! We adore Carols color choices, the silver against the deep blue really makes us think of the crisp star-filled winter skies. We hope you try out this technique and pin this project for later. If you are just starting out in this card making hobby, this is a simple and fun way to start off. This is a great card to make if you have a ton of people you send cards to, this is also a stellar project if you forgot to make cards and need a quick last minute project! We adore this project and hope you do to. Happy Crafting!