
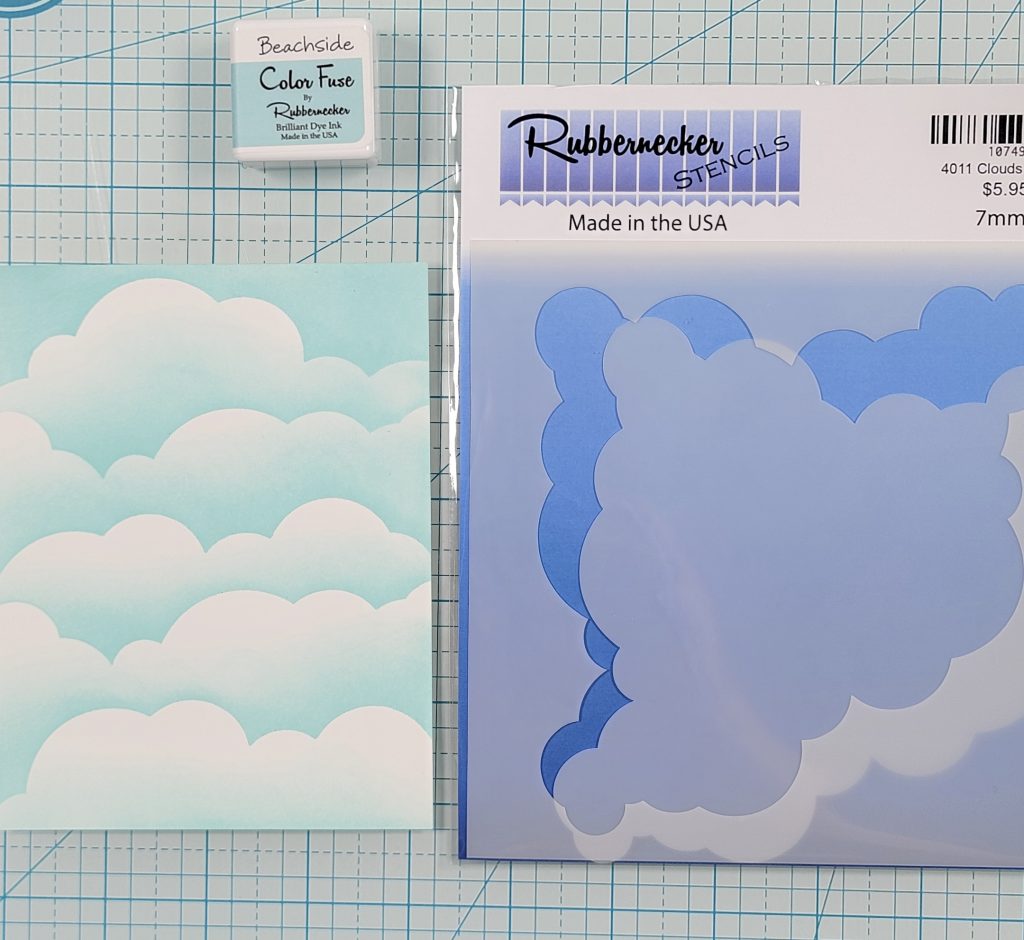
Stenciling Clouds in layers is a great way to create depth on your card. See this beautiful tutorial showing how cloud layers can add background dimension to your die cut cards.
Today we have the sweetest birdhouse card for you from our designer, Christina. She set these colorful birdhouses up against a crisp blue stenciled sky, and the results are gorgeous. Today she will walk us through how she created this fun card and show you how to layer up cloud stencils to get that added depth you dream of.
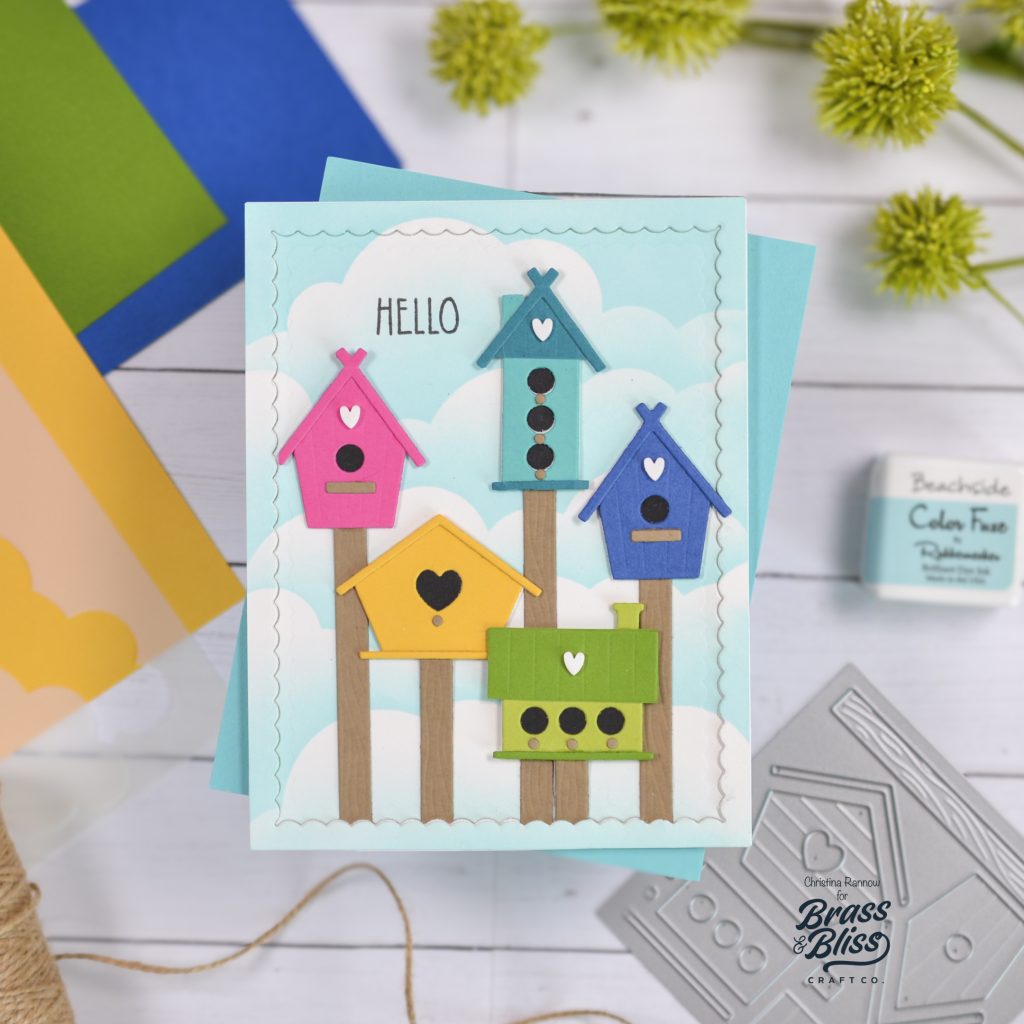
How to make this card:
- Stencil clouds on a white cardstock panel trimmed to 4 ¼ x 5 ½ with the 4011 Clouds Stencil and Beachside Color Fuse Ink.
- Die cut this stenciled panel with the largest 5500-02D Outside Scallop Frame Die.
- Die cut this scallop frame two more times from white cardstock to stack with the original stenciled scallop frame.
- Attach the frames and the stenciled panel to a cardstock panel trimmed to 4 ¼ x 5 ½ with liquid adhesive.
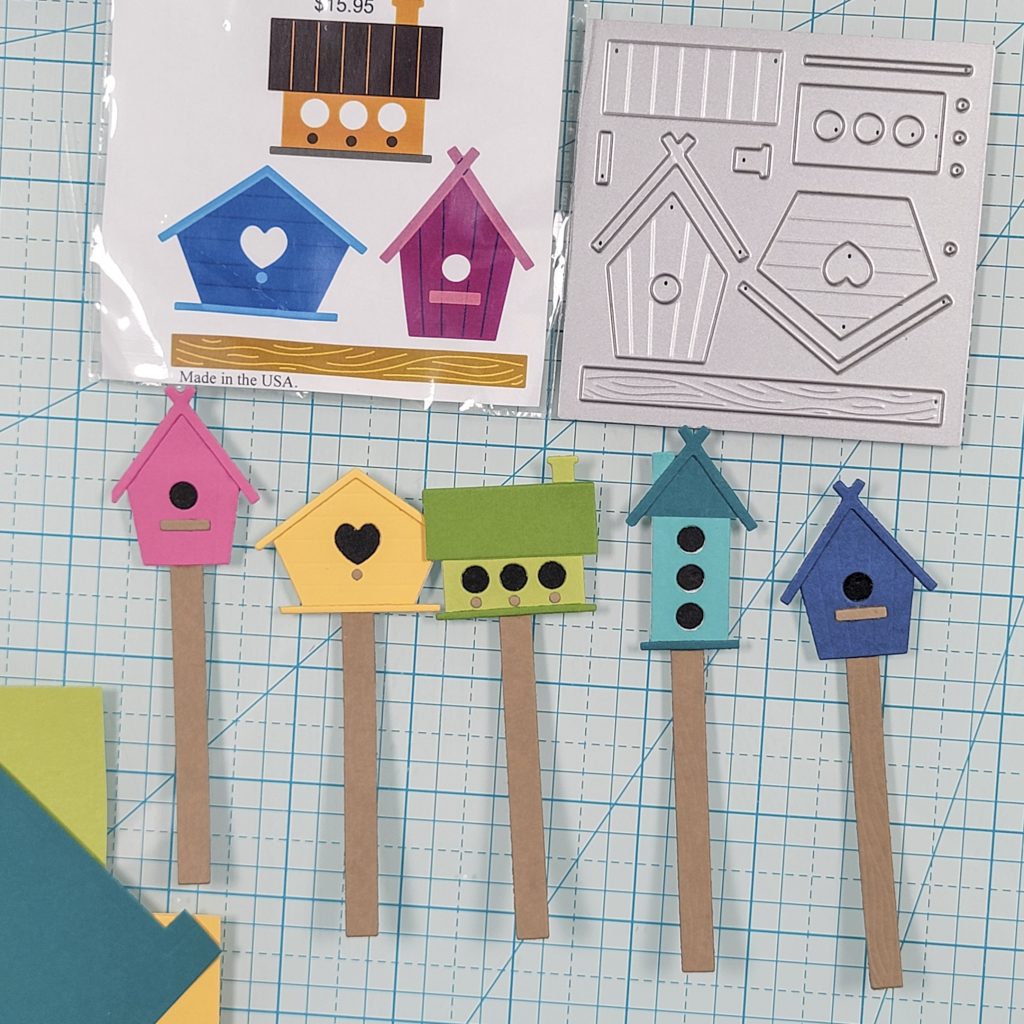
- Die cut multiple birdhouses from colored cardstock using 5515-03D Large Birdhouse Die.
- Assemble the birdhouses with liquid adhesive.
- Attach the birdhouses to the card front with a combination of liquid adhesive and foam squares.
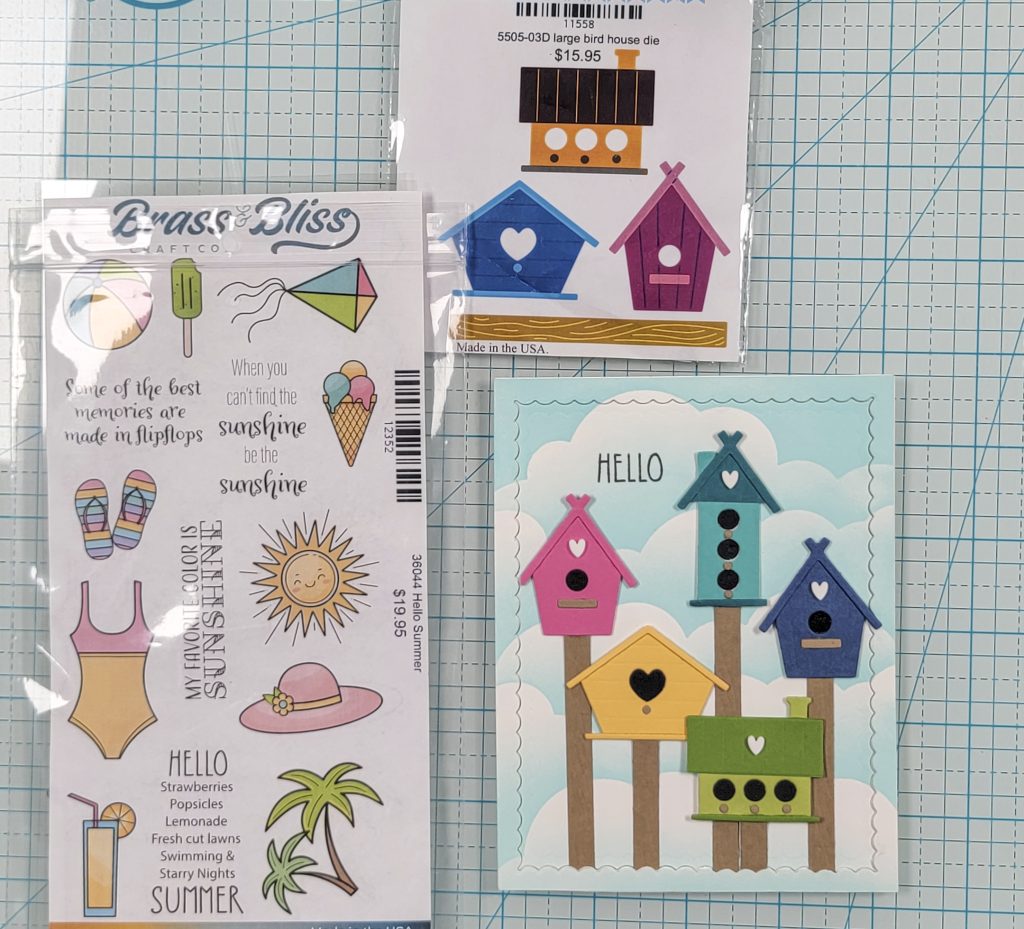
- Stamp a sentiment from 36044 Hello Summer Stamp Set with black ink.
- Attach white clay hearts to the birdhouses.


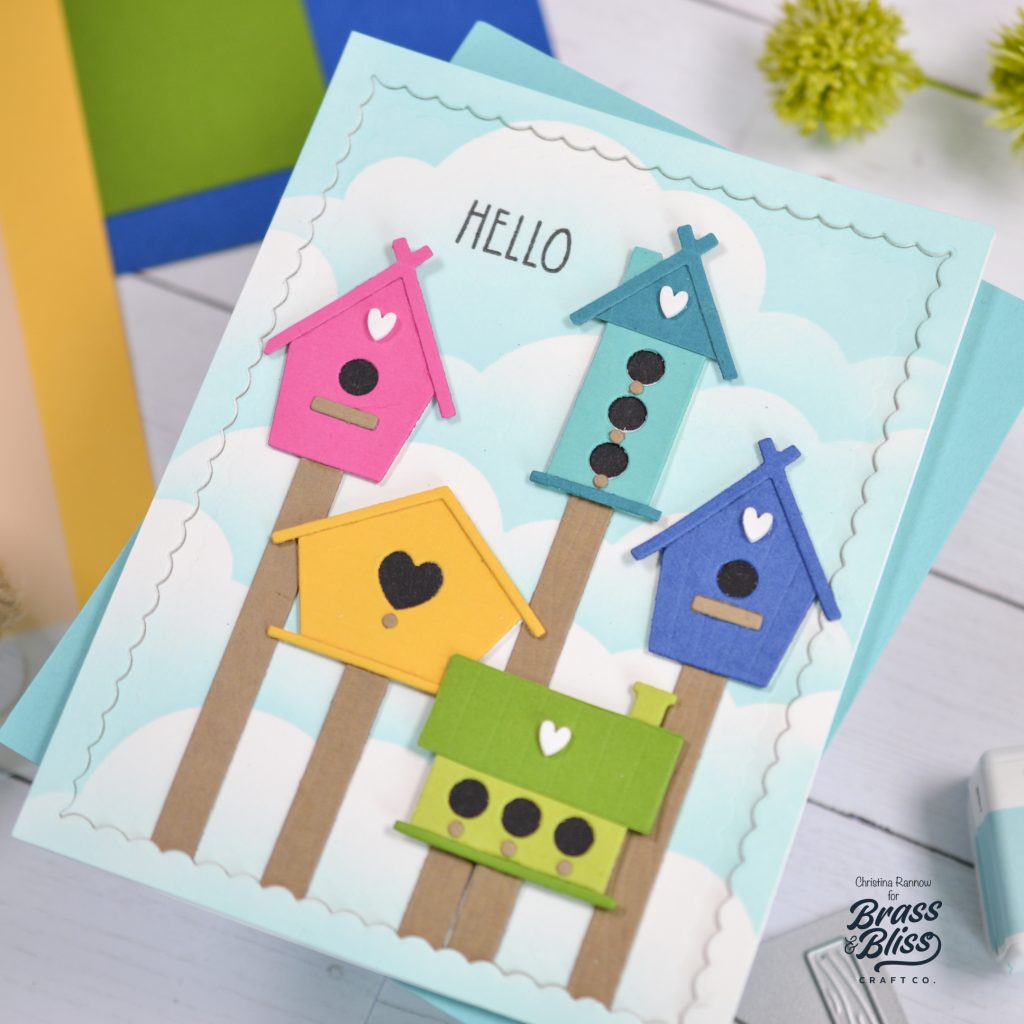
This is truly a beautiful and colorful card. The love way the background adds dimension and depth and the birdhouses look like they are in the foreground of some beautiful summer day. We hope you enjoyed seeing how to layer up cloud stencils and feel inspired to create something beautiful today. Stay crafty!