
One, Two, Three-to-the-Four… Layer your stencils to create interest to your handmade card backgrounds.
Today’s fun under-the-sea project incorporates multiple stencils for a glittery twist and added interest. The masking stencils are a great way to add a spotlighted stenciled area to your project and we love to combine it with other stencils from the shop. Follow along as our designer, Lisa, shows off how to make this perfect summer stenciled card!
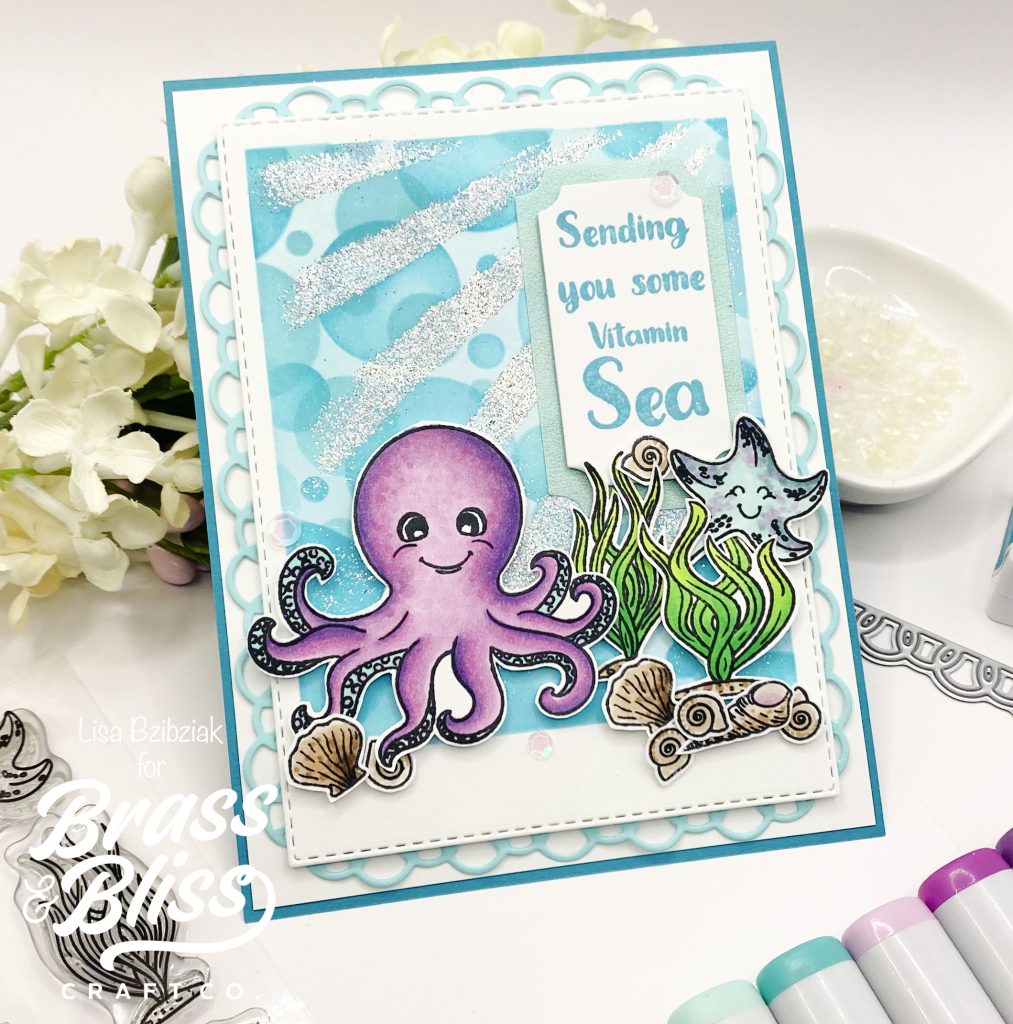
How to make this card:
- Cut a panel to 5 1/2 x 4 1/4″ and secure the 4210 Rectangle Mask – 2 Part 6×6 Stencil window stencil over the top of it. I didn’t use Pixie Spray this time because sometimes it will leave some sticky residue on the paper and since I knew I’d be embossing later, I avoided that. I used Pixie Tape.
- Blend Beachside Color Fuse Ink from Set #9 to create a rectangle on the panel. The panel doesn’t have to be a solid color… I prefer to have a variation of light and dark.
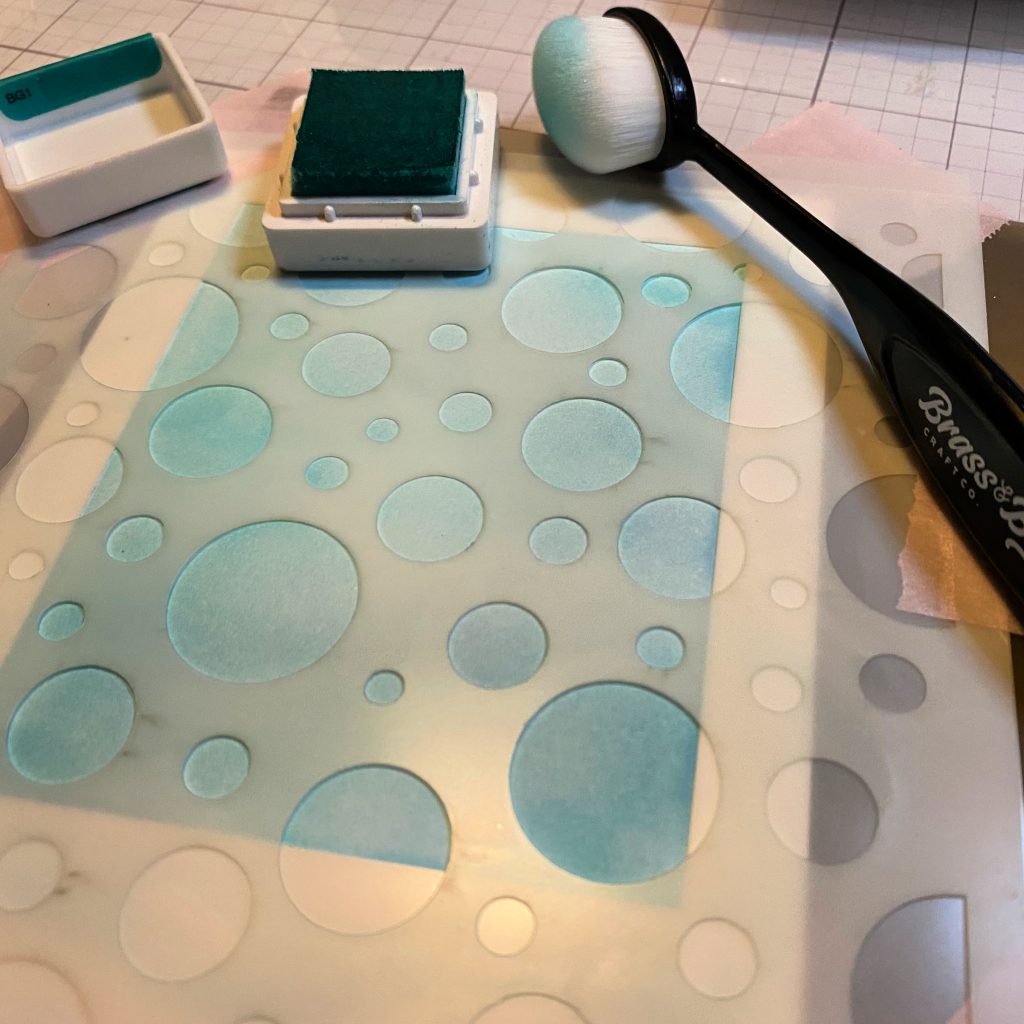
- Leave the rectangle window stencil and then secure one of the layers from the 4204 Bokeh Stencil – 6×6 2 parts set over the top and blend more Beachside over the top of the rectangle inked area.
- Remove the Bokeh stencil layer (leave the rectangle window stencil to protect the outer edges) and then secure the 2nd layer over and blend Whisper from the same set through it.
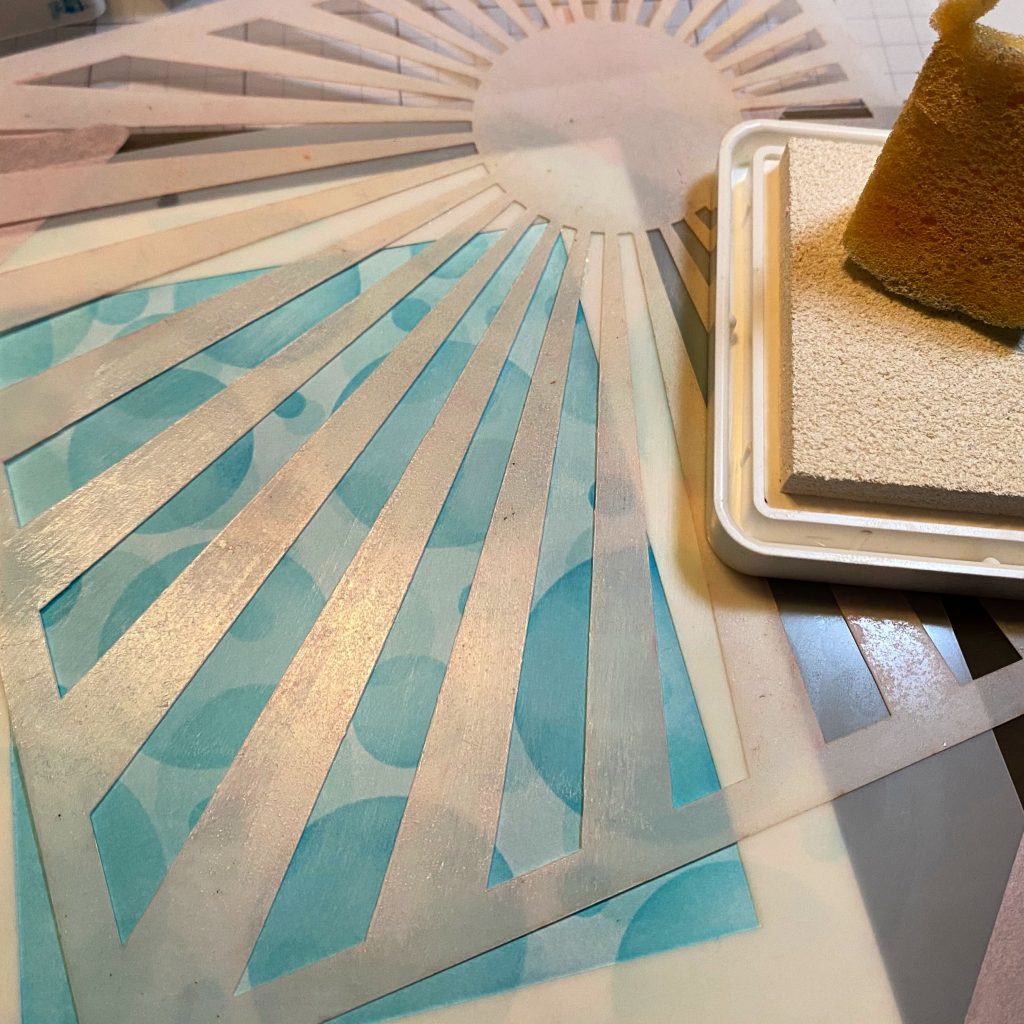
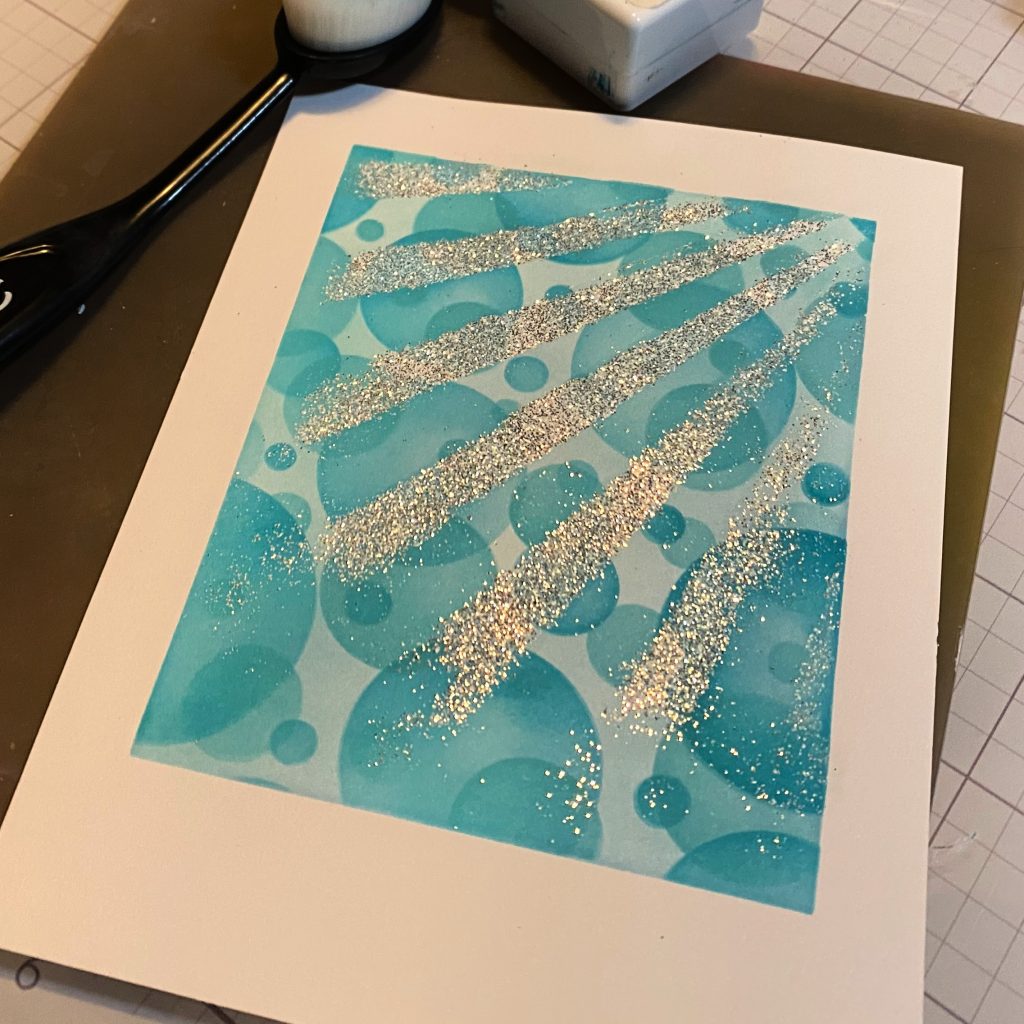
- Remove the 2nd Bokeh stencil layer (leave the rectangle window) and secure the 4108 Sun Burst Stencil – 6×6 over the top, positioned so that just the rays come down from the top right hand corner of the rectangle stenciled area.
- I used white pigment ink and a sponge to stencil in the rays… I didn’t ink completely to the end of the stencil to avoid a harsh straight ending to the rays.
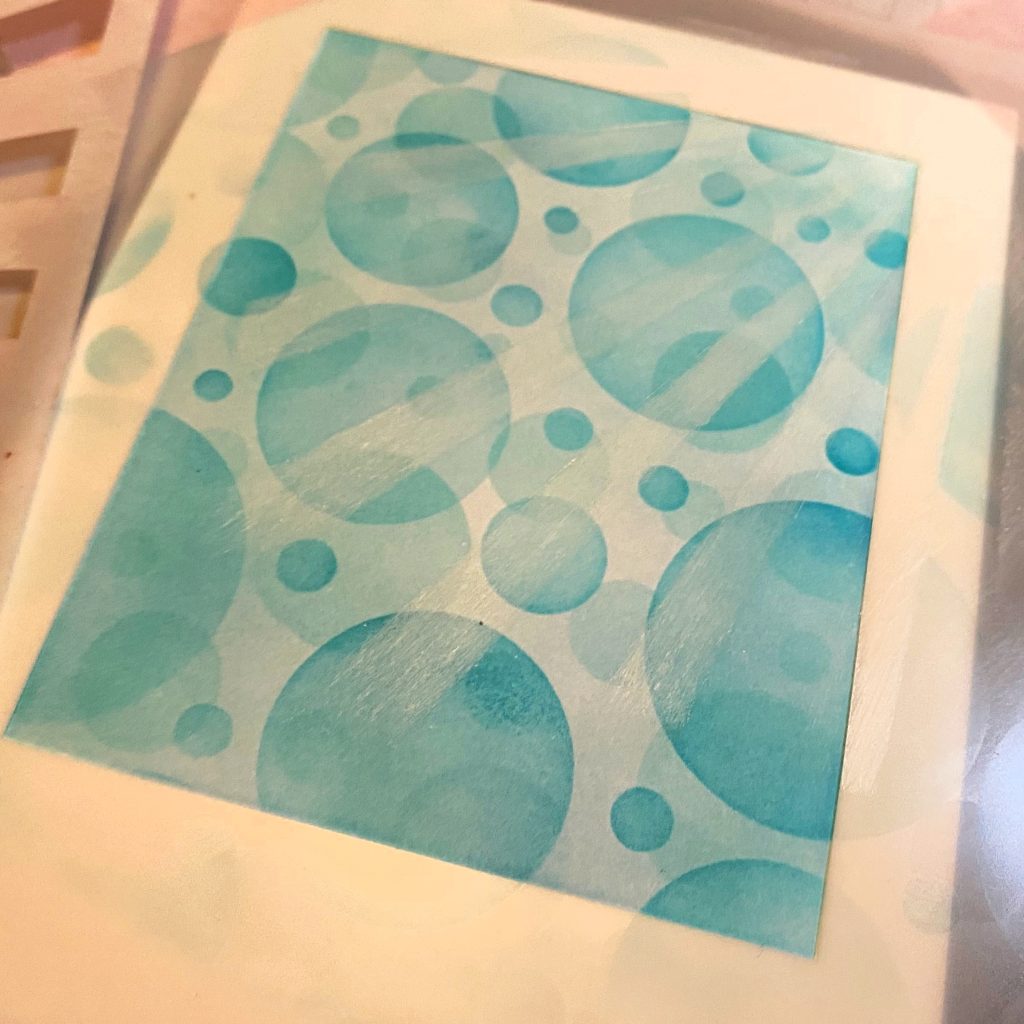
- Remove all stencils and add embossing powder over the top… I used Wow White Sparkle.. and heated it.
- I did go back in with the Bokeh stencils and darken my circles a bit before I considered it finished.
- I decided to die cut the stenciled panel with the 2nd largest die from the 5013D Nested Rectangle Small Stitch Die Set because I wanted to layer it over the largest die from the 5502D Nested Loops Die so that those fabulous loopy loops would show beneath it.
- I die cut the Loops die from a minty blue piece of cardstock and popped the stenciled die cut panel over it with foam tape.
- Layer the Loops/Stenciled panel onto white and then teal cardstock.
- I stamped, die cut and color the images from the 3495-06 Every Summer – 4×6 Stamp Set and 3495-06D Every Summer Set Coordinating Die and popped them up onto the stenciled panel.
- Die cut the 5704D Nested Tag Dies, the largest from a frosty blue vellum and the medium from white cardstock.
- Stamp the sentiment from 3495-05 Vitamin Sea – 4×6 Stamp Set onto the white tag and then pop the sentiment stamped tag onto the vellum tag and adhere to the stenciled panel.
- Added additional images from Every Summer stamp set around the sentiment tag and add a few sequins.

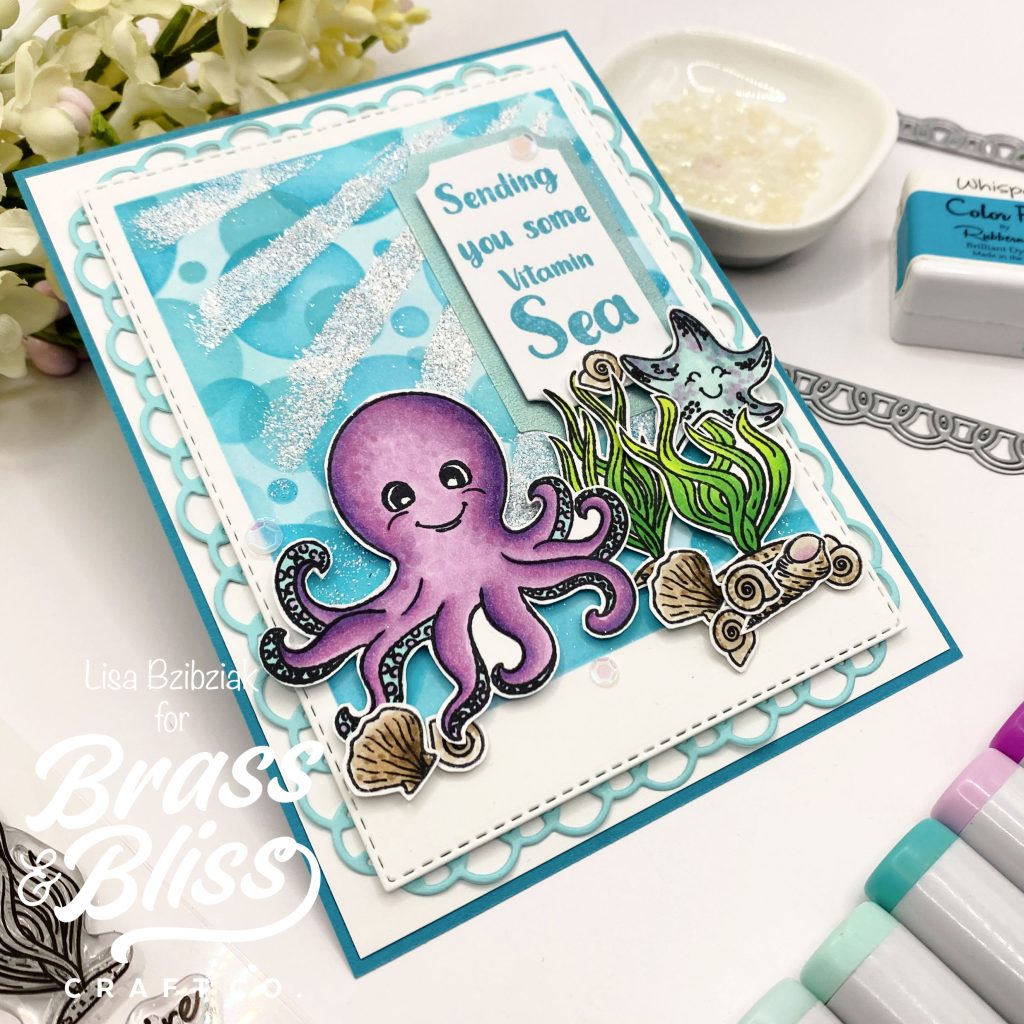
Seriously beautiful! We love that bright light shining through the ocean water. We hope you loved learning how to layer your stencils for interest, and that you use these techniques the next time you hit a creative roadblock. Happy Crafting!