
Looking for a shaker card idea for the holidays that really WOW’s? Check out this glittery masterpiece that is sure to bring all the festive vibes this season!
Today’s dazzling project is from our designer, Carol, who said, “I know we are well past “Christmas in July”, but I just had to keep using some of the awesome holiday sets from the latest Holly Jolly release! I created this adorable shaker card with a snowy background for the swinging snowman.” We are so happy she’s having so much fun with the awesome holiday release, and we think she nailed this card and created something really beautiful and inspiring! Not only is this a fun shaker card, but the added dimension of the glitter texture paste, is just WOW! Follow along as Carol walks us through how to make a glittery texture paste shaker card for Christmas.

How to make this card:
- Choose a patterned paper from the 2015 Snowflake Fun paper pad.
- Die cut the center with the middle size of the 5004D Classic Nested Oval Die.
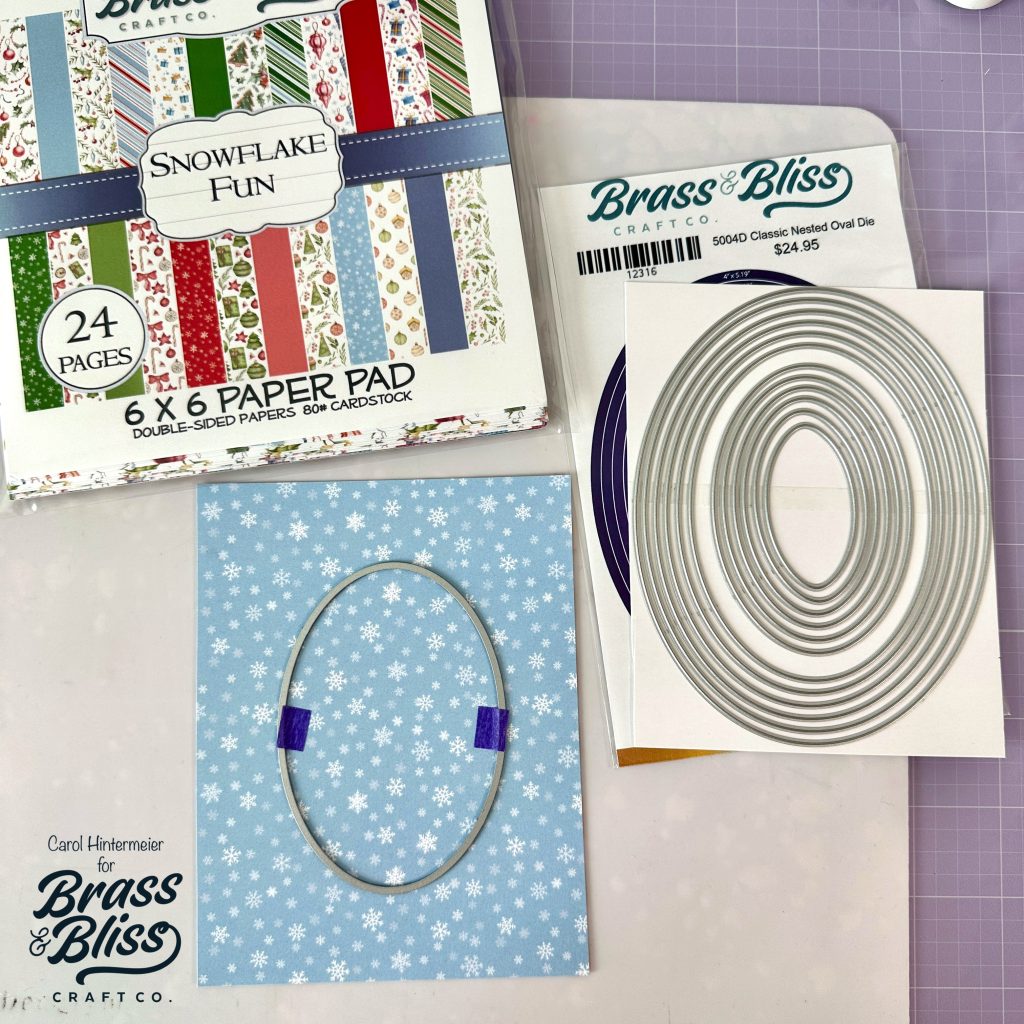
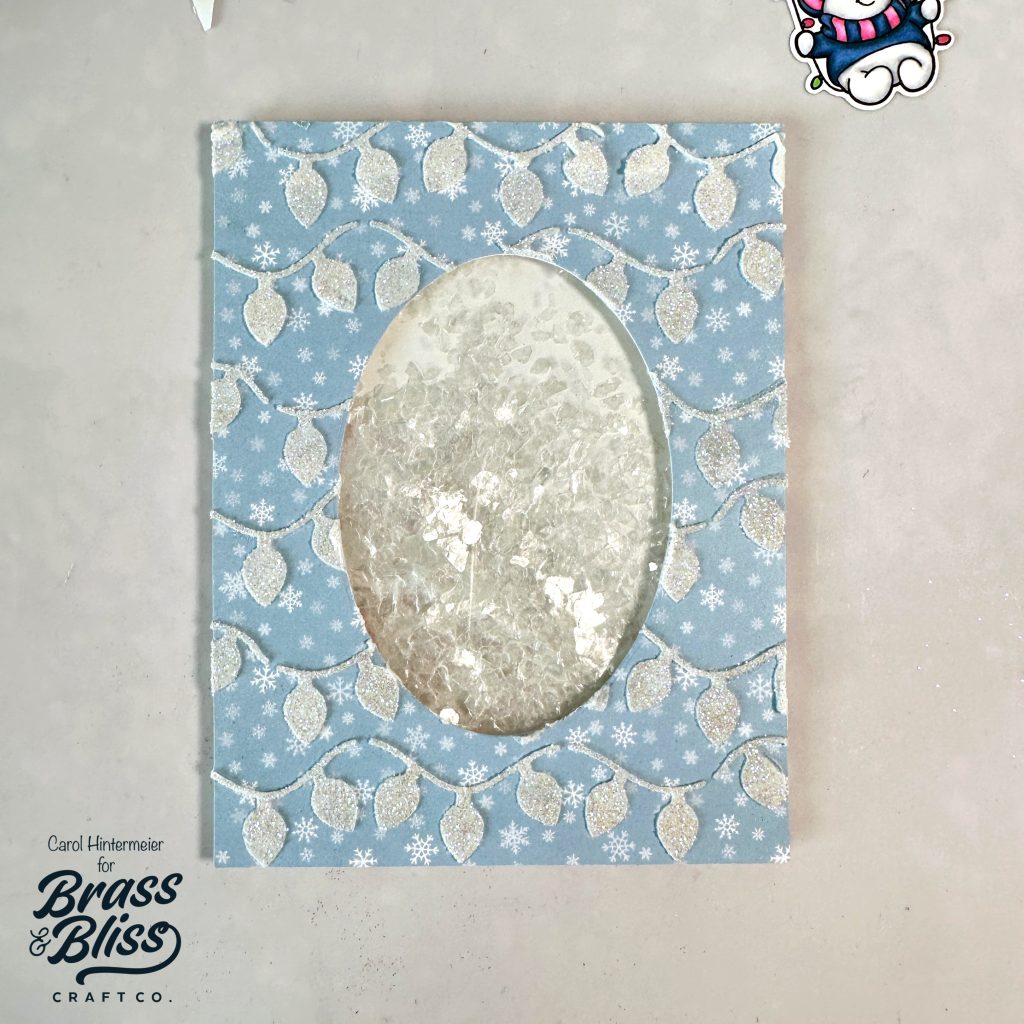
- Next place the 4305 Christmas Lights Stencil over the die cut patterned paper and secure with removable tape.
- Spread opaque white texture paste through the stencil with a palette tool.

- Before removing the stencil, sprinkle iridescent white glitter over the texture paste.
- Gently pat down the glitter with your fingers.
- Remove the stencil. Be sure to wash the stencil and tools immediately.
- Set the piece aside to dry.

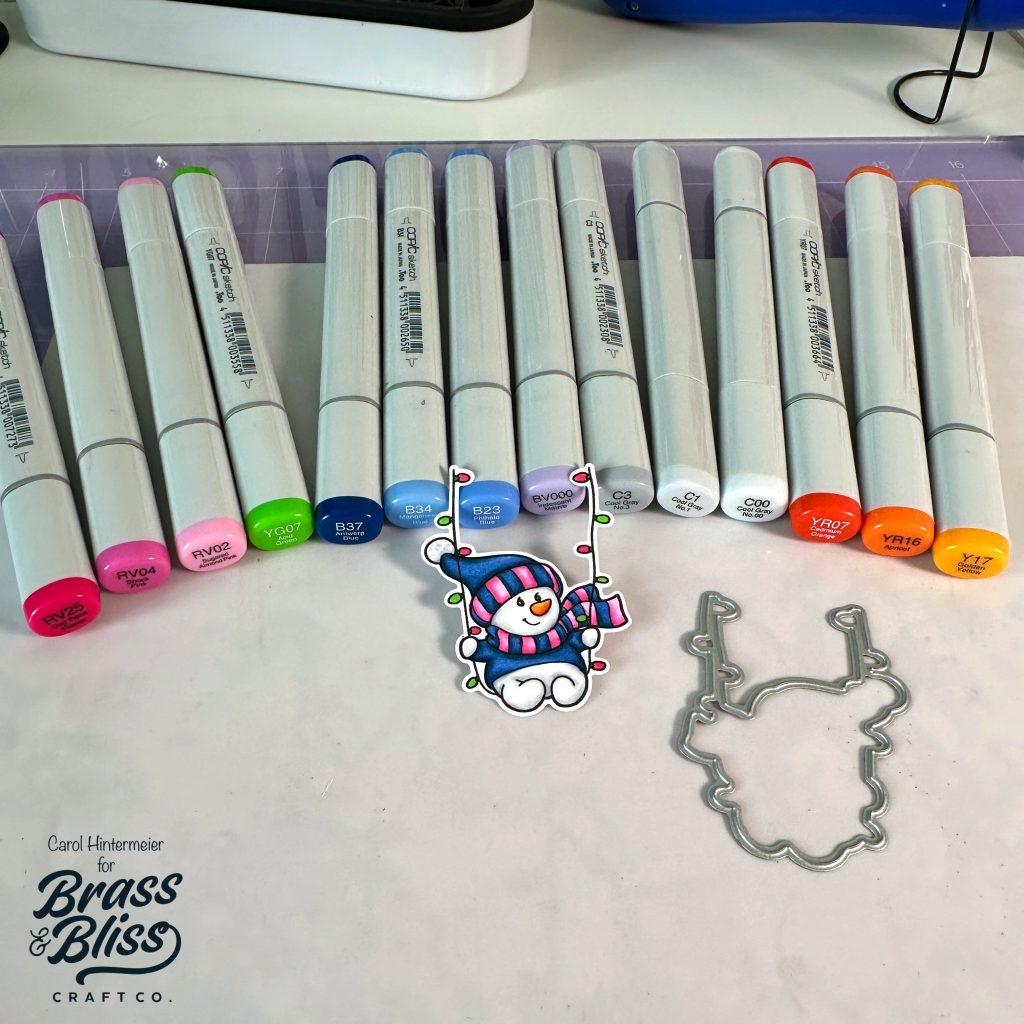
- Stamp the snowman from the 36039 Snowman Cheer stamp set with Copic safe black ink.
- Color the image with your markers.
- Die cut the snowman with the coordinating 36039D Snowman Cheer die.
- The next photo shows the colors I used.
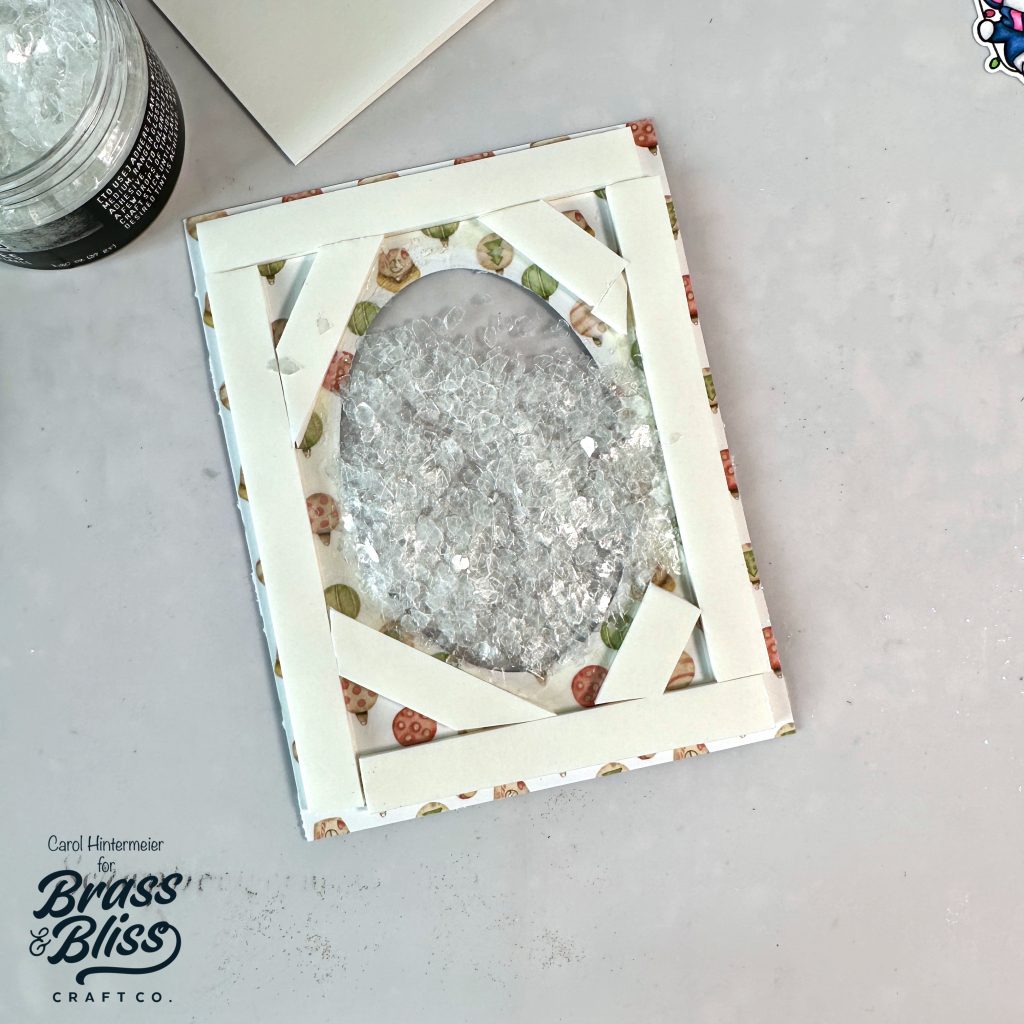
- Now we will create our shaker window.
- On the back of the die cut patterned paper, add double sided adhesive around the oval.
- Adhere a piece of acetate to completely cover the oval opening.
- Next add double thick foam tape around the edges of the panel as shown.
- Add in your desired shaker embellishments for the snow scene.
- Gently remove the backing of the foam tape.
- Adhere an A2 card base to the foam tape to close the shaker window.
- Now you have a super fun shaker!
- Stamp the sentiment from the 36039 Snowman Cheer stamp set with Versamark embossing ink onto blue paper from the 2015 Snowflake Fun paper pad.
- Add white embossing powder and heat set the sentiment.
- Die cut the sentiment with the third smallest of the 5030D Nested Scallop Oval Dies.
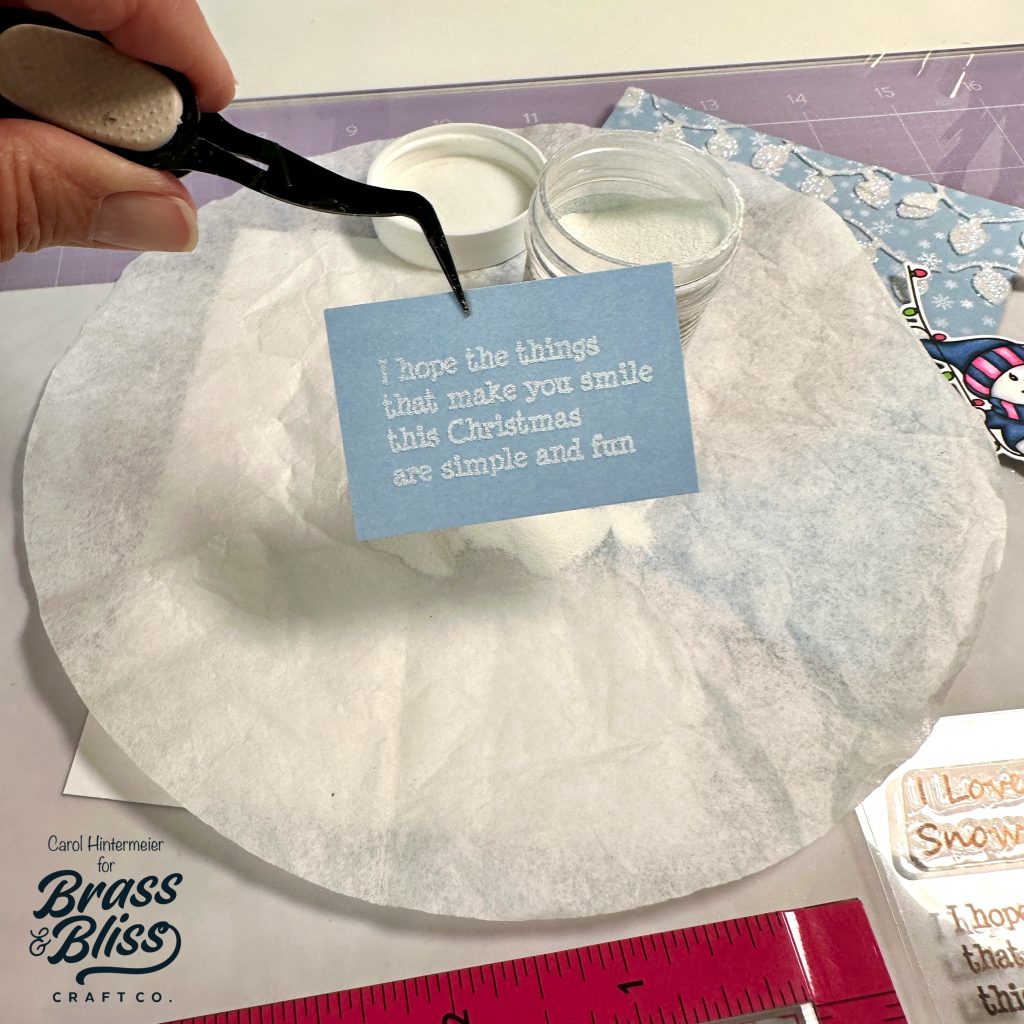
- Next die cut white cardstock with the 5510-01D Branch Die.
- Use a brown Copic marker to color it.
- Add the look of snow to the branch with a white gel pen.
- Trim about ¼” off of the branch end.
- Add a few dots of glue at each end of the branch to adhere it over the shaker window.
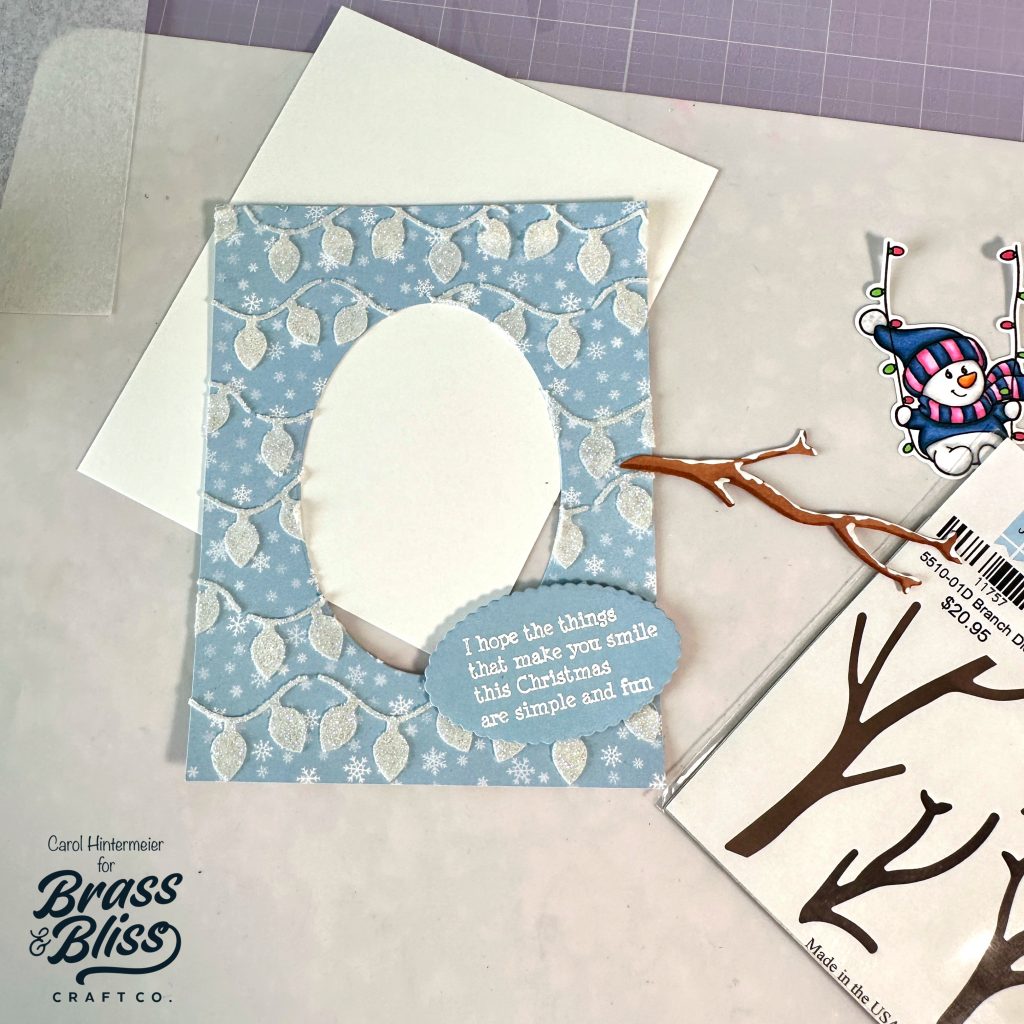
- Add foam tape to the back of the die cut snowman and dots of glue at the top of the string of lights to adhere to the card.
- Adhere the die cut sentiment to the card with with foam tape.

So festive. So fun. We are dazzled by this card and really hope you enjoyed seeing how to make a glitter texture paste shaker card for Christmas. This project would look great in different colors, utilizing different pattered paper for the background. Whoever is the recipient of this card is going to want to save this and put it on display! So, what are you waiting for? Shop these products and make a version of your own! Be sure to follow us on Instagram and tag us in any of your creations using hashtag #brassandblisscraftco so we can share it with our crafty community!