
We are giving your permission to use your stencils, stamps and dies for more than cards; let’s get crafty and create some fun tags for those upcoming Christmas gifts!
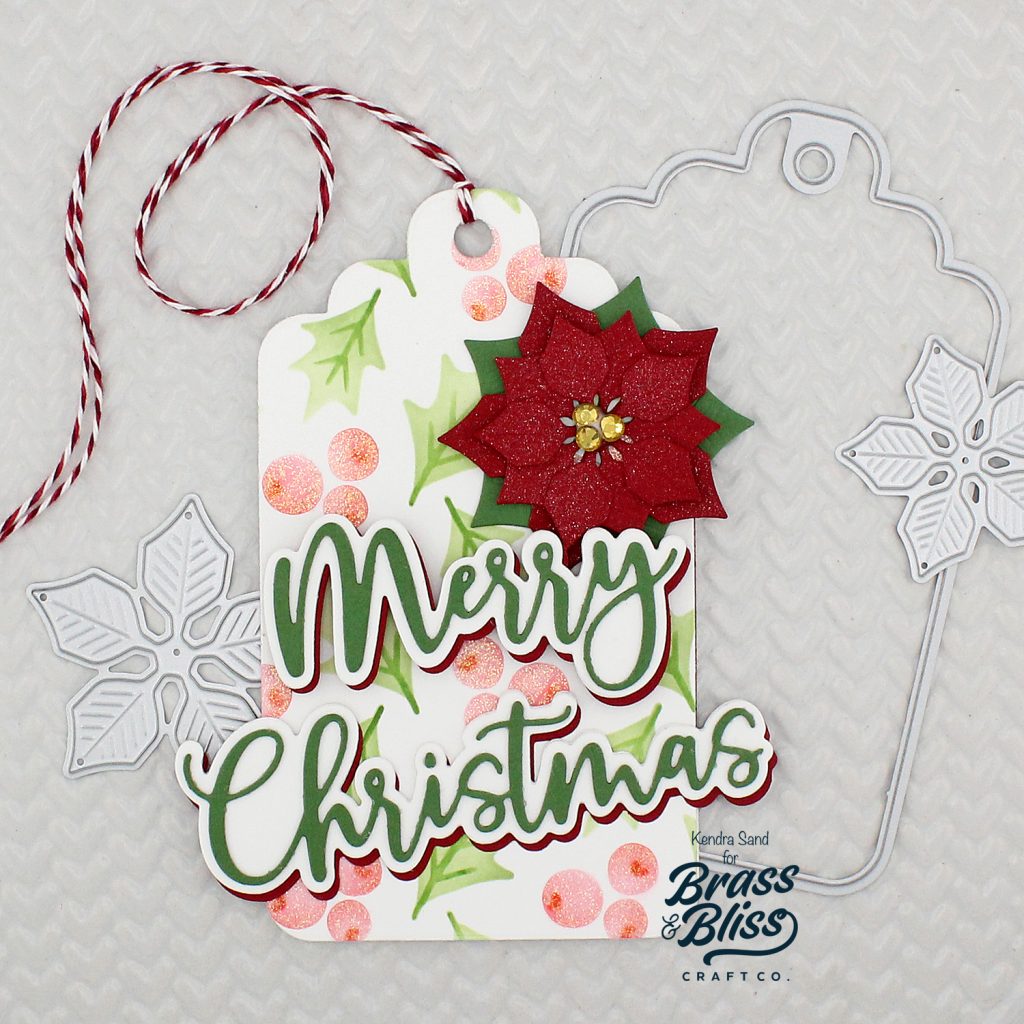
With the latest ‘Holly Jolly’ Release, our designer, Kendra, has been in the Christmas spirit and thought it would be fun to create a holiday tag for today’s project!! We love creating cards for every occasion, but sometimes it’s fun to step away from a standard A2 size and get creative on small gift tags. Today our designer, Kendra, is showing us how to stencil holiday tags for Christmas, and we are loving this festive design!
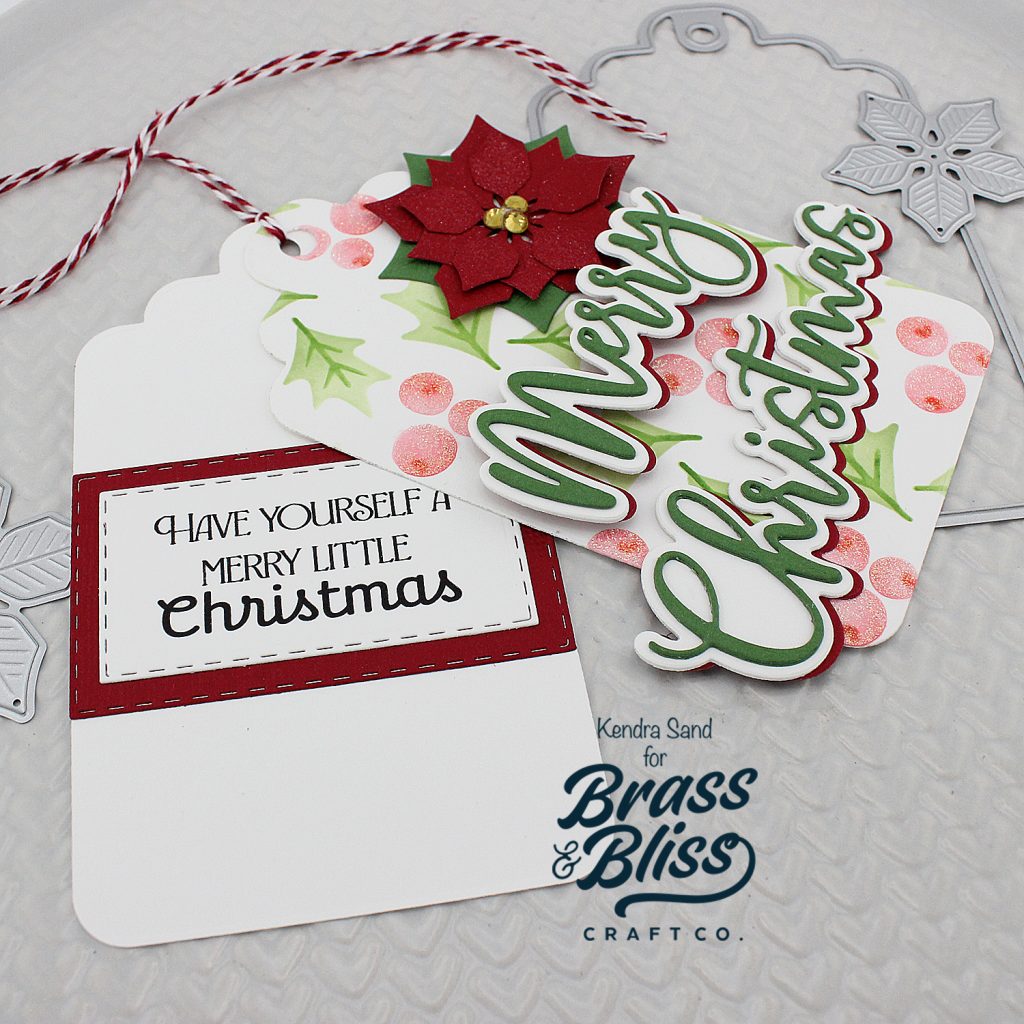
How to make this tag:
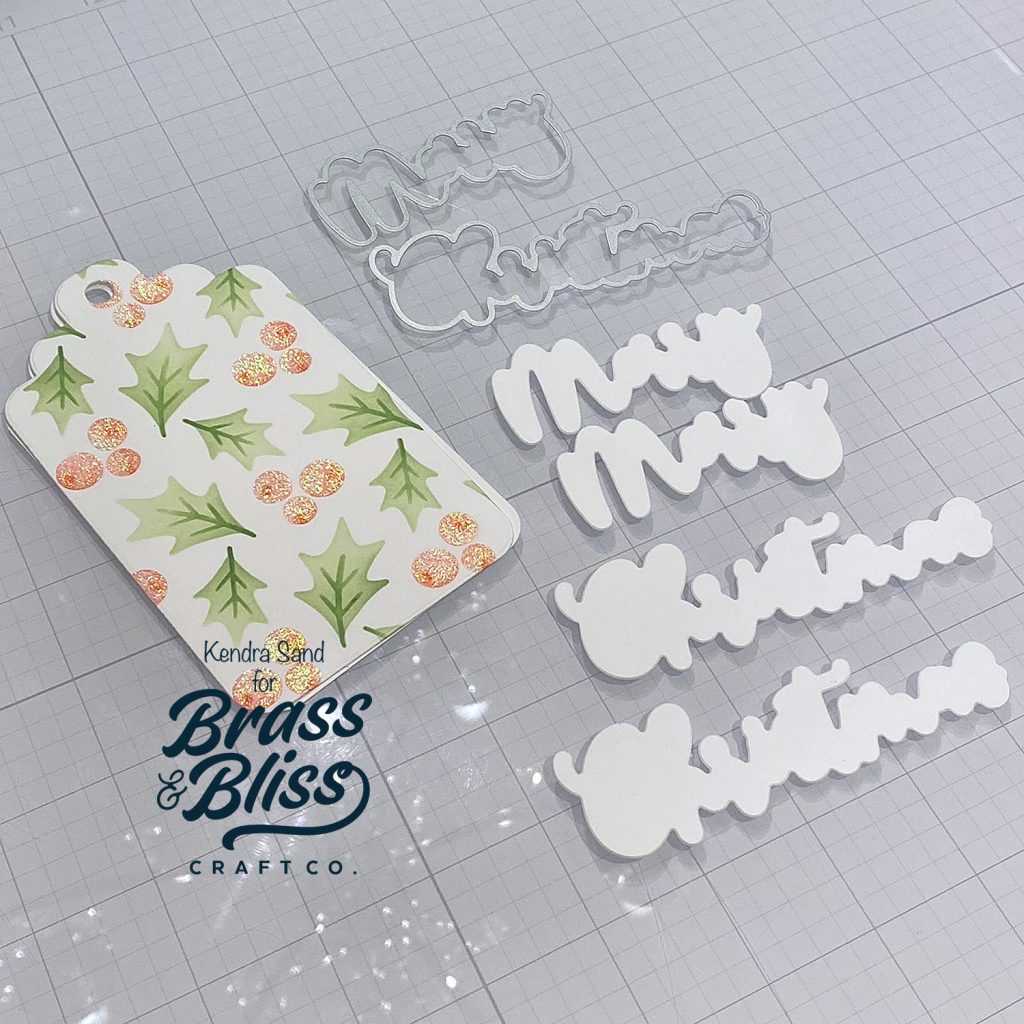
- Die cut the largest tag from the ‘5514-02D Holiday Tags Die‘ two times from white cardstock. (Set one aside for now)
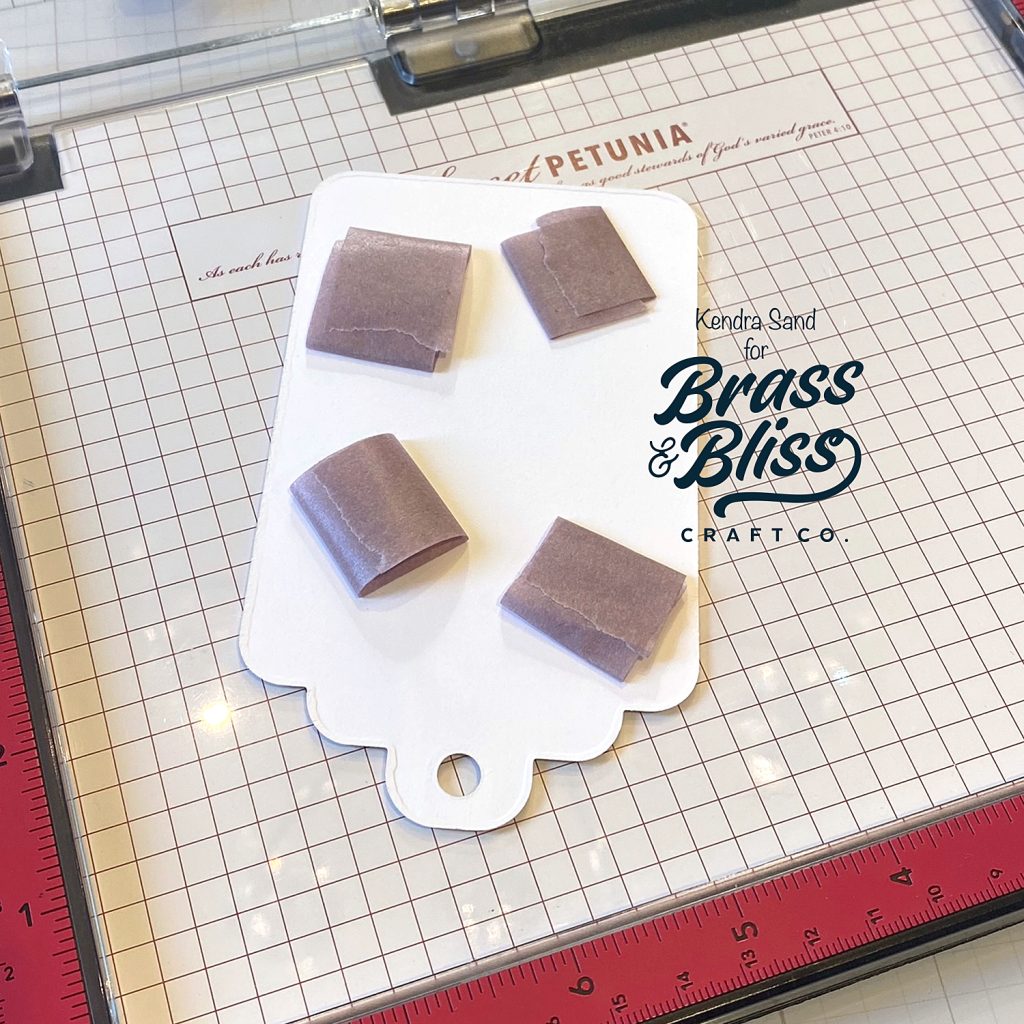
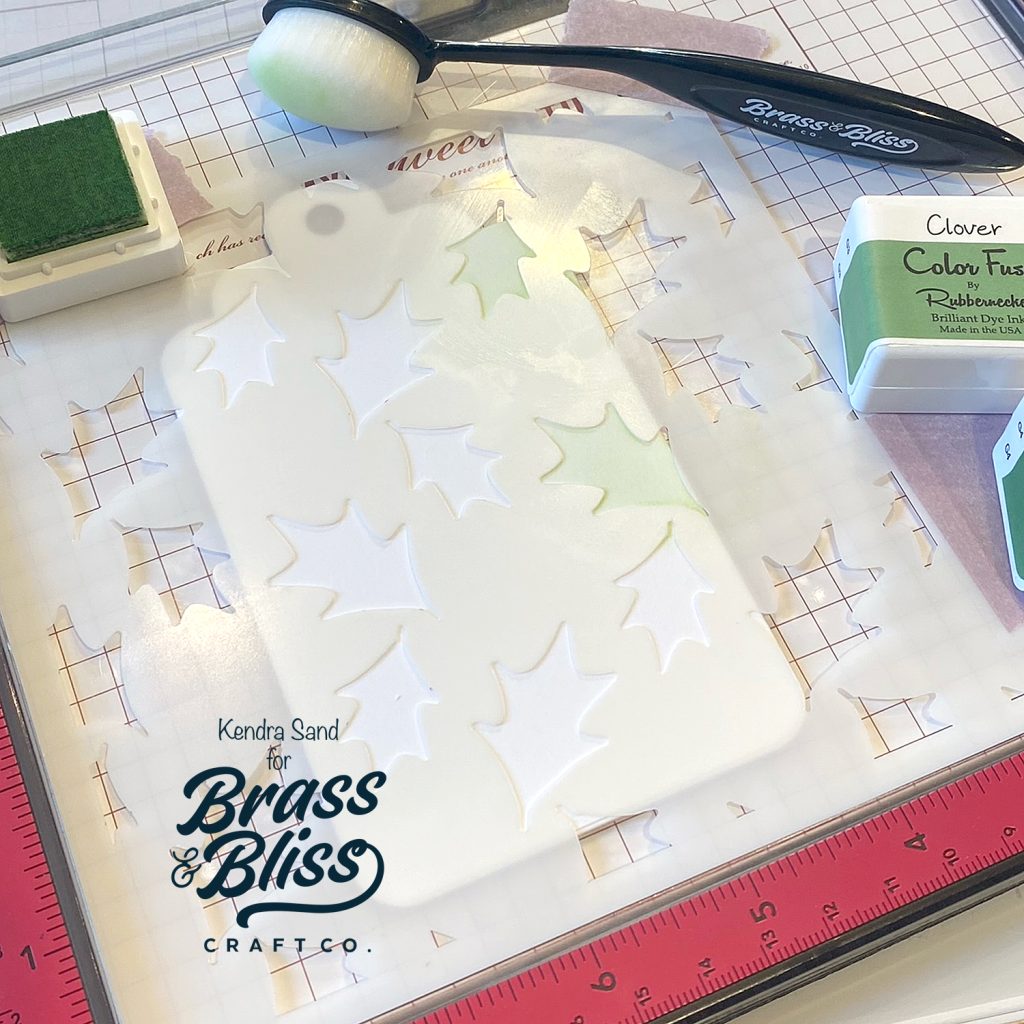
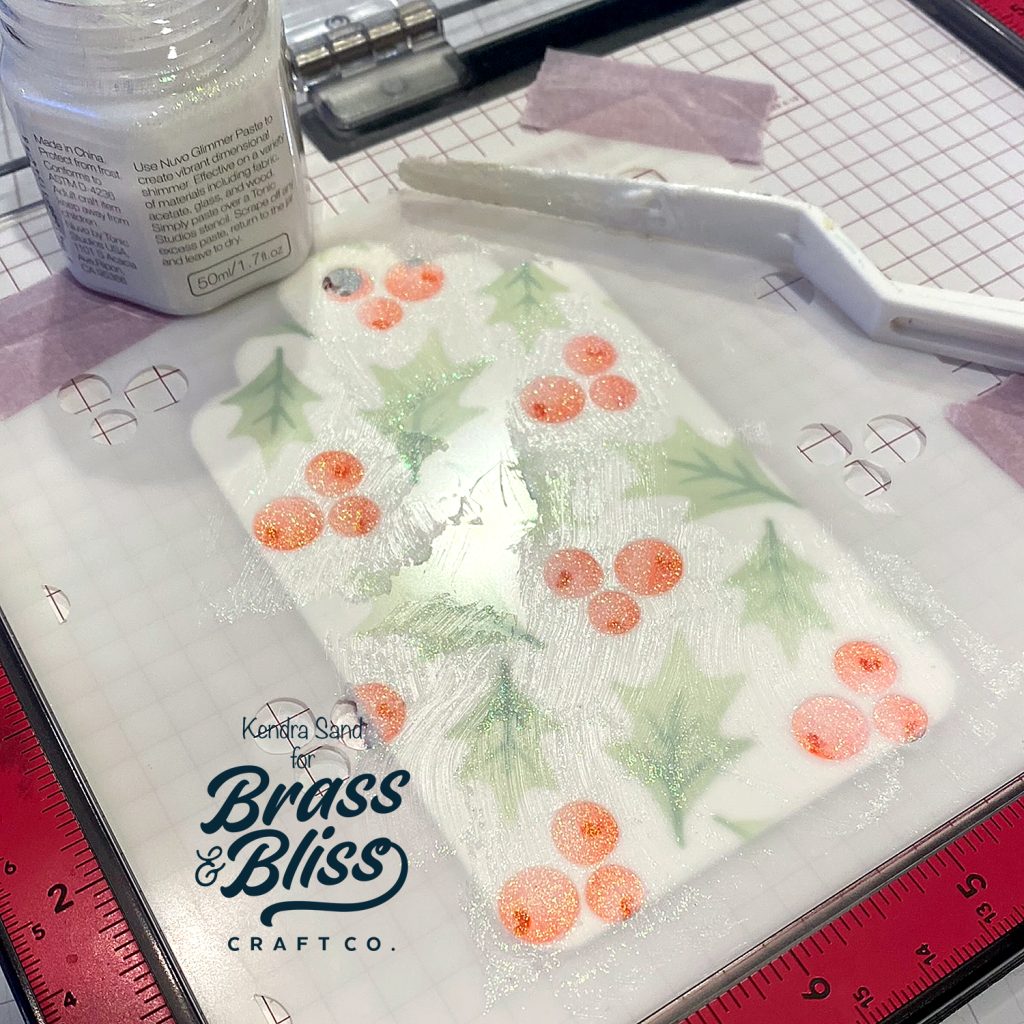
- Add low tack painters’ tape to the back of the tag and place in your stamp platform. Kendra decided to use her platform since the stencil set she is using, has three stencils. That way aligning the stencil will be easy. Place the ‘leaf’ stencil from the ‘4213 Holly and Berries Stencil‘ set tight against the bottom left of your platform. (Align each layer here.) Ink using Color Fuse Set #10; Mist and Clover with the Detail Blending Brushes.
- Ink the ‘berry’ layer with Color Fuse Set #4; Posey and Nectar.
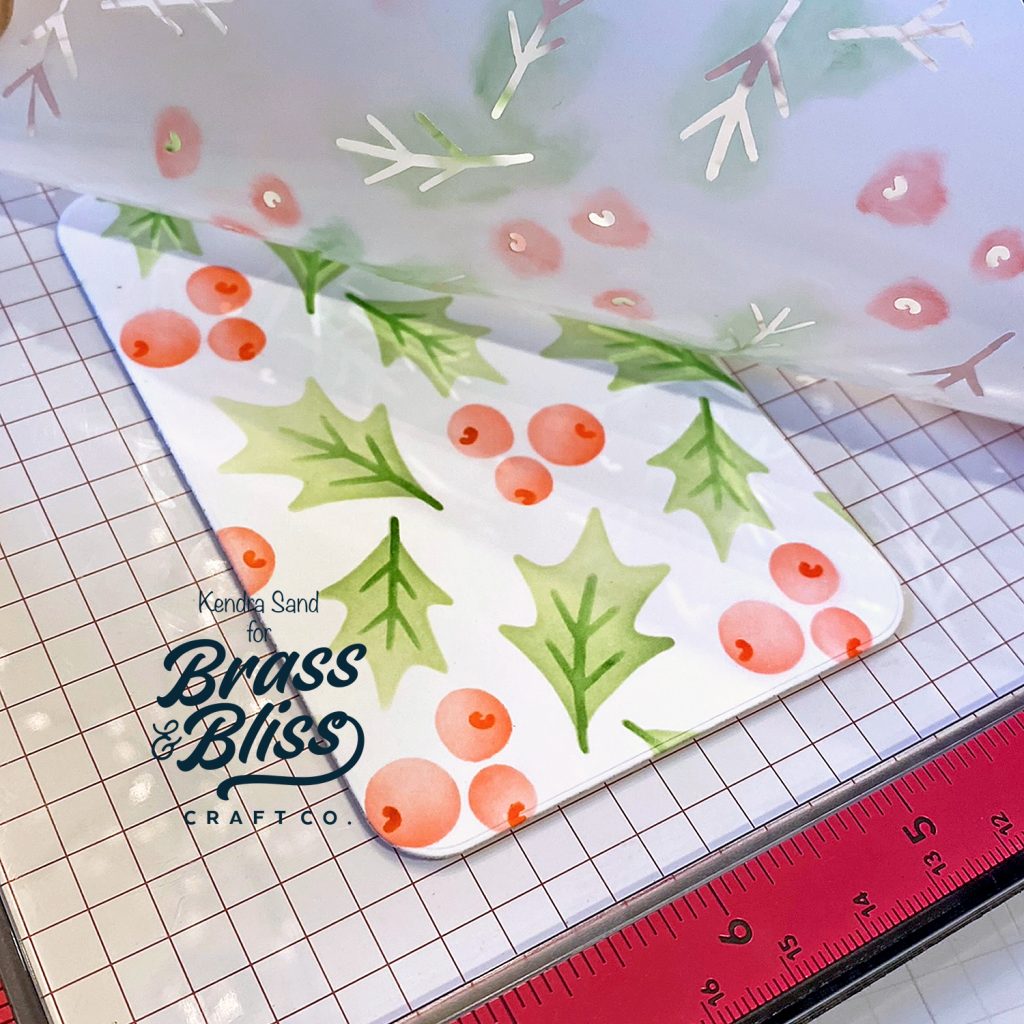
- Ink the ‘berry and leaf detail’ layer with Color Fuse Set #10; Basil and Color Fuse Set #4; Crimson.
- Place the ‘berry’ layer in your platform again. Add sparkly paste to stencil! (If you don’t have a sparkly paste, you could use a translucent paste and add your own glitter!) Remove from platform and set aside to dry.
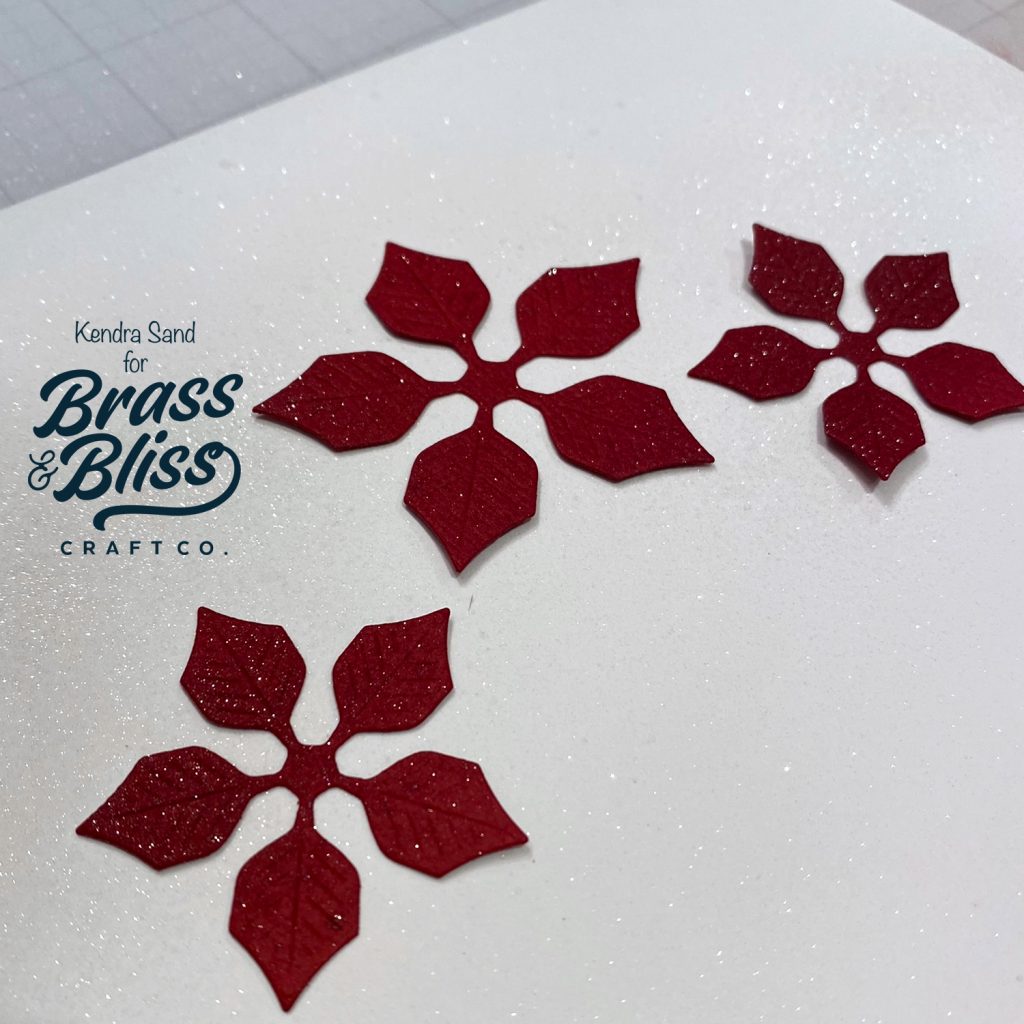
- Die cut the smallest poinsettia layer from ‘5716-03D Large Stacked Poinsettia Die‘ from red cardstock two times. Die cut the second from smallest layer once from red cardstock and once from green cardstock. Spritz the red layers with a sheer sparkle. Adhere poinsettia together. Adhere to upper right of tag.
- Add rhinestones to center of poinsettia.
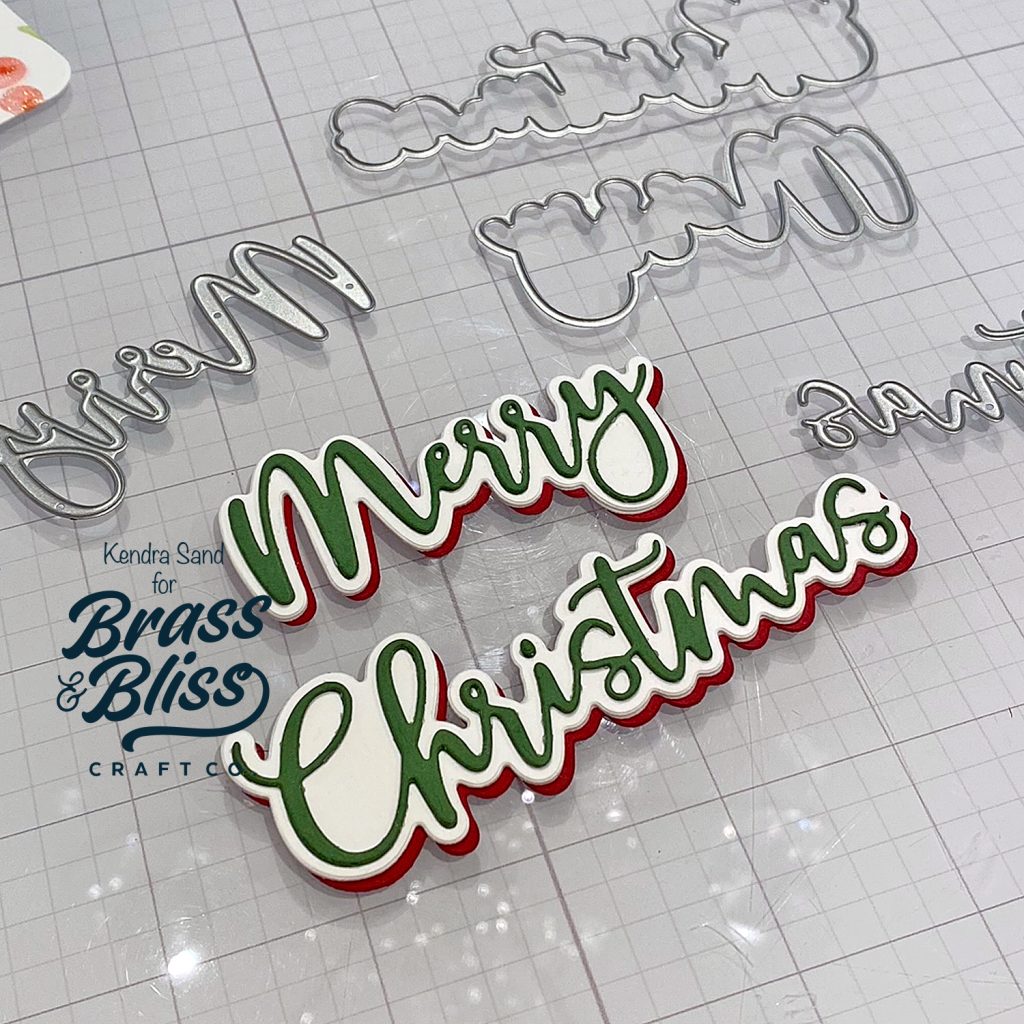
- Die cut the shadow layers from the ‘5515-12D Merry Christmas w/Shadow Die‘ from white card stock two times. You only need to do once if you’d like, but Kendra likes to do this to give extra dimension and stability. Adhere layers together. Die shadow layers again from red cardstock once. Adhere slightly below and to the left of the white layer.
- Die cut the ‘Merry’ and ‘Christmas’ from green card stock, two times. Adhere together and then adhere to shadow layer. Adhere ‘Merry’ to tag with foam tape and ‘Christmas’ with glue.
- Place die cut tag that was set aside earlier behind decorated tag, add twine.
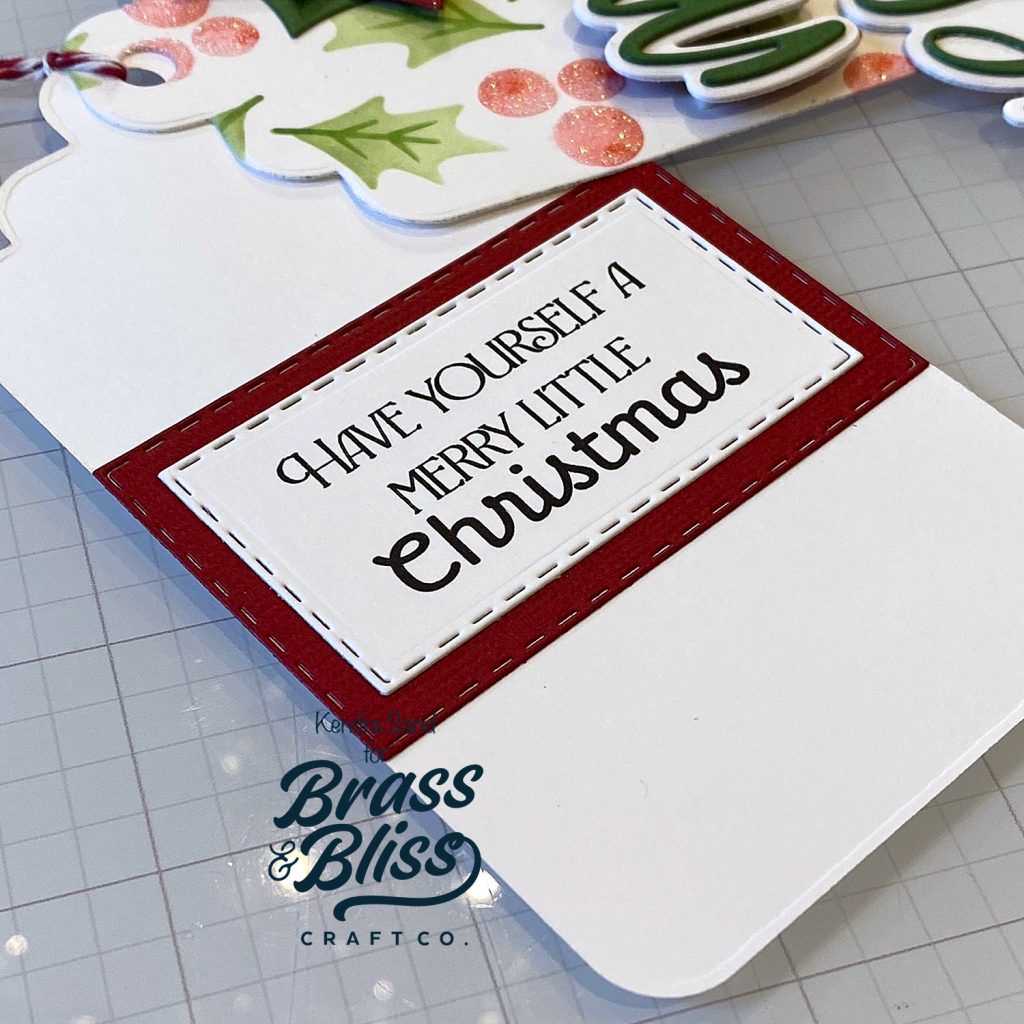
- Die cut second from smallest rectangle from ‘5013D Nested Rectangle Small Stitch Die Set‘ from red cardstock. Slide decorated top tag to the side and adhere red rectangle about 1.25″ from bottom of tag.
- Die cut smallest rectangle from ‘5013D Nested Rectangle Small Stitch Die Set‘ from white cardstock. Stamp ‘Have Yourself A Merry Little Christmas’ sentiment in black ink from ‘36045 Let It Snow Set‘. Adhere to red rectangle layer. (There is room under the rectangle layers to write your ‘to’ and ‘from’ when ready!)
Gift Tags are so fun to create and so versatile. When we are in the mood to craft, but don’t have a ton of time, we like to stock up on tags. Be sure to pin this project for future reference, and we hope you try tho stencil holiday tags for your next project! Follow us on Instagram for more inspiration!