
Winter Cards are so versatile because they can incorporate the holidays, or just the feeling of the season. This crisp and colorful snowflake card is making us dream of sweaters and hot cocoa.
Today’s stenciled project is from our designer, Kendra, who has chosen beautiful hues of pink and blue to bring this winter snowflake card to life. The cool tones really make this design feel chilly and we adore the simplicity of a gentle ink blend to highlight the softness of the snowflakes. Follow along with Kendras instructions to recreate this project and learn how to make a bright snowflake stenciled card of your own.

- Kendra started her card by creating an A2 sized card base.
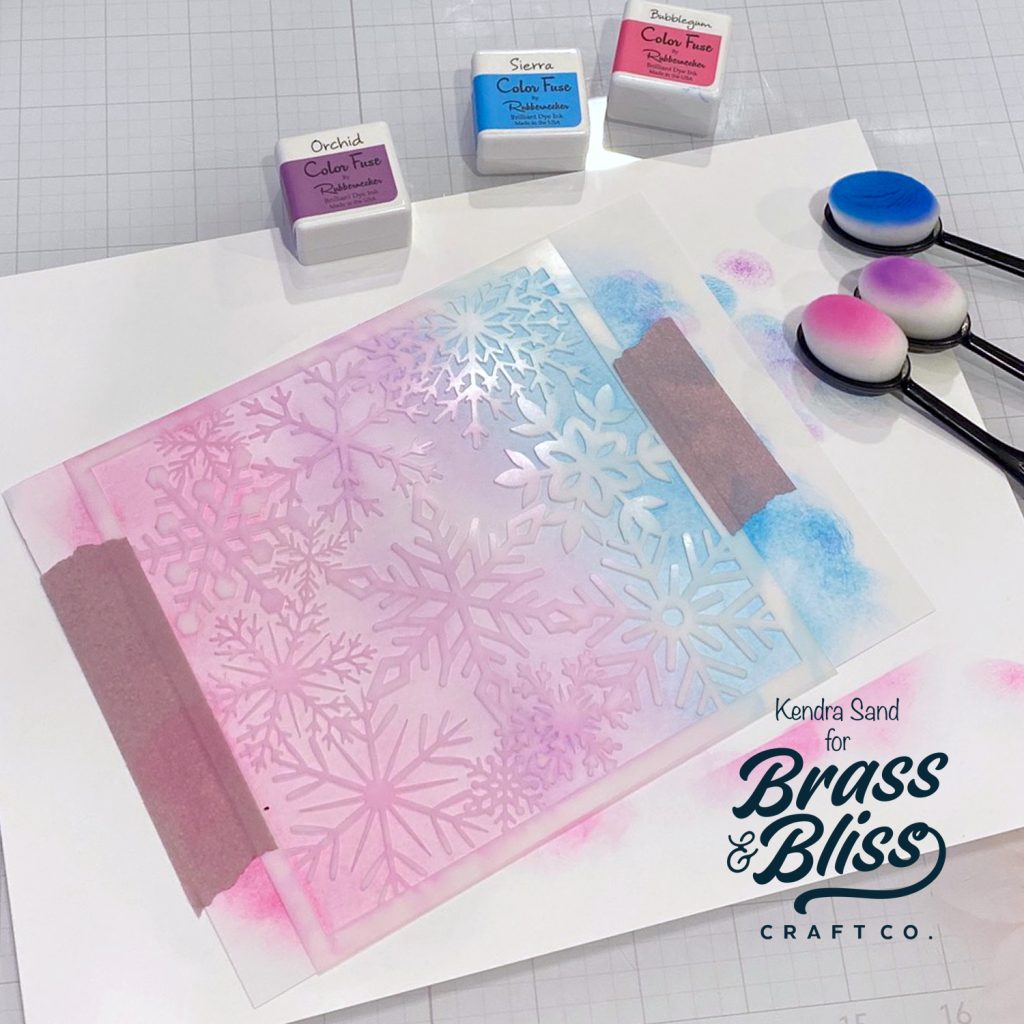
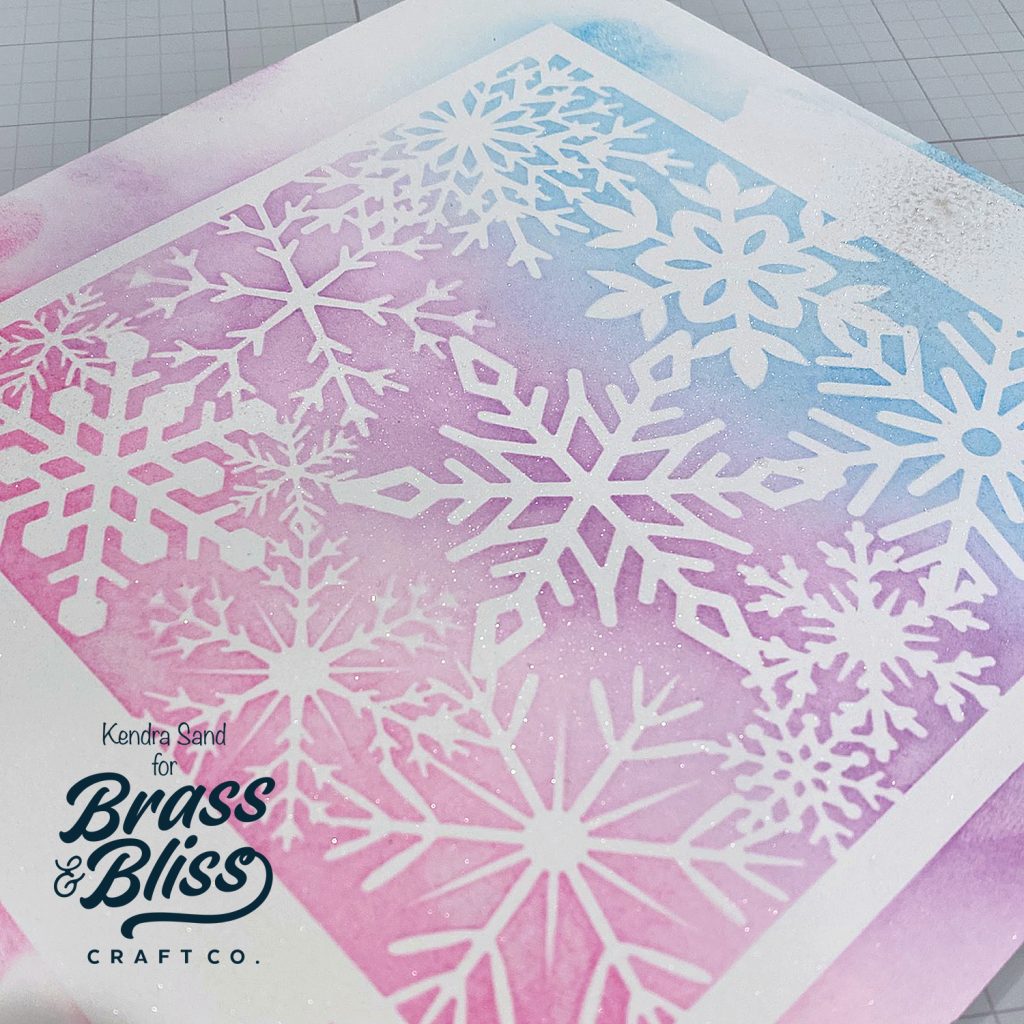
- Ink ‘4123 Snowflake Stencil‘ with Color Fuse Set #5; Bubblegum, Color Fuse Set #6; Orchid and Color Fuse Set #8; Sierra on smooth white cardstock to your liking. Remove stencil. Lightly spritz with sparkly mist.
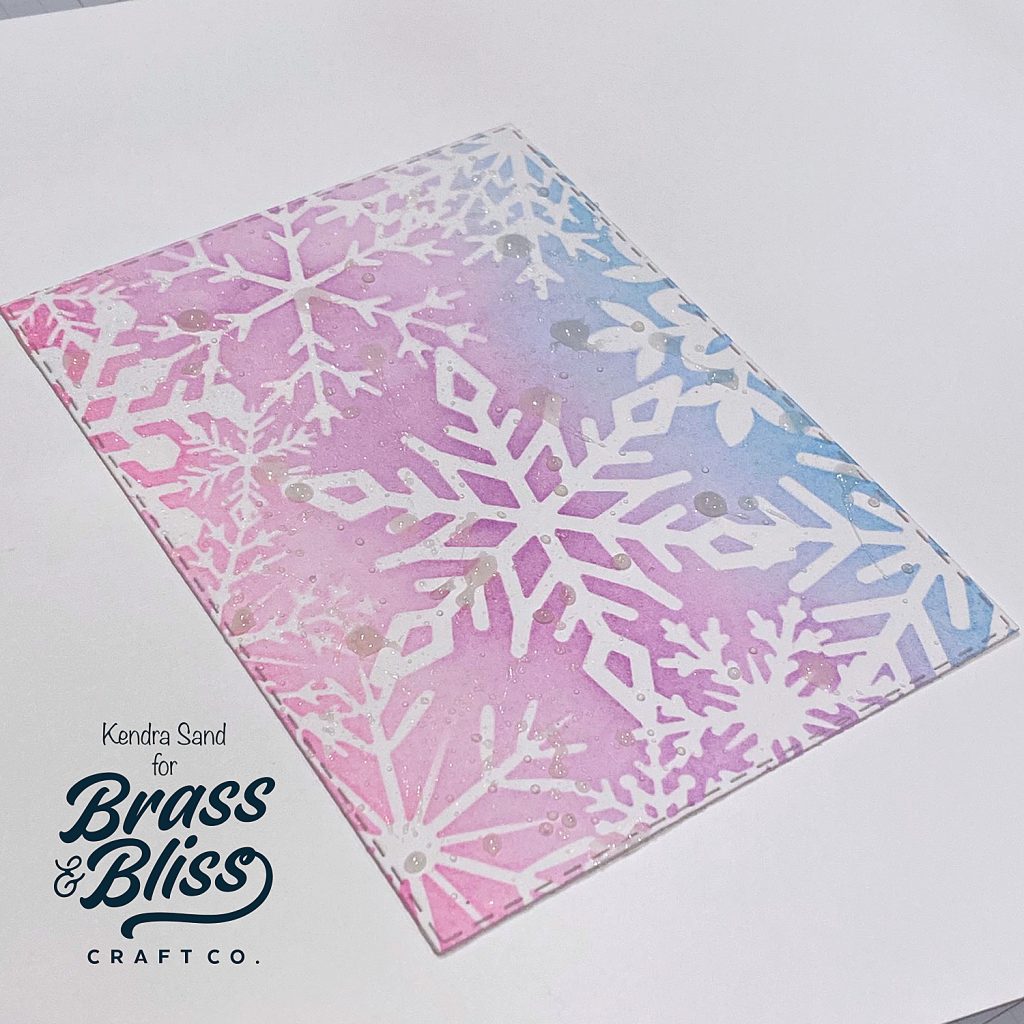
- Die cut stenciled design with second from largest die from ‘5013D Nested Rectangle Small Stitch Die Set‘.
- Spritz some goosebumps spray on die cut layer. (Kendra likes the texture it gives, along with the wet look. Almost makes it look like a wintery storm!) Set aside to dry.
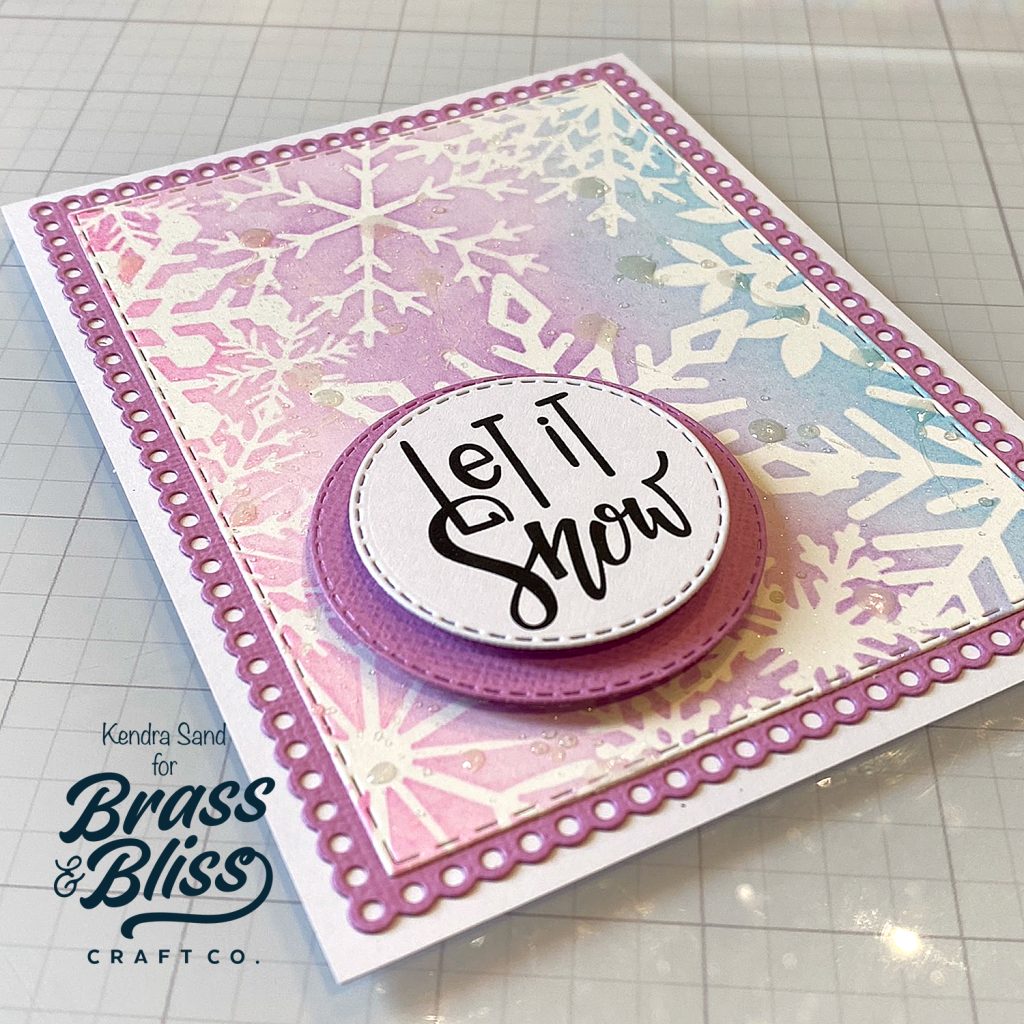
- Die cut the largest scallop rectangle from the ‘5719D Small Scallop with Holes Die‘ from orchid colored cardstock. Adhere behind stenciled design. Adhere to card base.
- Die cut fourth from smallest circle from ‘5012D Nested Circle Small Stitch Die‘ from orchid cardstock.
- Die cut third from smallest circle from ‘5012D Nested Circle Small Stitch Die‘ from white cardstock. Stamp ‘Let it Snow’ sentiment from ‘36045 Let It Snow Set‘ in black ink. Adhere to orchid circle with pop dots. Adhere to card base with pop dots near bottom left corner. (This would make a great CAS card for the holidays, by leaving as is, but Kendra loves die cut snowflakes!)
- Die cut one large and one medium snowflake from the ‘5716-02D Large Snowflake Die‘ set and one small snowflake from the ‘5513-07D Snowflake Dies‘ set from white glittery paper. Adhere to card base around sentiment.
- Add a rhinestone to the center of each of the snowflakes. Add five smaller rhinestones around the snowflakes.
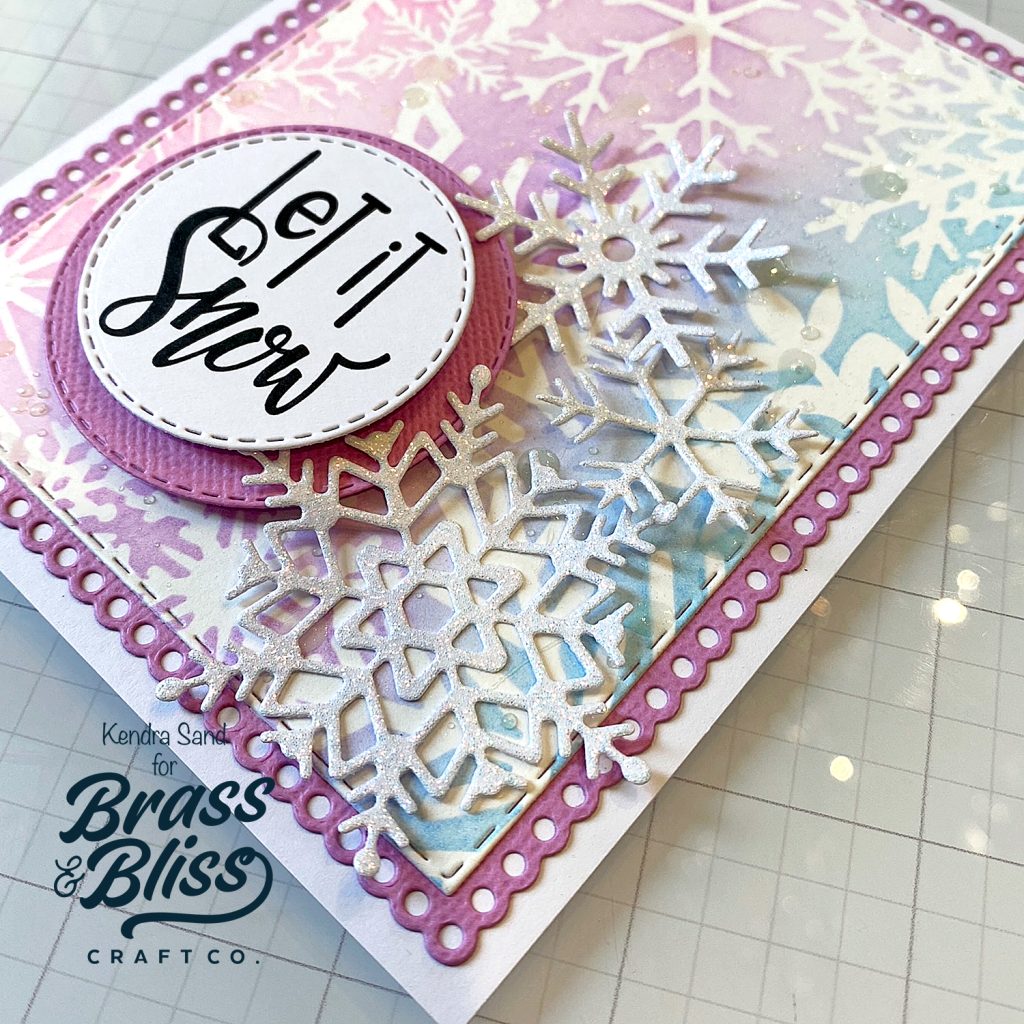
Look at the detail of those glittery snowflakes against that soft ink-blended background. We are in love with the results of this project and hope you loved following along to see how to make a bright snowflake stenciled card. Pin this project for later and check out other ways to use stencils in your daily card making projects!