
During today’s post we will be creating a fall shaker card. The cute little leaves within the shaker window is reminiscent of leaves falling from the trees during a fall day.

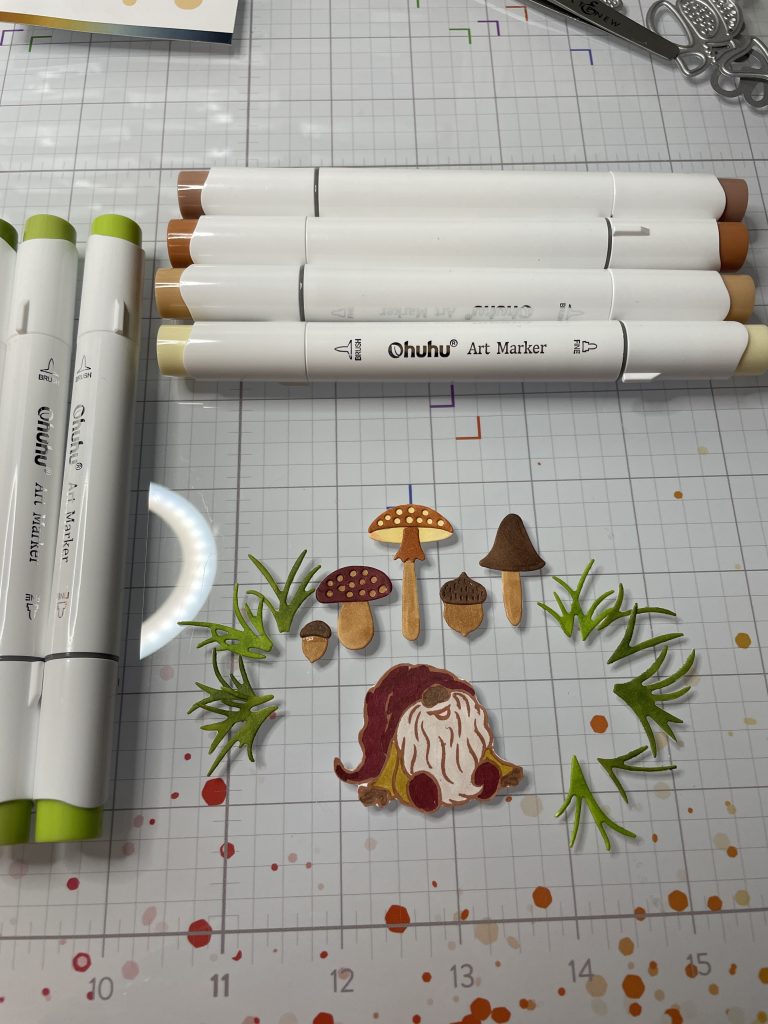
- Start with die cutting 5623-02D Fall Mushroom Acorn Die and 5210-02D – Grass #2 Die. Once those are cut, color using your favorite alcohol based markers, then glue the mushrooms and acorn pieces together and set to the side.
- Next, on while card stock, stamp the your favorite gnome from the 35026 Autumn Gnomes stamp set in brown ink. I used Cinnamon from Color Fuse Set #3. I then colored it and fussy cut it out. If you are not a fan of fussy cutting there are dies available for this set; 35026D Autumn Gnomes Coordinating Die.
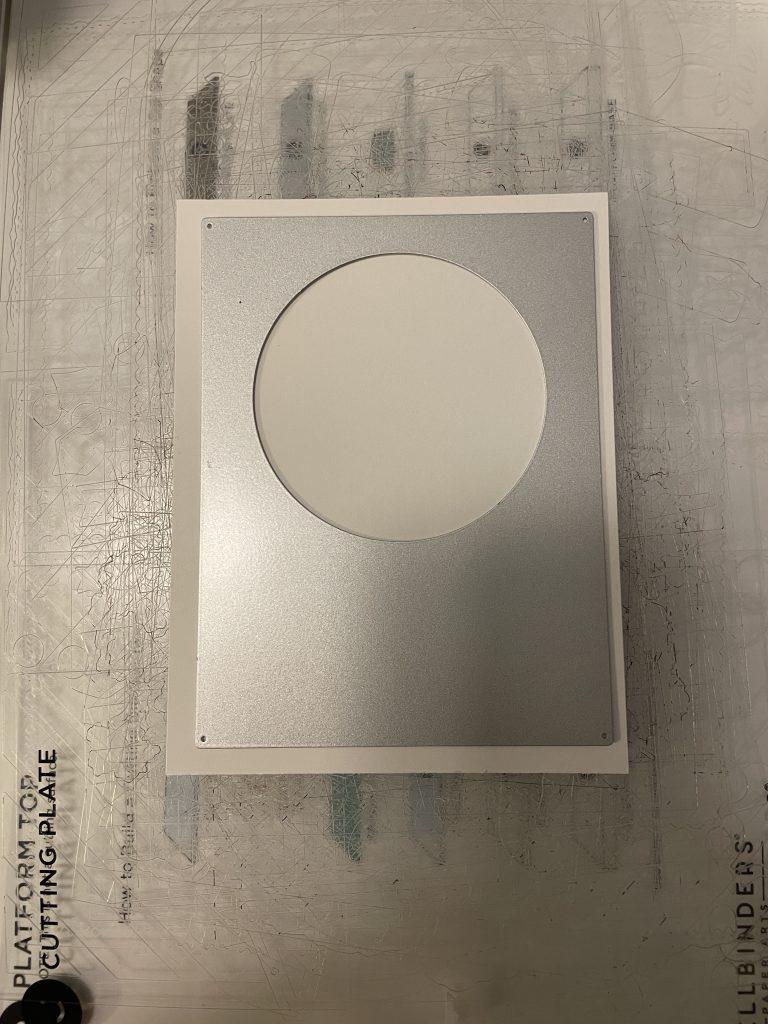
- Now, from a white piece of card stock, die cut using the cover plate die from 5527D Peek-a-Boo Triple Cover Die.
- Next, die cut out several wood planks using the 5708-02D Wood Planks Die. I used light brown card stock for this (Crumb Cake if your a familiar with SU’s colors). Once they were cut, I colored half of them using Clover ink and the other half with Basil ink, both from Color FuseSet #10.
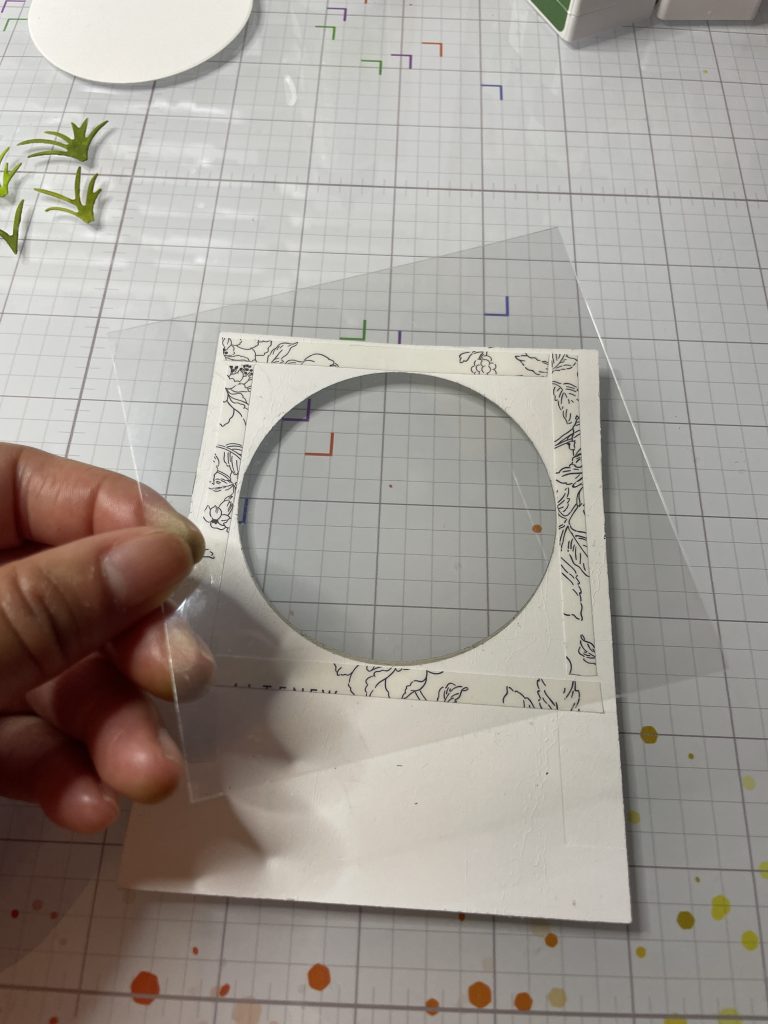
- Once the coloring is done, create your card base. 4 1/4 x 5 1/2 from a medium brown sheet of card stock. I randomly glued down the wood planks onto the card panel. The extra parts that hung over the sides of the card, I cut off so that I was able to use them on other areas of the card. For the over hang in the circle, don’t attempt to cut this. We will clean this up in a later step.
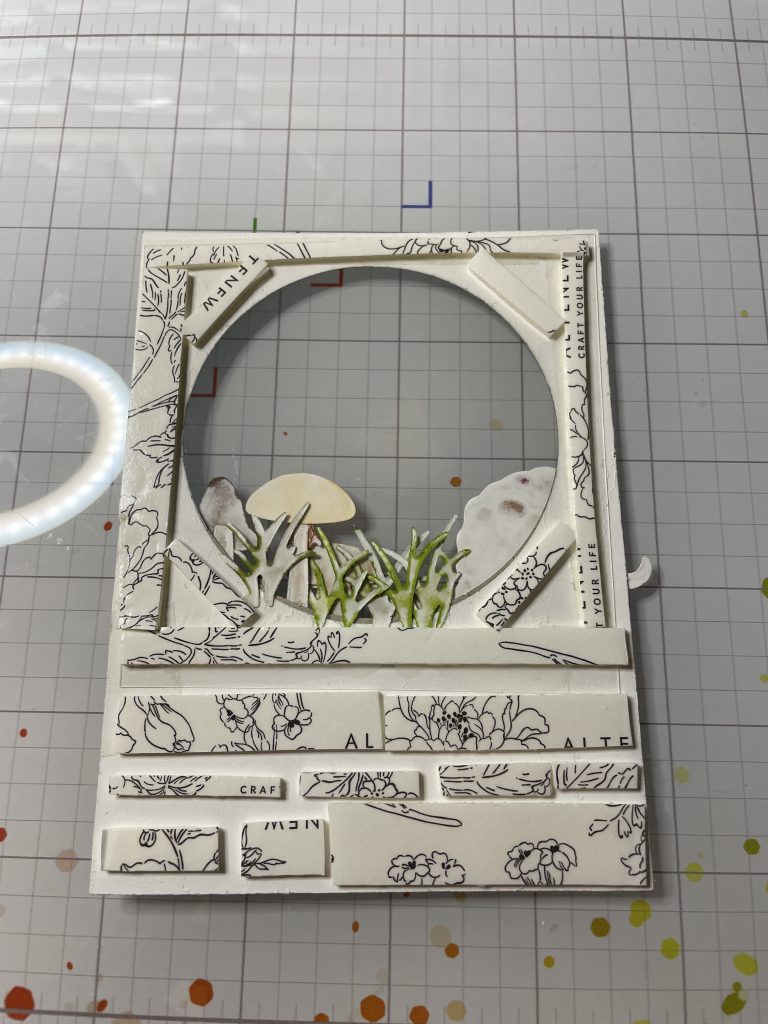
- Once the card is fully covered with the wood planks, I carefully placed the card panel back onto the cover plate die. To make sure the die did not shift during cutting, I secured it with some post-it tape. (If you are wondering why the photo below is not showing the green wood planks, it’s because I forgot to take a photo of this step while I was originally creating the card. So I recreated the card panel using a different color scheme). Place face up in your die cut machine. This step will cut the over hang thats in the middle of the circle.
- Now you can start arranging and glueing down your grass, mushrooms, and gnome in around the bottom edge of the circle. I made sure to hide the base of the grass pieces behind the circle.
- Once you are complete with your arrangement, add a piece of clear acetate to the back of the card panel.
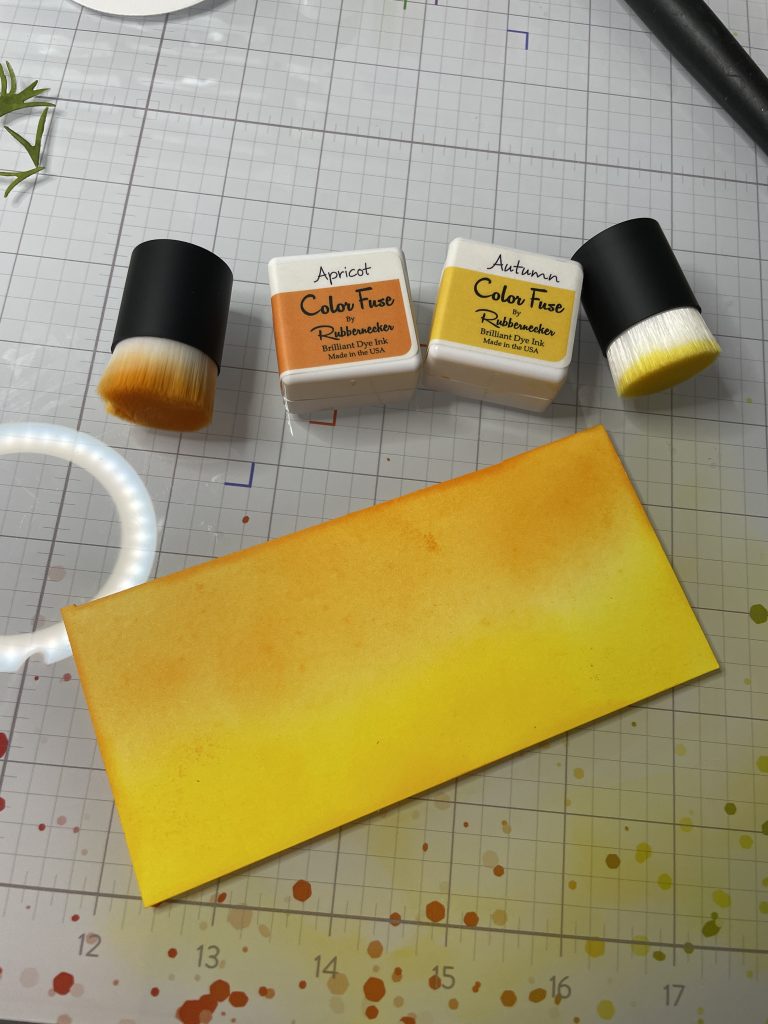
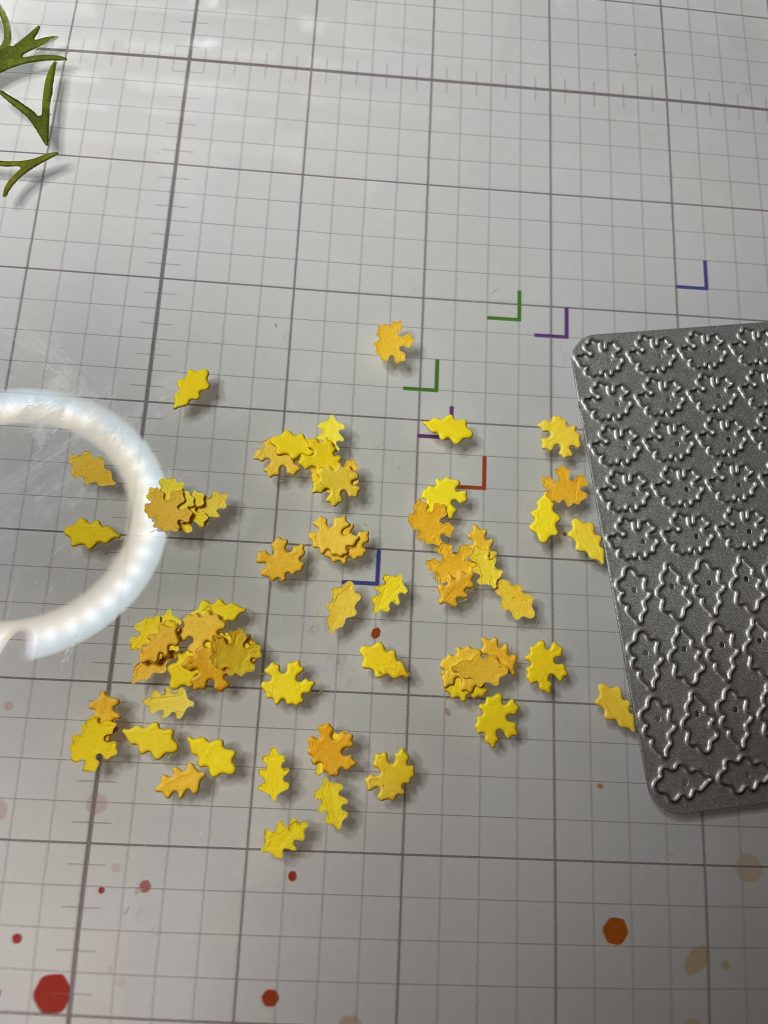
- Now lets work on the leaves. On a piece of white card stock, ink blend Apricot, from Color Fuse Set #2 , and Autumn, from Color Fuse Set #1. I ink blended both sides of the paper. This way if the leaves somehow flipped over, the leaves would have color on both sides. Once your coloring is complete, die cut using 5162-04D Tiny Leaves.
- Now, I personally like to have some of the shaker bits showing when the card is still. So decided to randomly glue down several leaves onto the card panel. Once I was done with that, I added the rest of the leaves to the middle.
- Now, using a sentiment from 5623-02D Fall Mushroom Acorn Die, stamp onto your card panel using your Misti. You may need to stamp, re-ink, and stamp again to make sure the ink fully saturates. Once complete, add some foam tape to the back of your card panel. Then carefully add to your card base, making sure its centered. Now shake away!!



We hope you loved this card and feel inspired to create your own Fall Gnome Card! Happy Crafting!