Looking for easy ways to make interactive cards? A Shaker Card is a fun way to add a little extra to your handmade creation and cover dies make the process simple!
Today’s projects are from our designer, Lisa, who says, “I love these fun new Halloween Cover Dies and they are so fun to make quick shaker cards from!” We agree. These projects are so fun and simple and really pack a punch! Follow along as Lisa shows off two different cards that use cover dies to create a ‘shaker’ effect!
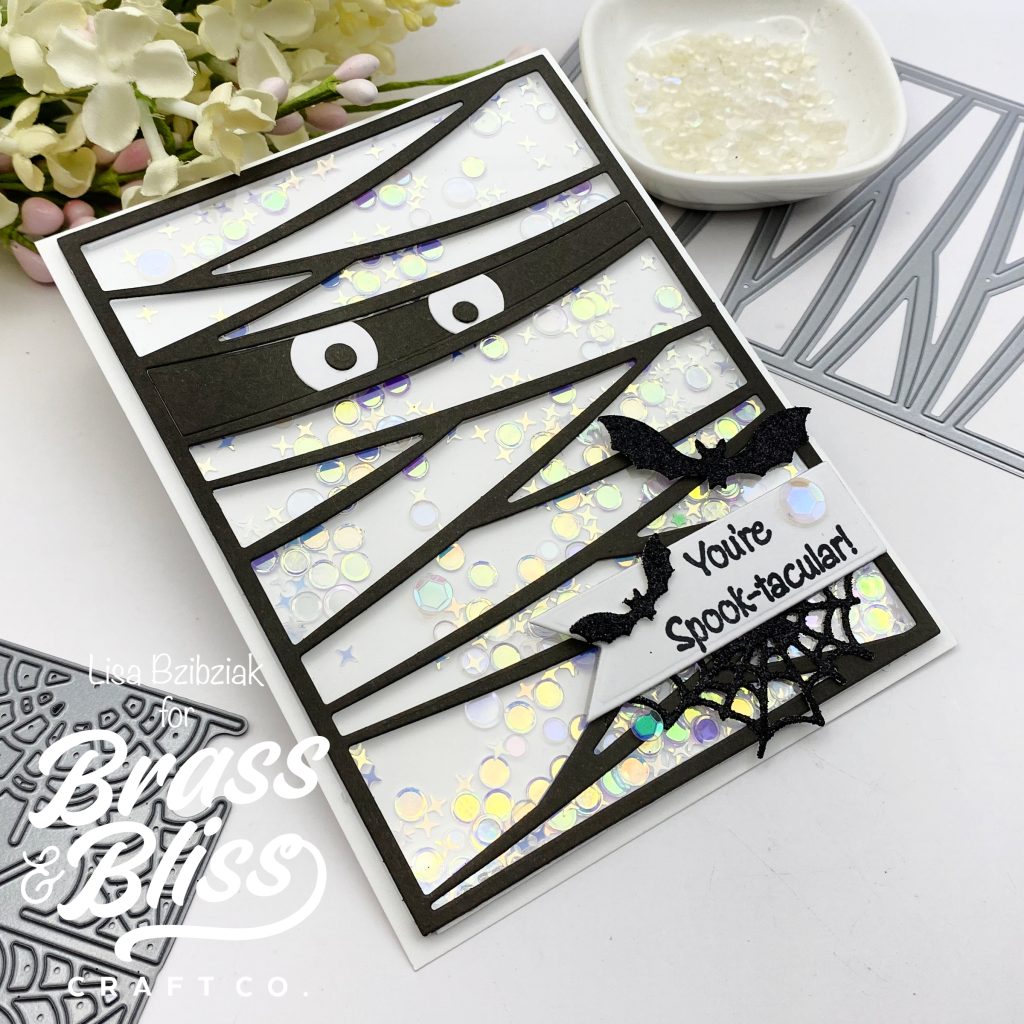
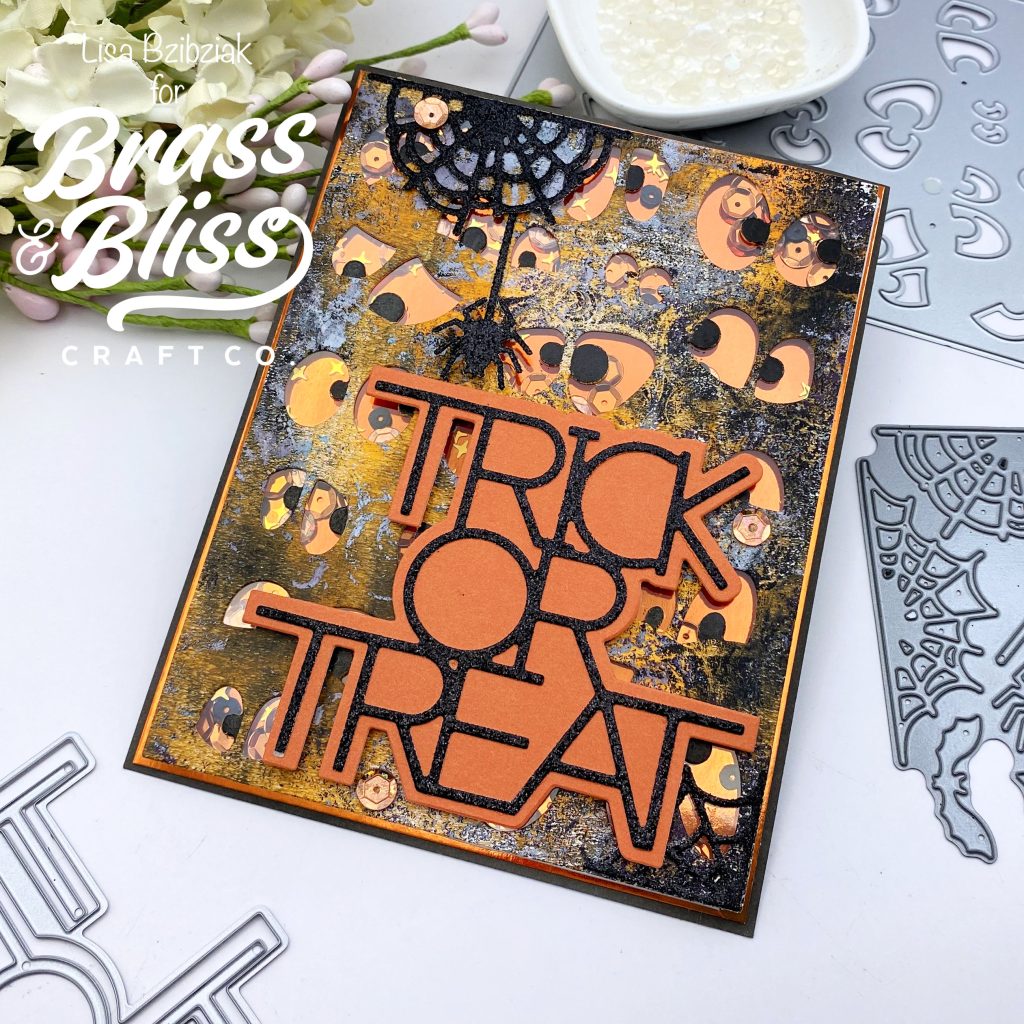
How to make these cards:
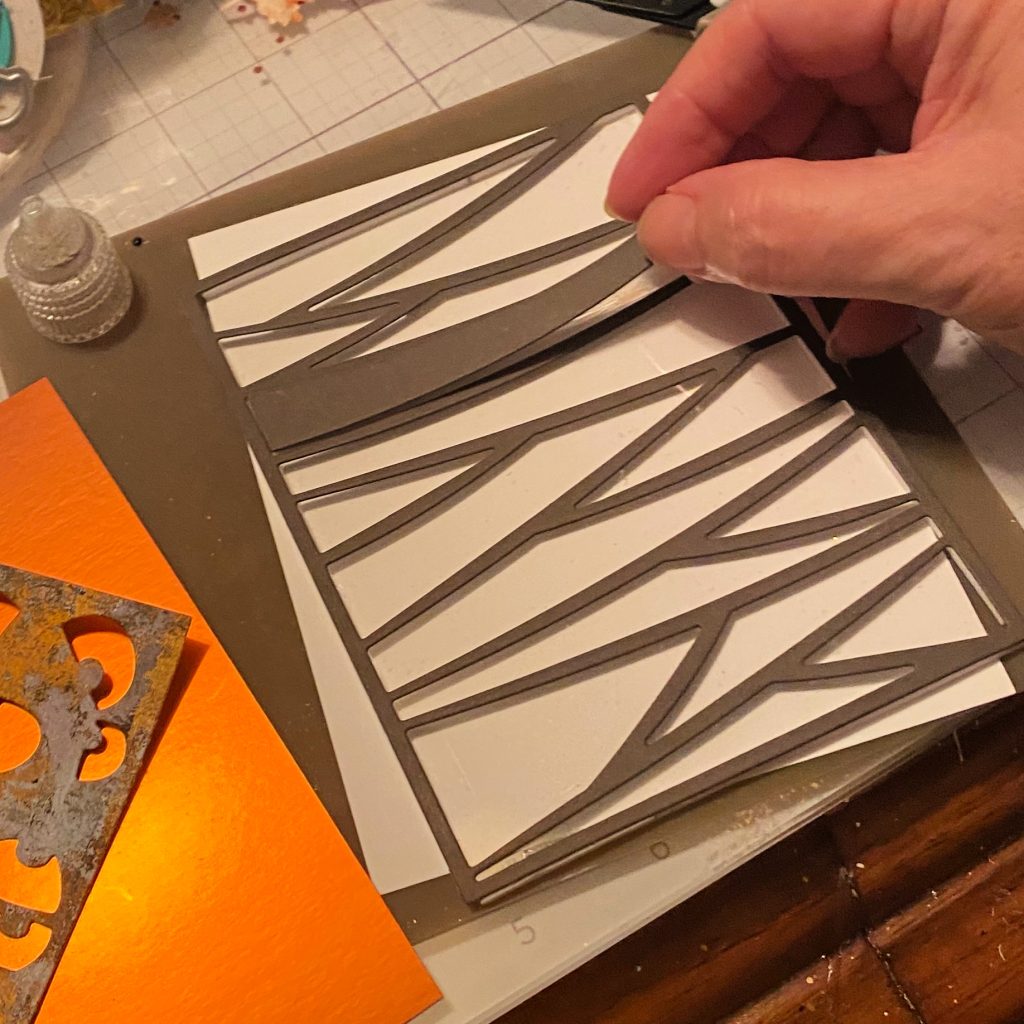
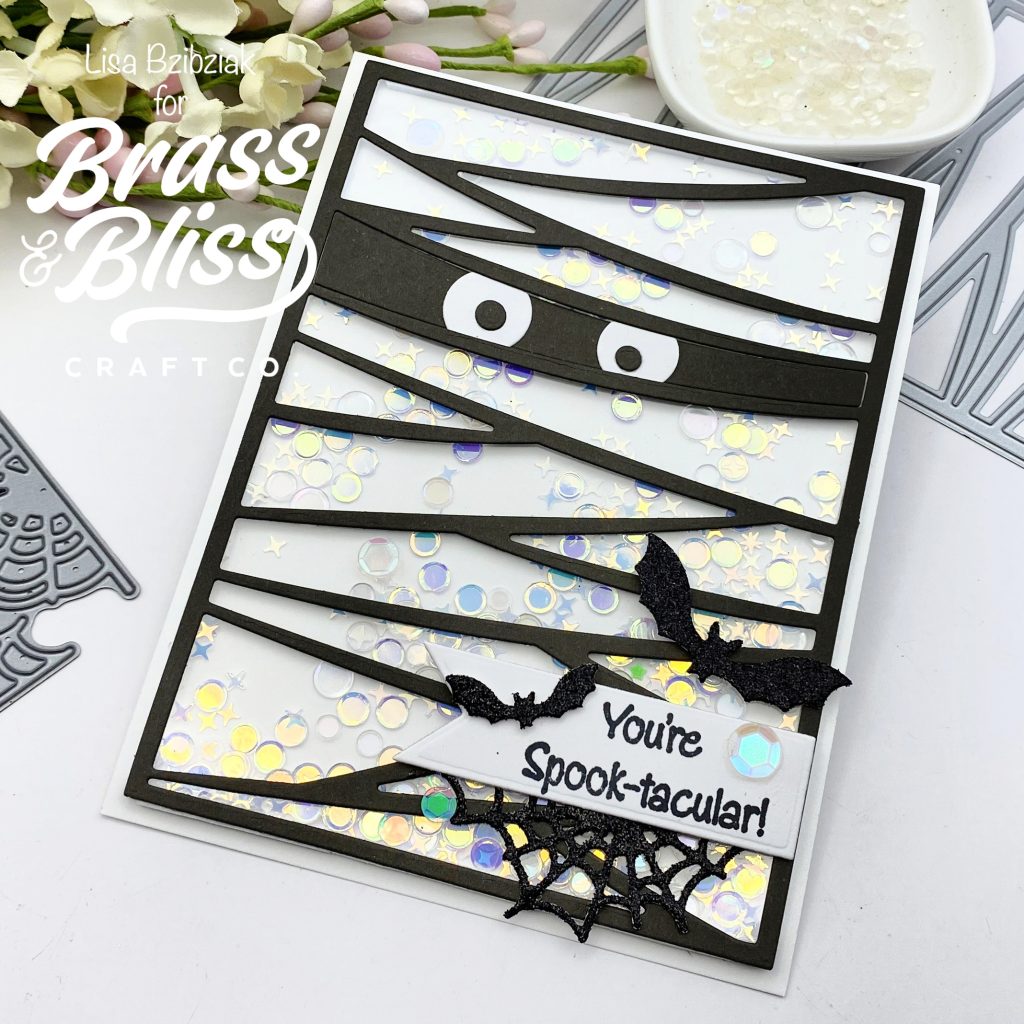
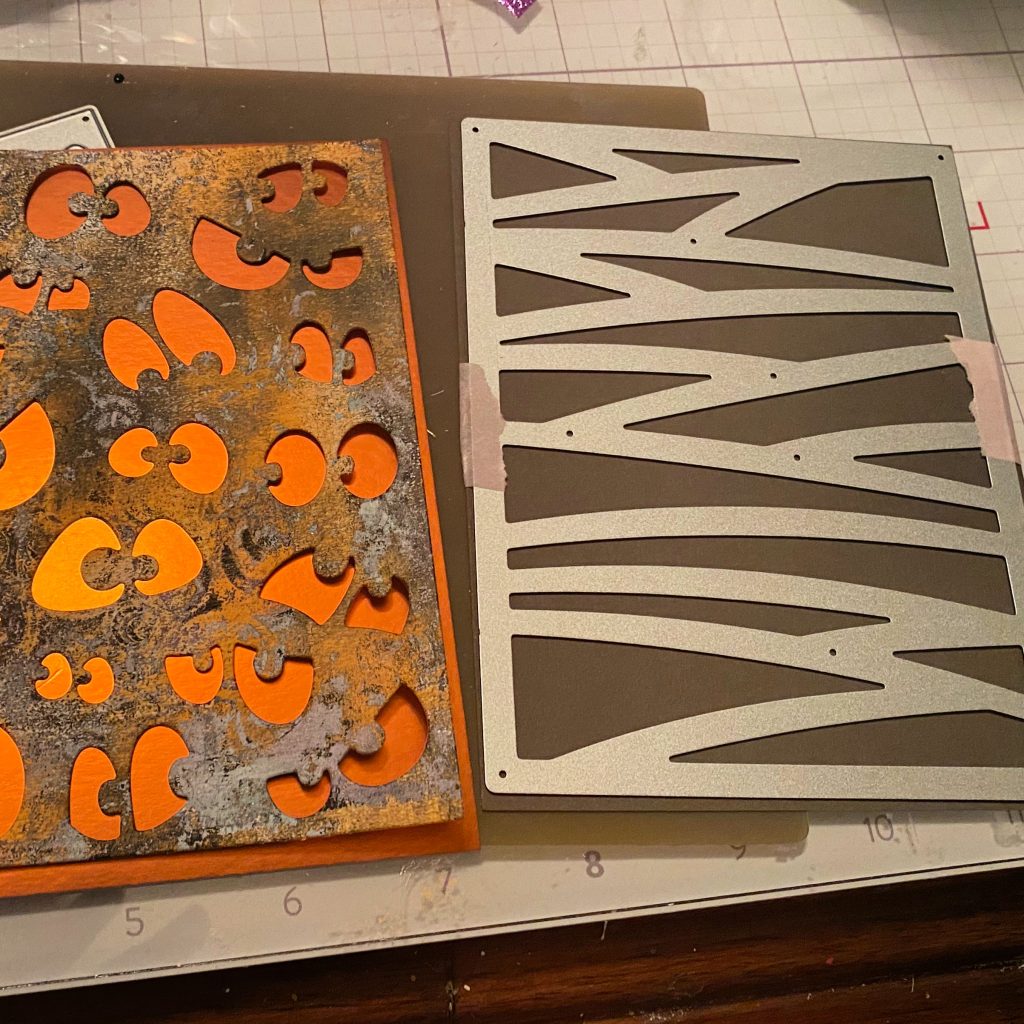
- Die cut the 5731D Mummy Cover Die from a dark gray cardstock (Save the extra pieces!) and the 5730D Google Eyes Die from a dark piece of cardstock or like I did, a fun gel print.
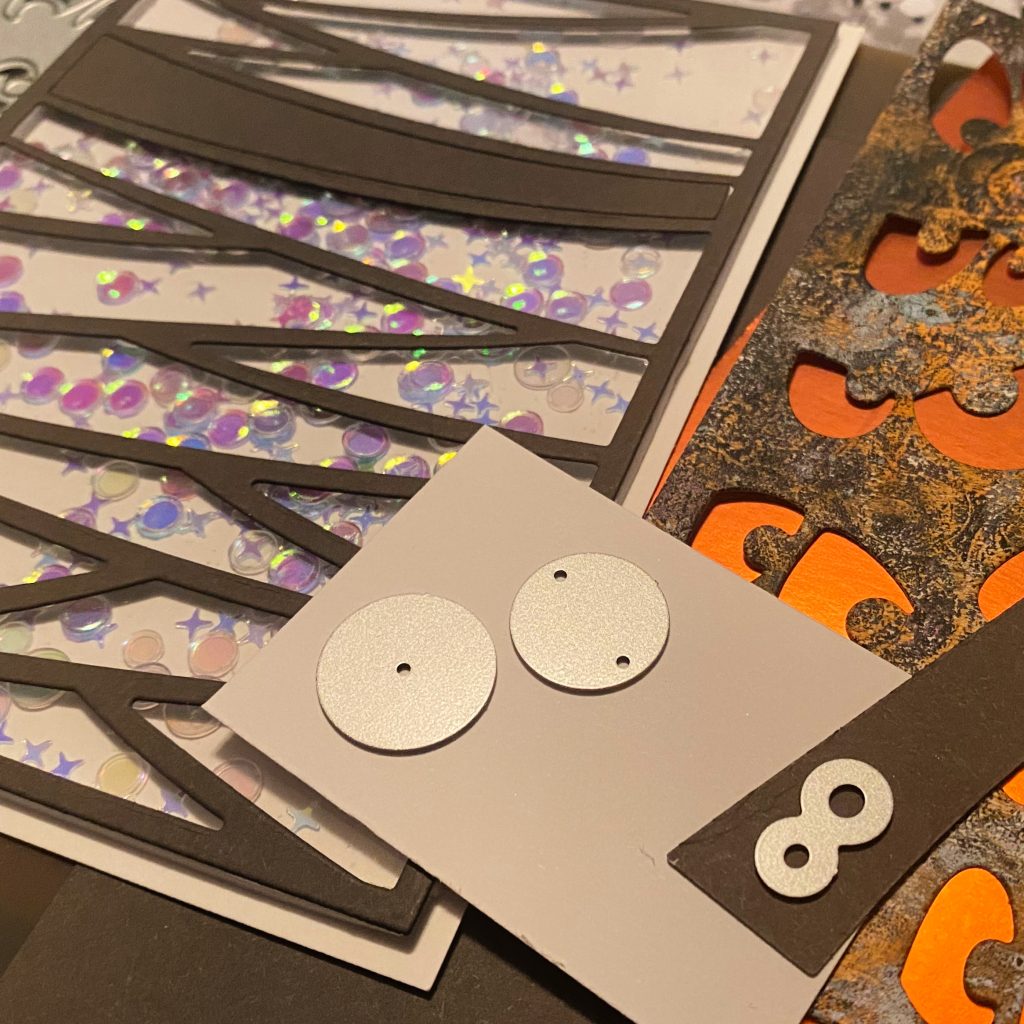
- Die cut the eyes from the Mummy Cover Die set… the large circle in white and the smaller circle from black or the same dark gray.
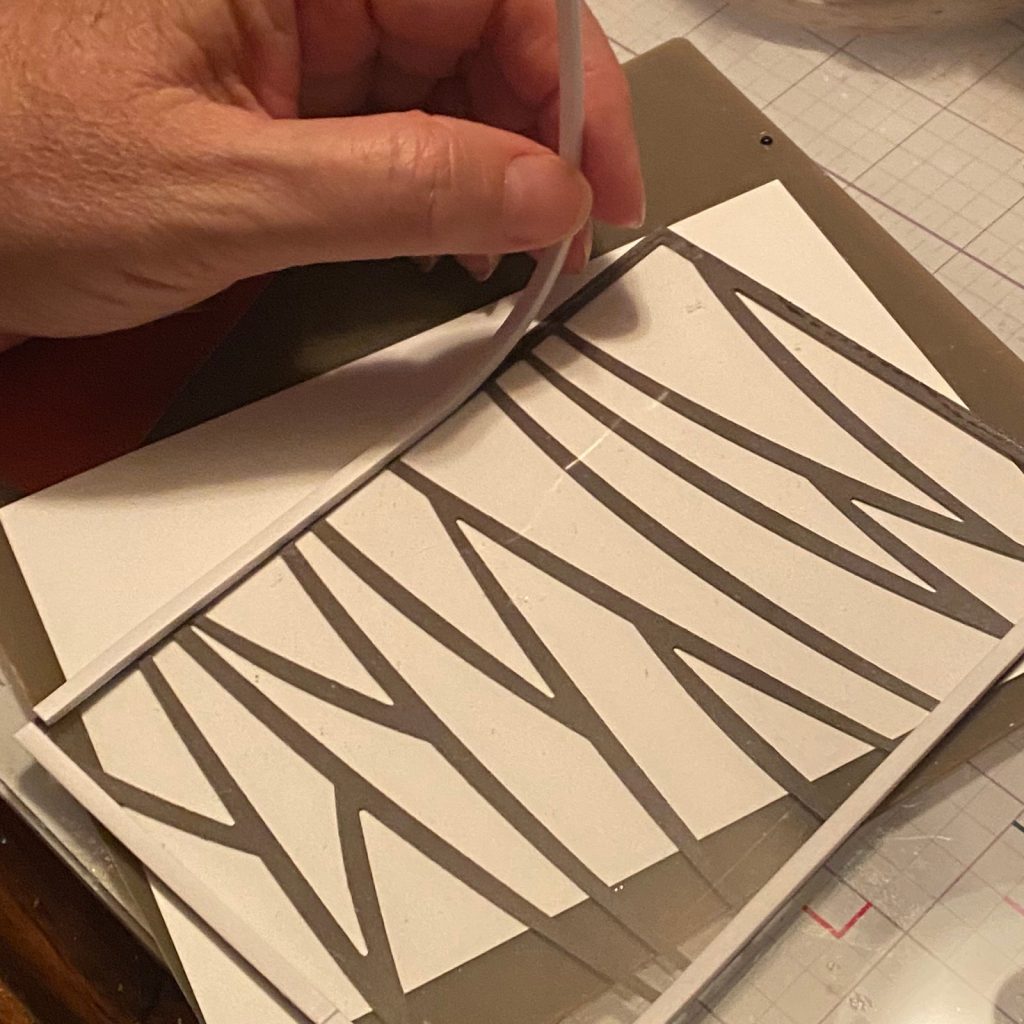
- Cut a piece of acetate to just under the size of the Mummy Cover Plate and use liquid adhesive to adhere it to the back of the die cut. Attaching the eyes will be easiest if you do not adhere all of the vertical strips to the acetate.
- Glue one strip back into the mummy… or more… it’s up to you!
- Glue the eyes onto the strip.
- Add thin foam tape around the edges of the die cut… make sure all edges touch so the sequins don’t sneak out.
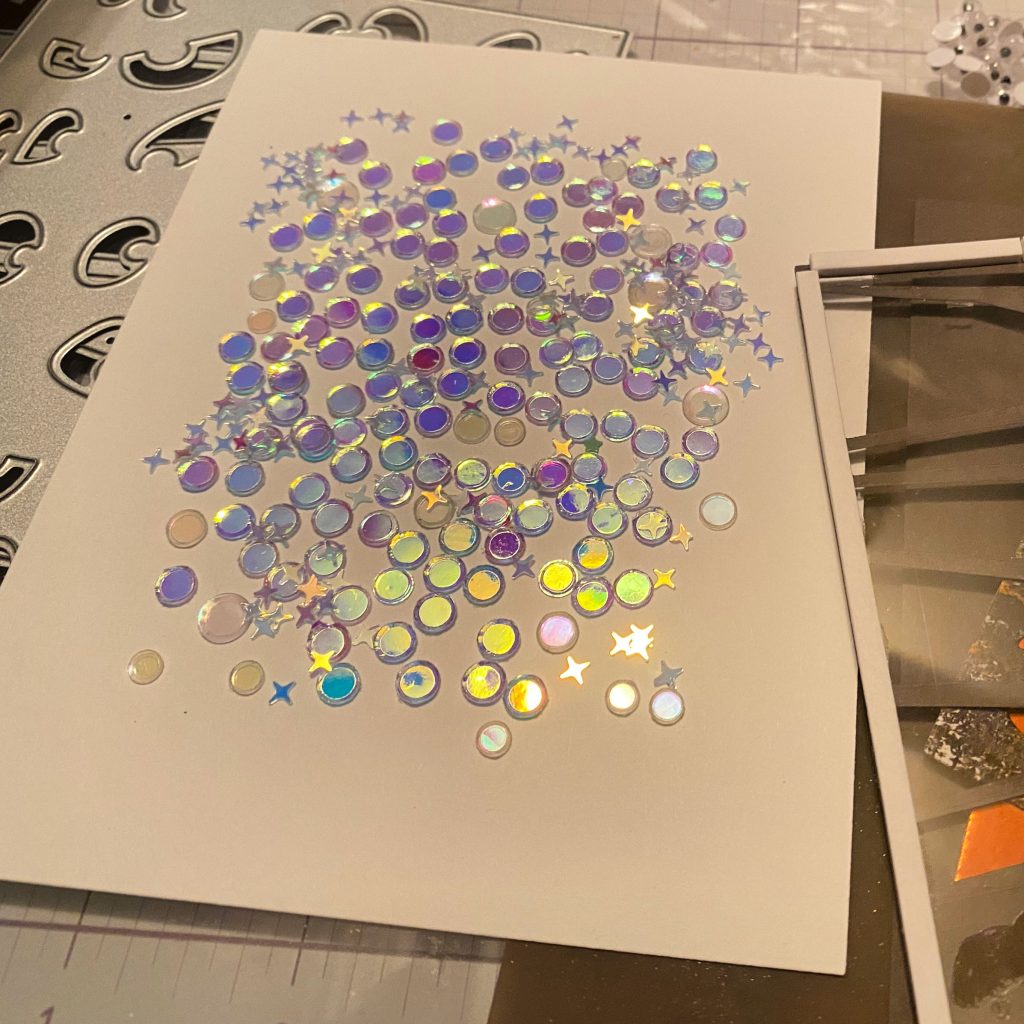
- Cut a white piece of cardstock to 5 1/2″ x 4 1/4″ and lay it on your workspace. Then lay out sequins your want to fill your shaker with.
- Adhere the assembled shaker panel over the top of the sequins.
- Die Cut the 5216-01D Bats and Spiderwebs Die from black glitter paper.
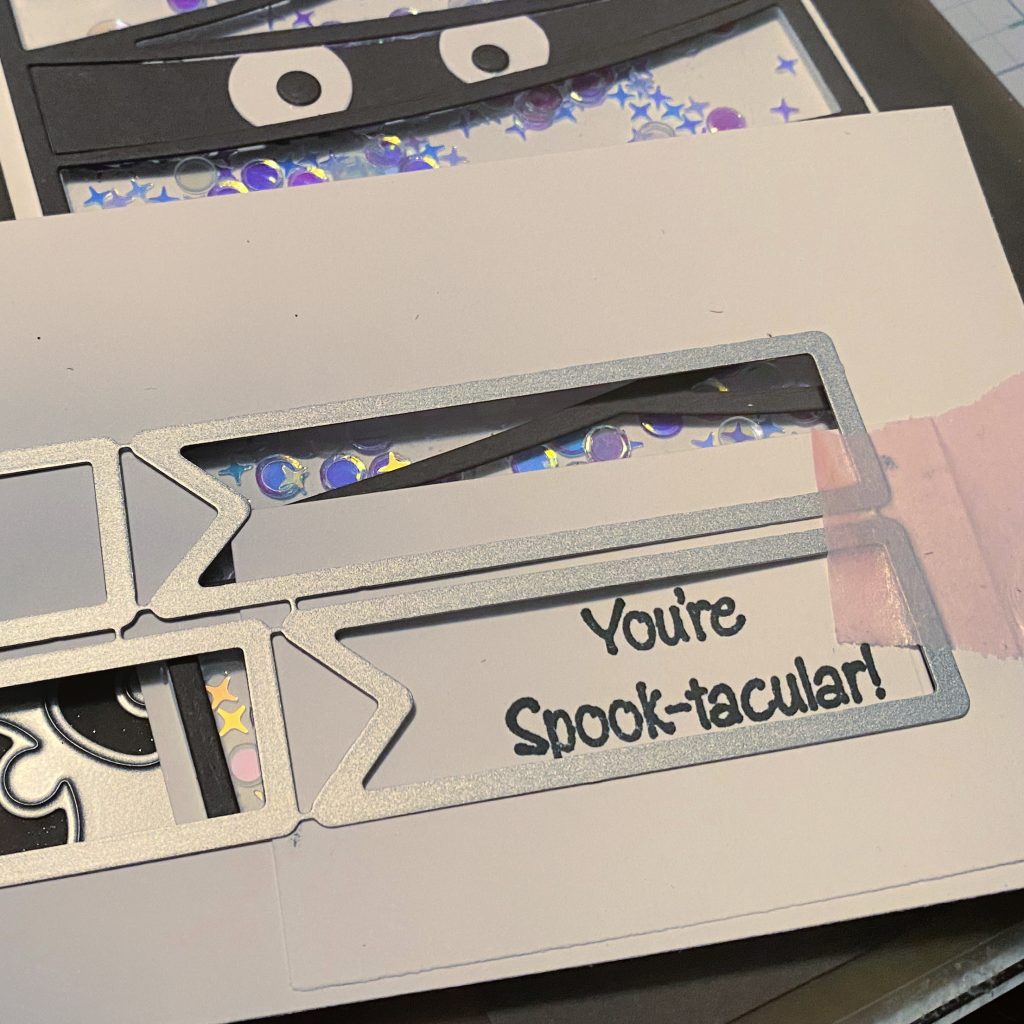
- Stamp the sentiment from 35032 Pumpkin Dress Up – 4×8 Stamp Set onto white cardstock and die cut it using a die from the 5605-03D Off Set Tags Die.
- Add foam tape to the sentiment tag and adhere it to the front of the shaker.
- Embellish with some bats and spider webs and a few more sequins.
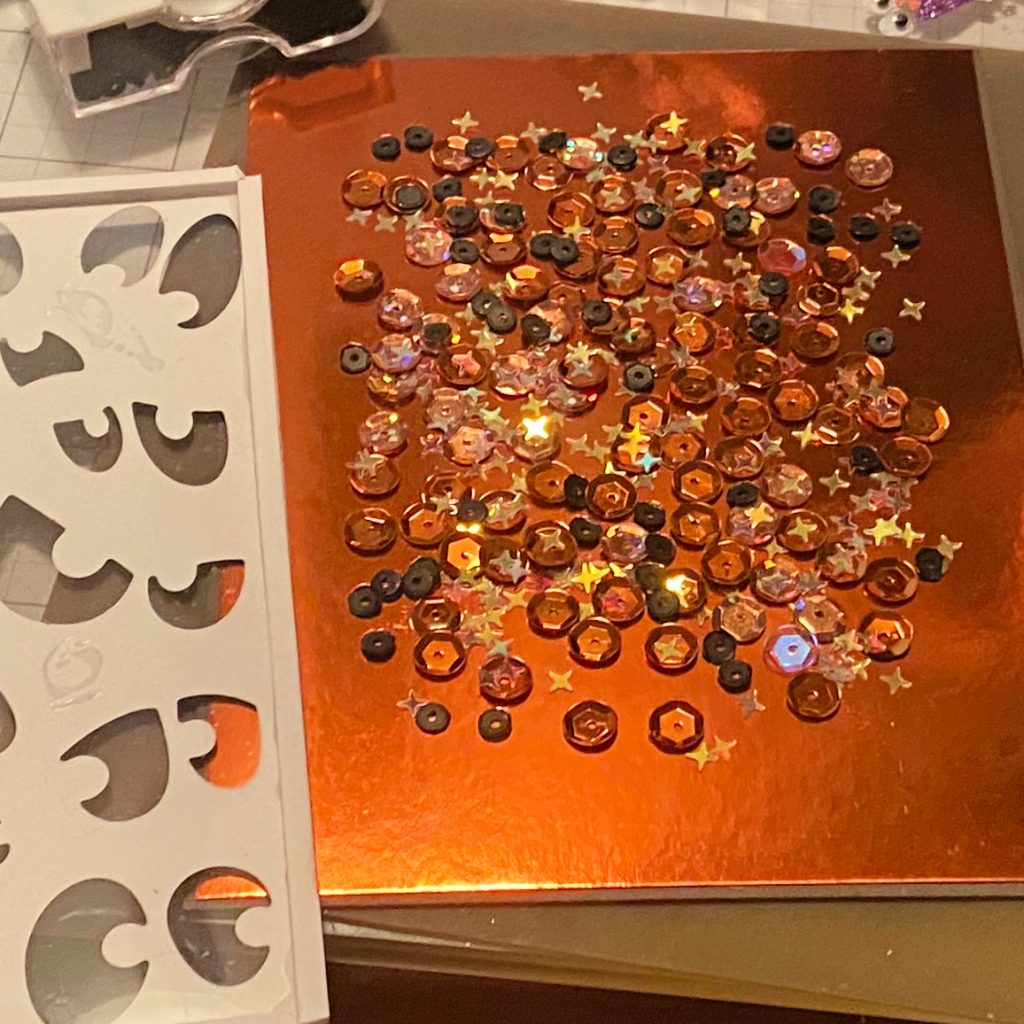
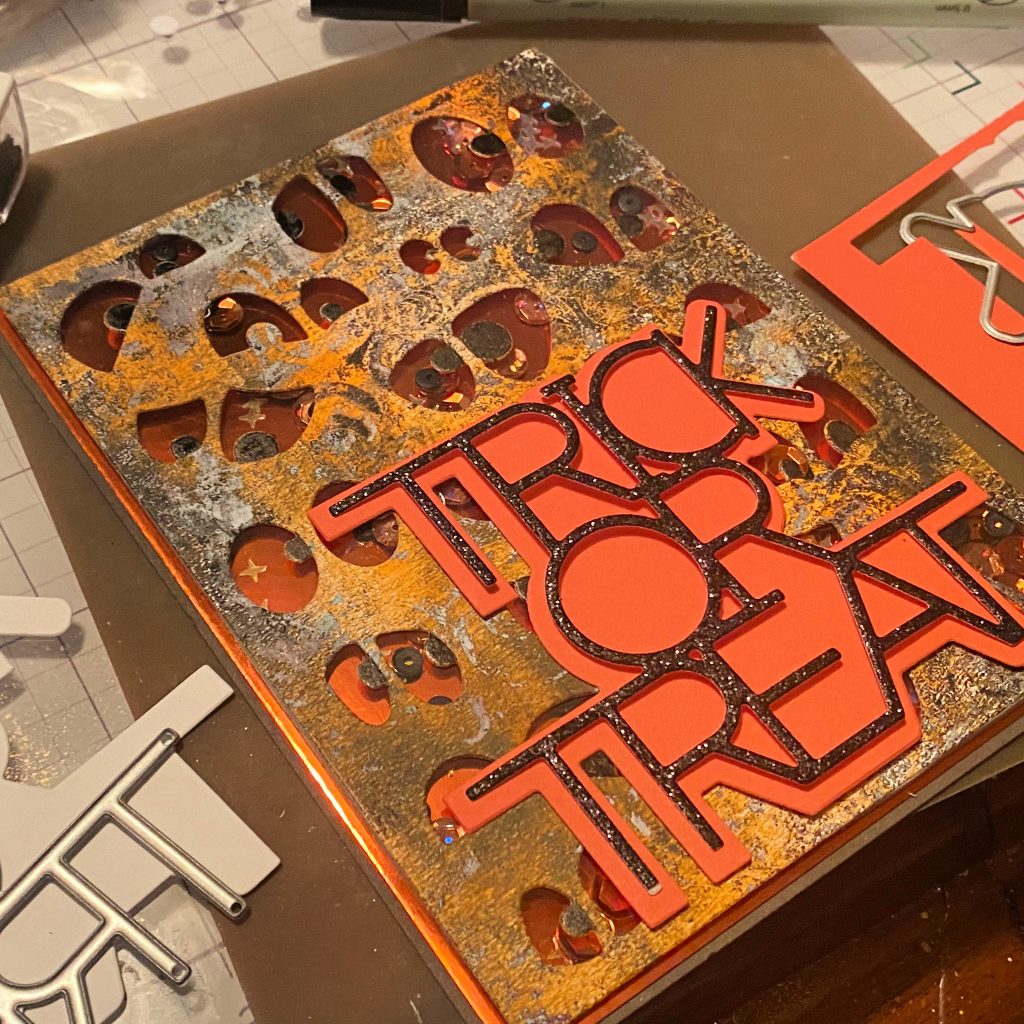
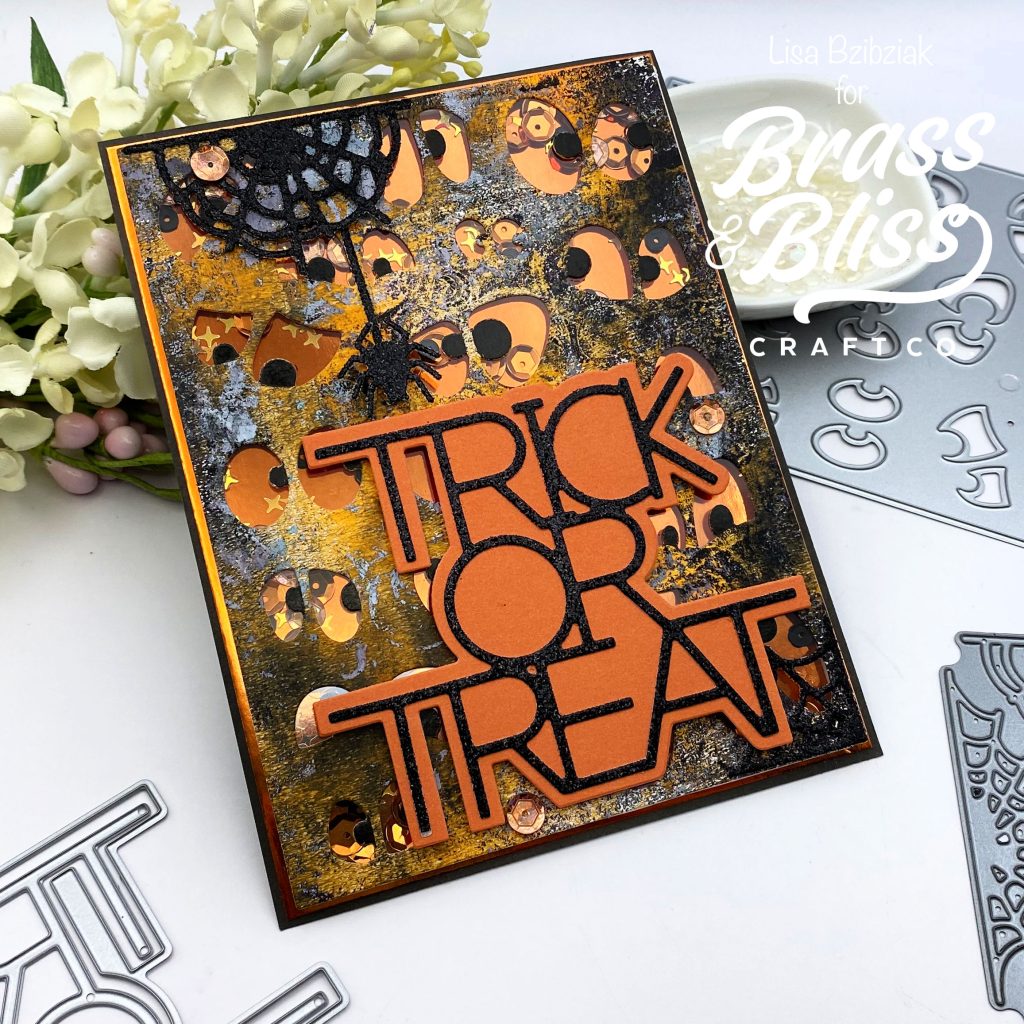
- For the second card add acetate to the back of the google eyes die cut and thin foam tape around the edges.
- Cut a panel of metallic orange to 5 3/8″ x 4 1/8″, lay out the sequins and add the shaker window over the top.
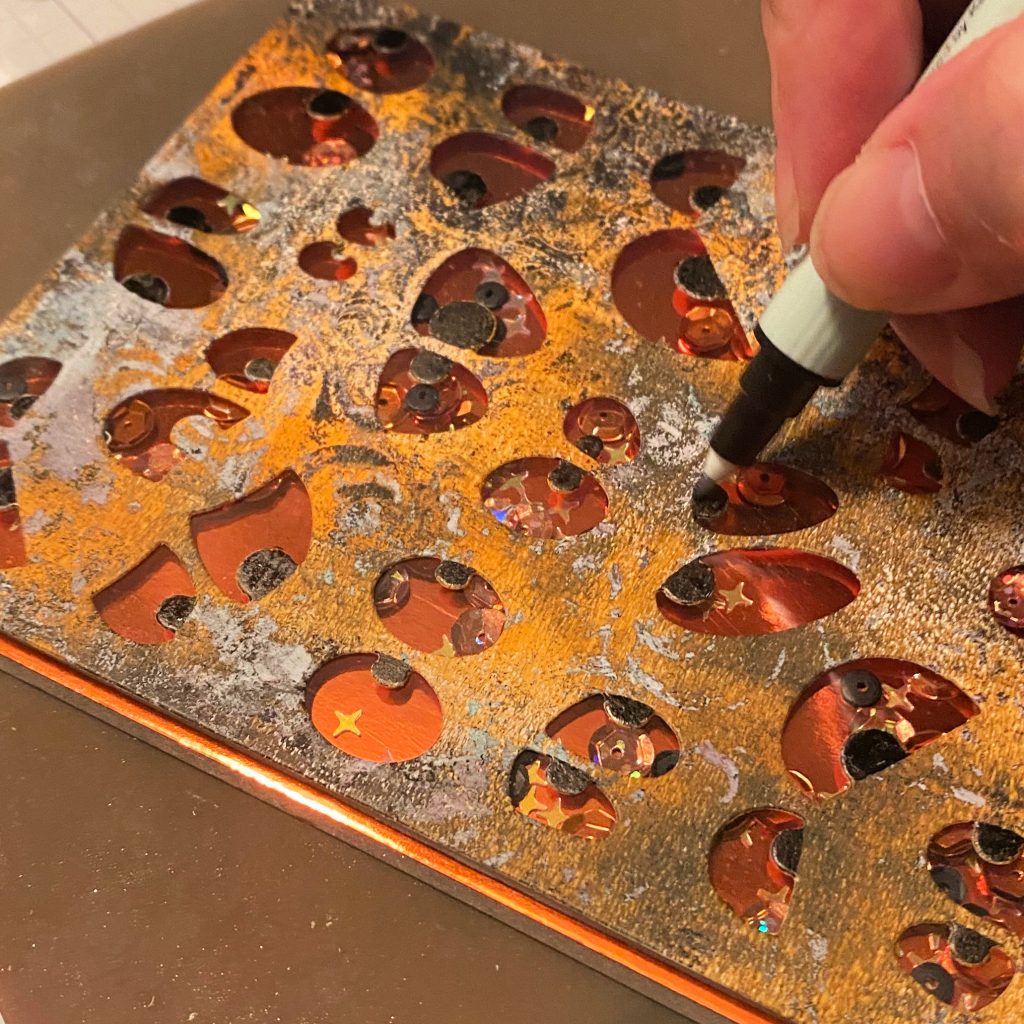
- Color in the eye “centers” with a black marker if needed… since my panel wasn’t cut from black it makes the eyes pop a little more.
- Die cut the 5734-03D Trick or Treat w/ Shadow Die… the background from orange cardstock and the word die from black glitter.
- Glue the sentiment to the background and add foam tape to it and add it to the front of the panel.
- Add the remaining webs and spider to the front of the shaker.
Progress photos for Mummy Shaker:
Progress photos for Googly Eye Shaker:
What a fun halloween card creation! We love how simple it was to just add sequins behind the cover die for a brilliant interactive shaker card! The Mummy was my favorite because of his wrappings! Great job Lisa! If you want to see more Shaker Card Inspiration, be sure to check out our other blog posts here. Happy Crafting!