
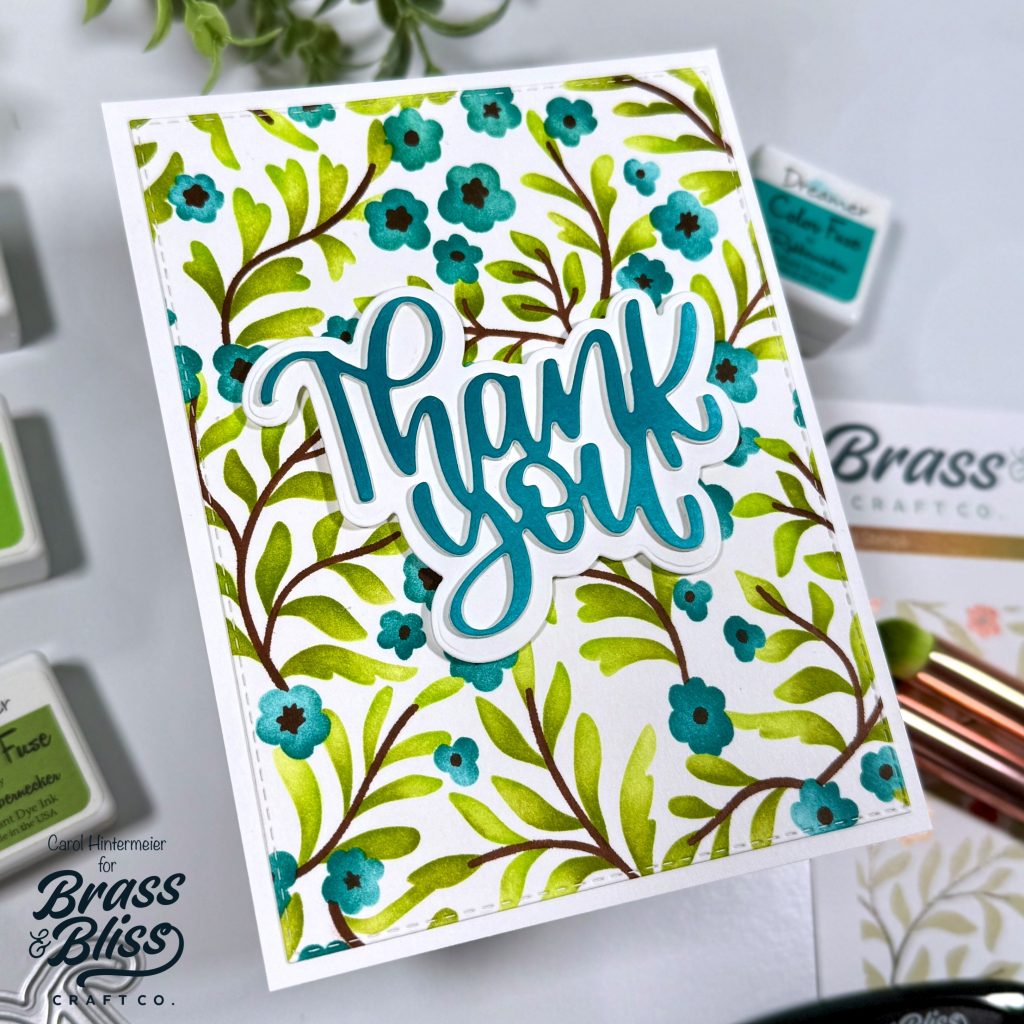
Looking for a Quick Thank You Card Idea? This stenciled card is so stunning that nobody will ever believe how fast it was to make!
This month we are all about the ‘Thank You’ cards, and our new 5749-02D Thank You Die is the perfect sentiment for easy card creations! Todays card is form our designer, Carol, who said, “I wanted to use pretty and bright colors for a thank you card. It’s quick and easy with stencils and a bit of die cutting. Bright colors are perfect for the drab winter months!” We agree! This bright card feels cheery and perfect to send out to express our gratitude. Follow along as Carol walks us through the steps and shows us how to make a quick and easy stenciled thank you card.
Directions:
- You will need an A2 sized piece of white cardstock, the 4306-Fall Floral stencil set, and inks from three Color Fuse Sets #3, #9, and #11.
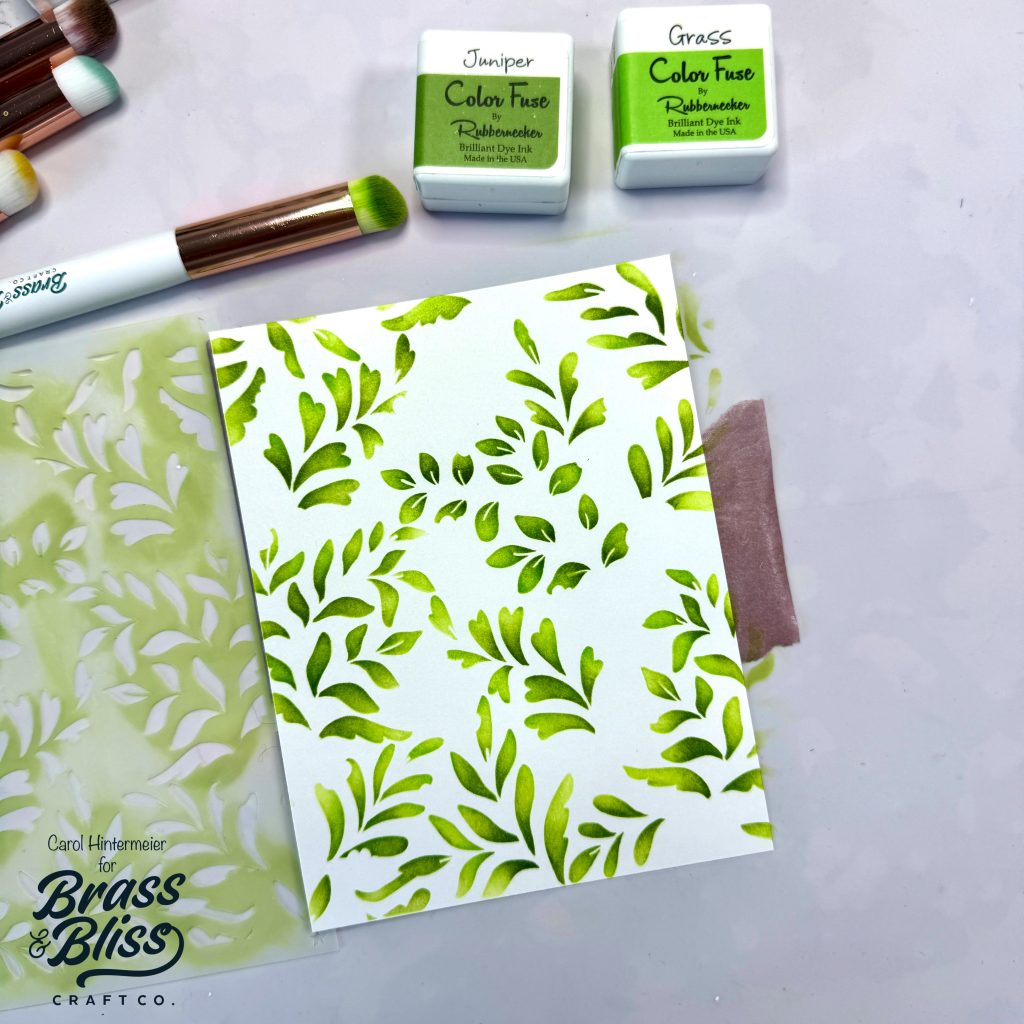
- Place stencil one from the 4306-Fall Floral stencil set over the white cardstock and secure with removable tape.
- Use a Detail Blending Brush to add Grass and Juniper inks (Color Fuse 11) through the stencil.
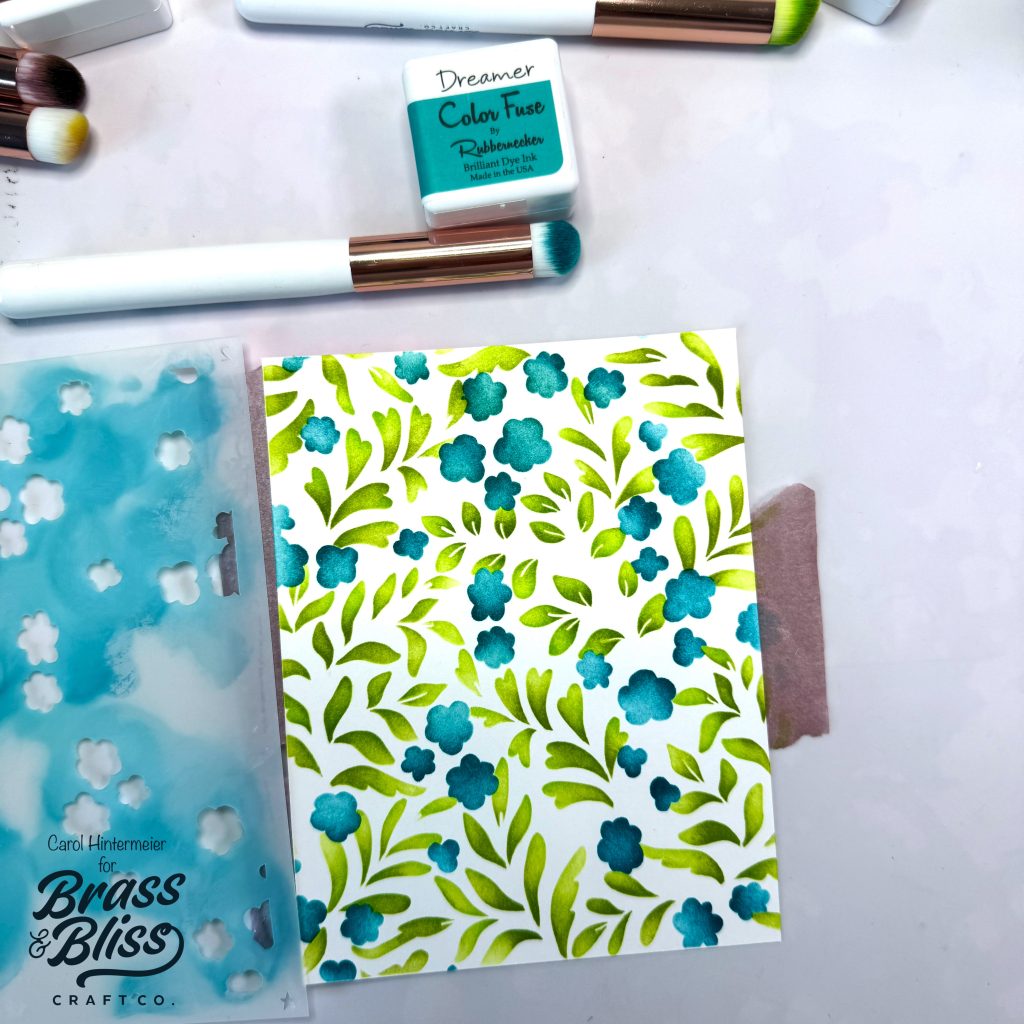
- Add Dreamer ink (Color Fuse 9) through the second stencil with another Detail Blending Brush.
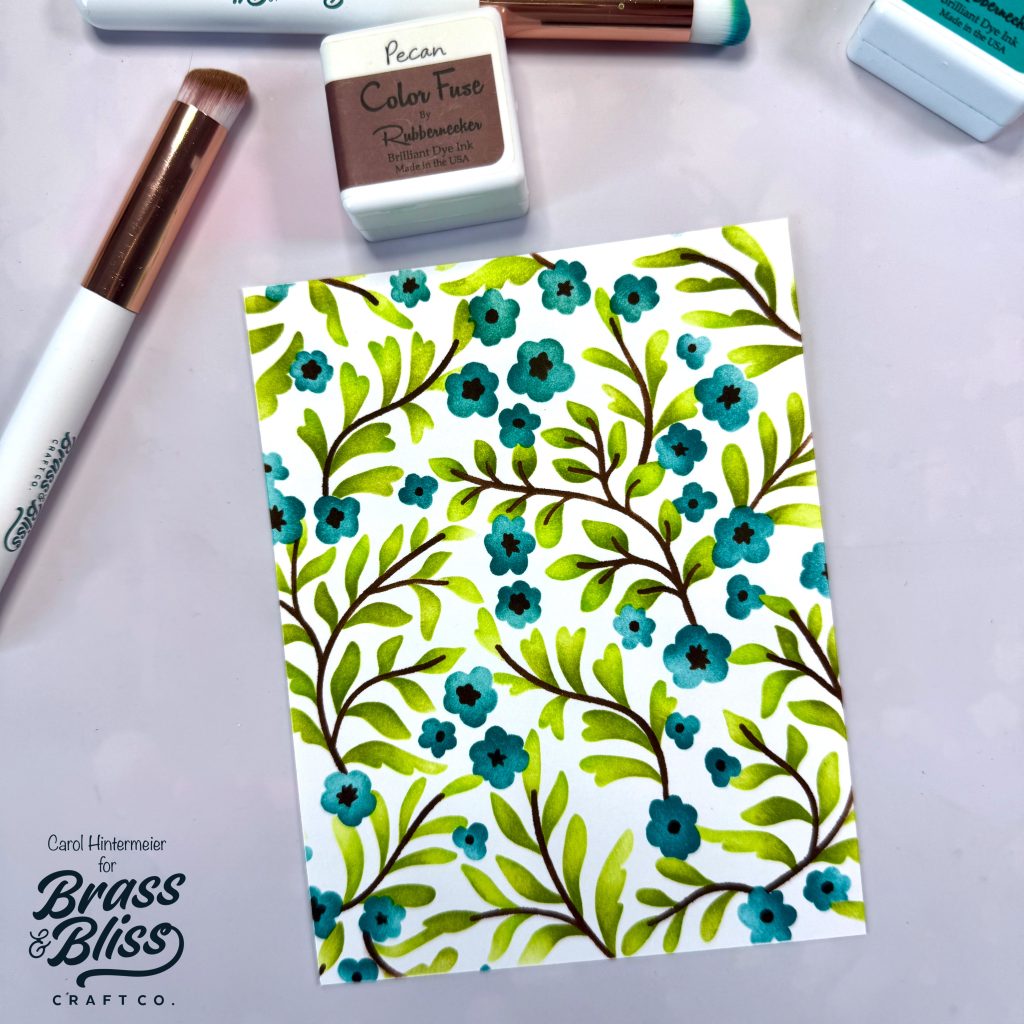
- Finally, add Pecan ink (Color Fuse 3) through the third stencil.
- Die cut the panel with the largest 5013D-Nested Rectangle Small Stitch Die.
- Use glue to adhere it to an A2 card base.
- Use a Large Blending Brush to ink up some white cardstock with Dreamer ink.
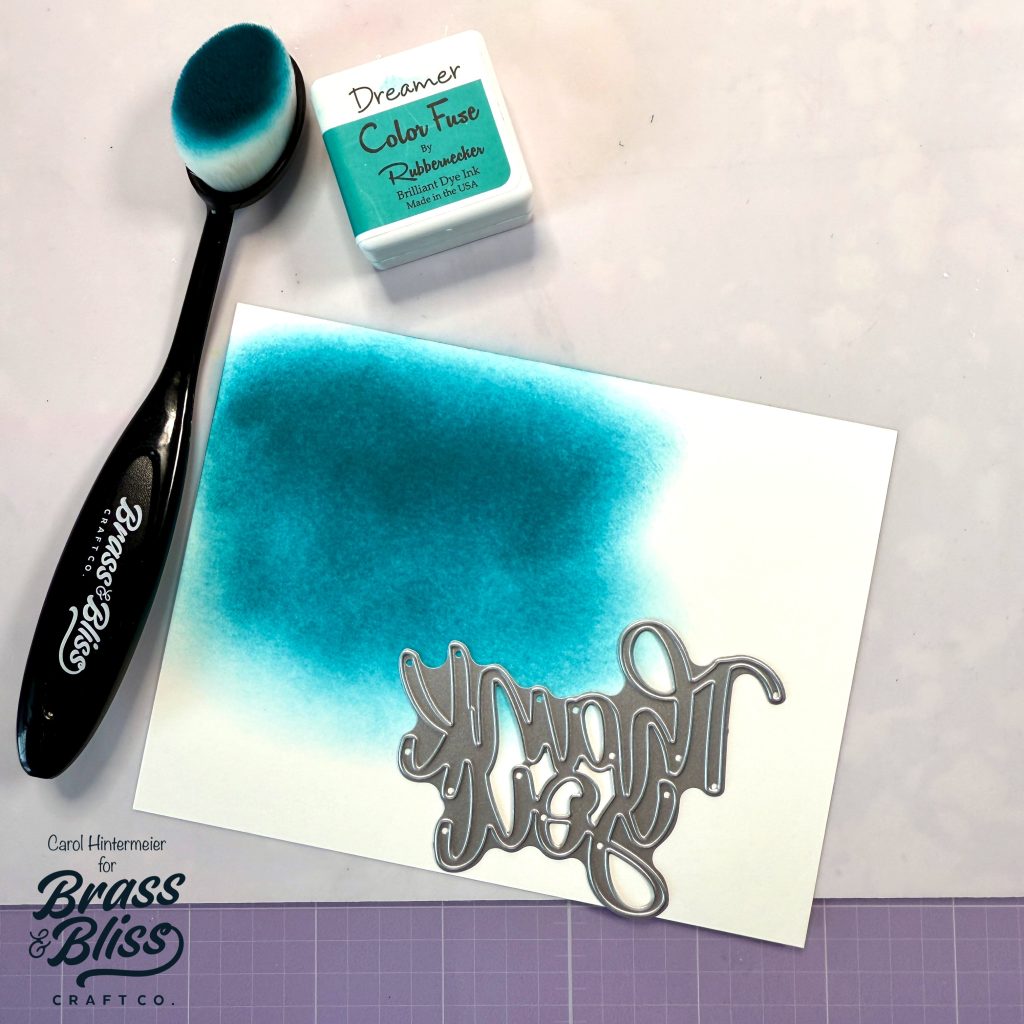
- Die cut the top layer of the 5749-02D Thank You Die.
- Die cut two more from white cardstock.
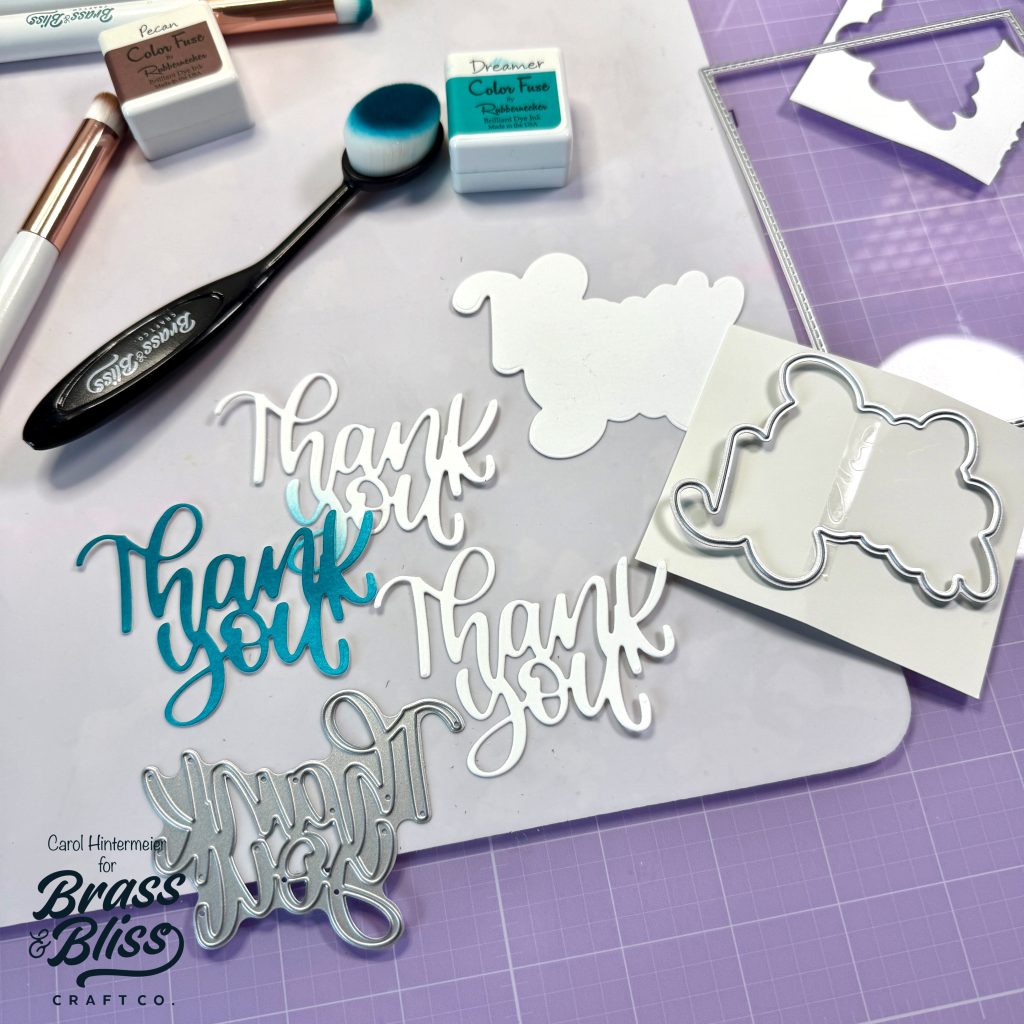
- Use glue to adhere the layers together.
- Die cut the shadow layer of the 5749-02D Thank You Die from white cardstock.
- Adhere the stacked sentiment to the shadow layer with glue.
- Then glue the sentiment to the card.
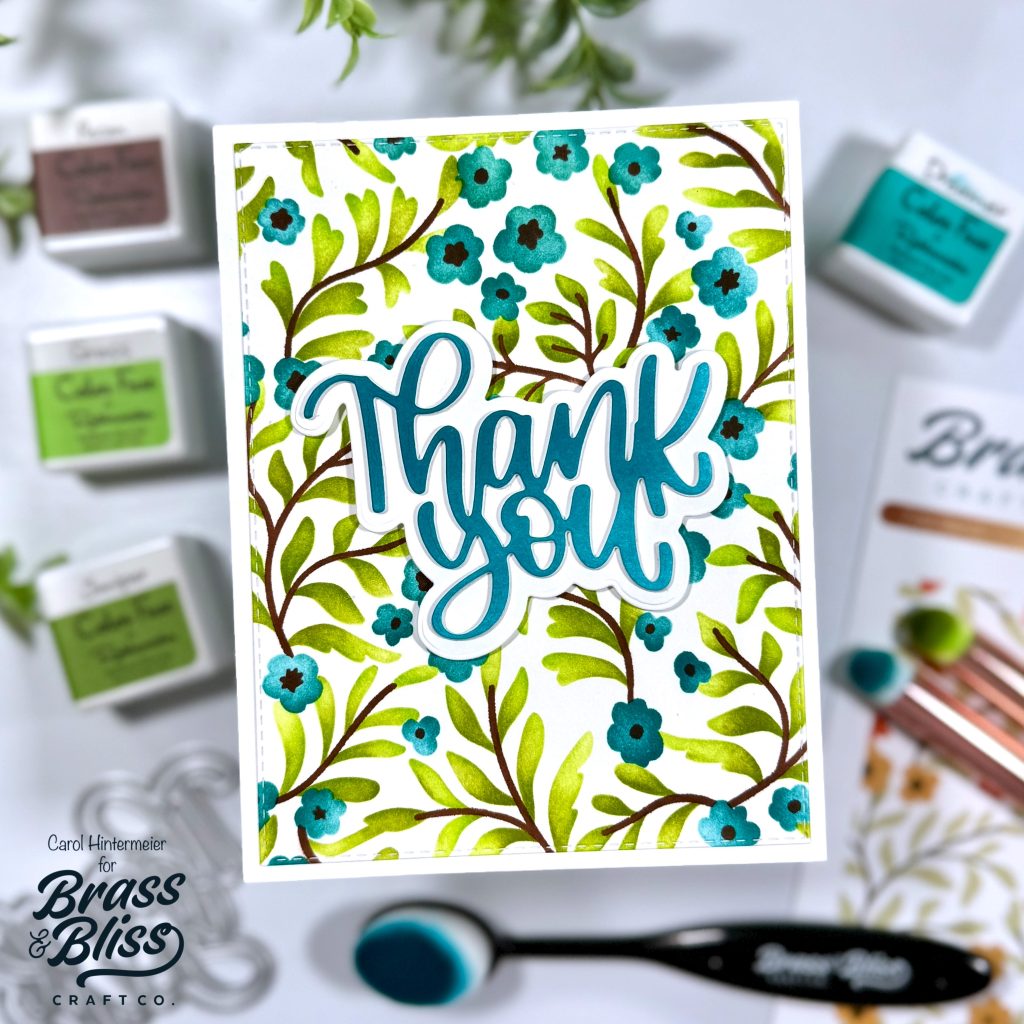
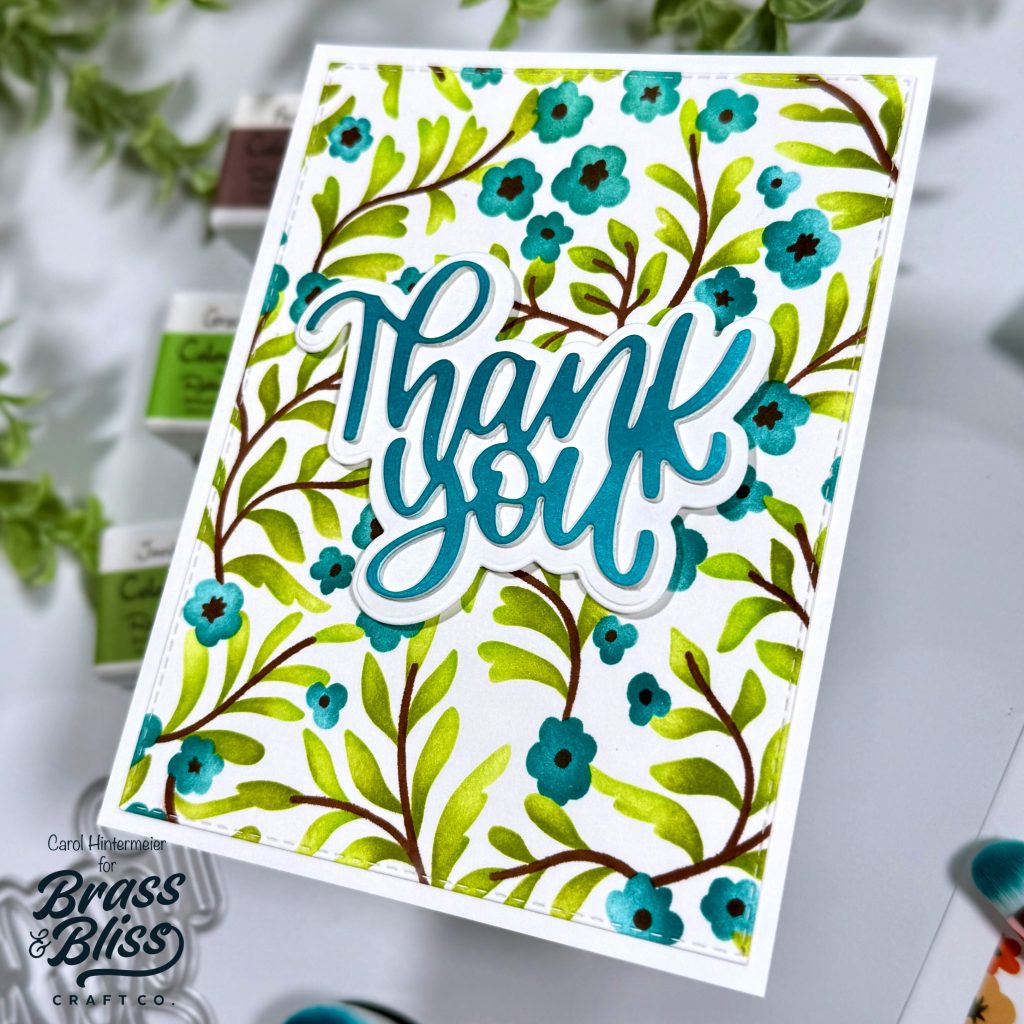
We don’t know about you, but this card is right up our ally and we are ready to hit the craft room and recreate this magic!
Stay tuned for our Release later this month for tons of Dies and Fun New Items for your crafting Pleasure. Mark your Calendars for November 20th! Happy Crafting.