
Want to personalize your gifts by creating something unique, but not quite ready to dive into the deep end of the DIY pool? Check out these simple tags that are sure to delight!
Today we are putting together quick and easy tags using the Birthday Bears paper pads with coordinating dies. This is a great concept because there’s no coloring or art talent needed. You just use the dies to cut out the images from the paper pad and assemble onto tags. Let’s go through the steps on how our designer Tracy created these.

- First, take out the 2011 Birthday Bear Slimline Paper pad.
- Then using the 2011D Birthday Bear paper pad coordinating dies, die cut the images needed.
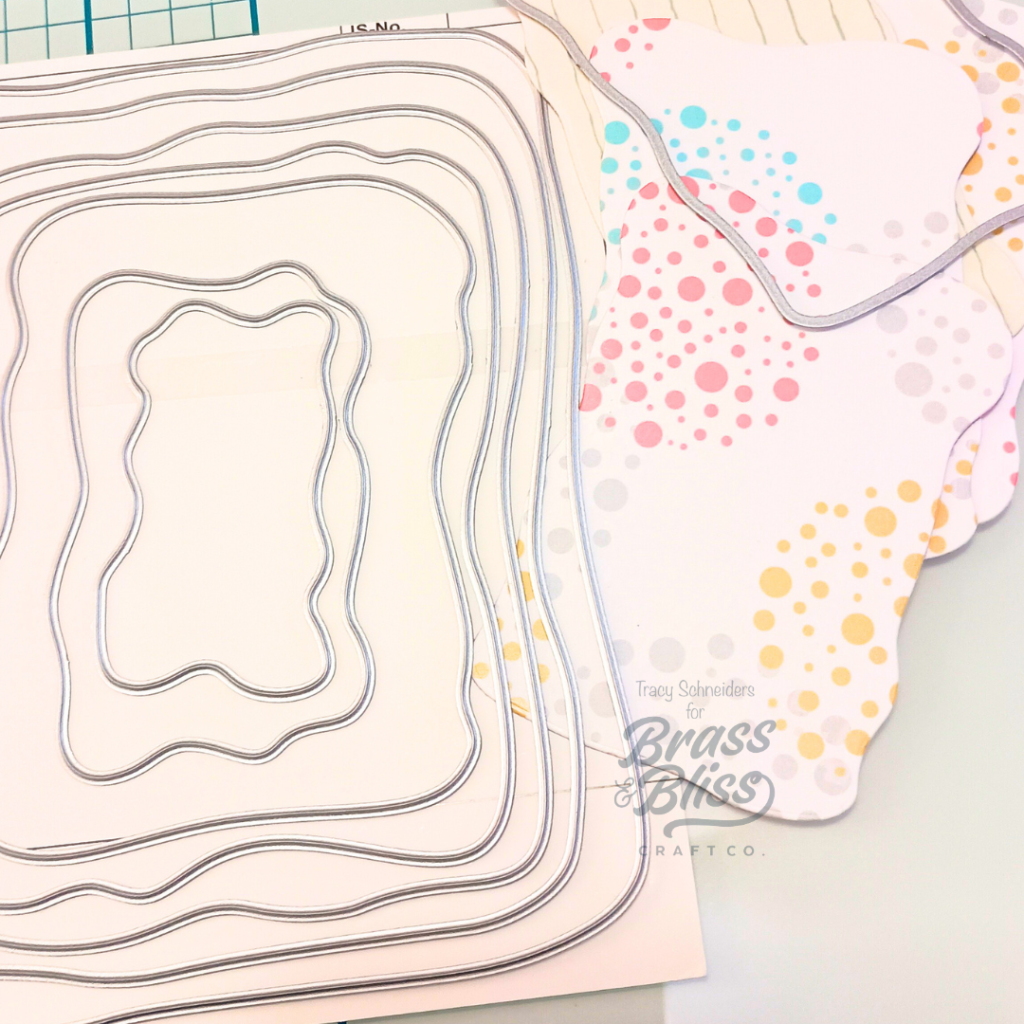
- Next, we are going to use the new 5737-02D Wavy Nested Dies to cut out our tag bases (also using the Birthday Bears paper pad). Use any size you’d like but I used the 3rd from the smallest.
- Punch a hole at the tip to allow the twine to be attached. Use matching twine, loop it through the hole.
- Go ahead and glue down the images to your tag bases. You can write To and From on the back or stamp it if you have it. This completes the project!


Easy peasy! Now you have some unique handmade tags that look amazing and didn’t create to much of a crafting headache to make. We hope you enjoyed learning how to make Easy Handmade Gift Tags for Beginners. Be sure to tag us in your creations and pin this project for later! Happy Crafting!